https://www.youtube.com/watch?v=3MRkW92sGBE
How to make Stencils at Home_ Handmade Stencils for Craft

Hello , friends .
This is Shibani here .
Welcome to my channel Shibani creations .
Today .
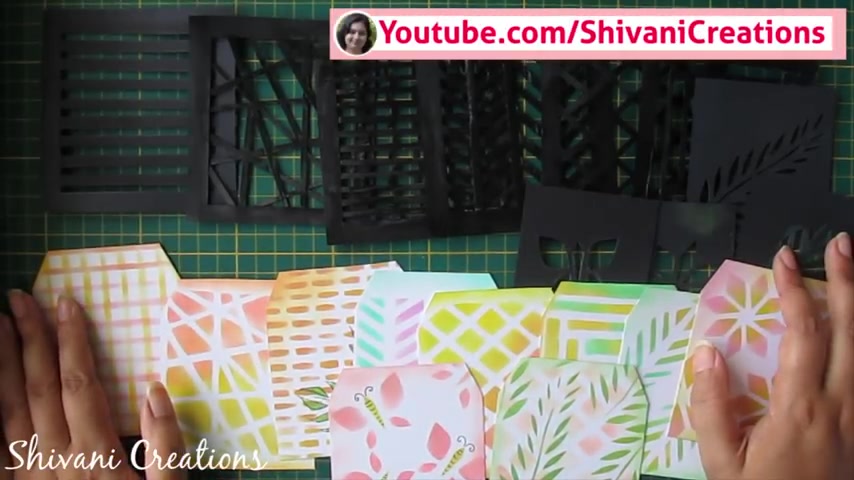
I am showing you how to create these 10 different styles of stens at home .
Yes .
These all stencils are handmade and I have created these 10 different tags using these handmade stens .
Isn't it a great idea ?
So let's get started for this .
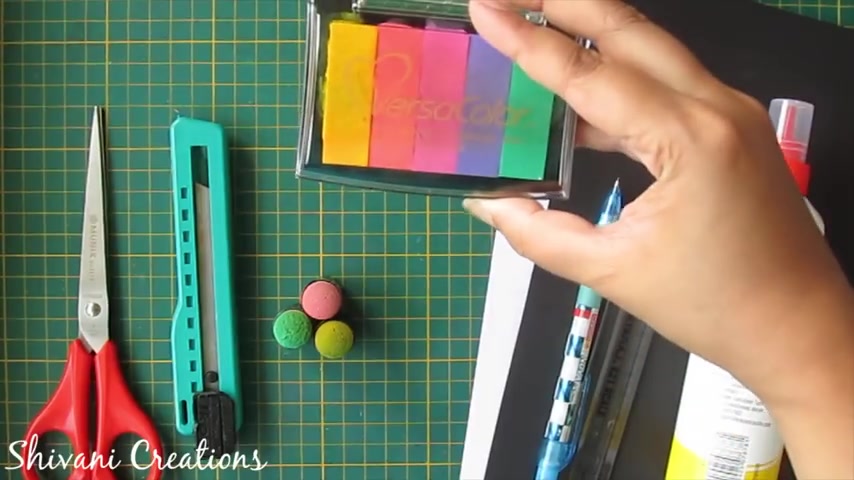
We need liquid glue ruler , pencil , black and white color thick sheets , any kind of ink I'm using versa color pigment ink sponge dabbers or you can also use sponge paper cutter and scissor .
First .
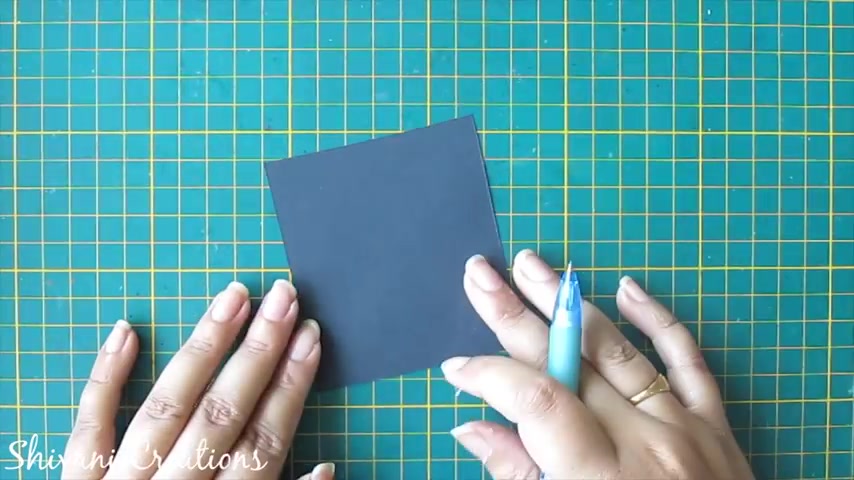
I'm taking this black color sheet which may just 10 by 10 centimeters and from all four sides , I am creating one frame .
So I'm marking on one centimeters .
This sheet is having 200 GSM thickness .
Now , I will cut this in our frame using my paper cutter .
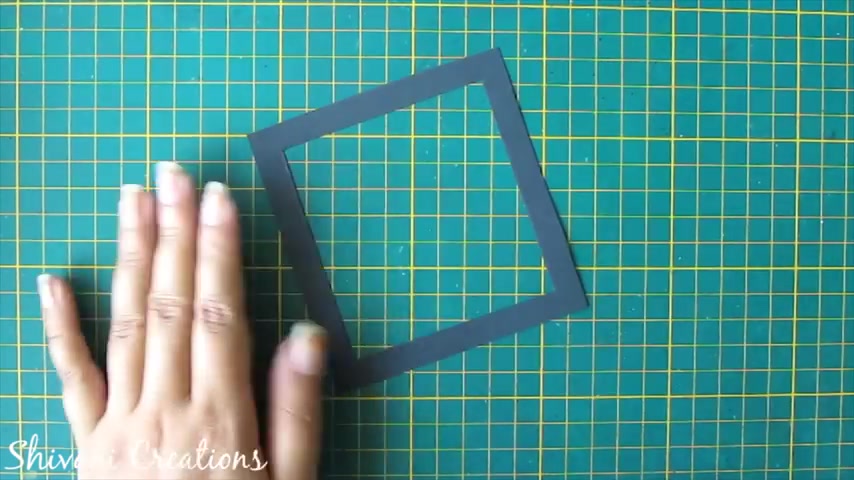
So the frame for this Sils is ready .
So I'm starting with my first pencil for this .
I'm taking some black color sheet strips and these strips are made using the same 200 GSM paper which measures 10 by 0.5 centimeters .
So I'm just adding little glue on both the edges and start adding these strips .
One by one after equal interval .
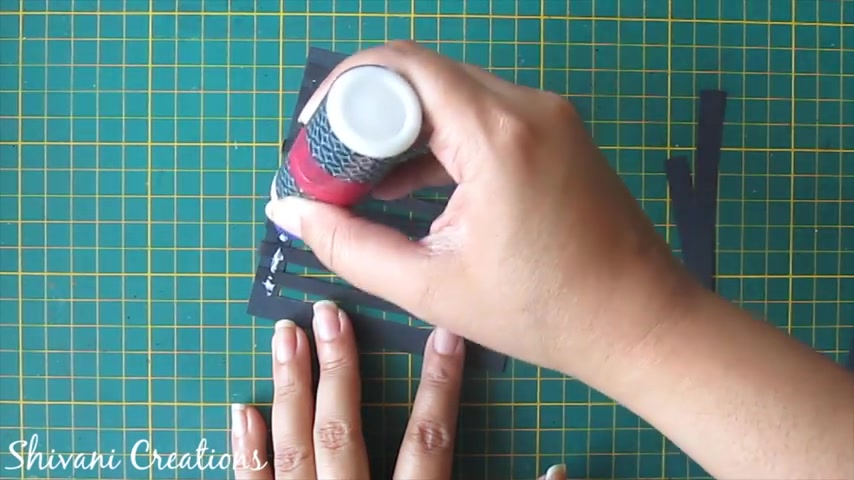
So this is done now , just to secure these strips , I'm adding one more black strip on top of this , you can just trim the excess paper stencil is ready .
Now , I'm taking this versa color ultimate pigment ink .
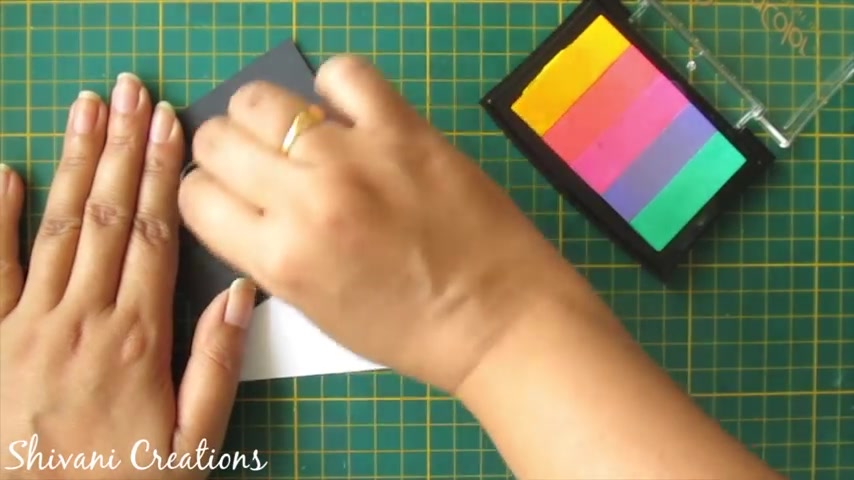
You can use any kind of ink for this purpose and I'm taking my sponge dole or finger dole , just aligning my stencil on top of this white color sheet and adding the color .
You can also use normal sponge and soft pastel for this purpose .
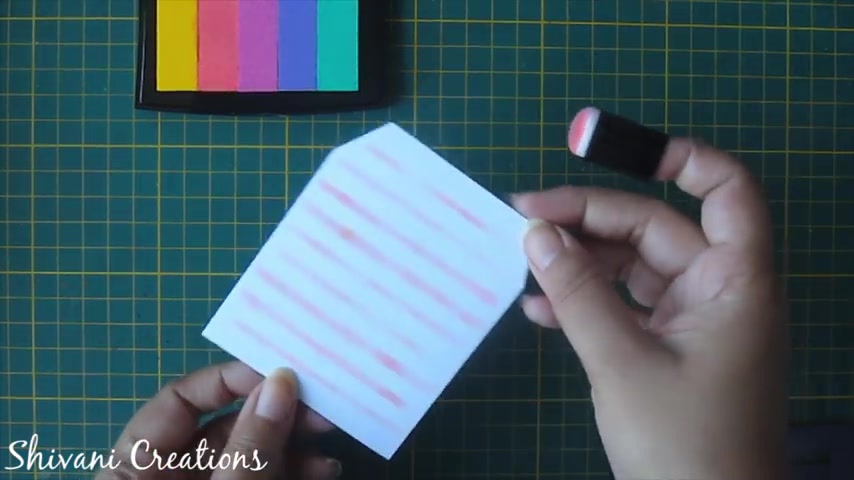
So this is done now , just rotate your sheet and again align the stencil and apply any other contrast color .
So it will give you very nice squared background .
So the first pattern is done and you can just extend the pattern on your sheet , but this process like this .
So this is done .
Now , I'm proceeding to the second stencil for this .
Again , I'm taking my frame add little glue and this time I'm taking little thin strips .
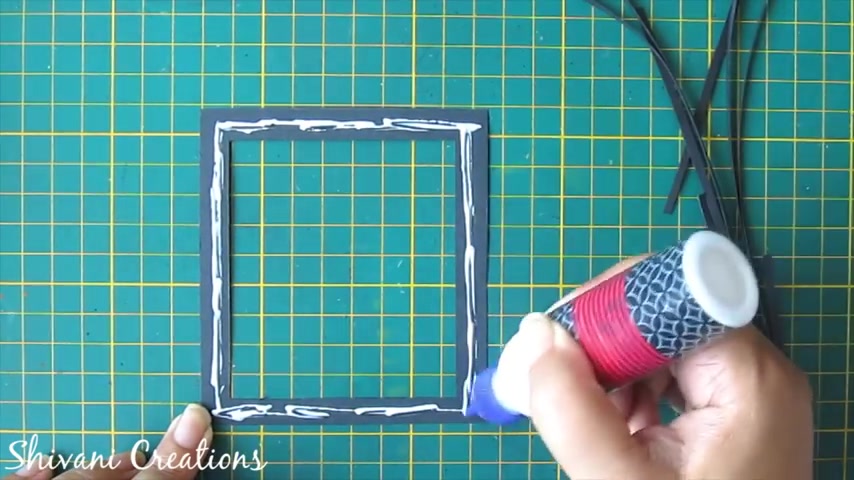
296.929 --> 363.41
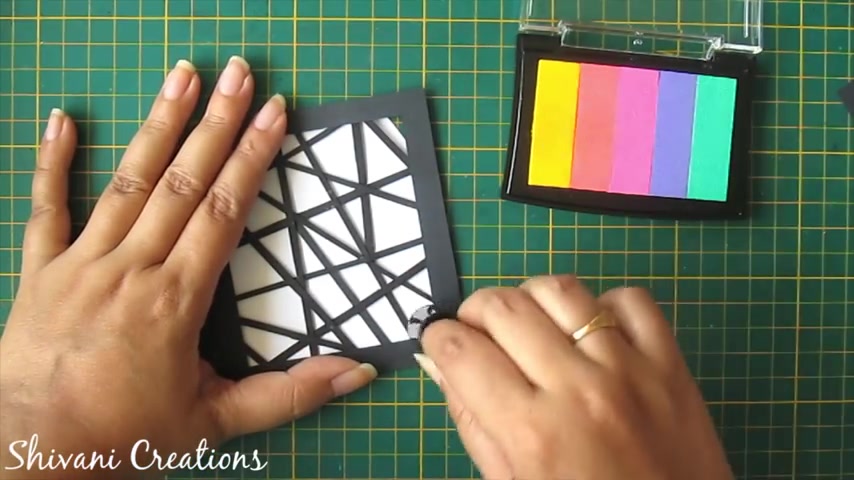
I have just trimmed out the excess paper .
Now , I'm aligning it on top of the sheet and adding some color .
So now are you ready to see the magic ?
Yeah .
Isn't it looking very nice ?
So this is done .
Now , I'm proceeding to the third for this brick design .
First , I am adding some 10 strips horizontally .
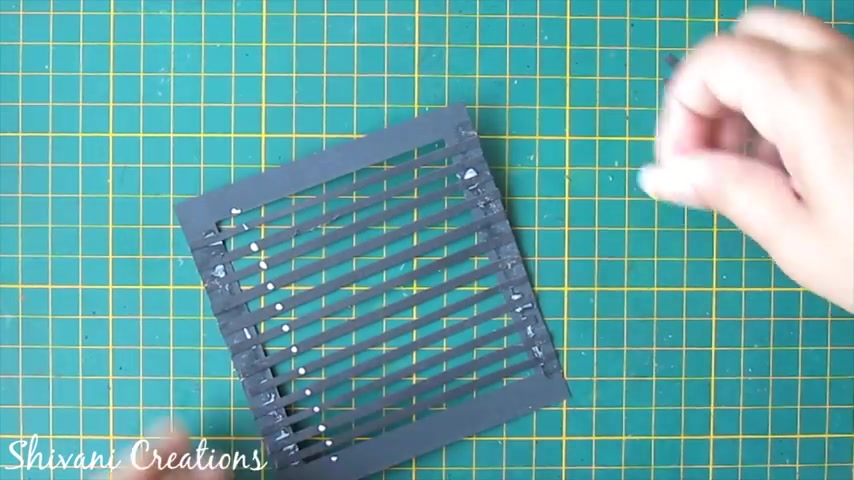
Now I have added some glue and adding some small piece of strips alternatively .
Now adding glue and between these strips on the remaining place , I will add other piece of small strips .
So you need to repeat this process alternatively till the end .
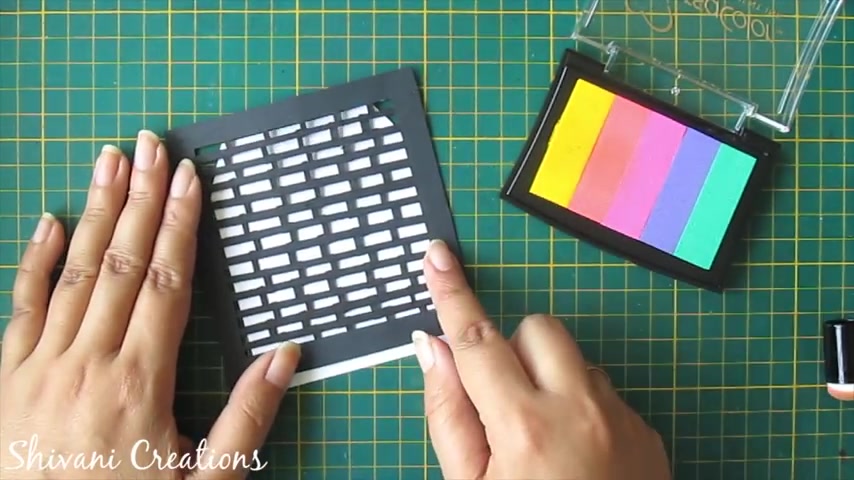
Now , take back your white color tag and make an impression .
So it will look like this .
This is done .
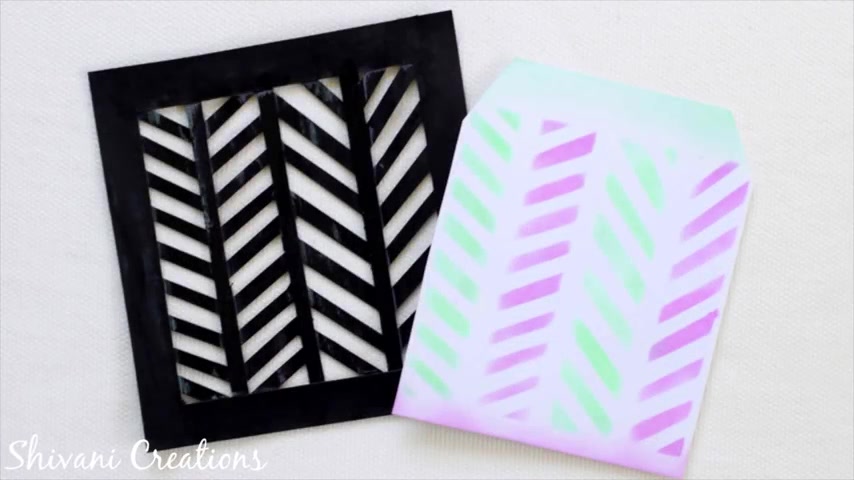
Now , I'm starting with my four tension but this , I'm taking my frame first , I will connect three strips vertically now and is creating the V pattern between these strips .
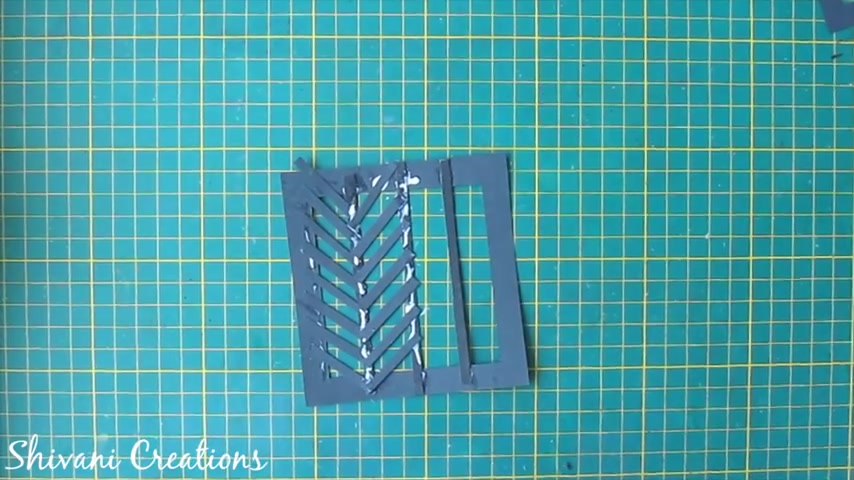
So in the same way , I will repeat on the other side .
So after adding , it will look like this .
Now I'm creating the pattern on the paper .
So it's done , isn't it looking nice ?
Now , I'm proceeding for the fifth stencil .
This time , I will just connect the strips all around the edge in cross manner .
So I'm just creating the diamond pattern here .
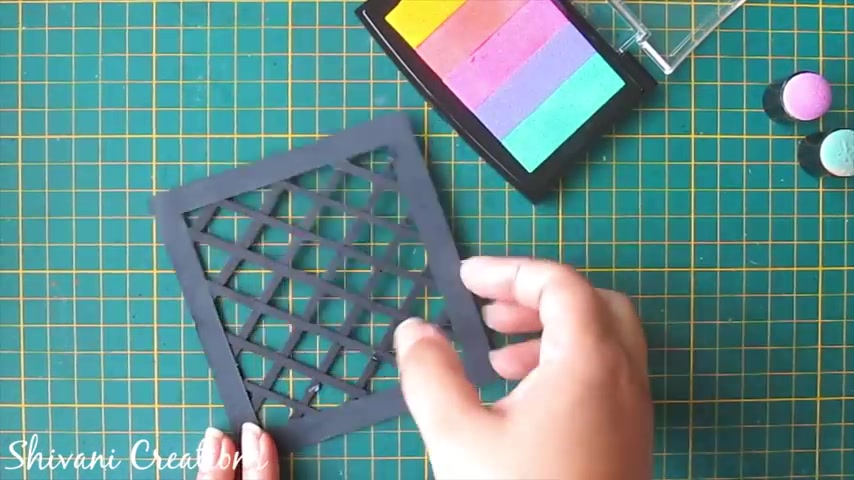
So the stencil is ready .
Now , I'm making the pattern on the white color sheet .
So it will look like this .
This one is my favorite one .
Now , I'm starting with the six pencil this time , I'm just making the spiral design .
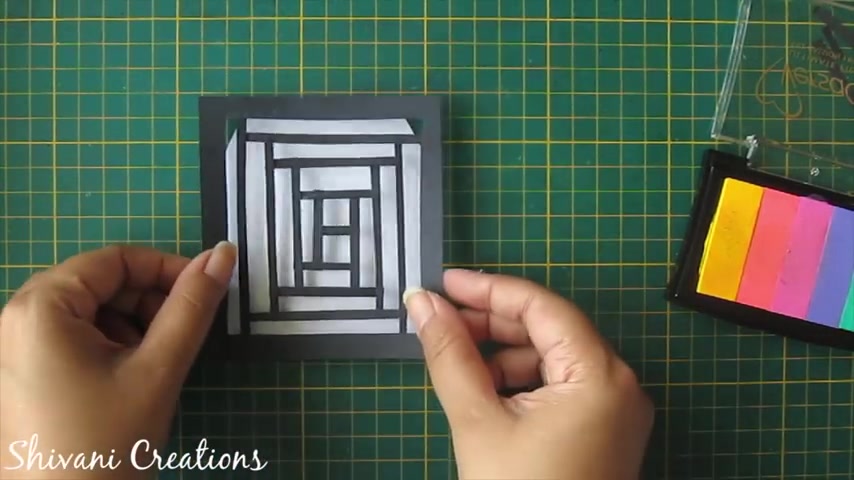
Now take back your white colored tag and make an impression .
So the tag is ready .
Now , proceeding to the seventh one .
1083.119 --> 1161.52
Now , take back your white color tag sheet and create the impression .
So it will look like this , isn't it nice ?
Now , proceeding to the eighth one , this time , I'm making eight petal flour .
This is a diamond petal flower and I will cut this flour using my pepper cutter .
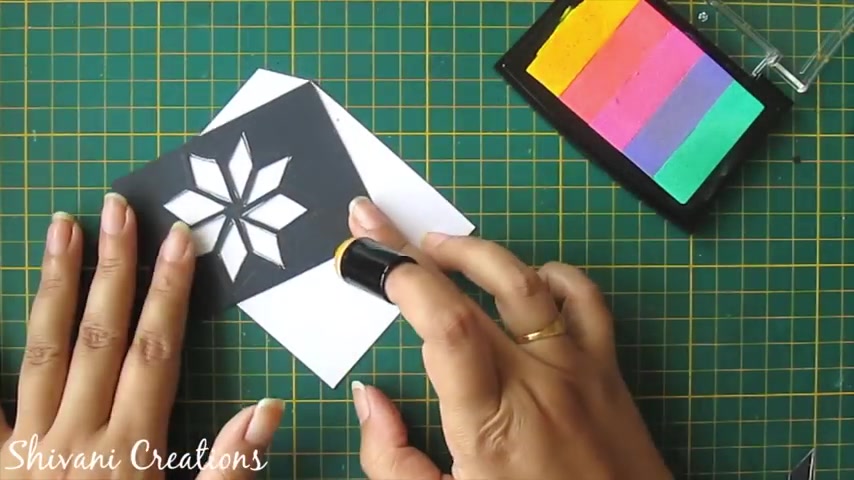
The flower will look like this .
Now , I'm making the flower impression on my white color paper tank .
This is done .
Now I am starting with my ninth stencil again .
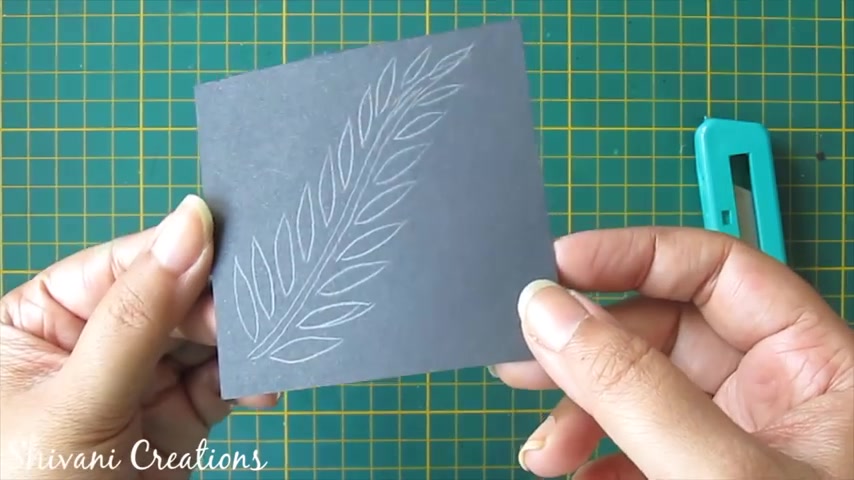
This time , I have created some leaf pattern this time in little wavy style and I will first cut all the leaves and the center part of the leaf .
So the stencil is ready now , just make an impression .
Now I'm starting with my last intense pencil .
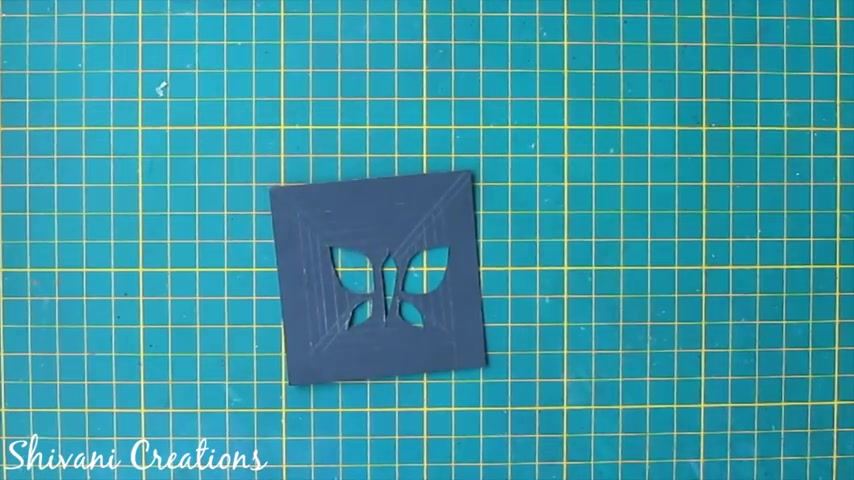
So I have already created one butterfly shape .
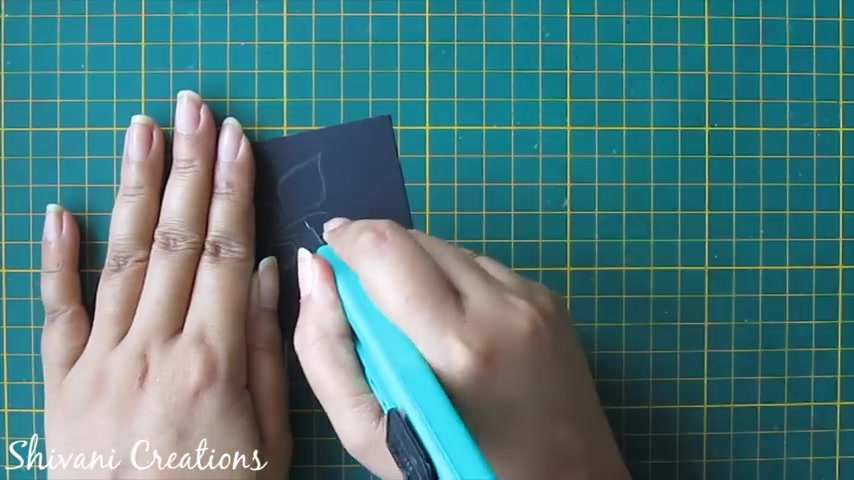
I'm cutting this shape using my paper cutter like this .
1485.91 --> 1548.8
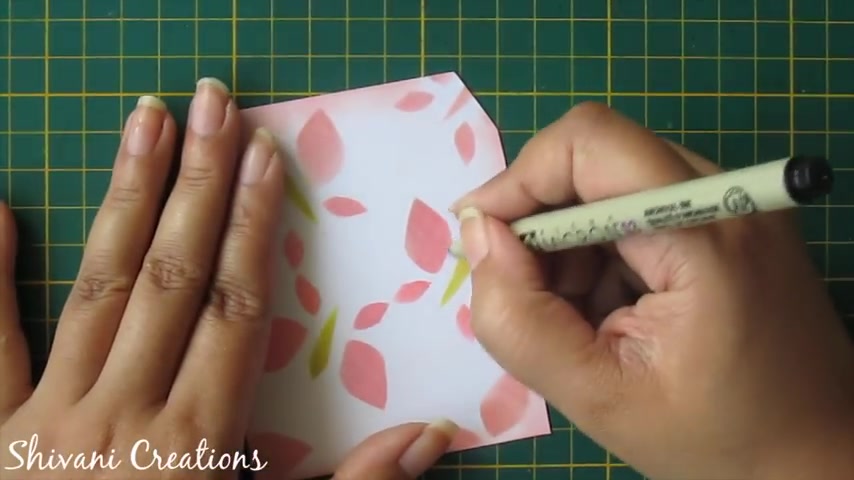
Now I'm taking my black color marker and creating the antenna for each butterfly .
So all 10 different styles of handmade tensors are ready and they are really very useful for your projects .
You can use these tensors for mixed media card making , album making or any altered projects .
And you can also mix and match the stencil like I have used the leaf and breaky pattern for this .
I have also used the leaf and the diamond pattern for this .
So you can mix and match any stencils with each other .
So my project is done for today .
I hope you enjoyed my video .
Please subscribe my channel for more interesting videos and don't forget to click on the icon for the latest updates and notifications .
Thanks for watching .
See you next time .
Bye bye .
Are you looking for a way to reach a wider audience and get more views on your videos?
Our innovative video to text transcribing service can help you do just that.
We provide accurate transcriptions of your videos along with visual content that will help you attract new viewers and keep them engaged. Plus, our data analytics and ad campaign tools can help you monetize your content and maximize your revenue.
Let's partner up and take your video content to the next level!
Contact us today to learn more.