https://www.youtube.com/watch?v=UnJsLCkhg84
Pink Candy Popcorn Party Favors _ Tutorial _ ARIBA PERVAIZ
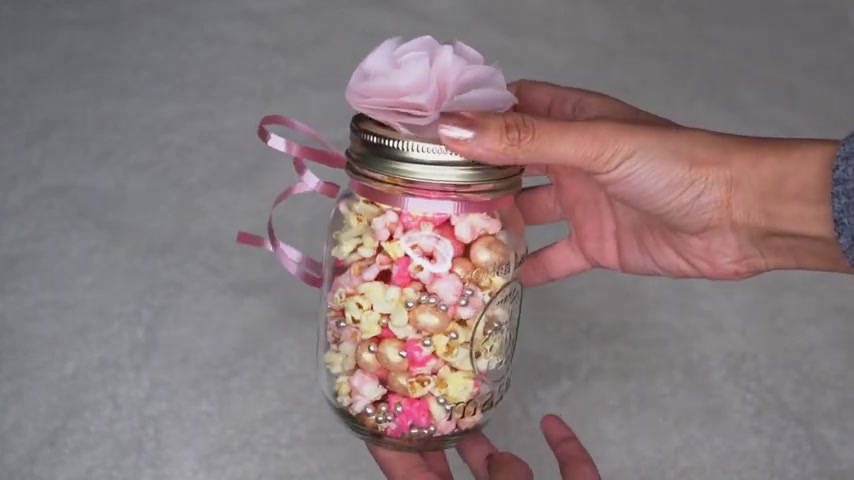
Hey guys today , I'm gonna show you how I made these gorgeous candy popcorn party favorites for my daughter's first birthday party .
Not only are they stunning and easy to make .
They're actually so flavorful .
They're a mix of savory and sweet and the texture on these is amazing and they're so so pretty .
You can go in with any color for these .
I went in with white and pink candy melts for these because that's what matched my party best white chocolate covered raisins , peanut butter , eggs , white chocolate covered peanuts and some silver metallic sprinkles .
I also use some gold luster dust for these .
I also used three bags , not four of unsalted popcorn .
And then you're gonna also want to grab some kind of jars .
I'm using mason jars with the airtight sealed uh lids because that's all I have .
Uh but any lid works fine .
And I also grabbed some treat bags last minute .
These are totally unnecessary , but I don't know why I did it , but it looks really pretty at the end .
And you're also gonna want to grab a stapler , some scissors and some scotch tape .
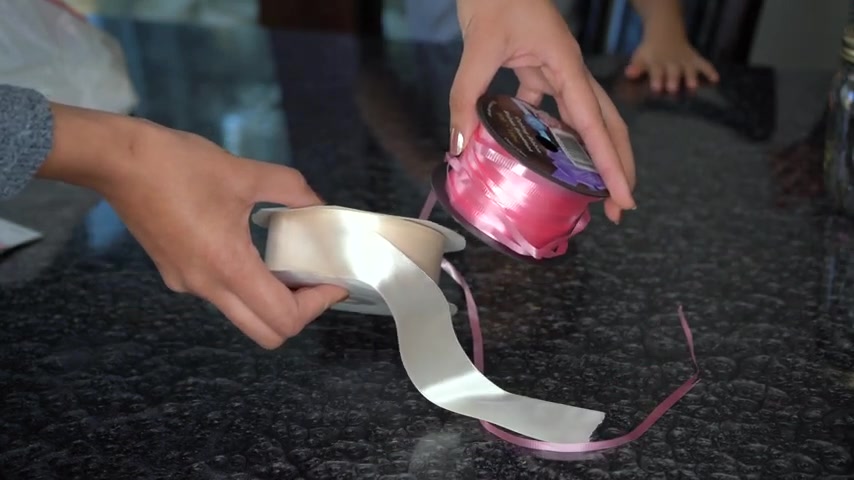
We're also gonna be needing some kind of ribbon .
I haven't decided which one I'm using yet .
A six layer pack of tissue paper .
You want to make sure there's at least six layers for this .
And then you want to grab some labels .
I will leave the link to these labels down below in the description .
If you guys want to use the same ones .
And I went ahead and I printed these onto some sticker paper .
So once they were cut , I could just easily peel the sticker back and stick it on to each of my jars .
And I used the same exact stickers for my party bags as well .
Nice and quick .
And with the leftover stickers that I had , I obviously had to make good use .
So I stuck them onto Zain's face because what else am I going to do with them ?
Yeah .
You know what , I'm ok .
If you keep that there for the rest of this video , you can keep that there all day .
So I actually started cutting the corners off and it looks a little bit prettier and to continue decorating our jars , we're gonna start with the rose that we create on top .
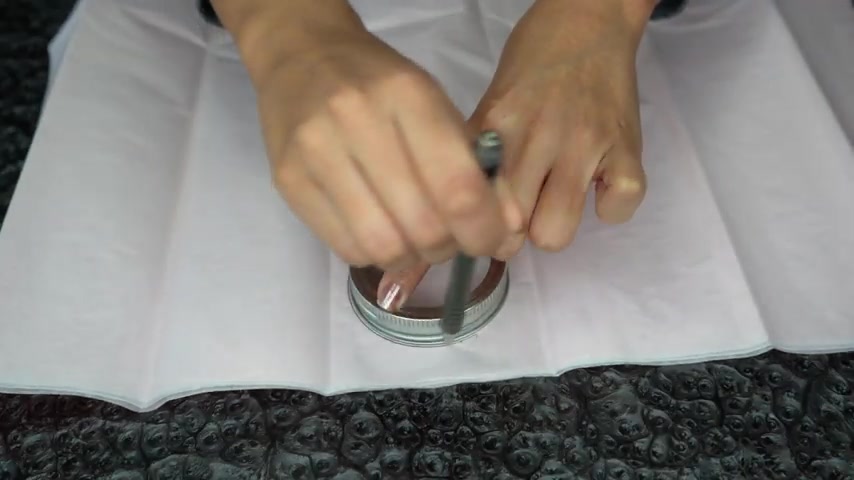
And for that , you need a layer of six tissue papers and you're going to lay it out flat on your table and we're gonna go ahead and take the lid of our mason jar and we're going to use it as a stencil and follow the pattern all the way around and create these rounds to make sure all six of the layers stay together the entire time .
We're gonna staple it right in the center of the circle and we're gonna repeat this until we have enough rounds for all of the jars that we're going to be using .
So once you're done tracing out all of your rounds , you're going to quickly staple them in the center and you're gonna quickly cut them all the way around and you should be left with discs that look like this .
So you can see all six of our layers are now nice and secure .
And you're gonna go ahead and grab a pair of scissors and you're gonna rib in the edge of your rounds and you're gonna do it on both sides of the circle .
This creates basically our petals for our flowers .
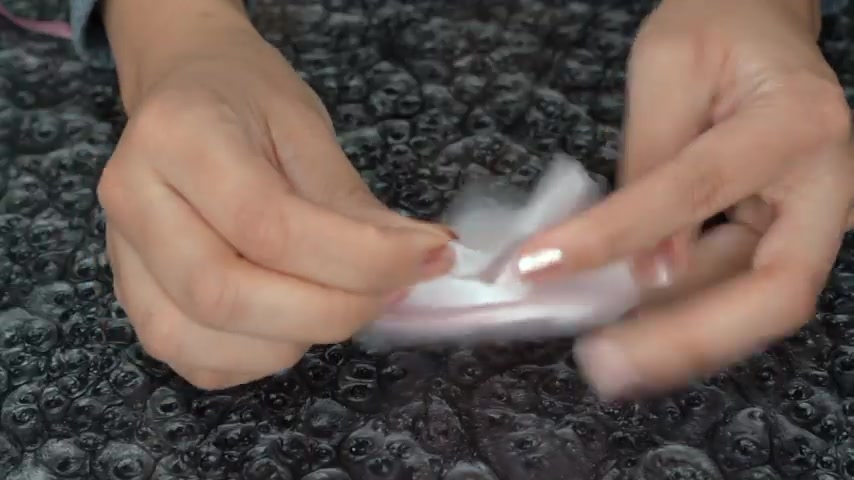
So you want to make sure that you do these in the same direction going up .
Now , starting with the top layer , you're just gonna bunch it together and you're gonna pinch it in the center closest to the staple .
You don't want to pinch these closer to the top because you're going to end up with creases .
We want this to look like fabric .
We want this to look flowy and soft , just like a real roast petal .
So only pinch it at the bottom layer by layer closest to the staple .
And once that's done , we're gonna grab our mason jar and we're gonna grab some scotch tape and you're gonna create a double layer of the scotch tape and you're gonna go ahead and stick it flat on top of the lid .
And once it's nice and flat , you can go ahead and grab your rose and you're just gonna stick the bottom layer completely flat onto the lid .
And right when you thought this couldn't get any prettier , it does .
So we're gonna go ahead and grab some ribbon now and just tie it on the lip of the jar .
You wanna make sure you don't tie this ribbon on the lid itself .
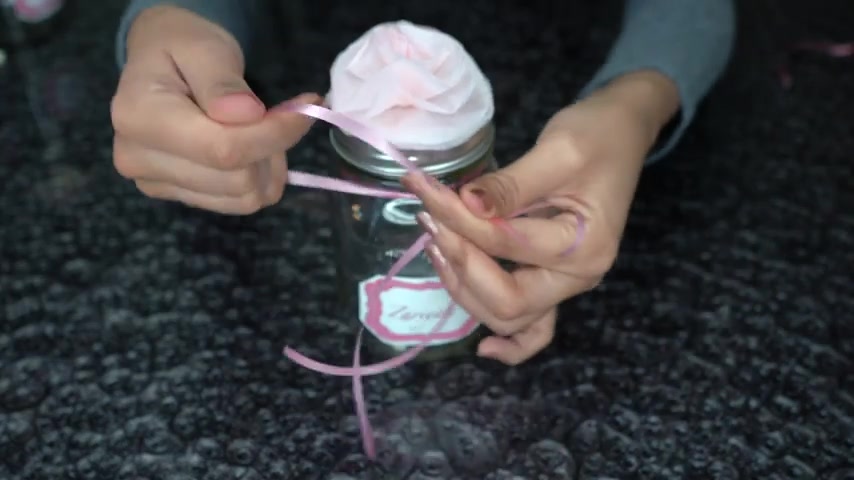
You want to make sure it's on the jar and we're just gonna make a traditional ribbon tie it nice and tight and secure .
And now we're just gonna grab a pair of scissors and we're gonna in any of the loose ends that are hanging and it gives a really nice finished look to the uh party favors .
I think it looks really pretty perfect and you're gonna go ahead and repeat this until all of your jars are done .
I made about 12 of these .
And now we're gonna go ahead and get started on our popcorn and you can use any color candy melts for this um that you like whatever matches your party .
And I'm actually gonna go in with pink and white because that's what suits my party best .
So I usually just melt these in the microwave at 30 seconds at a time until it's the consistency that I want .
You don't want to overheat these .
So go slow and you can see once it's melted .
I have the prettiest pink .
So I'm gonna go ahead and add my popcorn and you're gonna use about uh , 6 to 7 ounces of melted chocolate per bag of popcorn .
Mix it up until it's completely coated and you're going to notice that there's like a few bits that don't get covered , don't stress over it .
Honestly , it's not a big deal .
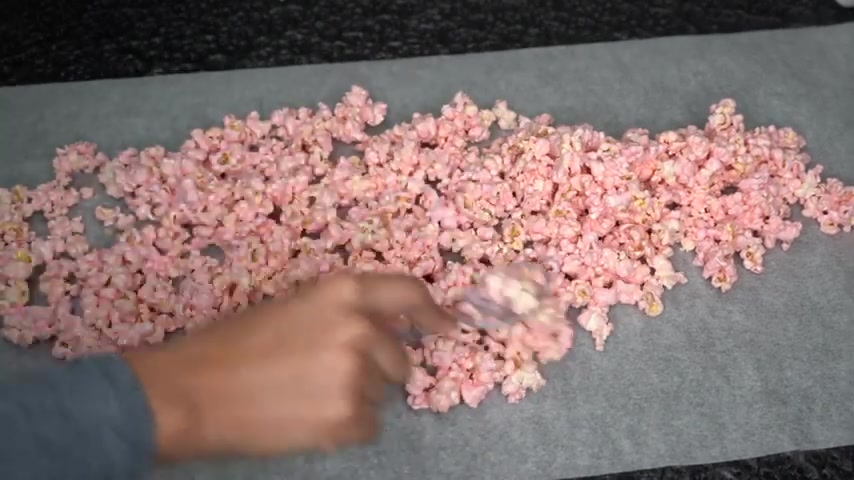
Now , grab some wax paper and you're going to go ahead and spread your popcorn out as evenly as you can onto the wax paper and basically want to create one thin even sheet of the popcorn .
You don't want it to be stacked on top of each other or have like a double layer of popcorn because it's not going to dry evenly and like you'll have little bits that remain sticky .
So just spread it out as best as you can .
If a few pieces are touching side by side , that's fine .
It'll still dry well .
And once you have everything spread out , you're gonna leave it alone for about 10 minutes and it dries fairly quickly .
And obviously you want to eat the rest of it yourself while it still melted it , it tastes the best .
And now we're gonna go ahead and get started with our pink candy .
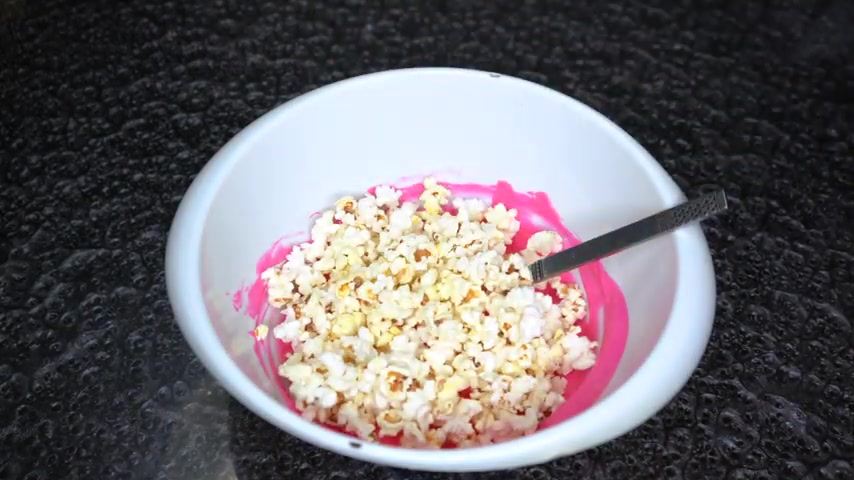
And for some reason , this candy was a little bit thicker than my white candy .
So if you find that your candy is a little bit thick , you can add a little bit of olive oil or coconut oil to your candy melt and that'll help coat your popcorn a little bit easier .
And then we're just going to repeat the same process .
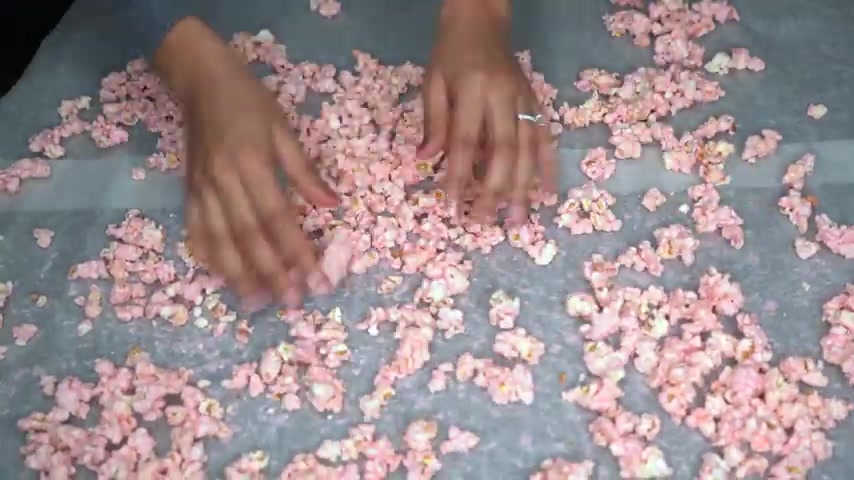
We're gonna spread it out onto some wax paper , create one even layer , spread , spread , spread .
And then we're gonna let that hang out for about 10 minutes .
And by now our original pink light pink one should be melted and we're gonna go ahead and just crack it and you can see it only takes like a couple of seconds to crack each bit .
And once it's all nice and separated , you can set it aside .
So my party colors are pink and gold and I couldn't find any gold candy .
So I grabbed a little bit of gold luster dust .
This is completely edible and it's not expensive at all .
And I sprinkled it on to my white chocolate covered raisins and peanuts and I've never done this before .
So I didn't know how it was going to go .
So I kind of started slow .
Uh I sprinkled and mixed as I needed .
So there's no measurements for this , but I just did it until it looked about right .
Um And I did it both with the raisins and with the peanuts and you can see that the gold luster just takes this candy to another level and honestly it shows so pretty through the bags and the jars , it's definitely worth the extra step .
Now , we're going to grab a second piece of wax paper and you basically want to spread the light pink popcorn out as evenly as possible amongst these two sheets .
And I wouldn't stress over it too , too much , but try and get it as even as you can .
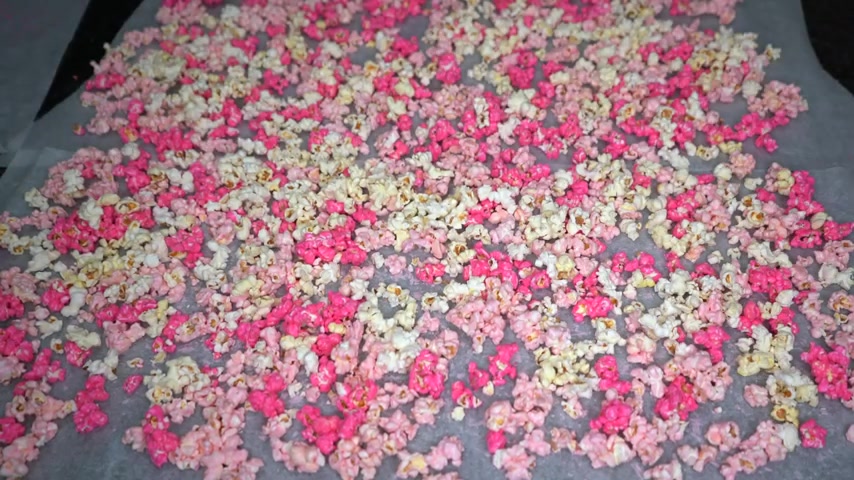
And then we're gonna go ahead and grab our dark pink popcorn and Sprinkle that as evenly as possible um Amongst these two sheets as well .
And then just to add a little bit of like a savory flavor and to also make sure I had enough popcorn .
I went in with a bag of plain popcorn and now for my favorite candy , these are peanut butter eggs and I'm gonna go ahead and grab these and spread these out as generous as possible because they taste so good .
And finally , we're gonna go in with our golden eggs .
I'm using a golden chocolate covered raisins and peanuts , which added like the sweet and savory once again .
And then these metallic silver sprinkles were honestly just for aesthetic , they tasted really chalky .
So if you're expecting these sprinkles to taste good , they honestly don't , but I think they look really pretty and the kids really enjoyed them .
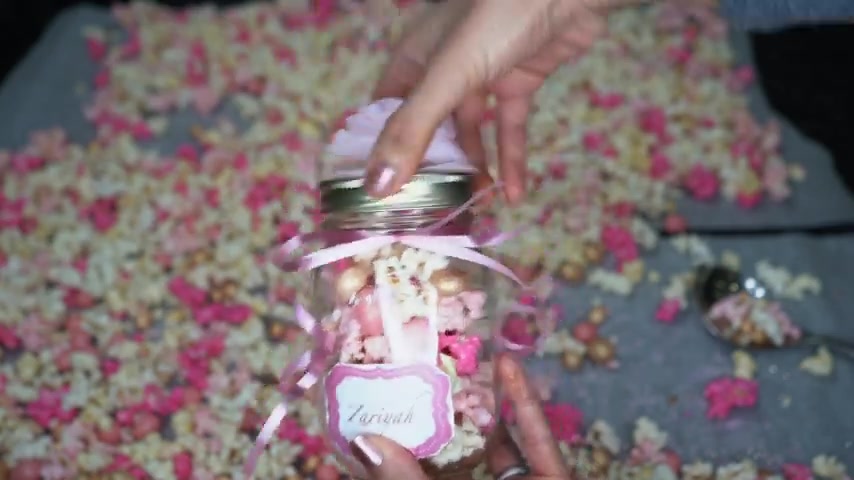
Uh Like look how beautiful this finish is .
It looks so magical .
It looks like a fairy tale food .
It's so pretty right .
So now we're gonna take these party , um , jars that we made and we're gonna go ahead and put all of those popcorn inside .
Hopefully it fits and I don't have to make more .
And now I'm gonna quickly fill my jars and my bags up .
So we're just gonna unscrew the top and just fill it all the way to the top .
Um , as much as you can just pack them and you can see , um , spreading them out , um evenly on the sheet really helps to make sure that everything in the jar is nice .
And even so I have like an even mix of everything in there .
So pretty .
So once all of the jars are done , I went ahead and I started on some of the bags and uh the same concept just fill it .
I I feel these about like halfway through .
I didn't fill these all the way to the top so that when I pinch it in the center , I get a really pretty uh on top .
So cute and da da da da so pretty .
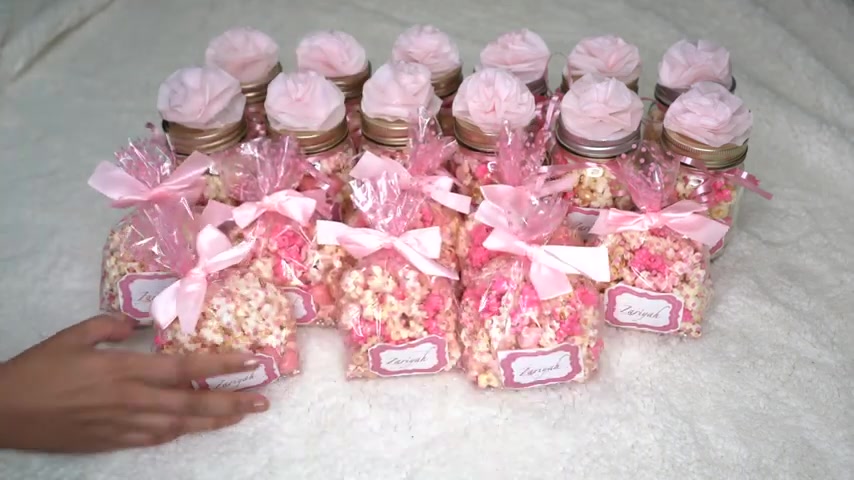
I ended up making about 12 jars and 12 bags .
If you guys want to see the rest of the decor at the event , I will link the vlog from the party in my description down below so you guys can check that out there .
And I really hope you guys enjoyed this .
If you did be sure to give this video a thumbs up , leave me some love in the comments .
Down below .
Don't forget to subscribe to my channel and I will see you guys on the next one .
Bye .
Are you looking for a way to reach a wider audience and get more views on your videos?
Our innovative video to text transcribing service can help you do just that.
We provide accurate transcriptions of your videos along with visual content that will help you attract new viewers and keep them engaged. Plus, our data analytics and ad campaign tools can help you monetize your content and maximize your revenue.
Let's partner up and take your video content to the next level!
Contact us today to learn more.