https://www.youtube.com/watch?v=ySBAVyQA-Ys
The Ultimate Guide to Roasting Coffee at Home with an Air Popcorn Popper
Hello , this is Bart with the green coffee beanery home Coffee experiments .
And today we're gonna be learning how to roast coffee with an air popcorn popper .
In this video , we'll cover preparation the roasting process , cooling and storage of the beans as well as some problems we had and how you can correct them when you do it yourself .
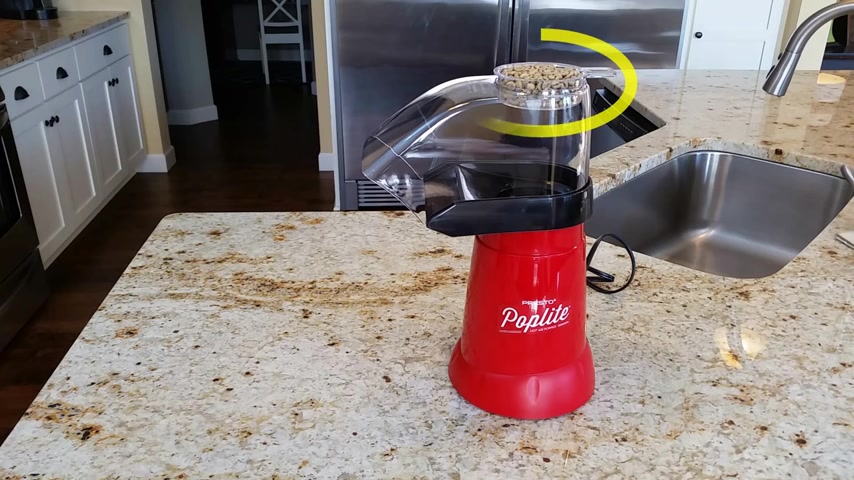
The popper we chose was a presto pop light .
Pictured it right ?
Cost us about $20 us and we chose it because it had numerous positive reviews specifically for home coffee roasting for this experiment .
We chose a Costa Rican bean mostly for its small size .
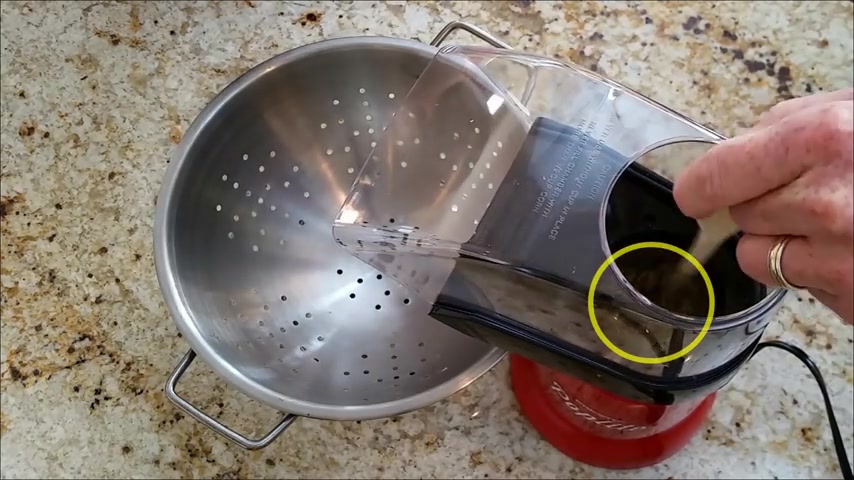
We felt like with the small roasting chamber , a smaller bean would get better agitation and a more even roast to prepare the popper , we filled the provided one half cup measuring cup with beans and also placed a metal colander under the discharge chute to catch any chaff that was released from the beans .
During the roasting process .
From there , we simply turned on the popper poured in the beans and began to roast .
You can see there's quite a bit of agitation in the roasting chamber which is good from the underlying air and should promote a nice even roast though we did decide to give it an early stir for good measure from there .
We took a step back and allowed the beans some time to develop .
As you can see , we did lose a handful of beans early on in the roasting process .
But as the beans began to heat and expand this stopped , we only probably lost 10 to 15 beans total in the whole process .
At a minute 15 , you can see that the beans are now starting to release quite a bit of chaff into the air .
So we opted to take out the stir stick , put the roasting cap back on to contain some of the mass .
Hopefully get more of the chaff to fall down into the metal colander and watch through the transparent lid .
The roasting process progressed much more quickly than we expected .
As you can see at the two minute and 32nd point , we already have a nice light roast going with the first crack beginning .
The first crack is a a popping sound almost sounds like popping popcorn as the moisture in the beans is beginning to heat and expand .
The roasting continued to advance very quickly , much more quickly than we had read in reviews for this device .
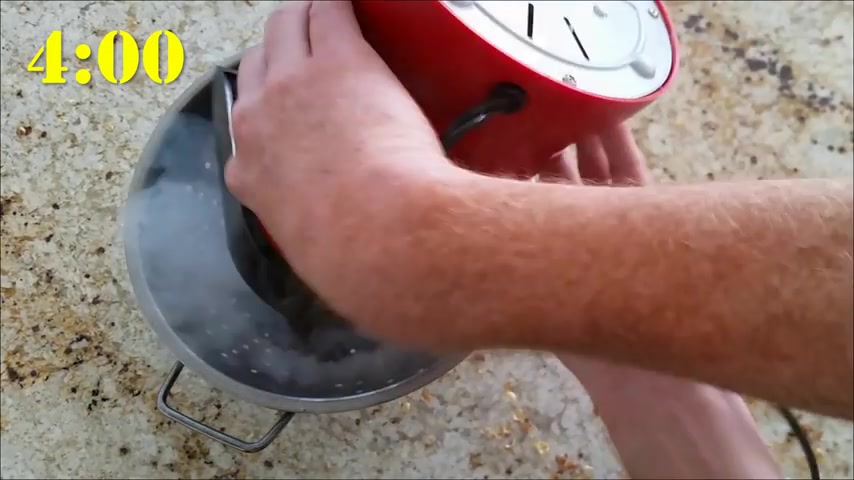
And at around the four minute mark , we had already reached the second crack indicating that the beans had approached a dark roast .
We dumped the calendar to clean it out , poured the beans into the colander and then stirred the beans outside in our metal colander until they had fully cooled .
We placed our cooled beans into a zip top bag .
Removed all of the excess air to prevent the oxygen from turning the beans stale prematurely , then place the beans on our countertop to give them time to rest .
This is going to be a process known as degassing for about 24 to 48 hours .
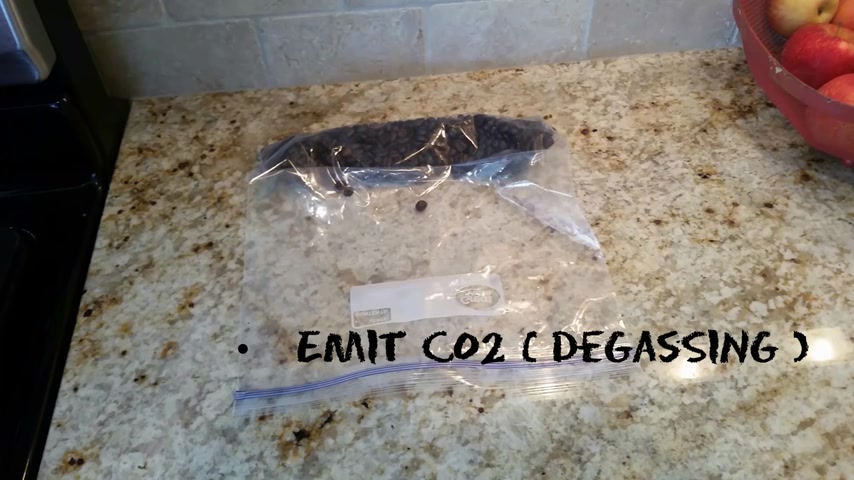
The beans will emit carbon dioxide as part of their normal development process .
And you want to typically wait at least 24 hours before grinding the freshly roasted beans .
Though the exact amount of time that you want to wait is a highly debated subject .
In the industry .
We did produce two batches of roasted beans .
The first batch you saw in the video that produced the darker more French roast as a result of the roasting process accelerating more quickly than we expected .
And a second batch when we had the timing down a little bit better , that turned out to be a medium roast .
That was our target from the beginning .
After the beans were stored , we used our trusty Dustbuster to clean up the chaff released during the roasting process .
And then sat down to think about the lessons we learned during the roasting .
Our first lesson learned was to adjust the amount of coffee you're using based on the action in the roasting chamber as you'll recall .
We originally started with one half cup of coffee and had quite a bit of motion in the chamber , maybe a little bit more than we wanted .
In our second attempt , we increased that to three quarters of a cup .
Still got a very nice even roast , but didn't lose the beans and have the bouncing action that you saw during the first video .
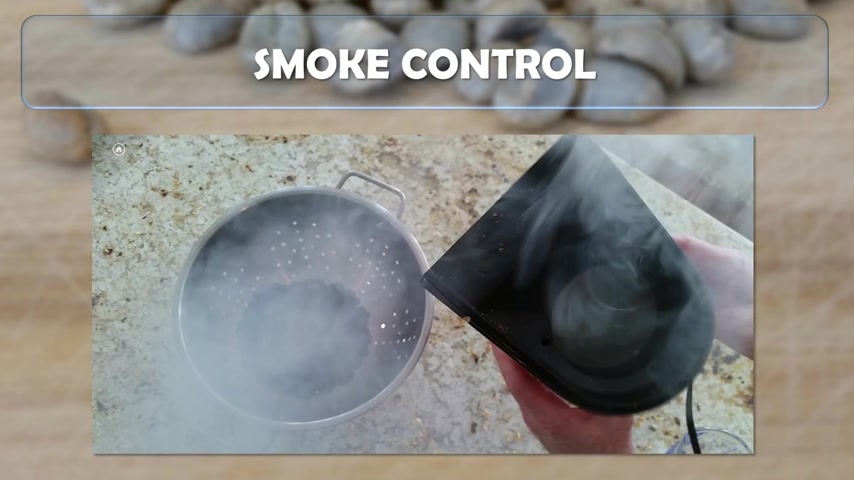
Our second recommendation involves smoke control .
As you recall from the video , we generated quite a bit of smoke , particularly from the first roast you saw where we had a darker roast , which tends to put off more smoke .
An improved set up would be something like this where you're located underneath a microwave or flame hood that can actively vent the smoke .
If you don't have an option like this , we'd recommend that you do it outside or in your garage .
Our third and final adjustment would be to the bean selection as you recall .
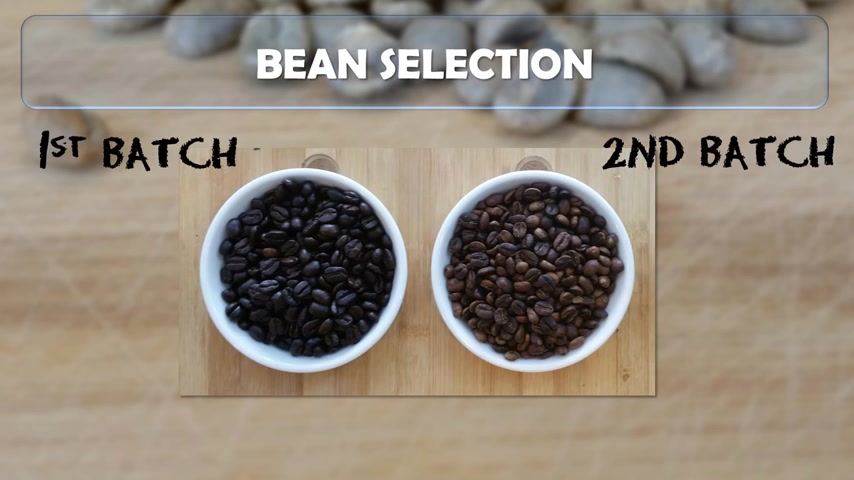
Our 1st and 2nd batch turned out quite a bit differently and we think this is a function of the small bean while it did get the agitation , we were looking for smaller beans are going to roast more quickly than larger beans and ultimately will be harder to control the roasting process .
Use a larger bean , a moderate sized bean , it'll give you more opportunity to be able to control exactly the roast level that you get at the end of your process .
So how much coffee did we make well , the three quarters cup of beans we began with turned out to be 106 g of roasted beans using the standard metric of 1.63 g per ounce of water .
We would yield 65.03 ounces of brewed coffee from our beans , which is approximately five small or tall coffees from your typical gourmet roaster .

I don't know about you , but I can easily drink two or three of these in a day .
So my recommendation for you would be to roast more than one batch at a time .
Otherwise , you'll be roasting every third day concluding with our overall assessment , the air popcorn popper was a very inexpensive way to get a good even roast .
On the downside , it did roast very quickly , which made it difficult to control exactly the roast level that we wanted and it did have a low output per roast , which means that you would need to roast fairly frequently or more than one batch per roast .
So we hope this helps .
Our next planned experiment will be roasting coffee with a cast iron skillet .
But let us know what you'd like to see either in the comments section below or by visiting our website at green coffee beanery dot com .
And until then , thanks for watching .
Are you looking for a way to reach a wider audience and get more views on your videos?
Our innovative video to text transcribing service can help you do just that.
We provide accurate transcriptions of your videos along with visual content that will help you attract new viewers and keep them engaged. Plus, our data analytics and ad campaign tools can help you monetize your content and maximize your revenue.
Let's partner up and take your video content to the next level!
Contact us today to learn more.