https://www.youtube.com/watch?v=ase4G3EWyJA
HP EliteBook 820 BIOS Settings For UEFI USB Boot Install Windows 10
Hello , everyone .
Welcome back to the channel .
As you can see , this is Hple book 820 and this machine is completely blank .
There is no system .
So today in this video , what I'm gonna do , I'm gonna install Windows 10 in UEF I environment from this put windows 10 thumb drive .
Make sure to do that .
You do have the correct boot windows 10 thumb drive in UEF I format .
If you don't know how to create one , you can check it , how to create the video link could be in the description once you have that .
It's pretty simple .
Make sure you connect into the US report and now we're gonna get into the Biles to change the current settings for UEF I because the UEF I and legacy , both of them has individual correct settings .
So press and hold the power button , turn it off and then turn it back on .
Keep pressing F nine .
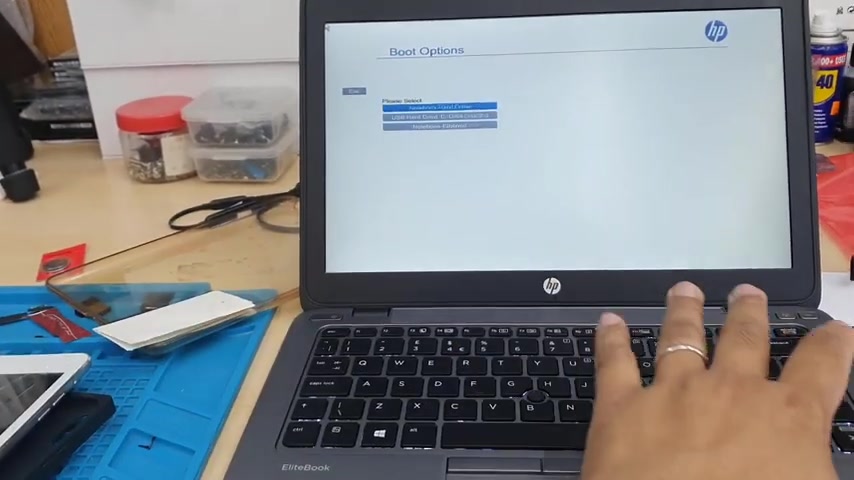
So if you press F nine , you're gonna get the temporary boot option .
So let's say without changing the settings , I'm gonna hit enter from the USB to see if it turns on .
So let's say if you don't see anything coming out correctly .
That's mean we don't have the current settings into the Biles and that's the reason the screen stays blank like that .
Ok .
I did wait for a minute .
Nothing did happen .
So I realized my boot settings is not correct .
So if it does happen similar to that , don't worry again , we need to press it down the power button to turn it off and then we're gonna get into the Biles by pressing F 10 and we'll change the setting .
So let's do that .
Press and hold it takes a few seconds to make sure it's completely turned off .
And then again , we're gonna press the power button as soon as you press the power button , come back to F 10 .
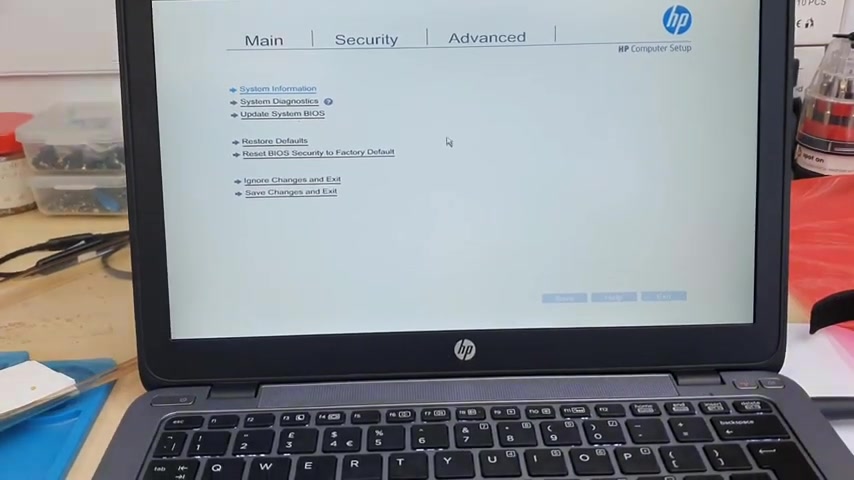
Keep pressing until you see the buyer's main screen .
Here we go .
Now we are in the main page .
As you can see , there are a few section , we can see the main security advanced in the main section .
You can uh find all the information about your computer .
I mean , the model and the bio and how to update the Biles and everything .
Technically , to change the USB settings , there is nothing to change in the main section .
So forget about this main section .
Ok ?
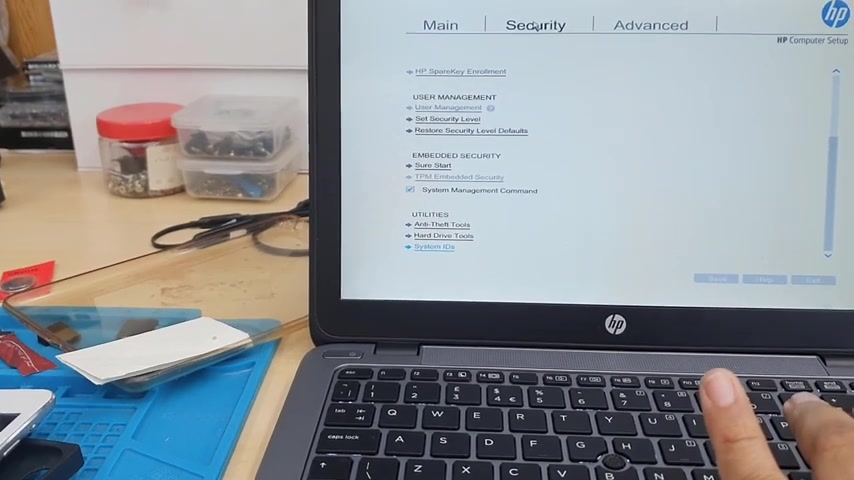
Now , if you check the next one , we can see there is an option called security .
If you click here , then we might be able to find the T PM settings and secure settings .
So let's check what is in there .
All right .
Yes , I can see there is a option called T PM , which is already animal .
That's all fine .
So we don't have to do anything because I don't see any secret boot option here except the T PM settings .
So in here we did not find anything .
Now , what are you gonna do ?
We're gonna leave this one as well .
That's all fine .
We don't have to change anything .
Ok , so let's get into advanced option .
All right , from a best option I can see there is the boot options and almost everything , you know .
So first of all , what are you gonna do ?
We're gonna get into the boot options by clicking into it and then from here we can find almost everything that we need .
So let's check it out .
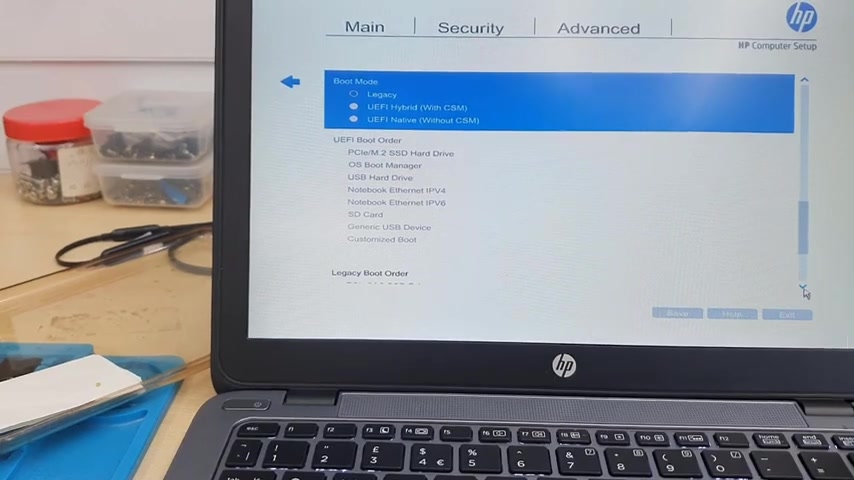
This is such a big menu as you can see on the right hand side , we need to scroll down .
Ok ?
It's all the way top .
Now we're gonna go to the bottom to see one by one and find all the necessary settings .
So as you can see the first of all in one section that is called boot mood .
OK ?
The boot mood currently in legacy , we have to choose into EEF I , so what you can do , we can click here and change the necessary one as you can see VF I our US P .
So let's go to the bottom section again .
One second .
Yeah , there is the one good mood .
So we're going to choose EF I native , which is without CS M .
Ok .
Accept it .
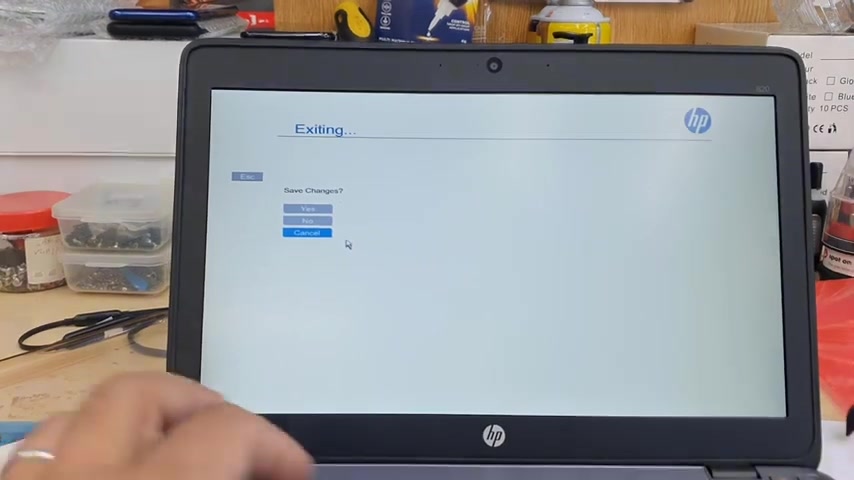
Now , I can see that UF I without CS M is correctly selected .
So once it's selected then to go back , we're going to press the button again and now we can save the settings .
Once we save it , it's recorded now again , keep pressing F nine to get into temporary boot .
Sometimes it takes a little bit of time , which is absolutely fine .
I don't see anything on the screen .
Yeah , here we go .
Now , external gear SV , hard drive , which is the gear SV self .
Let's heat enter once the heat enter now it's gonna load up .
So if all the settings are correct , then it would be absolutely fine .
So where did we miss ?
And which one we missed in this bio , the secure boot ?
We did not find secure boot by itself ?
Ok .
Ok .
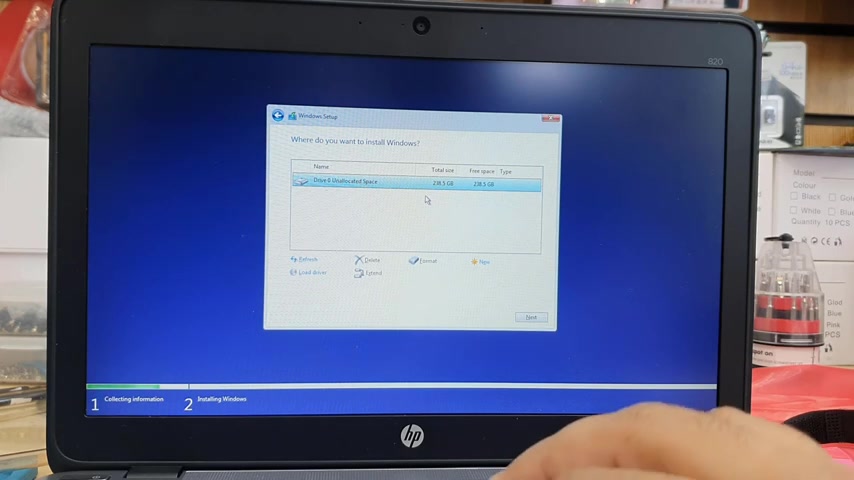
So when you change only one option , which is it fix all other , you know , steps like CQ boot and , you know , T PM and other services .
So it seems it's pretty good .
As you can see it's going .
Now , it's , uh , pretty much simple .
You need to accept the terms and condition and depend which way you want to install .
If you do want a fresh one , then you have to follow this procedure .
I don't have any information in here .
So I formed the actual , um , SSD .
Uh , I do make sure there is no any data left .
Remember before you format this right ?
Make sure you back up your previous data .
If you do have anything important and if you don't have any data , then you can do it straight away .
Uh If you want to make any partition , you can do that .
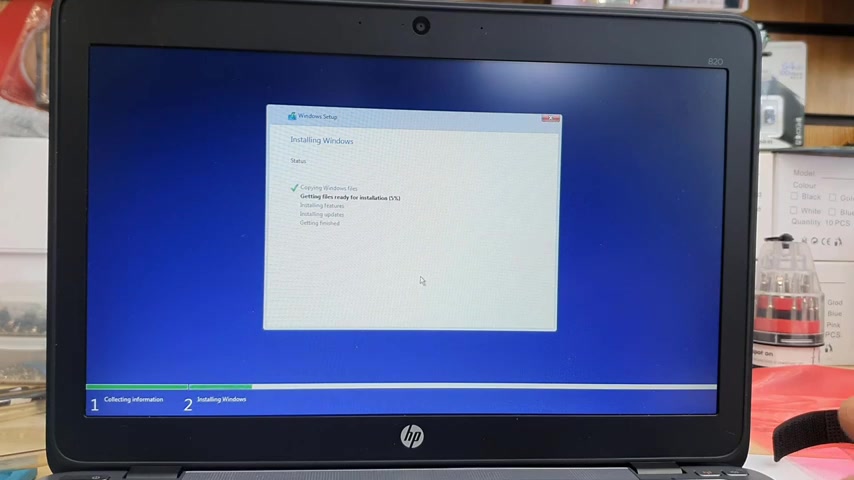
But I'm gonna keep only one partition as this one , only 240 gig now is gonna copy all the necessary files and folders .
It's gonna go up to 100% .
It takes about 10 to 15 minutes .
There are a couple of research even more and then we just need to choose a few settings how your should behave , you know , all about the permissions , privacy locations and everything .
I'm gonna keep carrying on to this video .
I'm gonna speed up this video just to make it shorter because I did speak a lot already .
Ok ?
This is not that much critical .
And if you do like this video , please don't forget to subscribe .
And if there is anything , please let me know in the comment section , either you liked it or not .
If you don't let me know what I supposed to do in future and I hope I'll see you in the next video guys .
Thanks for watching .
Bye for now .
Are you looking for a way to reach a wider audience and get more views on your videos?
Our innovative video to text transcribing service can help you do just that.
We provide accurate transcriptions of your videos along with visual content that will help you attract new viewers and keep them engaged. Plus, our data analytics and ad campaign tools can help you monetize your content and maximize your revenue.
Let's partner up and take your video content to the next level!
Contact us today to learn more.