https://www.youtube.com/watch?v=tVlx27mBCmo
CRISPY TAKEOUT ORANGE CHICKEN (No Wok Required)
Hey , what's up today ?
I'm gonna show you how to make extra crispy orange chicken at home .
It's brighter .
It's fresher and honestly , so much more delicious than anything you can get .
Take out to get started .
I'll need some chicken .
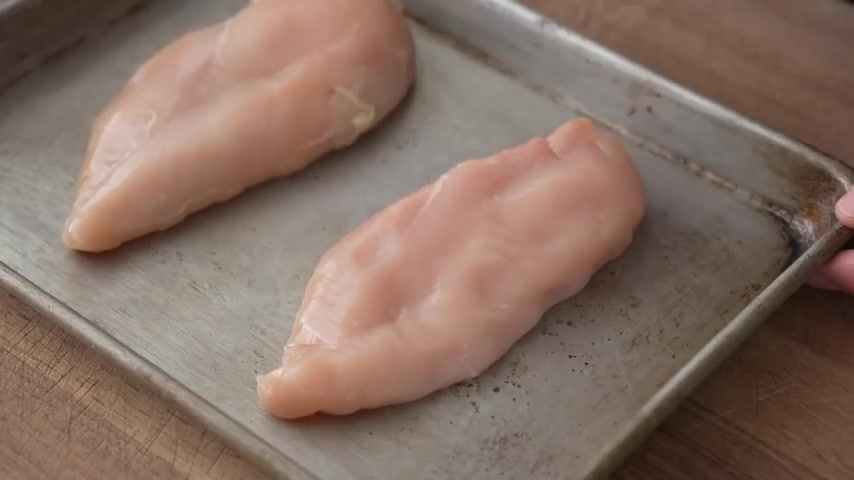
I've got £1 of boneless skinless chicken breasts .
Here , thighs would also work .
But between the two , I prefer breasts for this recipe to prep it for the pot .
I'll cut it into strips two or three wide , depending on the size of your breasts .
And then I'll turn it 90 degrees and dice it into chunky pieces that are about an inch across .
These chunks are going to grow by at least 50% once they're cooked .
So don't go too big with orange chicken .
We want a high breading to meat ratio and smaller pieces of meat means more breading .
And once both breasts are diced , I'm gonna set them aside and grab a bowl to make the marinade into that goes 30 g of soy sauce , 30 g of 3 g of corn starch and 4 g of baking soda .
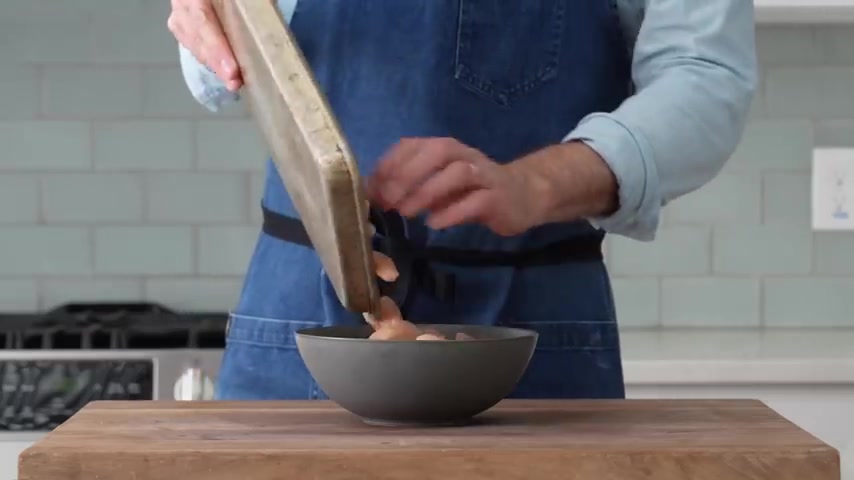
I'll give that a quick stir to dissolve and then I'll add in my chicken in this marinade , the baking soda raises the p of the meat and that makes it harder for the proteins inside to bond with each other while they're cooking , that means more tender juicier meat , which is great for chicken breast , which can get ropey and dry when cooked with high heat .
Once this chicken is well coated , I'll set it aside for 20 minutes while I make the breading for this orange chicken for that into a separate bowl .
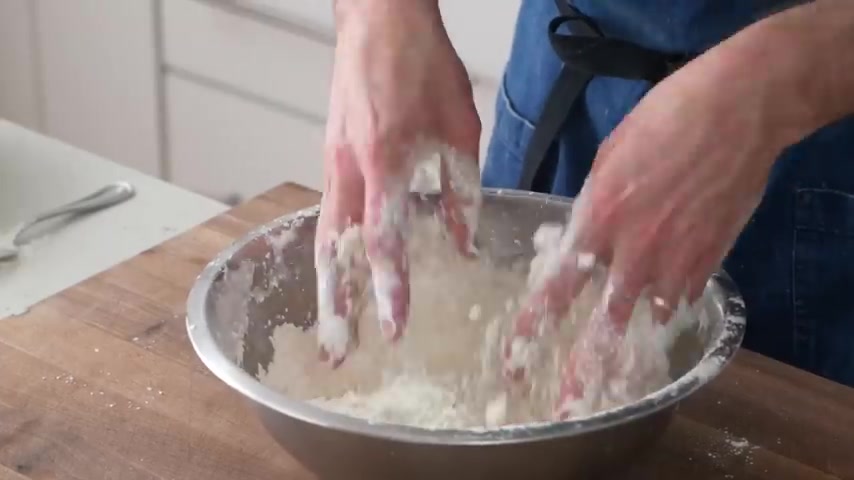
I'll combine 400 g of all purpose flour , 15 g of salt , 6 g of baking soda and 400 g of corn starch .
Using half corn starch is a move that a lot of take out place is used to get a lighter crispier fried chicken .
And it's for good reason , cornstarch gelatin sizes faster than wheat starch .
And that somehow makes for a crispier crust that's less prone to absorbing oil when it's cooked .
And once that's all whisked to combined , I'm gonna grab a second bowl and add about a quarter of this dry mixture into it .
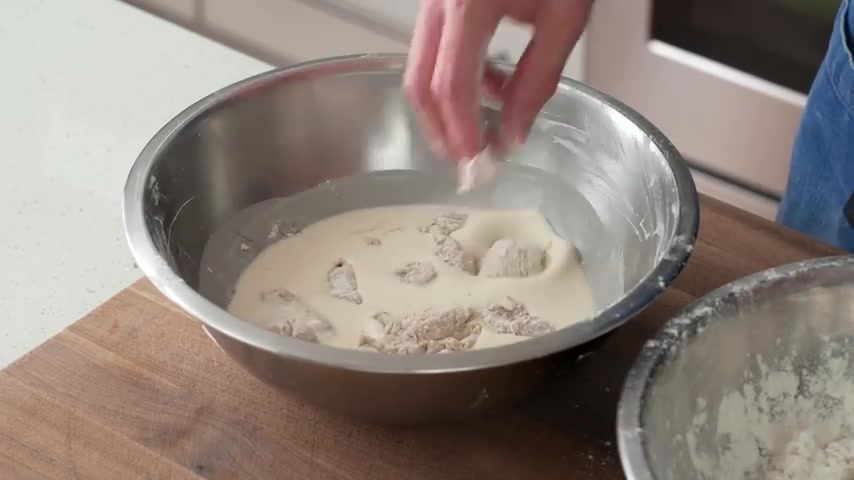
And then I'll add just enough water to make a loose pancake batter .
I'm gonna be dipping the marinated chicken into this batter before I hit it with the dry .
And that's gonna help provide a base layer of puffy temper like fried .
And also it's gonna help grip some of the craggy stuff from the dry bread .
And once I've got this somewhere in between melted ice cream and wet paint .
I'll call it good to go next .
I'll grab my dry breading mix and then drizzle in a rough quarter cups worth of the slurry .
Yes .
This is a deliberate effort to create some extra craggy .
When we go to bread the chicken in a second , all these tiny little pieces will get stuck to the meat along with all of the powdery dry stuff in the bowl .
And that's gonna combine to make a corn ecopia of different textures for us to no , it's gonna be sick .
Once this is all crumbled down into gravel like this , it's time to bread .
So I'll set the batter and the breading aside and then I'll grab my marinated chicken .
A combination of salt and baking soda has got this meat primed to be well seasoned and tender .
So the first step to bread , it is to grab a bowl of all purpose flour about three cups .
Roughly , this is gonna act as a base layer of starch to soak up the marinade and help create a bond between the meat and the breading .
So in goes my chicken with as little of the marinade as possible .
And then I'll toss evenly the coat .
I want every little bit of surface area to be as thoroughly dusted as possible because any bald spots will lead to the breading falling off .
Later on next , I'll grab my wet batter and then move this chicken over to that .
I'm also gonna be making sure to shake off as much of the flour from step one as possible .
If too much flour makes it into the batter , it will thicken it , making it pasty and then things will get stuck together .
And then I'll be frustrated .
Once my flour chicken is in the food paint , I'll just jump in and toss it to combine .
And when it's fully coated , I will go wash my hands .
Normally , I would use tools to keep this breading off of me .
But when coating this much chicken , I find that hands and fingers are by far the best tool for the job .
Next , I'll grab my bowl of dry bread and craggy bits and then using a slotted spoon , I'll move the chicken from the wet to the dry .
A quick toss here to get all of that combined .
And I'll note that a few pieces will definitely clump together .
That's ok .
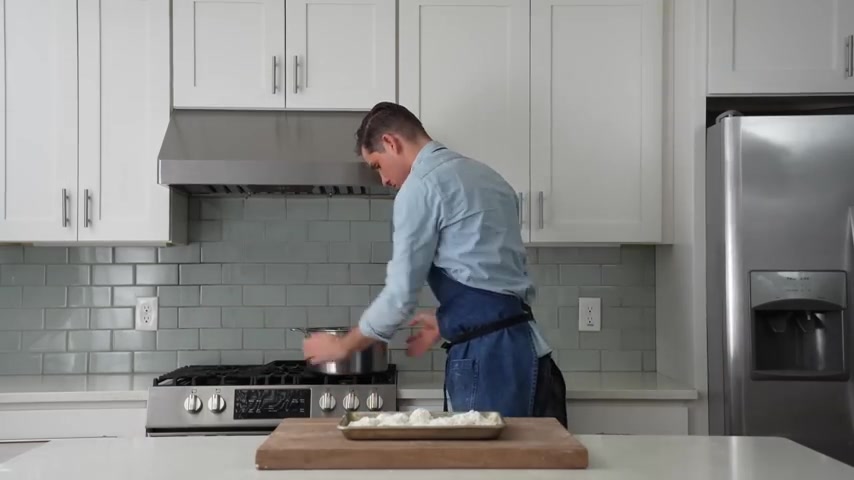
Batter can get sticky , just make sure to break those apart and get things as dusted with this bread as you can .
And once this chicken is beautifully dusted up and covered in crags like this , I'm gonna move it over to a sheet tray and then I'll get my pot ready to fry for that .
I'll grab a heavy bottom pot and drop it on the stove over medium high heat into that .
I'll add two quarts of neutral oil .
I'm using canola and then I'll let it heat up for 10 minutes .
While I thank Magic Spoon for sponsoring this video .
Lauren gave me a bunch of magic spoon cereal for my birthday about four years ago because cereal is like my favorite food .
But I'm a grown up and I almost never eat the regular sugary carby stuff , even though I really want it .
Magic Spoon .
On the other hand , is high protein , zero sugar and very unlike traditional children's cereals , it has no artificial ingredients .
And as for the flavor , I'll be honest , it's a 10 .
My favorite flavor is the frosted .
But I just discovered birthday cake which magic spoon just added to their permanent rotation .
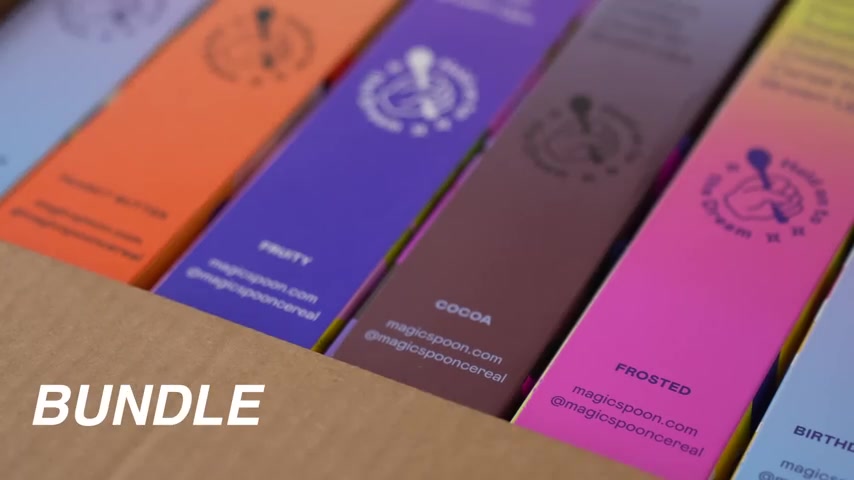
And yeah , let's just say frosted has some serious competition .
If you wanna try magic spoon , click the link below and use my code .
Brian Lagerstrom for $5 off .
You can byob with some of their greatest hits like Coco Fruity Frosted or Peanut Butter .
That one's Lauren's favorite , but do yourself a favor and add birthday cake .
So scan this QR code or go to magic spon dot com slash Brian Lagerstrom and use code Brian Lagerstrom for five bucks off your order .
When I check back , this oil is at about 300 F .
That's ideal because I'm gonna be double frying these nuggets once at a low temp and once at a high temp now carefully using my spider , I'm gonna lower in all of my breaded chicken , try and spread it out so that it's not all sitting in a pile in the oil that can mess up the breading .
And once everything's in the pot , I'll come back with my spider and carefully push things around to make sure that none of this chicken is stuck to the bottom of the pot or to each other and don't push too hard because that could also mess up the breading .
And once things are loosened here , I'm gonna fry for 4 to 5 minutes in total at 300 F .
I'm double frying here to get extra crispy chicken .
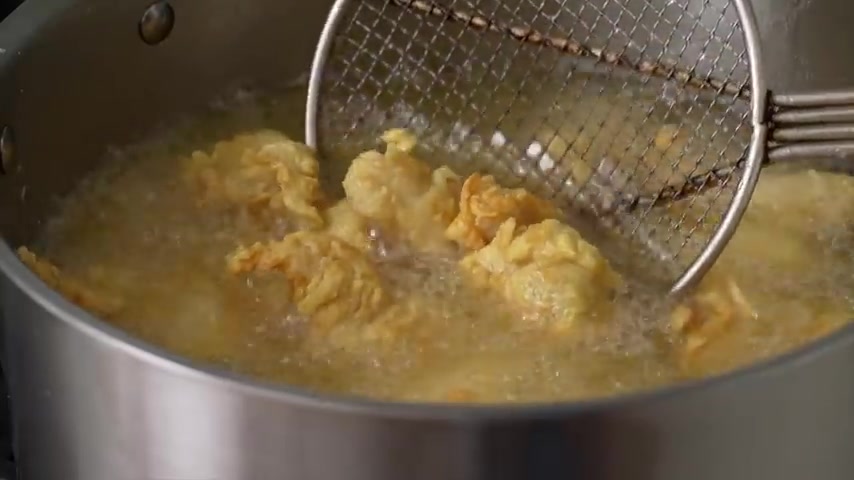
Remember this chicken is gonna end up in a sticky wet sauce .
So we kind of need to overcompensate with the crispiness .
So even when it's so up with sauce , we still get a ton of crunch .
And after only about 4 to 5 minutes of frying , I'm gonna come back and take a look as you can see , it's pretty blonde , but the breading does look set up .
So I'm gonna lift it out of the pot and move it over to a wire rack to drain while those rest , I'm gonna raise the heat to medium high to bring this oil up to 3 50 F .
And once it is , I will once again very carefully lower in my chicken nus using my spider .
This higher heat fry is , is gonna be all about dehydrating that crust as much as possible .
That's what leads to crispiness .
You'll notice that the oil is much louder and much bubblier this time around .
That's because some of the resting juices are coming out of the chicken and frying off and bubbling up .
Nothing to worry about .
As long as your pot is no more than halfway full of oil .
Also , this second round gets brown pretty fast .
So stay frosty and check back in about 90 seconds .
Oh my God .
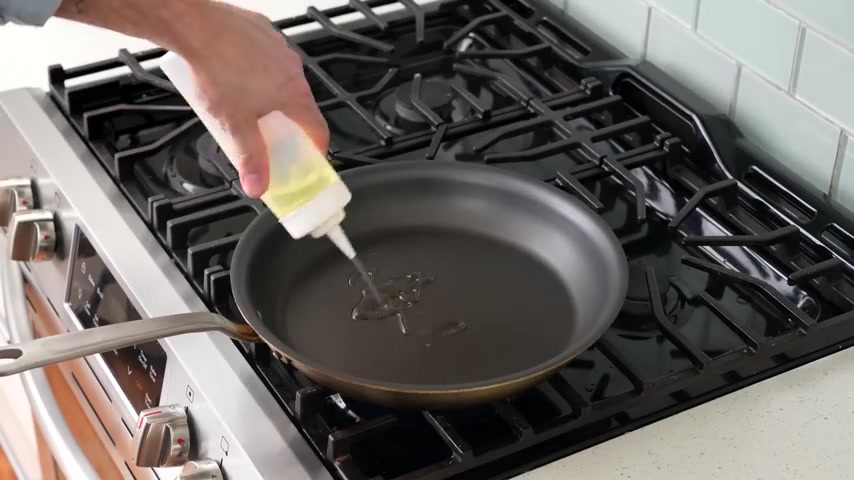
Oh , these are so crispy looking .
Look at that crack .
And that one that's a crack from here .
I'm gonna move these over to a low oven to stay toasty while I make my sauce for that over medium high heat into a large nonstick pan .
I'll add a generous squeezer of neutral oil .
About 30 g worth .
Then in goes 10 g of grated garlic , 10 g of grated ginger and then 20 g of thinly sliced scallions .
I hit the ginger and the garlic on my micro plain because I find that stuff melts into this sauce a lot better when it's grated as opposed to rough chopped for the scallions .
I cut mostly the bottoms .
The green stuff tends to get slimy when it's cooked hard and it's pretty yuck .
Now , I'll fry these aromatics for about a minute or so and once they're softened and starting to take on some color like this , I'll add in all of my sauce ingredients .
What are those ?
Well , that's 100 and 25 g of chicken stock , 75 g of mir and 50 g of soy sauce .
10 g of sesame oil , 50 g of sugar and then 25 g of rice vinegar .
And for the orange part , I'm gonna grab one large orange and my micro plain and zest it 8 to 10 times .
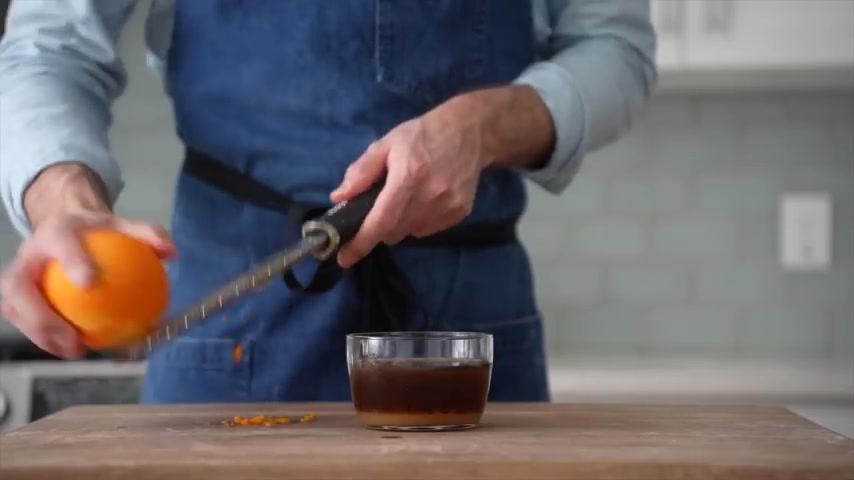
I'm specific about that because the aromatic quality of the zest is great , but a little bit goes a very long way too much and it's gonna taste bitter and soapy and ruin the entire dish .
Finally , I'm gonna cut this orange into eights and then using my lemon juicer .
I'm gonna juice it in with everything else .
Lastly , I'll add in a provisional 5 g of corn starch and then mix everything together .
I say provisional because the thickening is always gonna be a little bit different when it comes to corn starch and we probably need to adjust it later on back at the stove , I'll add in a strong pinch of chili flakes to bring some heat and then I'll bring the sauce up to simmer and reduce it by about half .
That's gonna take about two minutes .
Now , at this point , we have the volume of sauce that we're looking for and it tastes great , but it's still a little bit too thin orange chicken needs some grip .
So the move for that is to sneak in a touch more cornstarch in the form of slurry .
I'm adding in maybe two more grams of starch in total .
I'll stir that in and give it a second to boil so that it can thicken and that looks perfect .
The sauce holds itself up a little bit but still looks thick enough to grab onto the chicken .
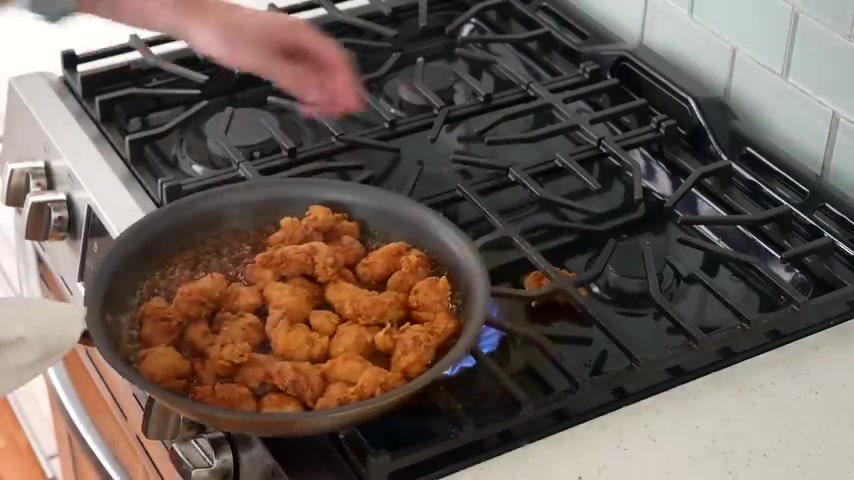
Speaking of that , I'll grab my wire rack full of chicken out of the oven and slide those nuggets into the pan .
Whoops .
I'll just grab that one behind the pan .
Check out my arm hair burning .
Don't do that .
Step one , turn off the heat , step two , snatch the nugget , step three and it goes now to finish .
I'll give this a quick toss to get the chicken evenly coated and be careful here because the sauce is quite sticky and too much tossing or stirring could potentially loosen the breading and there we go glossy sticky orange and saucy all at the same time to serve it .
I'll throw it on top of some steamy white rice , then hit it with some sesame seeds and then a strong pinch of chili flake to heat things up .
And that is better than take out orange chicken in my opinion .
Unlike the mall or take out version , this dish is bright with citrus flavor .
It's very crisp and it's not too sweet .
The orange juice and the rice vinegar bring a sharp acidity to balance out all that heavy sugar .
Orange chicken at its worst .
You guys is just junk food .
But when made with carrot like this , it's elevated into something very memorable .
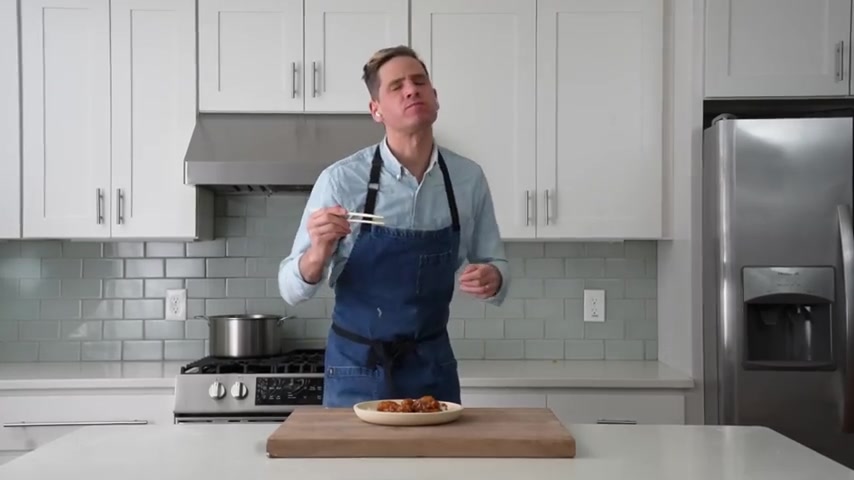
I hope you try it soon .
Let's eat this thing , if you like making great versions of take out food at home , check out my beef and broccoli video link to that right here .
See you in the next one .
Are you looking for a way to reach a wider audience and get more views on your videos?
Our innovative video to text transcribing service can help you do just that.
We provide accurate transcriptions of your videos along with visual content that will help you attract new viewers and keep them engaged. Plus, our data analytics and ad campaign tools can help you monetize your content and maximize your revenue.
Let's partner up and take your video content to the next level!
Contact us today to learn more.