https://www.youtube.com/watch?v=3NYzeX8eE_4
Easiest Way to Solve a 3x3x3 Rubik's Cube - Layer by Layer Beginner's Method
And hey guys FTC CUBING here today , I will be teaching you how to solve a three by three Rubik's cube using the beginners layer by layer method .
Before we start , I'm going to explain a few things about this method .
The cube is solved using a series of different algorithms that move specific pieces on the cube to specific places without affecting any part of the cube that has already been solved depending on the appearance of the cube .
Different algorithms are used to move the pieces into the correct place .
When learning to solve a Rubik's cube , you simply have to learn the algorithms what each one does and the order they come in to do this .
It just takes a lot of practice .
I'm now going to go through a quick explanation of how the algorithms are written and how the written algorithm translates to a movement on the cube .
Before I show you an algorithm , I will tell you how to orientate your cube .
So it is in the correct place for the algorithm to work .
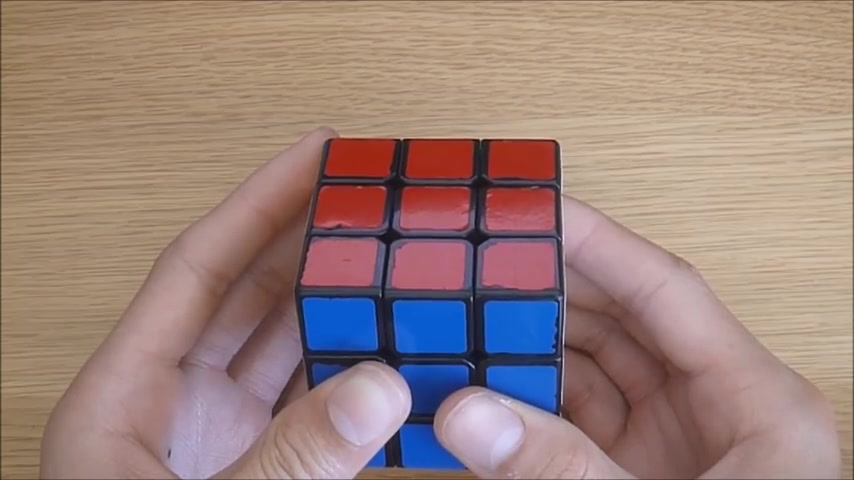
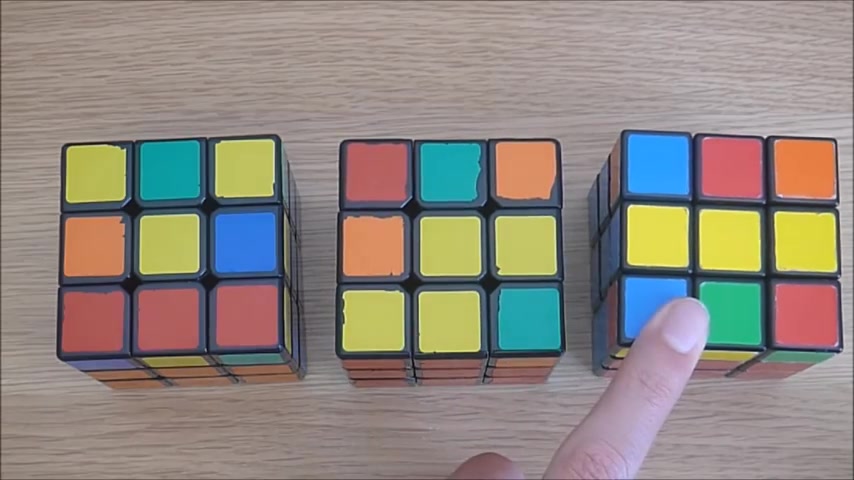
Once it is in that orientation , each face has a name that it keeps for the rest of the algorithm this is the front face and is written in an algorithm as an F .
This is the right face and is written as an R .
This is the left face and it's written as an L .
This is the down face and is written as ad this is the back face and is written as A B .
And finally , this is the up face and is written as A U when just a letter on its own is written in an algorithm .
It means that you turn that face once clockwise .
For example , if I see F in an algorithm , I turn the front face one turn clockwise like this .
If a letter is written with a lowercase I after it , it means invert , which means that you turn that face one turn anticlockwise , it can also be written as a letter followed by an apostrophe .
But in this tutorial , I will use a lowercase I .
So for example , if I see f lowercase I in an algorithm , I turn the front face one turn anticlockwise like this , make sure when you are performing algorithms that you imagine you are looking at that face straight on .
So the direction is in relation to that particular face , not in relation to you .
One final thing before we start .
When I am explaining which algorithms to use your cube will not look identical to mine .

I will tell you which faces or pieces to concentrate on and you must ignore the rest of the cube because all of the other pieces won't affect how the algorithm works .
For example , when we are solving the cross on the top layer later on , I will tell you to ignore the corner pieces and concentrate solely on the edge pieces .
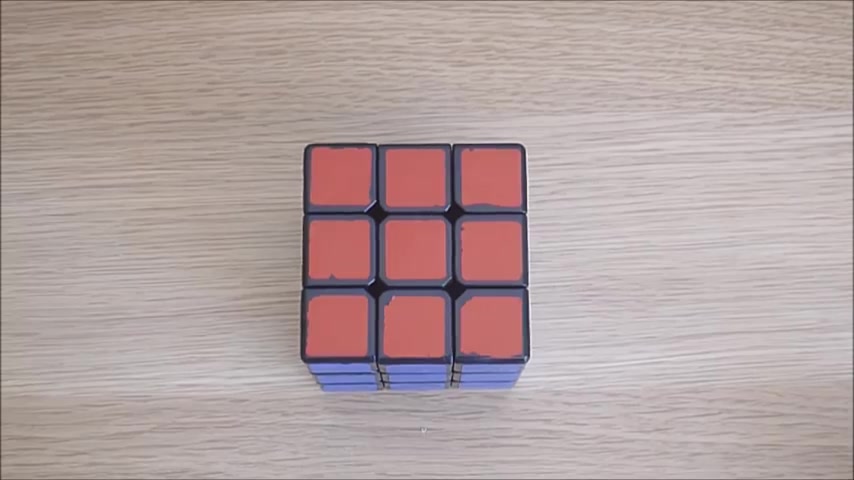
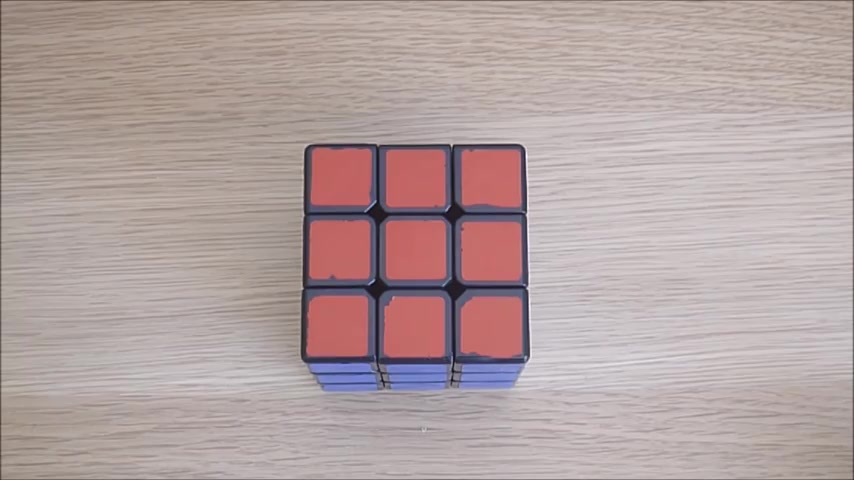
Now let's begin the tutorial to begin .
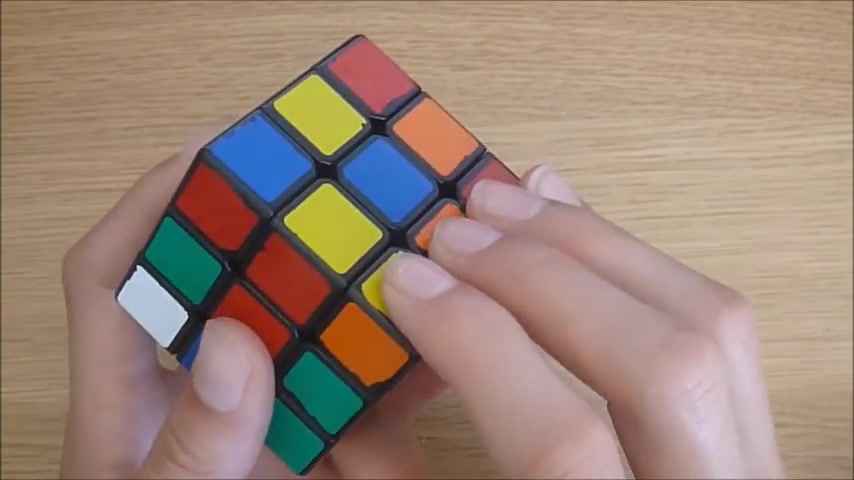
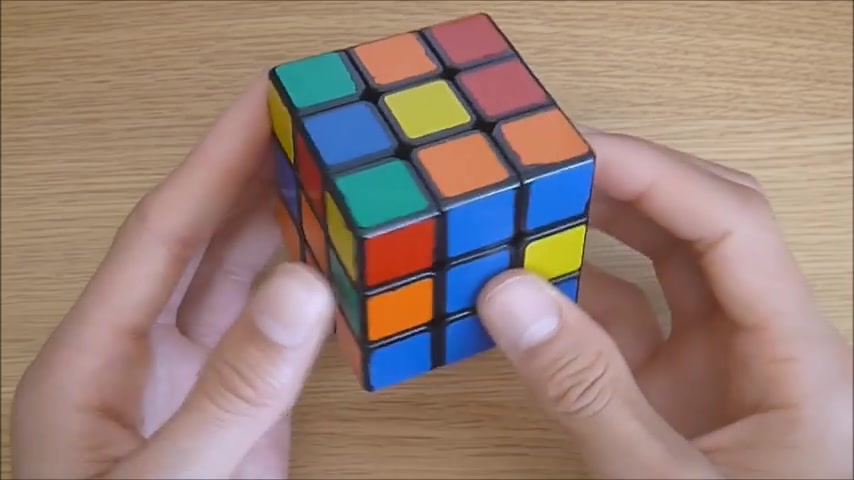
Let's scramble up the cube .
As the name suggests , the layer by layer method solves the cube by solving one layer at a time .
First , we will solve the cross on the first layer .
Then the first layer corners then we were sold the second layer .
And finally , the last layer cross and the last layer corners .
When you solve the first layer , there aren't really any algorithms for it .
I learned to solve the first layer by pure trial and error .
But there are a few little tricks that I have learned in this tutorial .
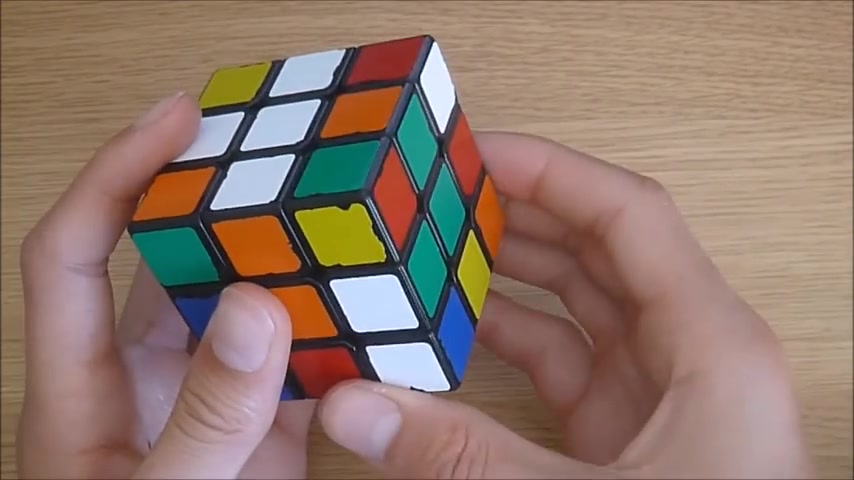
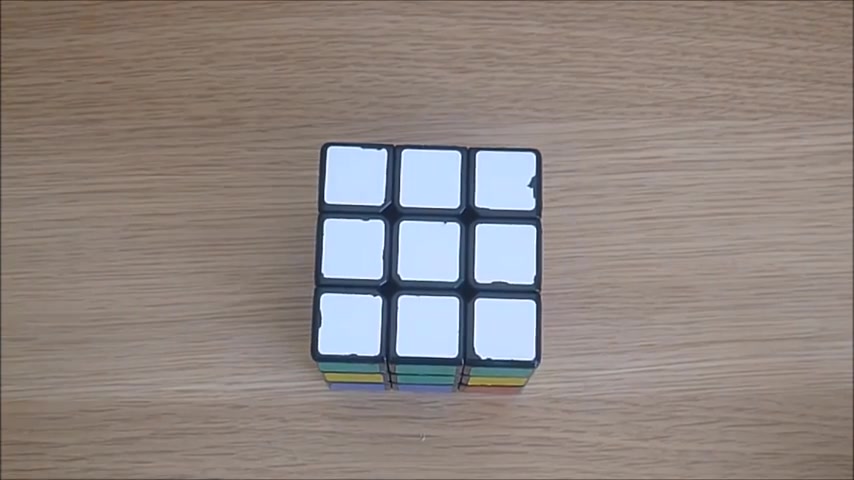
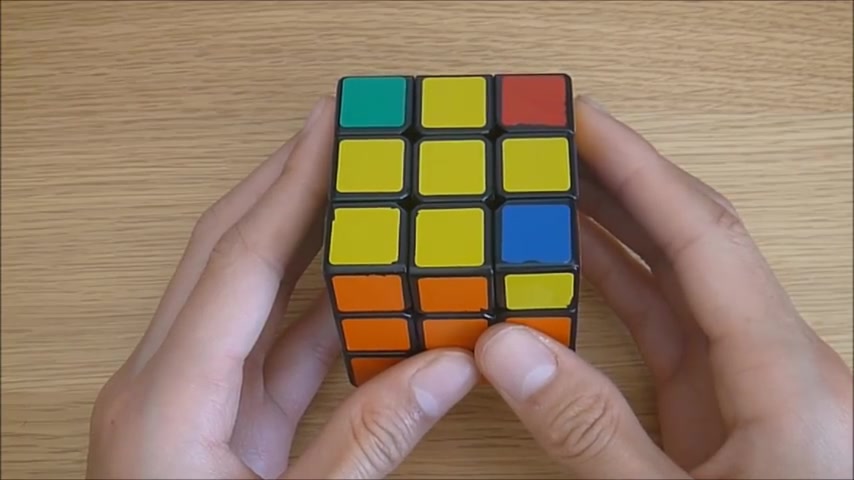
I will solve the white face first to begin with .
We must create a cross on the top layer with all the edge pieces in the correct place .
So first we have to find an edge piece that has one white side .
For example , this one here , it has one white side and one orange side .
The first step is to match up the side of it that is not white with the corresponding centerpiece .
This one is fairly simple because we can rotate this face and it has already matched up .
Then we just rotate this face to move it up onto the top layer and match up the two white pieces , we then repeat this for the rest of the white edge pieces .
So for example , this one here , first we match up the blue with the blue centerpiece .
So we can rotate it around on the bottom , then do the same as we did last time when we move it to rotate it to match up these two .
Then onto the top layer .
This one here is a little bit more tricky because it's already in the top layer .
It's in the wrong orientation .
What we can do is move it down to the side , then on to the bottom and then round to match up these two , then rotate it onto the top layer .
This last one is fairly simple as these two are already matched up .
So we can simply turn it onto the top layer .
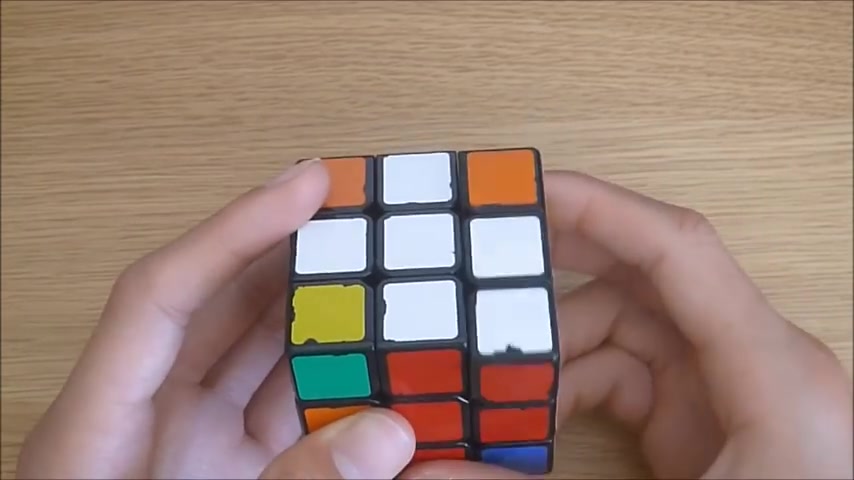
So now we have the first layer cross solved for the first layer corners .
We need to have them in the right position on the bottom layer , then match them up to the right faces and finally perform a very simple algorithm .
First , we need to find a corner with one white side .
For example , this one , the next step is to move it to the bottom layer .
And we can do this by simply rotating the side moving out the way and then rotating this back up so that we don't damage this edge piece here .
We then need to orientate the cube so that the white face is facing us like this .
Next , we look at the other two colors on the corner piece .
So blue and red , in this case , we then need to move it so that the piece is positioned between the red and the blue faces on the bottom layer like this .
Finally , we perform a simple algorithm where we move it towards us and out of the way , turn this side down , turn the bottom layer back again to insert the corner , then move the side back up .
So that that corner is in position , we then repeat this process for the other three corners .
So for example , this one here , it is already in the bottom layer but not in the correct orientation .
However , we can correct this if we move it to a place where it is not under a corner that has already been put in like this , we can then rotate this side to move it up onto this layer facing us then out of the way and move the side back .
So that this is still in the right place .
Now it is already in the right place because there is an orange and a blue side and it's between the orange and the blue centerpieces .
So now we move it out of the way towards us , bring this side down , insert the corner and move it back up .
This one is already in the correct orientation .
So we can simply move it to the correct place between the red and the green centerpieces .
Then we move it towards us and out the way , move this side down in inside the corner and rotate the side back up .
This one's already in the right place .
It's in the wrong orientation .
So what we can do is take it out of the top layer like this .
Then we move it back underneath where it's supposed to go between the orange and green centerpieces .
Then we move out of the way towards us , bring the side down , move the corner in and place the edge back up .
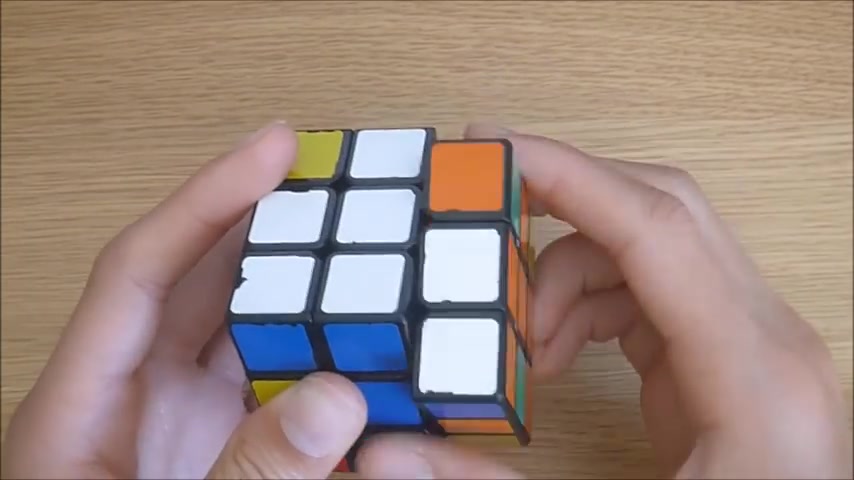
So now we have all of these corners in the correct place and in the correct orientation , now you have the first layer complete .
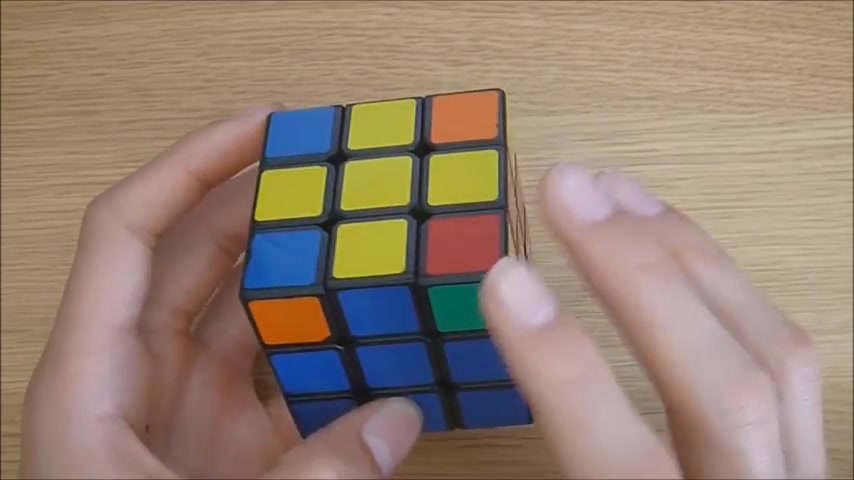
The next step is to insert the edge pieces on the second layer .
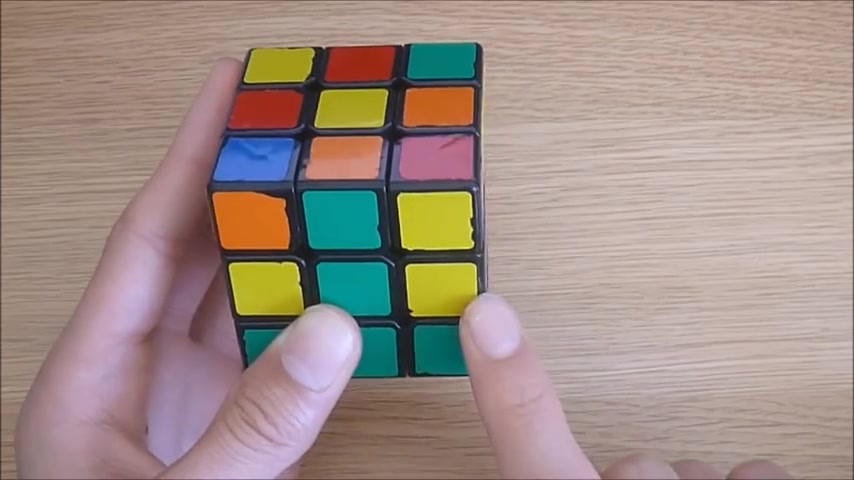
First of all , turn the cube over so that the first layer we just solved is now on the bottom .
Next look at the top layer and find an edge piece that does not contain any of the top color in it , which is yellow .
In this case , for example , this one which has one blue side and one orange side .
What you need to do next is match up this part of the edge piece with the same color centerpiece on the side like this .
Then look at which way the edge piece needs to go to be slotted into the right place .
For example , this one needs to move down to the left depending on which way the edge piece needs to be moved .
There are two different algorithms to do this when you're orientating the cube , move it so that the place the piece needs to move into is on the right at the front .
Once it is correctly orientated , if you are moving the piece down to the left , which this one is , you use the algorithm up , invert front , invert up front , up , right up , invert right .
Invert .
Now you can see that the piece has moved down to here and is in the correct orientation .
Now move the cube so that the next piece is ready to be slotted in .
So for example , this one is already matched up with the correct centerpiece as well .
This one needs to be moved down to the right into the left , but we still keep it so that the place it needs to move into is on the right hand side at the front .
So if you need to move the piece down to the right , which this one is use the algorithm up right up , invert , right .
Invert up , invert front , invert up front .
Now you can see that piece has moved to here and is in the correct orientation , we now repeat this process for the rest of the edge pieces .
So this one we need to match it up with the correct centerpiece and it's moving down to the right .
So we use the algorithm up right up , invert , right .
Invert up , invert front , invert up front .
Now , finally , we have this one , it matches up with the correct centerpiece and again , it's going down to the right .
So we do the algorithm up right up .
Invert , right .
Invert up , invert front , invert up front .
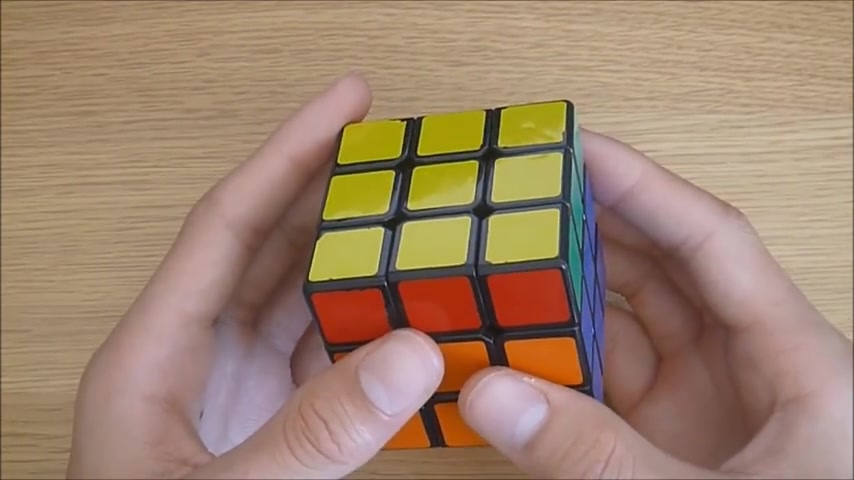
So now you have the second layer solved .
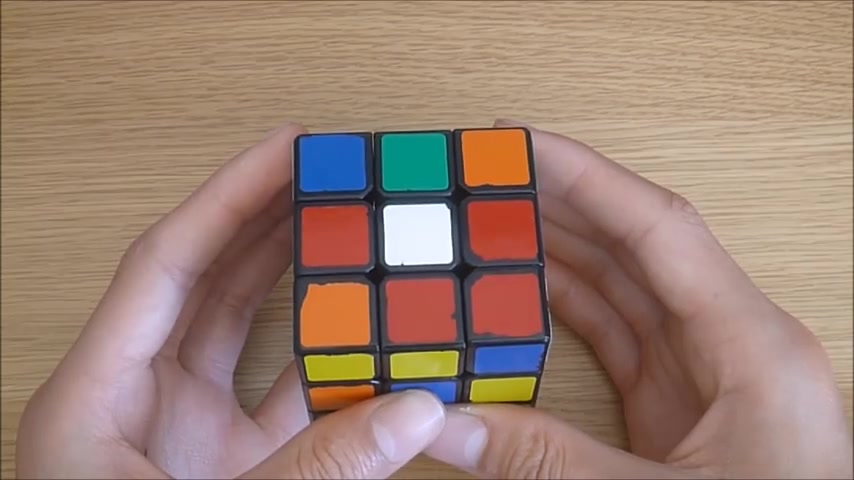
We are now on the final layer which needs a few steps to complete .
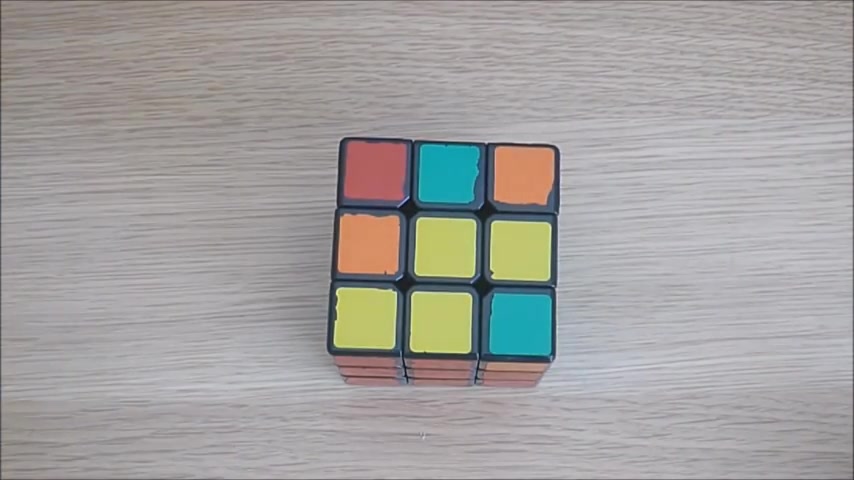
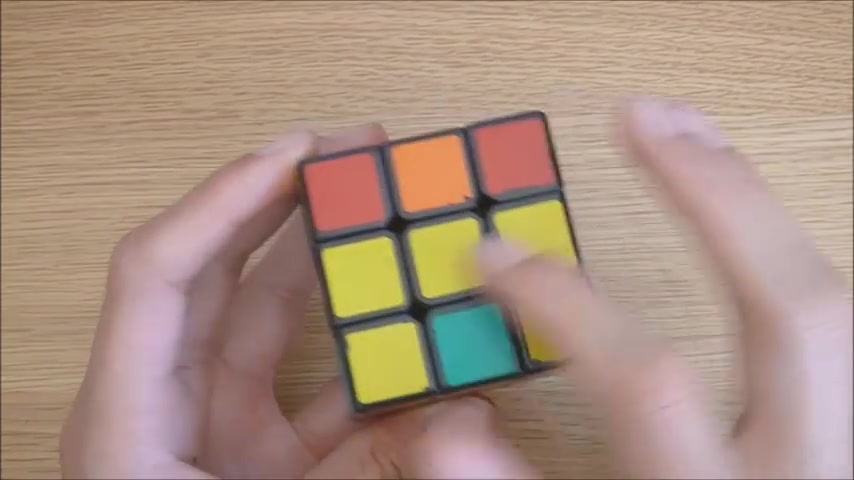
First , we need to make a yellow cross facing upwards , then move the edge pieces into the right place , then move the corners into the right place , then finally orientate the corners .
So to make the yellow cross , there is only one algorithm we need .
But the orientation of the cube can sometimes be confusing as there are multiple different circumstances .
Make sure for this step you concentrate solely on the edge pieces and ignore the corner pieces completely .
There are four different ways the edge pieces can look at this stage .
But the same algorithm different numbers of times solves all of them .
The first case you can have is why none of the edge pieces have yellow facing upwards like this .
The next case is where you have a kind of L shape like this .
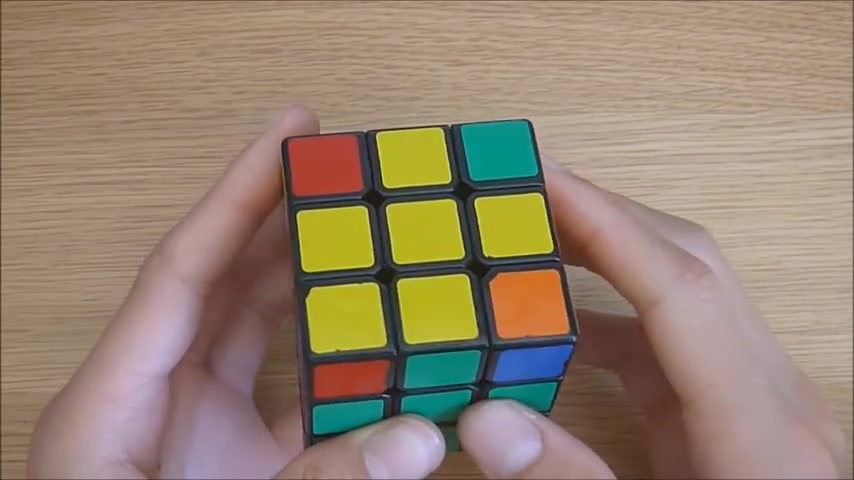
The third case is a straight line like this .
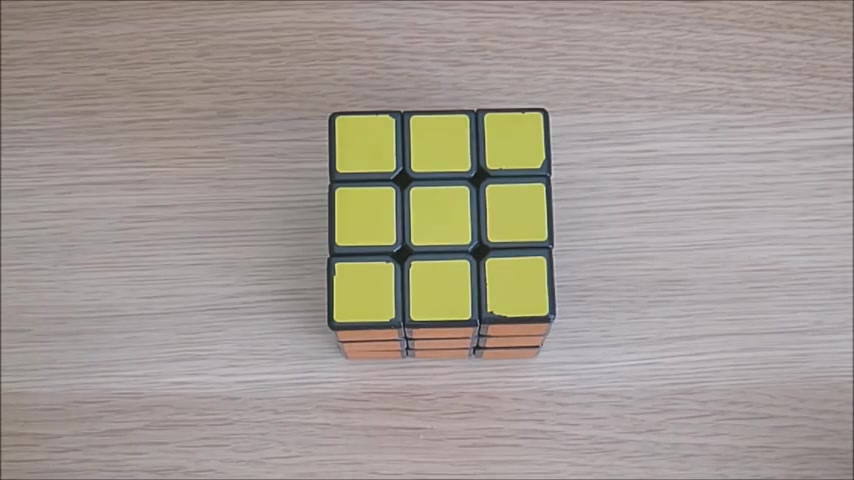
And the final case is where the course is solved .
Performing the algorithm on the first case will give you the second case and performing it again , will give you the third case then performing at a final time will solve the cross .
If you start with the first case , which is just the yellow centerpiece facing upwards , it doesn't matter which orientation you have the cube .
As long as the yellow centerpiece is facing upwards , you now need to perform the algorithm front right up , right .
Invert , up , invert front , invert .
You can see we now have the second case which is the L shape .
Now hold the cube .
So that if you imagine the L shape to be an arrow , it is pointing at your right shoulder like this .
Now perform the algorithm again front right up right .
Invert up , invert front , invert .
Now you have the third case which is the line now hold the cube so that the line is going left to right like this , not front to back .
Now perform the algorithm one final time to solve the cross front right up , right , invert up , invert front invert .
Now all of the yellow edge pieces are facing upwards , you need to move them into the correct place .
First turn the top layer until you have only one of the edge pieces in the right place .
So for example , like this , we have the green edge piece in the right place .
But none of the other ones are if you cannot do this , just perform the following algorithm anyway .
And it should give you a situation where you can have one edge piece in the , in the correct place .
Next , hold that edge piece towards you like this and perform the algorithm right up , right .
Invert up right up , up , right .
Invert .
This moves the other three edge pieces around whilst keeping the edge pieces in front of you in the same position I didn't .
But you may have to do this twice for the other three edge pieces to move into the correct place .
Once that is done , the final part is the corners for the corners .
First , we will move them into the correct position , then rotate them so that they are in the correct orientation .
The first step is to find one corner that is already in the correct place .
It does not have to be orientated correctly as long as it is in the right place .
I don't have any currently that are in the right place , but we perform the algorithm anyway .
And it should give us a case where there is one in the right place .
So the algorithm is up right up , invert , left , invert up , right , invert up , invert left .
This moves around the other three corner pieces without affecting the one that's already in the top right corner .
So now we have one here which is in the right place .
So we hold this in the top right and perform the algorithm again up right up .
Invert left , invert up right , invert up and Vert left , you may have to pawn this algorithm multiple times before all of the corners are in the correct place .
And remember at this point , the corners do not need to be correctly orientated as we will fix that in the next step .
So the next and final step is to rotate all of the corners so that they are correctly orientated and the cube will be solved to do this , hold the cube .
So that one of the corners that needs to be rotated is in the top right of the front face and perform the algorithm right , invert down , invert right down , do this two or four times until the corner's orientation matches the top face .
This will appear to mess up the rest of the cube .
But don't worry this will be fixed later .
So write invert down , invert right down , right , invert down , invert right down , right , invert down , invert right down .
Once that corner is solved , turn just the top face so that the next corner that that needs to be rotated is again in the top right of the front face .
Make sure you don't move any part of the cube other than the top face and don't change which way you are .
You are holding the cube form the algorithm again two or four times until that corner is solved .
So write invert down , invert right down , right , invert down , invert right down , right , invert down and virt right down right and down and right down .
Now the last one right and Vert down and write down , write and Vert down and Vert right down , right and Vert down and Vert right down , right and Vert down .
And , but right down , once that last corner is solved , your cube will only be a few turns from completion .
So flick that top face and you are done .
Remember that even with a lot of practice , this method is only meant for beginners and is fairly slow , there are plenty of much faster methods , but these tend to be a lot more complicated and hard to understand for a complete beginner .
I hope you found this tutorial useful .
And if you did smash that like button and if you have any suggestions for future videos or questions about this video , leave a comment down below .
Thanks for watching .
Go to the
Are you looking for a way to reach a wider audience and get more views on your videos?
Our innovative video to text transcribing service can help you do just that.
We provide accurate transcriptions of your videos along with visual content that will help you attract new viewers and keep them engaged. Plus, our data analytics and ad campaign tools can help you monetize your content and maximize your revenue.
Let's partner up and take your video content to the next level!
Contact us today to learn more.