https://www.youtube.com/watch?v=Qsq1fPxYNrQ
Surgical Knot Tying - Drain Stitch

How you going ?
This is Doctor Amari and today I'm going to be teaching you how to tie a drain stitch .
Let me just orient you real quick .
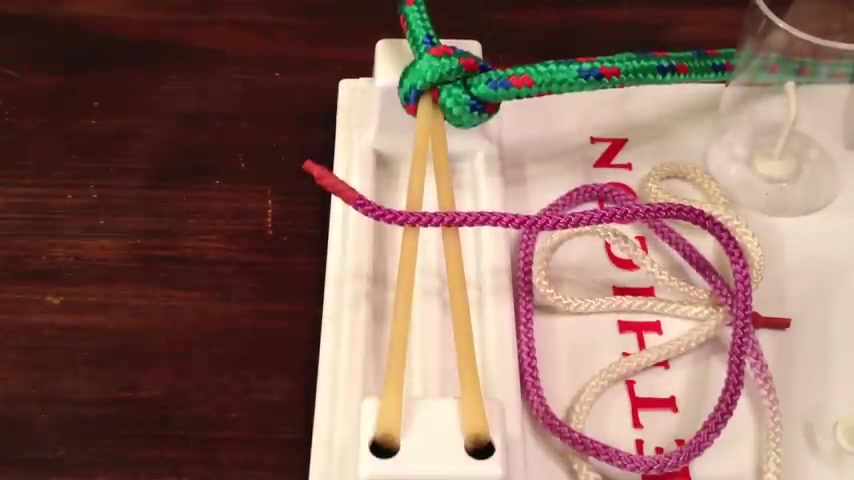
This is gonna be the skin here and this green string is gonna be our drain .
I call this stitch the easy l drain stitch for several reasons .
One is that it's named after Doctor Eazel , the interventional radiologist at Tulane who taught this to me .
Um Second is because it's easy .
It's hopefully the last drain stitch you'll ever need to know .
And third , the technique involves forming um a bunch of uh l shapes which you'll see later .
So let's get started .
First thing you wanna do is take your suture and tie it to the skin .
You can do this one handed two handed .
It doesn't matter whatever you're more comfortable with .
The important thing to know is that you don't want these to be super tight .
Um In fact , this is the only time in surgery that I know of where bubble knots are .
Ok .

Uh Three or four knots should do sometimes when you start , you can even leave a needle driver or any other instrument underneath the knots just to prevent you from cinching it down , uh super tight on the skin .
So we've tied our string to the skin next .
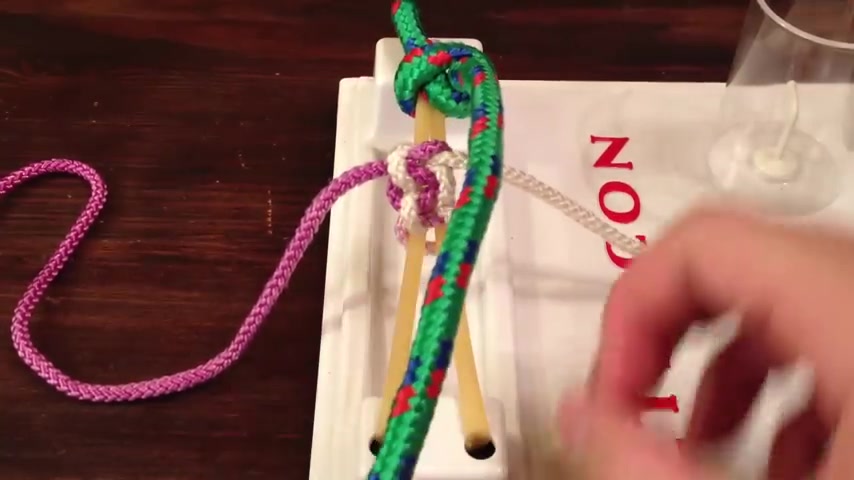
You're gonna take your drain and drape it over the top .
Now , the old drain stitch that I knew involve taking these strings and wrapping them around several times trying to keep it tight .
Um Trying to make it look real nice and kind of , you know , overhand knots here and there .
It just got really confusing and , and hard to keep straight .
Um The stitch , I'm about to show you is a lot easier and it involves just one side at a time .
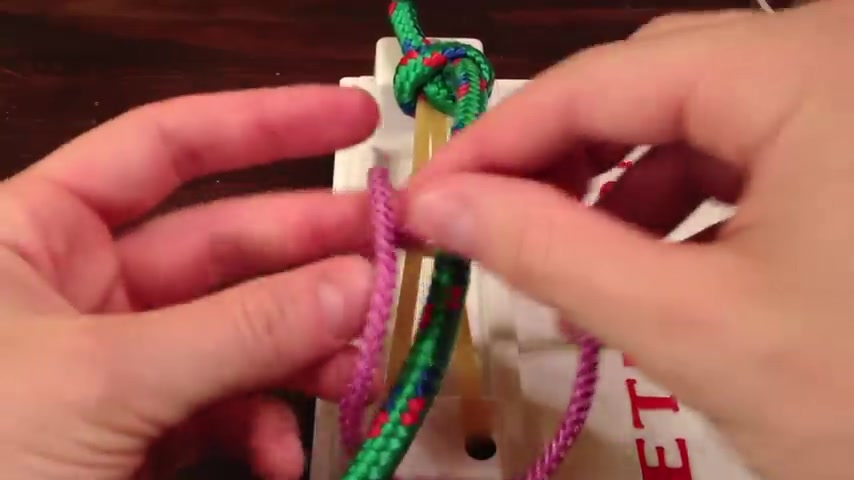
So we're gonna start with the left side and we're gonna form an L with this , an L underneath the drain .
You're gonna take the top , stick it through the loop you created and c it down to the knot .

And again , you don't want to pull this super tight because you don't want to include the drain and we're gonna tie three knots on each side .
So that's one again , form the L , there's two and you can either tie the L um for all of these knots or if you're comfortable tying one handed knots , you can even tie a one handed knot around the drain for all three of these , whatever you do .
You want to tie three knots on each side .
So we've got 123 on the left .
We're gonna move over to the right side , same thing .
This time you're gonna form a backward ze take it through the hole and sent it down .
You don't want to cinch it down on top of the knots .
You already tied .
You don't want to lie right next to it .
So there's one , there's two .
And again , if you're comfortable with the one handed , not , you can tie all of these with one hand if you like .
All right .

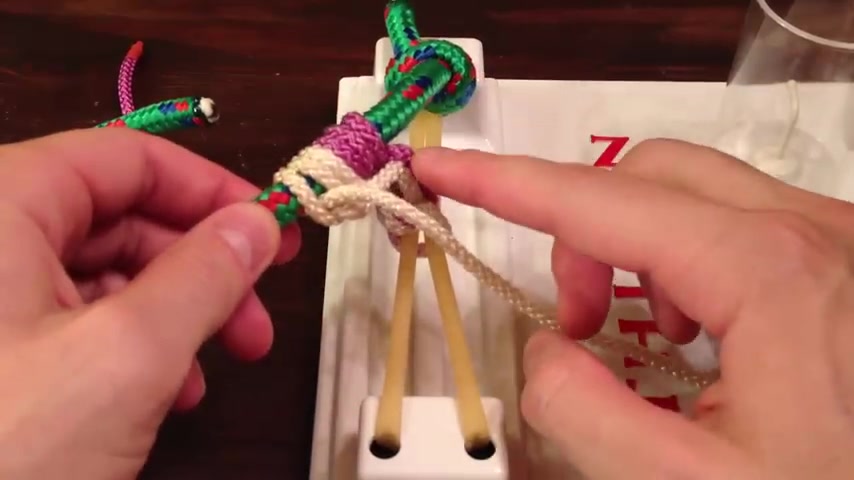
So now we've tied our drain to our knots and the last part , we just want to secure our free ends and we're gonna tie these together on top .
You can do this one handed two handed .
Again , it doesn't matter whatever you're more comfortable with .
Um , just like before you don't want these to be really tight because you don't want to include your drain and three or four knots in this case should do just enough to , to keep it from unwinding .
And that's it .
That's the easy l drain stitch .
It's quick .
It's easy .
It looks pretty and it holds really well allowing all that nasty stuff to drain out .
Now , speaking of nasty fluids , here's your camel .
Fun fact .
For the day .
Camel's urine can be as thick as syrup because they retain water really well , pretty cool stuff .
So there's your camel fun fact .
Um , as well as the el drain stitch , pass it along to your friends , check out my other videos and thanks for tuning in .
Good luck .
Are you looking for a way to reach a wider audience and get more views on your videos?
Our innovative video to text transcribing service can help you do just that.
We provide accurate transcriptions of your videos along with visual content that will help you attract new viewers and keep them engaged. Plus, our data analytics and ad campaign tools can help you monetize your content and maximize your revenue.
Let's partner up and take your video content to the next level!
Contact us today to learn more.