https://www.youtube.com/watch?v=YDLczIEZ83c
HOW TO MAKE A BOOTABLE MAC OSX HIGH SIERRA WIN 10 _ 2023 GUIDE _ READ DESCRIPTION (1_2)

Welcome back to the channel .
I hope you're doing well .
I'm gonna make a quick tutorial today on how to make a boat DMG uh USB for your Macbook .
Uh Recently I worked on a Macbook 2012 .
I'll do , I'll do a separate video uh kind of guiding you step by step on uh as to how I boo in the Mac .
The issue was the gray folder with a question and I was unable to uh boot into the Mac .
But without further ado , let's get this started .
So first I'm gonna plug in my USB and I have a couple of files on here just to show you .
And so I'm gonna right click here now , make sure it's a 16 gig .
I've tried it with the eight gig .
They're not exactly um eight .
It was like 7.3 and I had issues .
So I would advise a 16 gig now , right ?
Click on that .
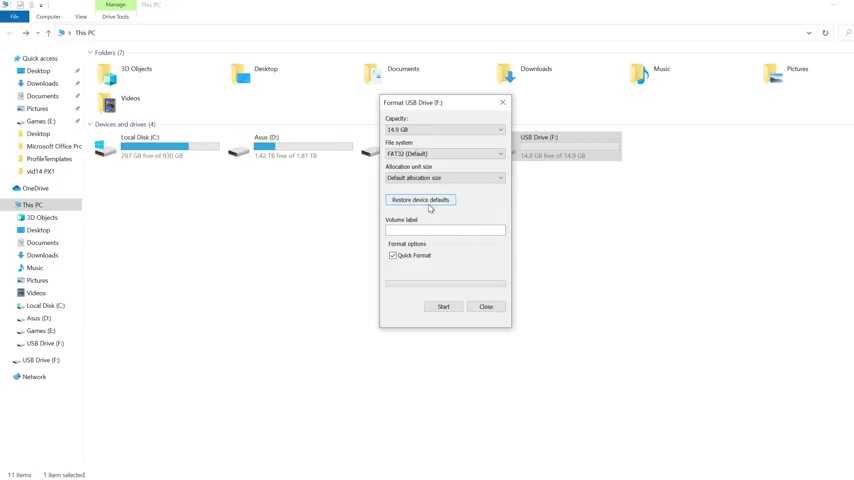
I'm gonna format and then I'm gonna click this right here .
Restore device defaults older version of windows .
You might see a little uh check box , but make sure that's selected there , default allocation size , quick format .
Of course , we're gonna go .
OK ?
And that's gonna take a quick second and it's gonna format and it'll tell you format complete .
There we are and format is complete .
So this part is done next .
Let's make sure that our USB is partitioned properly for Mac .
So uh let's hit start .
I'm gonna hit C MD for command prompt , right click or unless admin and you'll see the command window pop up here and I am going to type dis part .
So this is going to access our disc partition .
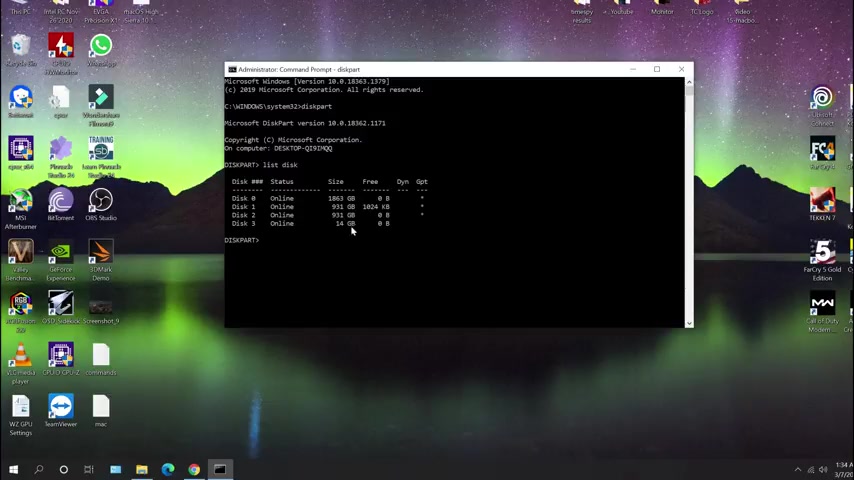
So there it is disc part , then I'm gonna hit or type rather list disc and these are all the disc drives listed here and you'll notice that , you know , it starts from zero um rule of thumb .
I usually use the size allocation .
So it's 14 GB , it's actually a 16 GB drive , but you know , it's never exactly on the dot The way that they're designed with the technology .
So obviously , I'm not gonna mess with any of these big boys here .
Those are my primary drives .
So 14 GB , this , that , that's what I'm gonna use .
So I am going to , in my case , I'm going to select disk 3 14 81 and that's selected , then I'm gonna clean .
So it's gonna wipe it .
And now I'm gonna convert that to GP T um partition for Mac .
That's done .
And after I do that , I'm gonna hit , create partition primary .
So make that the primary partition and it succeeded and then you can go ahead and exit edit that and that's done and you'll notice if you go back um to the drive here , obviously , Windows is kind of confused as to what's happening because we are setting up for Mac next up .
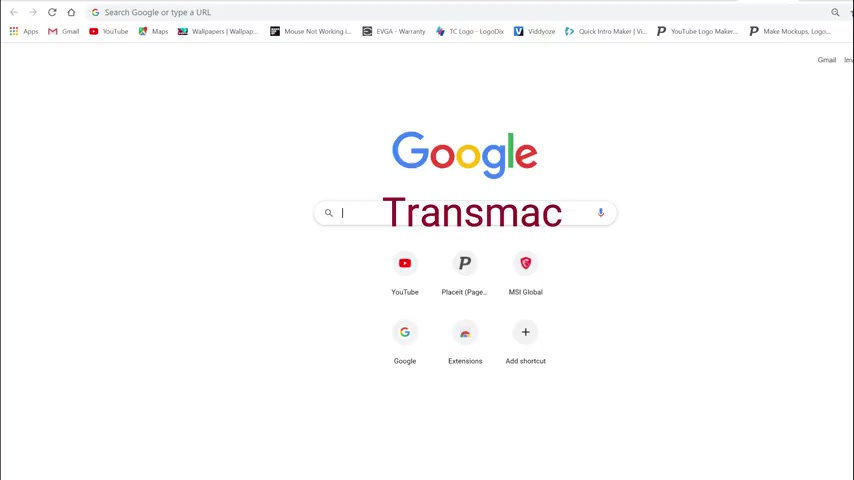
Of course , we're gonna go over to Google and we're going to search for Trans Mac .
So this is the software we're gonna use um to make the boot USB .
I'm gonna go to tech spot here right here and I'm just gonna click download now .
So this is gonna download the software and you're gonna go ahead and install that .
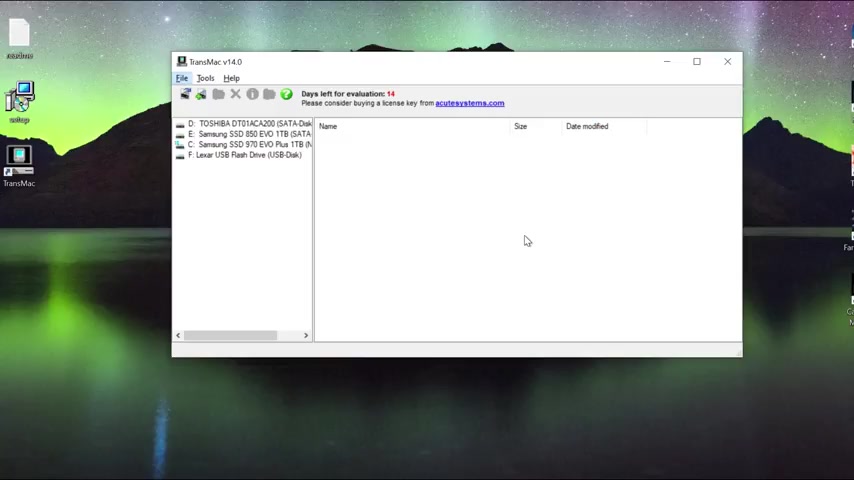
So once you have trans Mac installed , you're going to run it .
So I'm obviously not gonna read , you read me and it's gonna launch trans for the first time .
It is a trial .
Don't worry about that .
Um It'll , you know , take 10 seconds every time that you open it for it to load , which I mean , it's , it's , it's not gonna bug you at all .
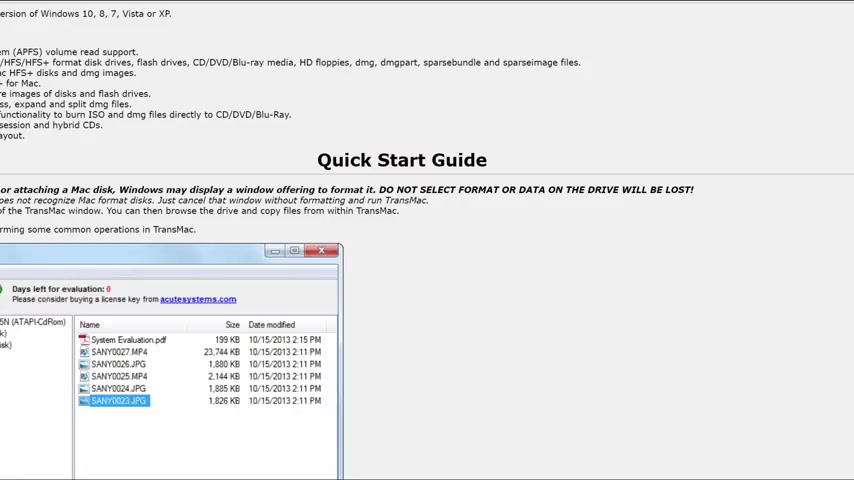
I gonna hit run and it's gonna open this web page which I'm not interested in right now .
And this is the XR USB that I'm working with .
So you'll notice that when I , if , if you click it , it says no Mac volume is found because we have to set up a Mac volume , go back right click and I'm gonna go for Mac disc for Mac .
We gotta do this again and it's gonna say do you want to , I'm gonna say , yeah , yes , of course .
Leave all that as it is um untitled .
I leave everything as default and that's gonna do its thing if you don't run it as admin .
So if you don't right , click on Trans Mac or the first time you launch it and , and it opens and you don't have admin permissions .
It , it may ask you , you have to restart Trans Mac as admin , but I already started it as admin .
And that's why I didn't get that message already .
The next step , probably the most important step of this tutorial is you have to make sure that you have a DMG uh MAC file .
They are available online .
They're a bit tricky to find .
Um As I mentioned at the beginning of the video , I worked on a 2012 Macbook Pro the 15 inch retina , the 81398 model .
Um and I was able to find it online and when I make the um second video on as to how I did the how I restore the Mac step by step , then I will put a link in the description or I'll link it to my Google drive .
So whoever needs help can , can find that and download that .
So I'm going to right , click again on the Lexa Us V .
I'm gonna hit restore with this image .
Yes .
And I'm gonna browse to my computer as to where it is .
It's going to be on my desktop .
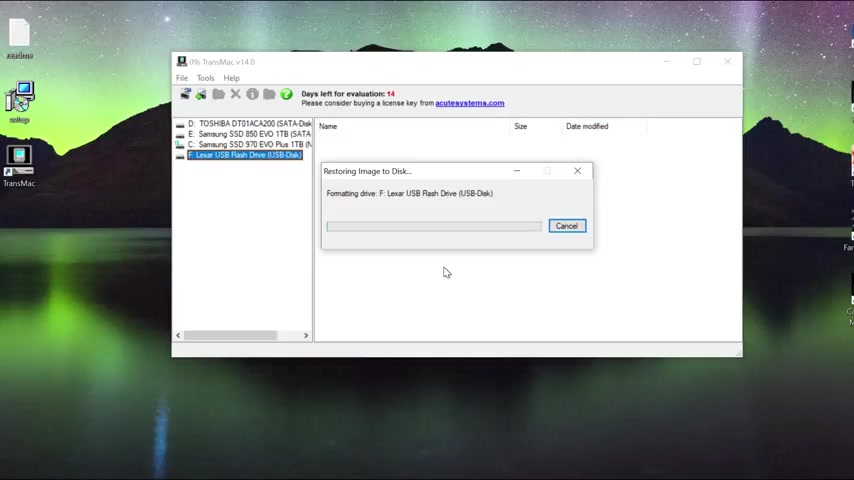
And if it doesn't show up here when it says disk image file , I'm gonna hit all files and there it is when it opened and I'm gonna hit OK , here and it's gonna tell me that it's gonna format , this is gonna take 2 to 3 minutes .
So uh be patient with that when you're doing it , I'm just gonna let it do its thing , let it do its thing till it's finished .
And once that's complete , it'll say restore complete , I'm gonna hit .
OK .
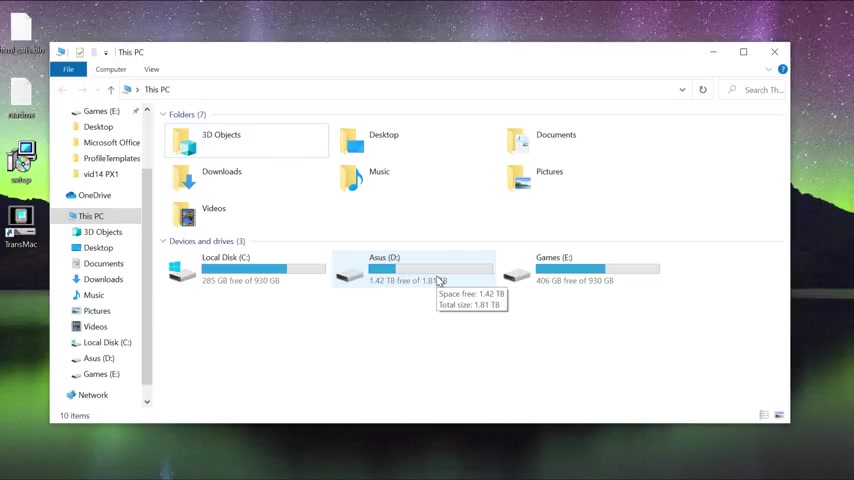
And if you go back here , I don't even see the , the drive anymore .
Why ?
Because it's formatted for Mac .
So Windows doesn't even pick it up on this .
Of course , if you run the command uh for this part again , but we're not gonna do that .
So that's basically how you would create a portable USB for Mac .
And in the next video , I will do a step by step as to how I use this to restore and uh finally reinstall Mac Os .
And as always , if you found this useful or helpful , uh leave me your comments below and don't forget to hit that like button and subscribe for more cool content and of course , stay well , be safe and we'll catch you in the next one .
Peace .
Are you looking for a way to reach a wider audience and get more views on your videos?
Our innovative video to text transcribing service can help you do just that.
We provide accurate transcriptions of your videos along with visual content that will help you attract new viewers and keep them engaged. Plus, our data analytics and ad campaign tools can help you monetize your content and maximize your revenue.
Let's partner up and take your video content to the next level!
Contact us today to learn more.