https://www.youtube.com/watch?v=xCJIvhH5b_0
DIY - How to Make - 7 Paper Crafts _ Food Stuff
What's up y'all today ?
We are going to make some stuff .
I don't really know what yet .
We're just gonna figure it out as we go think of it as a crafting adventure .
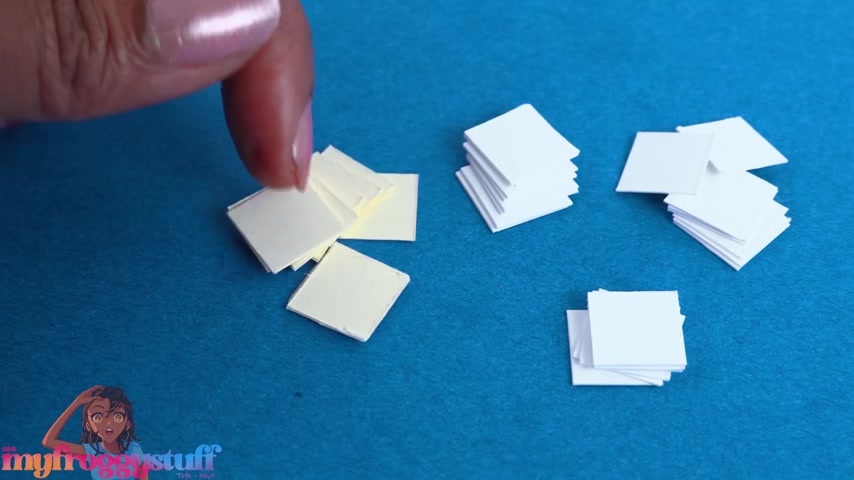
I have some scraps of card stock .
Maybe we can do something with this .
I have a cream color , a light brown , a darker brown and a white .
I use my paper cutter to cut the card stock into half inch squares and you don't need a paper cutter for this .
You could always just use a ruler and a pair of scissors .
Now we're gonna stack them .
I'm gonna start with the dark brown square .
Just one then place a light brown on top .
Let's do maybe three then another dark brown .
I don't know .
I think we're gonna need some more light brown in there .
Now we have six .
I think that's better .
Now , let's do six layers of the cream followed by another dark brown and six light brown .
More cream .
Let's add more to the cream .
So let's go with eight cream .
So it's nice and thick .
I'm gonna add some more to the center as well .
Maybe two layers of white and then another dark brown that looks pretty good .
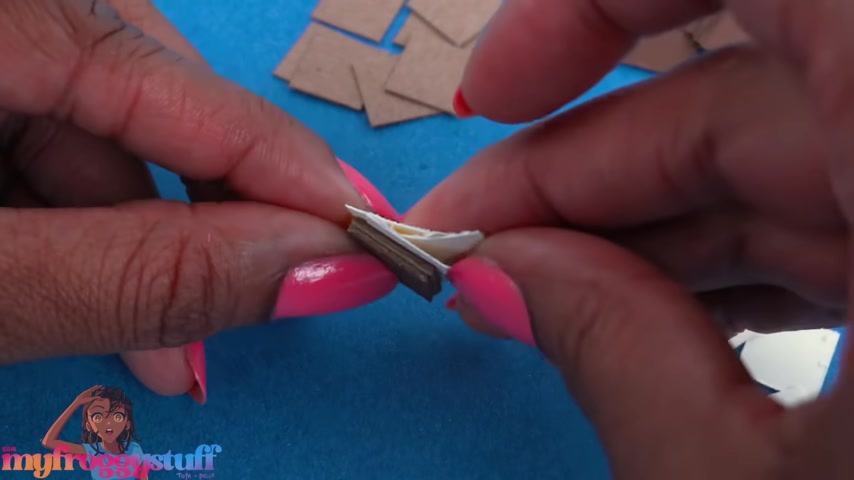
So it should go dark brown , light brown , dark brown , cream , dark brown , light brown , dark brown , cream , white , dark brown .
Use a glue stick to stack and glue them together to make a little paper , tear masse .
I want to get rid of some of those lines .
So I'm using a dotting tool .
I bought this one at the dollar tree .
I add a little glue to the sides .
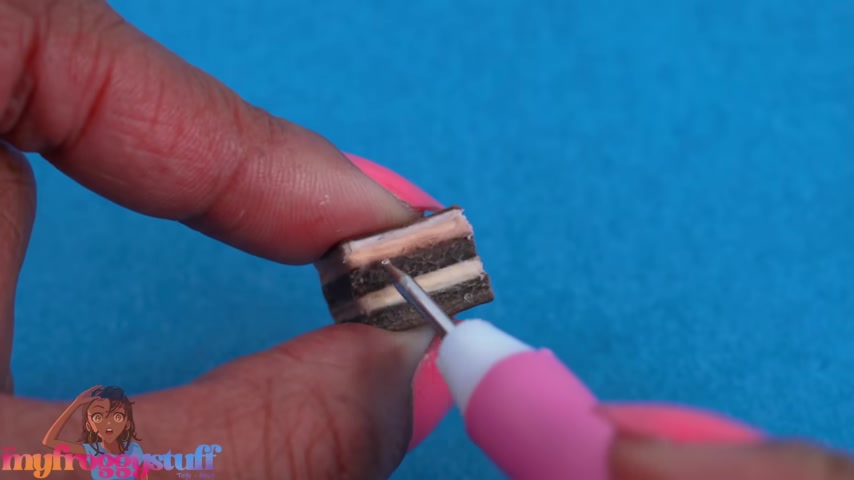
Then a little water and use the dotting tool to just kind of mush the paper around .
I really just want a lot of good texture .
So this is like the cake part , you know where it's made of like the lady fingers and then here is the cream .
So I'm doing longer lines here .
So it looks a little smoother and let's add some texture to the top .
Then a little gloss mod podge and I added a little brown paint just to make the cake part in the center a little lighter .
Then allow it to dry while waiting .
I made a printable with some paper plates .
Cut them out .
I have one with a my froggy stuff logo and a blank one .
I'm gonna glue these back to back , place it on a circle stencil that is slightly smaller than the paper plate .
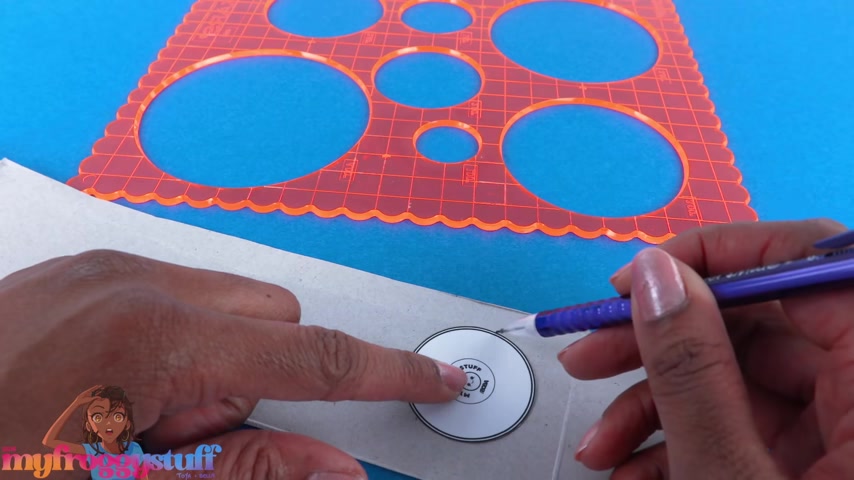
If you do not have a stencil , you can always make one using bottle caps and paperboard , trace the plate onto a piece of paperboard .
Repeat to make more trace a smaller circle on top .
I'm using a plastic bottle top , cut out the center of all of them , but one then cut out the larger circles .
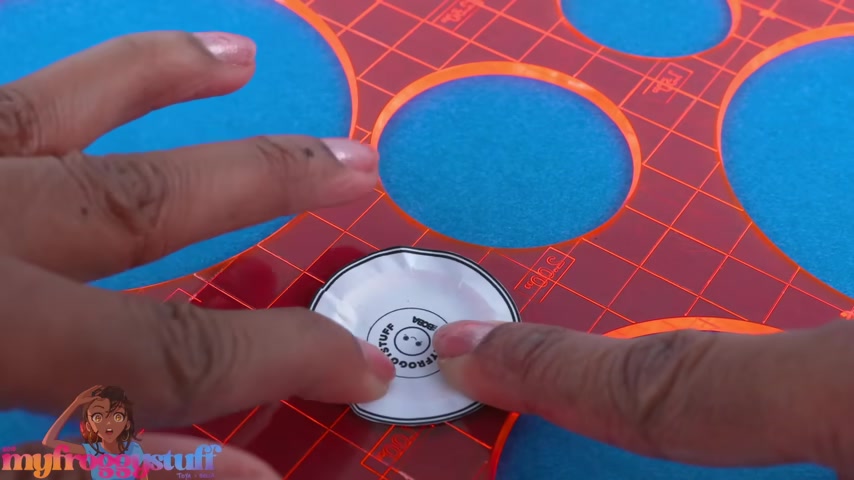
I left the last one square glue , the smaller circles or rings on top to make a way to shape the plates , place the paper plate on top , then push down to make an invention in the paper .
And the dotting tool really helps with this .
I do have to be careful not to rip the paper .
But when we remove it , now we have a little paper plate .
This works pretty much the same with the stencil .
I do like the stencil butter .
I bought the stencil at Michael's and now we have little paper plates where we can put the terra masse on top for the dolls to enjoy on that printable .
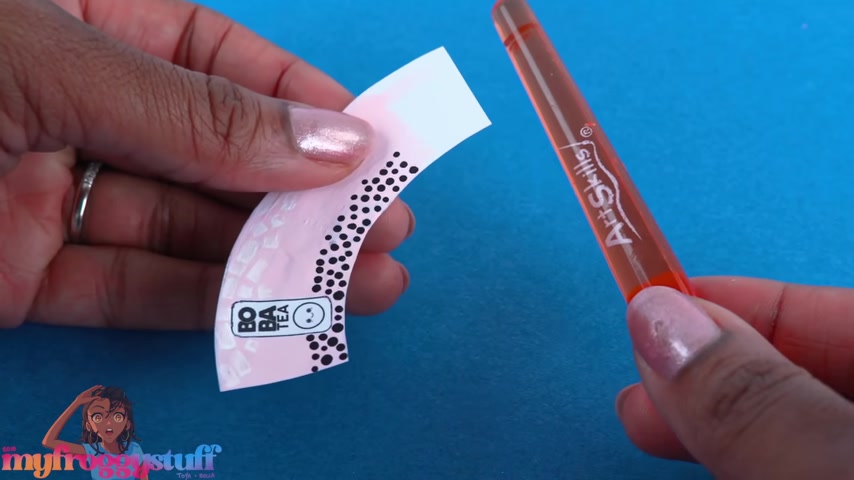
We also included a few cups .
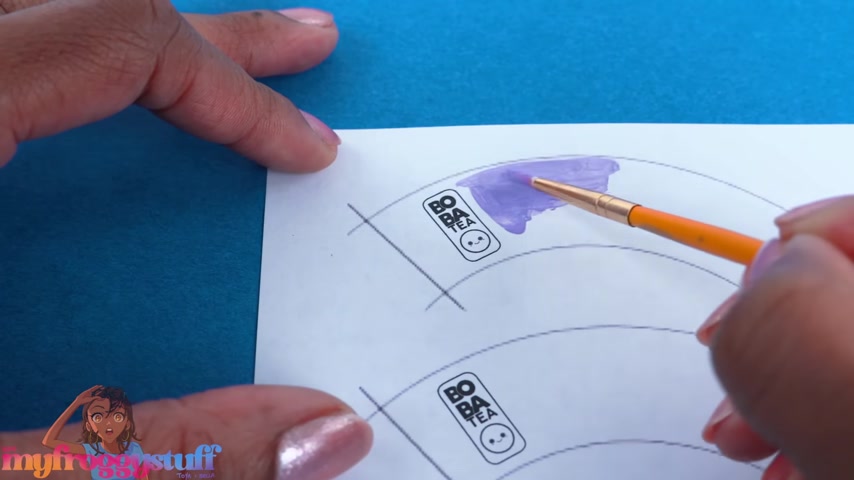
I use a little acrylic paint to paint directly onto the printable .
Going around the little logo .
I use a little white paint to paint , ice at the top .
Then I use my dotting tool and a little black paint to make little dots at the bottom .
We can try mixing different colors .
I'm doing different shades of brown .
Then I add the little dots .
I didn't paint the whole thing .
Only the parts that I think will be visible , cut them out .
Then I take the end of a paintbrush and we're just going to roll the paper around it to form the cup , then remove it and just spend a little time moving the paper to just the right spot to make the cup use glue to secure the ends .
I use the paintbrush to kind of help and keep the shape .
Now we have a little empty paper cup , place the bottom on a scrap of paper and I fill the cup with hot glue all the way up to the top .
We're just gonna use the hot glue to help keep the shape .
There we go .
Hot glue is hot .
So be careful when you're rolling your cup , make sure you start at the end opposite of the label .
That way this is what's gonna be on the inside .
And then our pretty little picture with the label will be facing out .
These are pretty easy to make , let's try a few solid colors without the ice .
So we have a little variety once the glue cools and dries cut off the excess paper , take clear tape , wrap it around the cup , trim off the excess .
And now our cup is shiny , cut out the lid and I like to leave just a little bit extra on the edge .
Take a large coated paper clip , cut off a small piece .
I pull the metal out a little bit on one end .
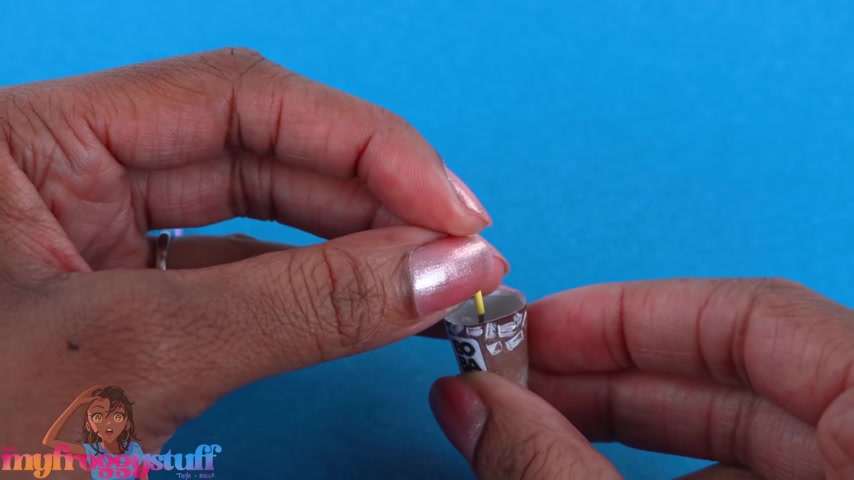
So the other side appears to be hollow glue , the paper clip piece into the cup , make a hole in the center of the lid , slide it over the straw and glue in place , fold that little excess paper over the edge to make tea for the dolls .
Place the boba tea next to the Terra Mao .
And we have a whole look here over the holidays on Instagram .
I was having fun with paper crafts .
One that I I did required card stock , a brown color pencil and a circle hole punch .
Use the whole punch to cut out several holes stack and glue them together .
I'm using a glue stick to glue all of the layers together .
This is 20 layers .

Add a little water to the top , then use the dotting tool to add some texture just on the top .
Once dried , lightly color the top with a color pencil to make flaky biscuits .
I have a few leftover circles for our next project .
I'm gonna use the color pencil and just brown the edges of the circles fading to the lighter color on the center .
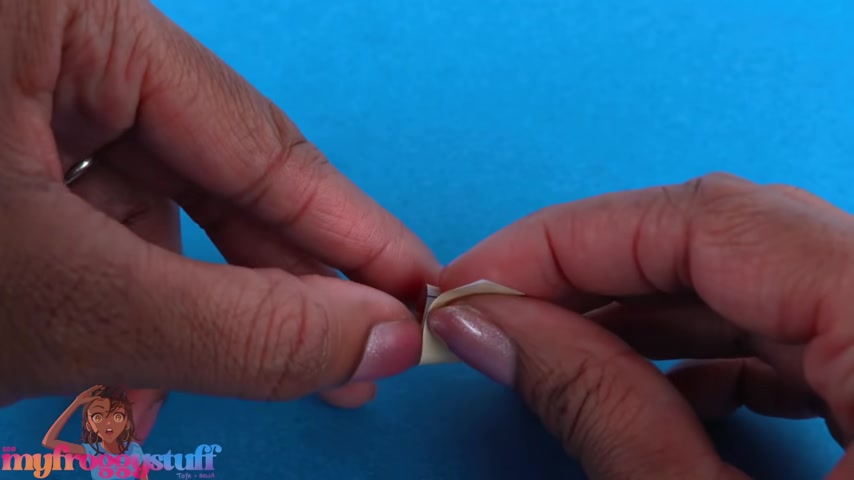
Take a toothpick or a small bamboo skewer wrap the circle around it just fold it right around the edge and a little bit of glue and glue .
Those ends together .
I hold it for a few minutes while it dries , remove the bamboo skewer or toothpick , then press it into the center of the back .
I'm gonna try to be right in the middle so we can bend it in half .
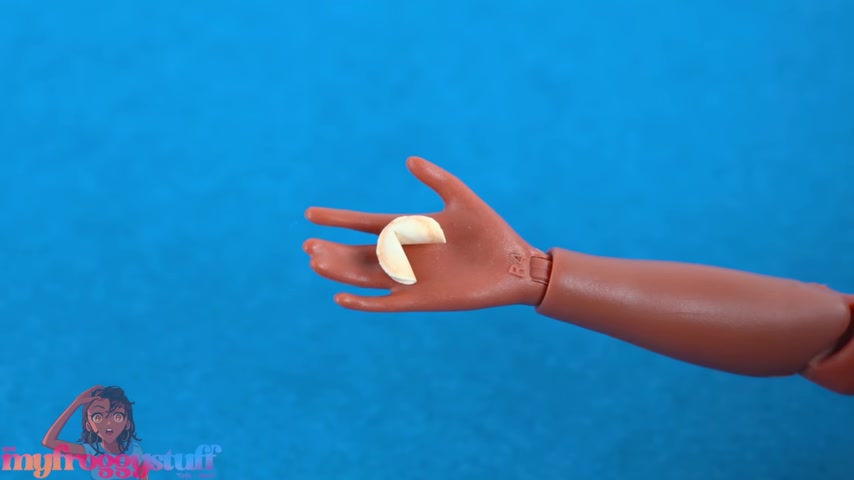
Here we go to make a teeny tiny fortune cookie .
This is very small .
I think we might want to make it a tiny bit larger .
It is a nice size for gro go hair .
Adorable and calico critters .
But I want them just a little larger .
So on a scrap of card stock , trace around a marker cap .
Go ahead and add some shading that looks pretty good .
Cut them out .
I'm using a larger bamboo skewer to curl it around to make a bigger cookie with a whole bunch on a little plate .
They look pretty cool .
Let's make another little paper dessert .
I've seen this one all over Pinterest and on Instagram it's a little strawberry cake cut more half inch by half inch squares .
I have white and cream starting with the cream .
I stack and glue together eight squares .
Make two , then stack and glue the white squares in between .
Let's add a little water , smooth out the white and add texture to the cream color .
I got it as smooth as I could add a few layers of white on top .
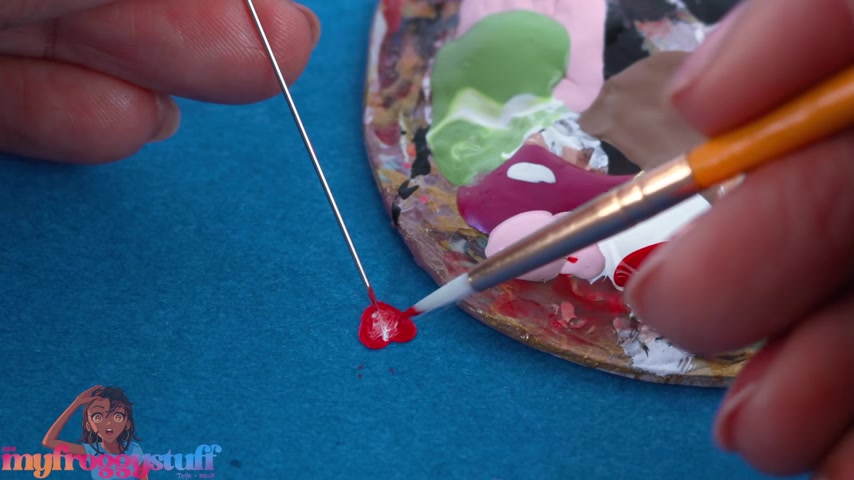
I'm using a heart shaped hole punch on red paper .
I have red , white and pink craft paint .
I'm using a sewing pin to hold it down .
Then add a little bit of red paint just to the edges and then we're gonna add a little bit of pink and kind of just mush those together .
I need a little bit more red here .
Then let's take a little touch of white and go right up the center and then kind of just make little means that go out to the sides if you can .
If not just do a white line to make little strawberry slices , glue them onto the white part .
I put two on the sides and two on top .
Add mod podge for a little shine .
I punched out a few white hearts then cut them in half on a whole heart .
I glue on a few of those cut pieces to make some decorative frosting to glue on top to make strawberry cake .
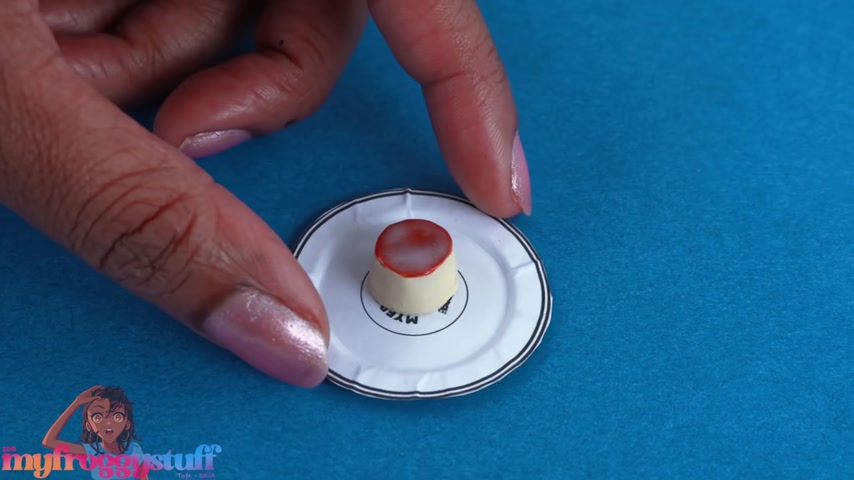
I have some extra Boity printable left over paint , the bottom cream , cut it out , wrap it around the paintbrush to make a small cup thin .
When we flip it over , it has like kind of the shape of flan .
However , I'm thinking this is just a little too tall .
So I'm just trimming it down a little , the bottom is slightly larger than the top .
We are going to lay it .
So the top is faced down on a piece of paper and we're gonna glue that in place .
Then fill it with the hot glue trim off the excess paper .
Touch up the paint .
I mix together a little brown paint and mod podge add the mixture to the top .
That was totally the wrong color .
Let's go with this .
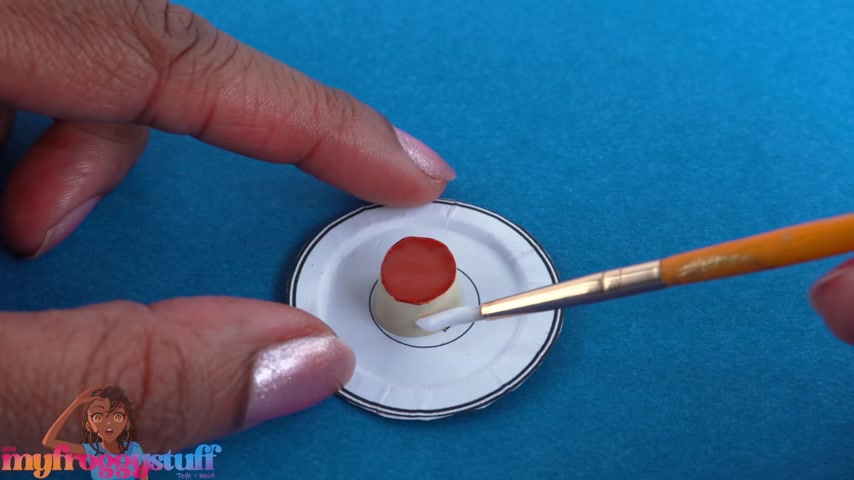
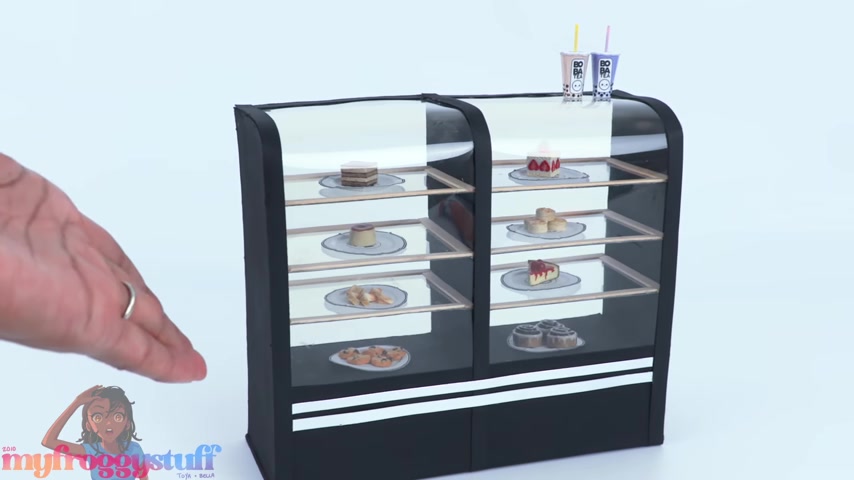
It's more like a dark caramel orange , then cover the whole thing with a thick layer of mod podge and allow it to dry while waiting let's give our little candy shop display case a makeover .
This is another paper craft .
We used paperboard to make it and then use clear plastic from packaging .
Let's remove the scrapbook paper and the shelves paint it a new color .
I'm going with black .
It crackled a little at the bottom because of the glue .
So I'm gonna cover it with some black card stock to clean it up , trim it with more black paper .
Take the clear shelves , trim them with coffee stirs to make them a little more stable .
Let's add a tiny bit of silver paper across the bottom giving our display case a whole new look so we can place our flan which is still drying on one of the plates .
Then place it in our newly renovated display case along with some of our other paper , food items like our chocolate chip cookies , cinnamon rolls and cheesecake place the boba tea on top and our dolls have a sweet spot to get a snack .
I love making food out of paper and it was so much fun to give our display case a little makeover .
So we made boba tea plates , strawberry cake , biscuits and fortune cookies giving us seven crafts .
I'm not counting the makeover so I can stay in line with my series .
Come on y'all .
You know , I do that .
Thank you for joining us while we made seven food crafts out of paper .
Like comment , share and subscribe .
Don't forget to ring the bell and follow us on Instagram at my froggy stuff and the frog vlog printable will be available on our blog , my froggy stuff dot blog spot dot com link in the description box below and we will see you next time .
Happy Crafting .
Are you looking for a way to reach a wider audience and get more views on your videos?
Our innovative video to text transcribing service can help you do just that.
We provide accurate transcriptions of your videos along with visual content that will help you attract new viewers and keep them engaged. Plus, our data analytics and ad campaign tools can help you monetize your content and maximize your revenue.
Let's partner up and take your video content to the next level!
Contact us today to learn more.