https://www.youtube.com/watch?v=Uqo_U1GBKtI
How to Make a Cheap Wilderness Battle Mat for Dungeons & Dragons
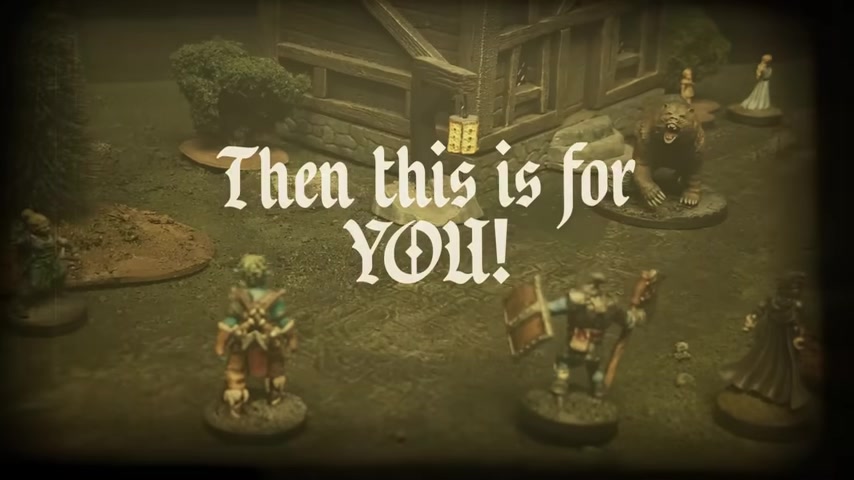
Everybody .
Welcome back to Black Magic Craft .
Last video I made this big sci fi battle mat using cheap formats from the Dollar store and a whole bunch of you asked if I could do the same thing .
But with like an outdoor wilderness theme and the answer is yes .
Yes , I can .
And I did this time around .
The mat's main focus would be for encounters in table top , rpgs .
And in my experience , you don't need this huge play area for game like D and D , you're better off with like a little snapshot , small area .
So one mat would be enough and it came out pretty dang decent .
It looks pretty good .
You can bend it and throw it around and it ain't gonna get damaged .
It's really durable .
It's perfect for your average game master running an adventure .
So same dollar store format as last time these are very lightweight E VA foam that would make for a horrible format .
You get what you pay for or , but they're just great for making terrain .
I had a lot of people suggest heating up E VA foam with a heat gun to apply texture since otherwise it just bounces back and you immediately lose your imprint .
If you don't have a heat gun , they aren't expensive .
You can easily get one for like 25 bucks and they come in handy for all sorts of things .
Both hobby and household .
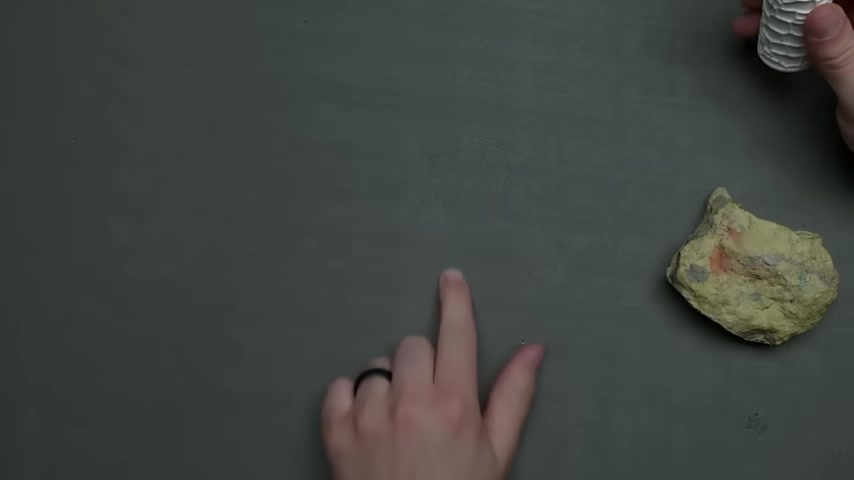
It did seem to help a lot with taking texture from a rock , but I mostly wanted to try it with a texture roller .
Using one without heat is completely useless .
It does not work at all .
However , heating up the foam first made it work great .
The texture was defined , it stayed and it made the surface of the foam a little bit harder , which was nice .
The tricky part though was doing a long road line .
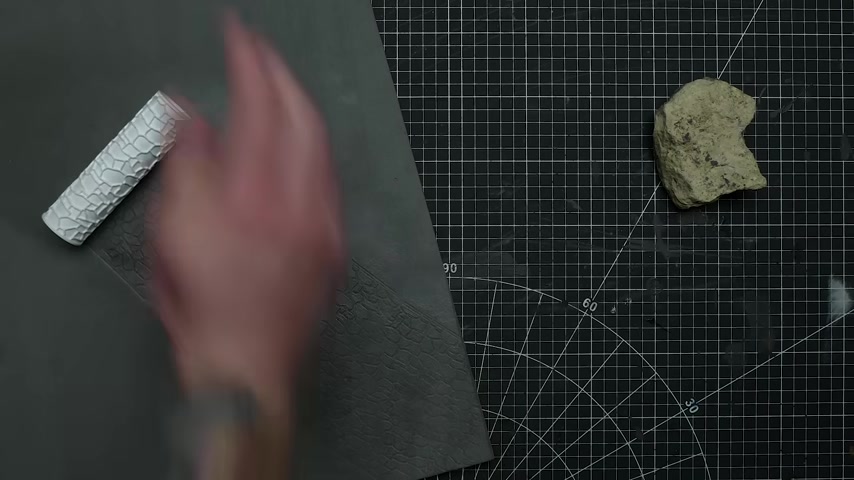
You have to heat up the phone in small sections , but you don't want to lose the position of the roller on the pattern .
This meant that the process was pretty toasty on the hand .
Even the roller started to get hot to the touch , which probably wasn't good if I do this again , I'm gonna grab my glove or something so that I don't cook my hand .
Just be careful .
Despite the bit of uncomfortable heat paid off .
The pattern looked great .
I wasn't going for a town section though .
I just wanted a patch of Cobblestone road running through the wilderness because we all know that's where great encounters take place .
The rock really didn't give a ground texture I wanted .
So I switched gears and broke out the supplies to make a flexible texture paste .
I got some sand , rocks , paint and a paintbrush and a roller sleeve .
Again .
All from the Dollar Store .
The one ingredient I couldn't get there is latex cocking .
That's fine though .
This stuff is easy to find at any big box or hardware store and it's very cheap .
Now , there's no magic recipe for this .
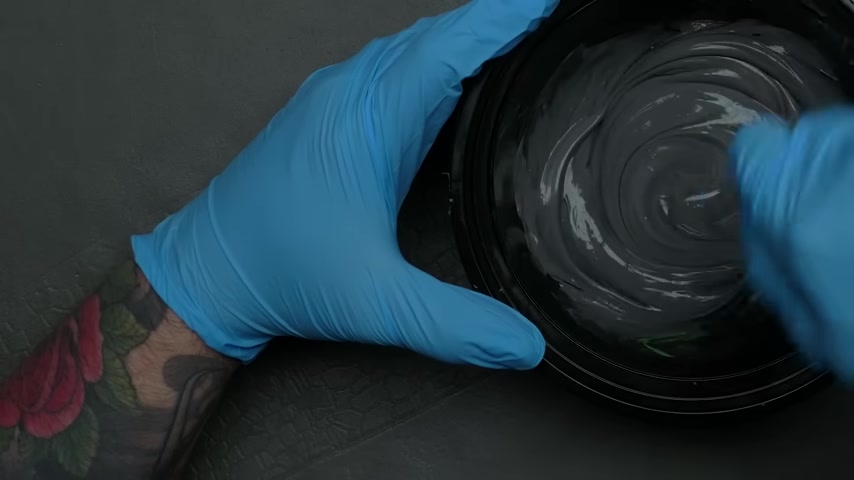
It's cooking , not baking and the ratios end up being different every time I do it , which is completely fine .
Start with a whole bunch of latex caking then mix in paint .
This serves two purposes .
It tints the latex which helps when painting later and may sure it looks ok even if it cracks in the future .
But it also dilutes the latex to a thinner consistency that makes it easier to work with .
If you don't add paint , then you gotta add some water .
But hey , why not just add paint instead ?
And because the King is white , it takes quite a bit of paint and a lot of black to get it to a somewhat dark color to give the paste some extra strength and grit and mixed in a whole bunch of sand .
This turns it almost into like a spread of sandpaper .
I also added some larger gravel , but I'd say this is optional .
I probably could have skipped this since I added more on top later , I used a large paint brush to apply it to the surface and even though this mixture is water soluble and can be washed out with a brush while it's still wet .
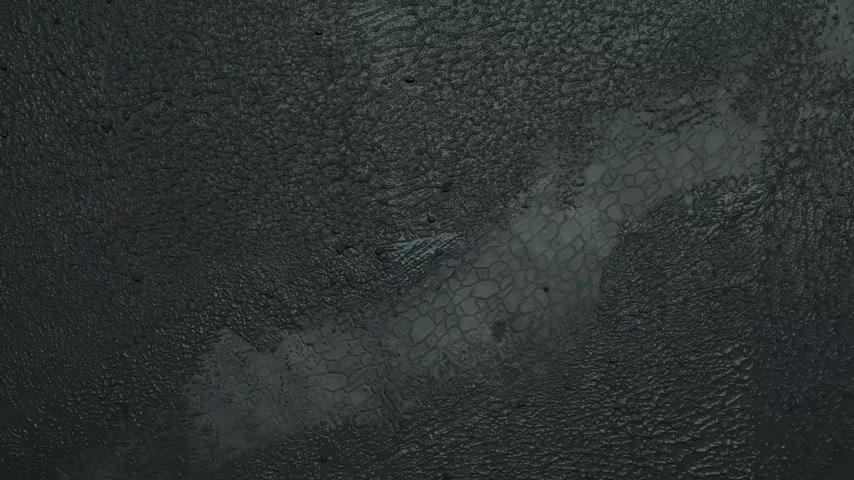
I prefer to use a cheap one or $2 brush for this just in case it gets ruined .
But the brush doesn't provide a very nice texture .
So I back rolled it all again , using a cheap dollar store roller sleeve while this mixture was still very wet .
I sprinkled on more sand and gravel to sit on top and then use some dry tea just from tea bags that I opened up to give things a more organic force floor texture .
The great thing about using tea is that it smells so nice while you're applying it .
After all the various texture things are sprinkled on .
It helps to let pat everything down and make sure as much of it as possible .
Sticks to your texture paste .
I decided it would look more interesting with some large rocks but didn't want anything too thick , just a few to decorate , but they were low and flat enough to still place minis on .
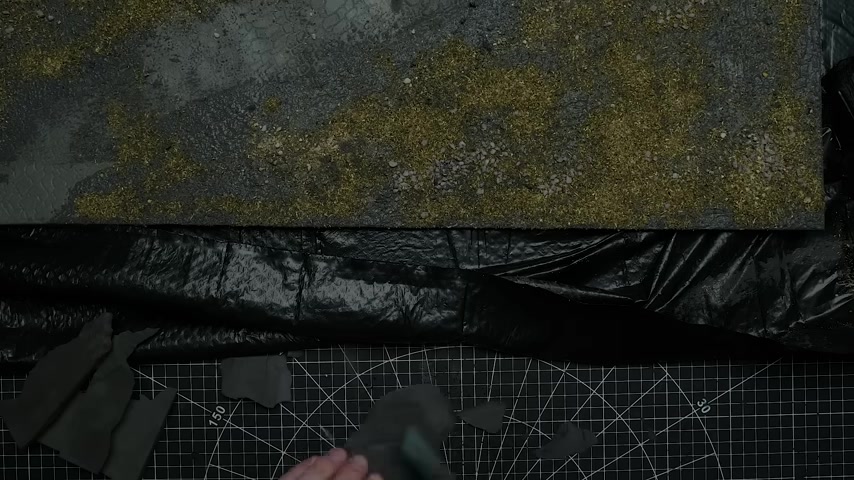
I experimented using chunks of foam from another one of the same E VA formats because they were a good thickness and I was already working with it personally , I found it a lot harder to carve rocks out of a softer foam than with say XPS .
But it did work .
And since I had plenty of my texture goo left , I just used that to attach the rocks to the still drawing surface .
You might be wondering if you can save this texture paste for future use .
I think you could at least for several weeks as long as it's in something airtight .
And if you're also wondering where does Jeremy get these sweet shirts ?
Well , now is the perfect time to tell you about this video sponsor into the AM into the A makes awesome clothing , mainly t-shirts but also stuff like hats , hoodies , joggers and shorts .
They have a constantly updating lineup of interesting graphic prints as well as basic tees which I highly recommend if you want something soft comfy and well fitting that won't shrink in the dryer , especially if you're rocking a glorious dad bod like me .

The artwork is always super bold and eye catching and it's professionally screen printed .
So the designs hold up really well in the wash .
I mean that these shirts are very good quality and the printing on them is exceptional .
If you've got a dresser full of old , worn out ill fitting t-shirts , it might be time for an upgrade .
Go look at their site and browse the designs but be sure to use the link in my description to get there as it'll give you a 10% discount on your entire order at checkout .
Cheers into the m thanks for sponsoring this video and making great t-shirts .
Now back to the project rather than just painting .
I made a batch of brown Maud podge way , the paint itself would give all the ground cover a better chance of staying put .
Long term , I was going for durability here .
Far more than realism when you have any kind of flocking , be it foam or tea .
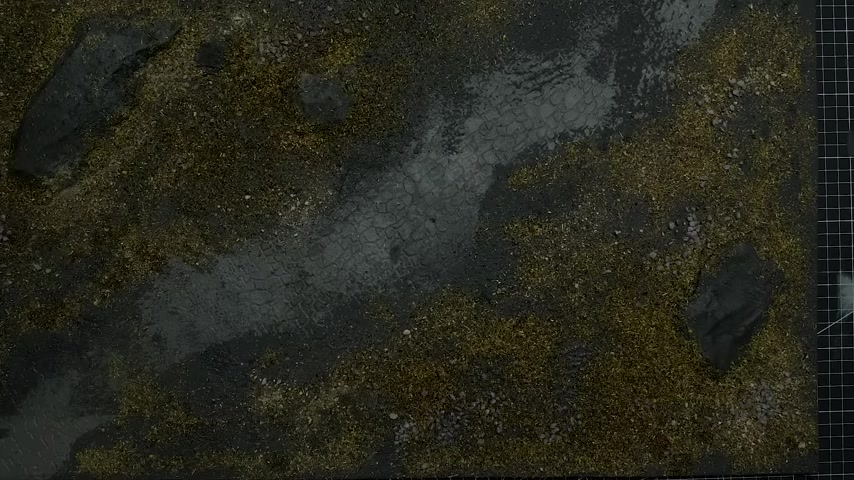
It's a good idea to spray it with some isopropyl alcohol before applying any type of scenic cement or glue or in this case , the mod podge paint mixture , it helps the flocking absorb the glue right through it rather than just sitting on top on the surface .
The big cheap paint brush came in handy for this coat as well .
The mixture of brown black and green craft paint gave the whole thing a nice earthy color .
But before it dried , I dabbed in a bunch of green paint and wet blended it with the brown on the grassy areas .
Once that was dry , I used some can to dry brush the roadway and the stones .
I wanted them to stand out from the other ground coverage rather than trying to avoid getting it on areas where it shouldn't be .
I just got it on the grass and then assumed that I could cover it up afterwards with some more green so dry , brushed on and honestly that worked fine , looked not bad considering it was just some homemade texture goop and craft paint .
But the roadway and the rocks were just asking for a dirty dark brown wash and I couldn't resist .
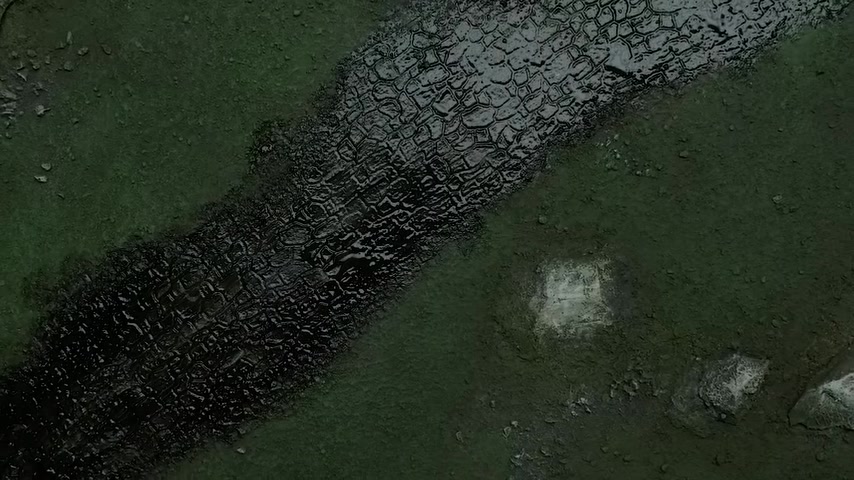
I used an oil wash because they just work better hands down .
That's it .
And don't let yourself think that oil washes are some expensive , expert level thing .
They are not .
They're the easiest most forgiving wash to use .
And while it will cost you a little bit to get set up with supply , maybe like 30 bucks or so , those supplies will last you forever making oil washes dirt cheap in the long run .
You want more info on how to get started with them .
Check out my introductory video on oil washes just for the hell of it .
I decided to use the remaining bits of my dark wash with some dark green mixed in to cover up the rest of the grassy areas .
I'm not sure that this was needed or that it made things better , but I just wanted to see how it would go and once dry it looked totally fine .
Obviously , this mat doesn't look nearly as nice or realistic as something .
Luke from Geek gaming would make , but it looks a lot more realistic than a Neoprene or dry erase mat .
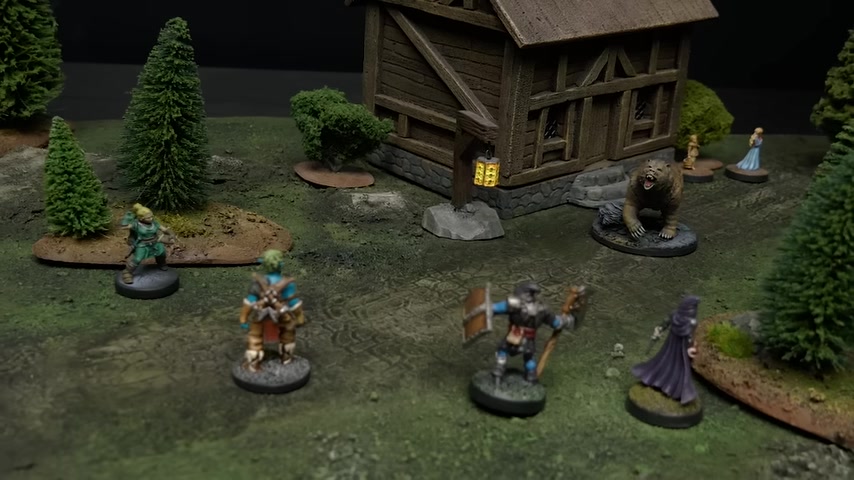
And it's a lot more playable than those hyper realistic ones covered in flocking and static grass .
It's a great middle ground and you can bend it , throw it in the trunk of your car , walk on it , whatever , it's not going to be easily damaged .
This simple layout can be used with a variety of scatter pieces to set up different scenarios .
So what do you think winner , winner chicken dinner or a big waste of time .
I don't know if this would be my main go to way to make a mat like this .
But if I was after something quick , cheap and very durable , then yeah , this is the way to go .
I hope you enjoyed this video .
If you did hit the like button , let me know in the comment section below and if you need to pick up any other tools or supplies that you can't get at your dollar store , check out Black Magic Craft dot C A there .
I have my essential equipment list where I list all the stuff that I use regularly and buying through those links , helps fund the production of these videos .
Last , if you get a lot of value out of this channel and these videos , the best way you can give back and help me keep making them is by supporting the channel on Patreon .
I'd love to have you as the newest member of the Black Magic Craft Fellowship .
That's it .
That's all .
See you next time .
Cheers .
Oh no .
The bear's gotten into the cocaine co .
Are you looking for a way to reach a wider audience and get more views on your videos?
Our innovative video to text transcribing service can help you do just that.
We provide accurate transcriptions of your videos along with visual content that will help you attract new viewers and keep them engaged. Plus, our data analytics and ad campaign tools can help you monetize your content and maximize your revenue.
Let's partner up and take your video content to the next level!
Contact us today to learn more.