https://www.youtube.com/watch?v=mwwEsLKufB4
How to Make a Bow - Easy 5-Minute Home Decor Craft
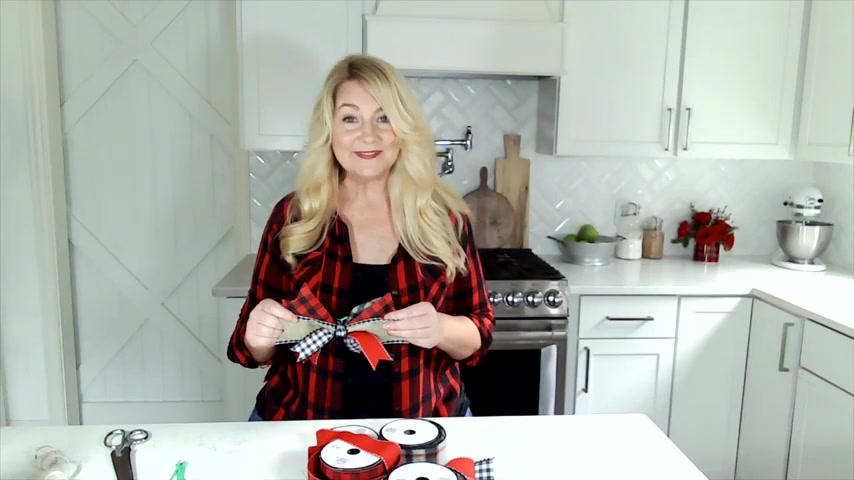
Hey , I'm Amy Laura with Living Lauro dot com .
And if you've got five minutes , we're gonna make a messy bow together .
Yay .
It is so easy and cute .
Gonna love it .
So be sure and subscribe to my channel below .
I hope that you join me for more Diy s and easy recipes .
First of all , you want to have your ribbon , you wanna have about four or five different types of ribbon , like different styles and colors .
Since I'm wearing buffalo plaid , I thought I would do that today .
So for my bow , I'm gonna make this one is five inches and I'm gonna do a five inch bow .
OK ?
So these , I'm gonna do 10 inches long .
So go ahead and I just cut one and then I put the rest of them over it and cut them up .
OK ?
So I'm gonna do that .
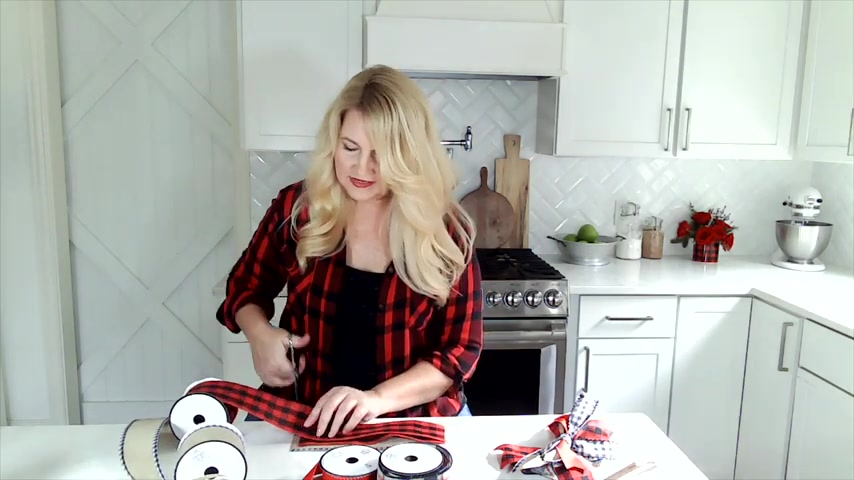
There's one ribbon you might want a couple of different , like some of them you want , might wanna be double layered like I love this red and black Buffalo Chick .
So I'm gonna do a couple of those and then I like to have a skinnier smaller .
These are all two inch ribbons .
But I like to have one that's about 1.5 inches just so it gets a little , little variety in your bow .
This is a really pretty one .
Now , I found all of these at Hobby Lobby .
I'm sure if you are a crafter like me , you have your stash of ribbon and of course , you gotta have the Buffalo Jack , black and white .
Super cute .
So , let's cut that up .
Now .
these I'm just kind of guessimate .
All right .
So I've got , let's see , 12345 pieces of ribbon cut .
And I'm gonna put the smaller one on the top .
Let's see .
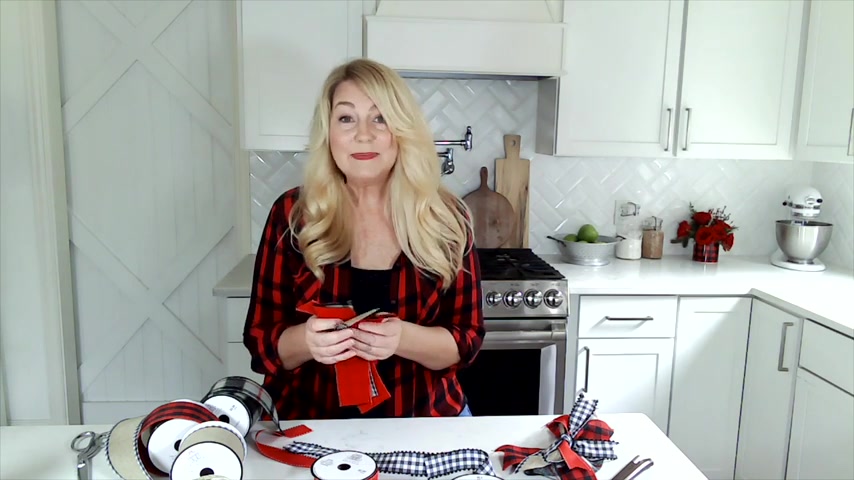
And I'm gonna , I've got a few of the Buffalo checks , so I'm gonna make sure they are not right next to each other .
I love this Burl app with the Buffalo check on the outside .
It's really cute .
Now , I've linked below to some of some that I've found on Amazon that you can order right now .
Super cute .
Now , what you're gonna do is you're gonna spread them out into like a fan .
OK .
So we're gonna spread them out and I have a whole tutorial of this also on my blog , a step by step picture one if I'm confusing you .
So anyway , this is um we're gonna do this and it's easier to do on your table .
All right now , go ahead and I forgot to tell you what all you'll need .
But this is basically all you need a ribbon and some twist ties .
You can use pipe cleaners as well .
I found these , of course , at my grocery store .
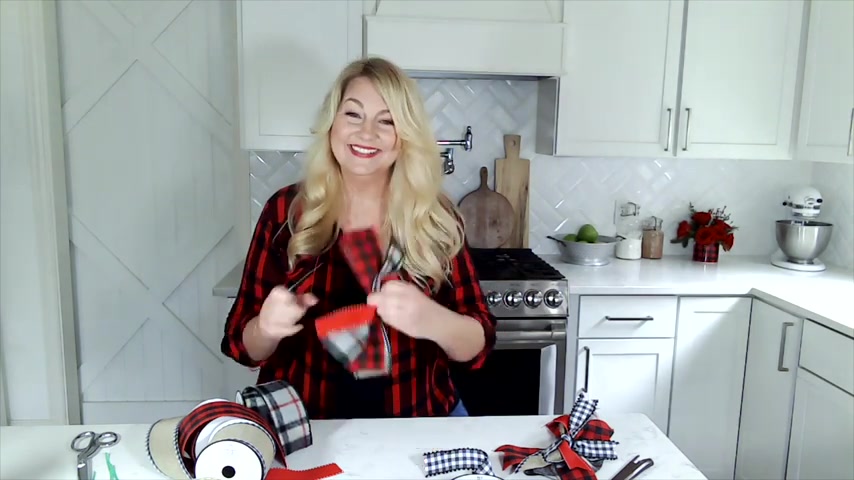
I snagged them and I'm just gonna take two of them and twist them together to make a longer one .
I couldn't find any of my pipe cleaners .
They're in my craft room and it's really messy in there .
So twist ties in the grocery store will do .
Now you squeeze it in the middle like this and it doesn't , this is messy and it doesn't have to be perfect .
That's what I like about these bows .
So make sure they're all fanned out and pretty again .
And then go ahead and pinch it in the middle and then do your twist tie , twist it really tight .
You can use this for a wreath .
You can use them for center pieces .
You can use it as a tree topper or just to put little ones in your tree .
If you've got Chris , if it's Christmas time , I just really like them for everything .
They're good for gift wrap .
So cute .
Ok .
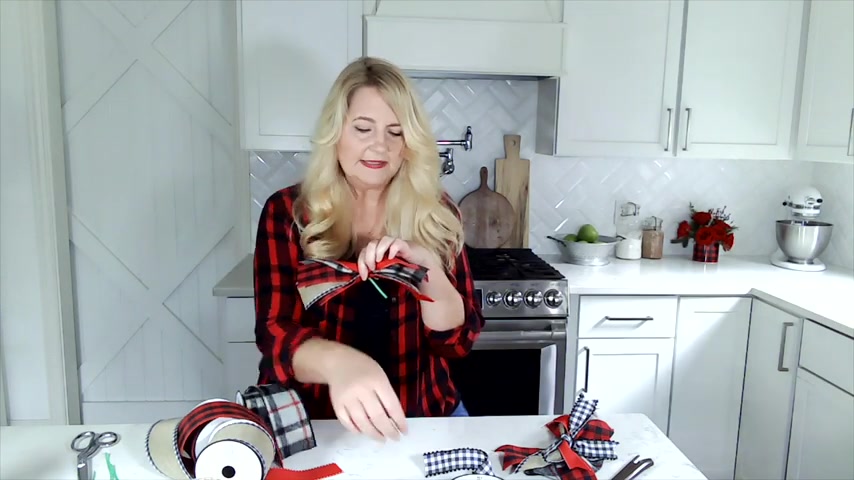
Now I've got that done and I'm gonna go ahead and cut a little piece of the buffalo check .
Oh , actually I forgot to put that in here .
Ok .
That's ok if you mess up because you can just untwist it and do it again since I did , I forgot the buffalo check .
That looks so much better bear with me .
It might take a little more than five minutes when you mess up .
But really it takes five minutes if you know what you're doing .
All right .
There we go .
Now , I'm gonna take another little piece of this like maybe six inches long and I'm gonna fold it in half like that and then I'm gonna tie it around the twist tie just so it's not showing .
Ok , cute , super easy .
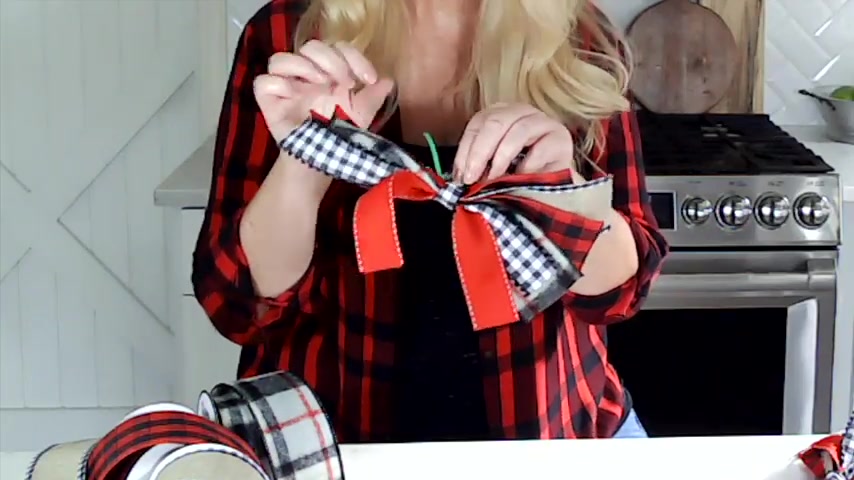
And I'm gonna make sure your twist tie is around to the outside of this thing you're gonna tie because you're gonna want to use this to tie this on your wreath or your Christmas presents or your gifts to your friends .
So , and then we just wanna tie this really tight and that's it .
That can actually be a little piece of your ribbon as well .
So you don't want to leave it like this because we don't have any pretty edges on our bow yet .
And if you need to , you can add , I , I mean , this is just , let's see , 12345 pieces of ribbon .
If you want to make an even bigger fluffy one , add five more pieces and you'll just have this really big fluffy one .
But for now , for this tutorial , this is all I wanted to do for you guys .
All right now we're gonna just um we want to trim the edges so they're nice and pretty .
So just bend your ribbon like this and that's gonna be wrong .
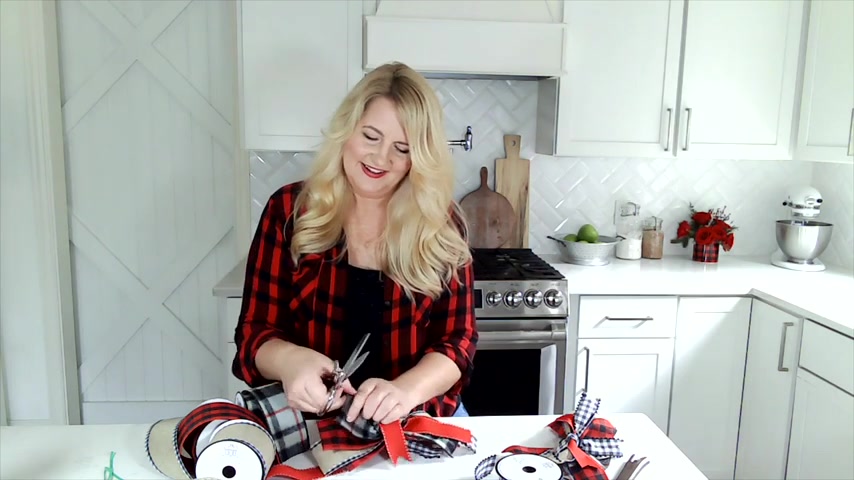
Kept a little duck tail .
All right .
So we're gonna do that .
But this is really what takes the longest is just cutting these stuff tails .
Now , if you're fat , I , these are brand new scissors and they're super sharp and I already cut myself once .
So be very careful with your scissors .
All right .
So I'm gonna do this and then that's it .
Now , I've got them all cut into pretty cute little deck tails and I'm gonna kind of move them around and because these , these have wire and then all except this red one which is a little floppy .
So it might be , if it's too floppy , you can cut it shorter .
But I I'm fine with it being floppy .
I think it's cute .
So go ahead and um you know , move everything around , fluff it up , use your wire .
Oh , here's one .
I forgot to do a duck tail .
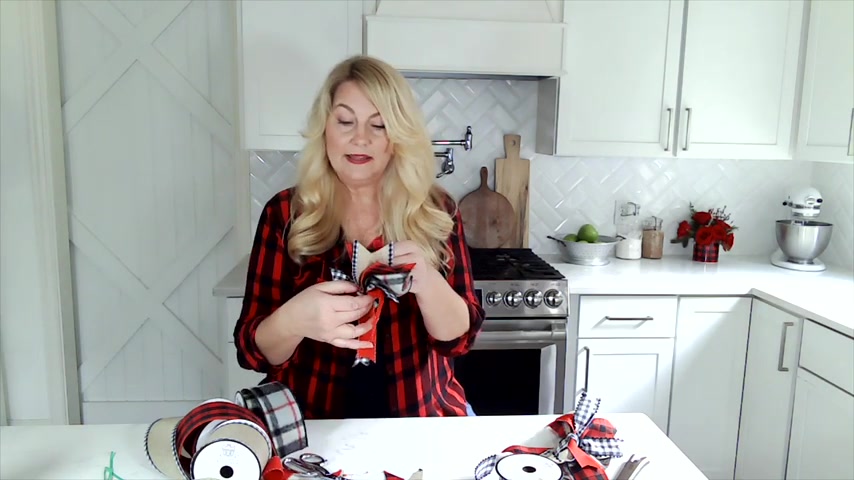
You will find one that you miss that you missed .
Just be careful and don't cut your fingers .
Believe me , I just did it the other day and it hurt .
All right .
I think this is so cute .
So easy .
How fun is this ?
Thanks for joining me .
I think it turned out so cute .
Be sure .
And subscribe to check out more of my fun food ideas and cute diy like this .
Are you looking for a way to reach a wider audience and get more views on your videos?
Our innovative video to text transcribing service can help you do just that.
We provide accurate transcriptions of your videos along with visual content that will help you attract new viewers and keep them engaged. Plus, our data analytics and ad campaign tools can help you monetize your content and maximize your revenue.
Let's partner up and take your video content to the next level!
Contact us today to learn more.