https://www.youtube.com/watch?v=C2CVlvSSFO4
BETTER THAN TAKEOUT – Sesame Chicken Recipe
Hi , everyone .
Welcome to soup up recipes .
Today we're making sesame chicken .
Everybody loves these little crunchy nutty bites of chicken .
It's so good today .
I want to show you how to make it better than your local take out .
Uh Don't forget to watch me all the way out to the end of this video because I'm going to update some information about this walk that I want to sell .
Ok , let's get started .
I got some boneless and skin on chicken leg .
Cut them into one inch size pieces .
I prefer dark meat when making fried chicken .
It gives you a juicier and tender result .
And yes , you can use chicken breast if you wish to marinate it with one teaspoon of grated garlic , 1.5 teaspoon of soy sauce , half teaspoon of salt .
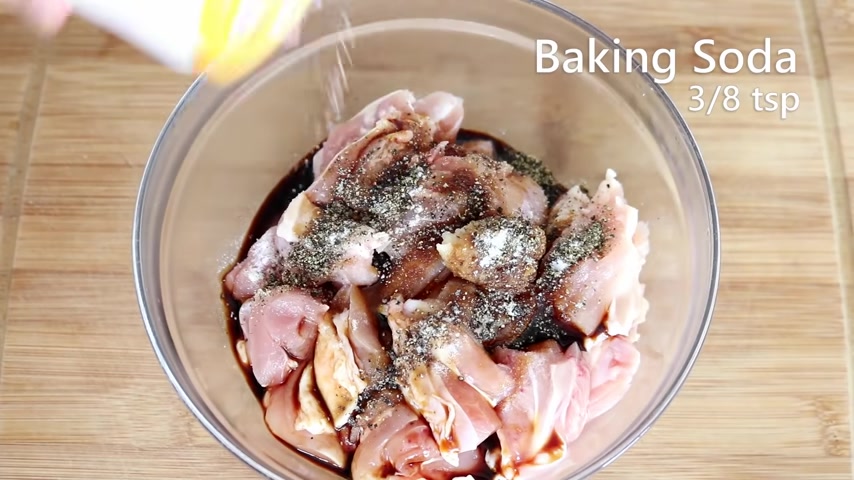
Some black pepper to taste some baking soda to tenderize the meat .
One egg white and half tablespoon of starch , corn , starch , potato or sweet potato , starch .
They all work depends on what you're gonna use for the coating later .
Mix everything until well combined .
Cover it and let it sit for 40 minutes while waiting .
Let's prepare the coating .
I have been testing different ingredients for that .
I found out that using sweet potato starch , makes the Crispiest sesame chicken .
This is what I'm using .
Most oriental markets will carry it .
You can also use potato starch or corn starch .
They will give you a similar result .
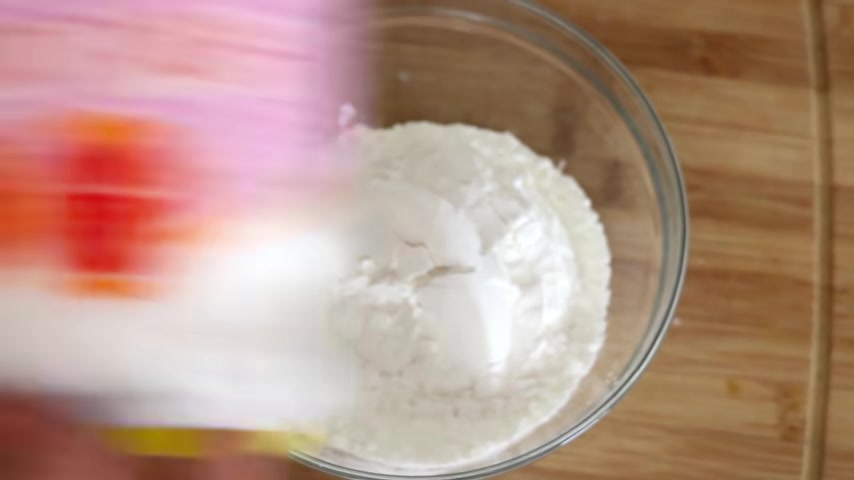
Besides the ingredient , I will show you a unique method to make your sesame chicken extra crunch fluff , the starch a little , get a spray bottle , gently spray a tiny bit of water into the starch a few times .
Some of the starch will clumb up and create some mini little balls .
You just wait for 10 seconds to let it set and use the whisk to stir it , then spray more water .
Wait for another 10 seconds and stir it again .
Do this three times in total .
After that , if you touch the starch , you can feel those little lungs which will give some extra crunch to the chicken .
Maybe some of you never heard of this method before .
Give it a try .
You will be surprised .
Get a big container and dump half of the starch in there , spread it out .
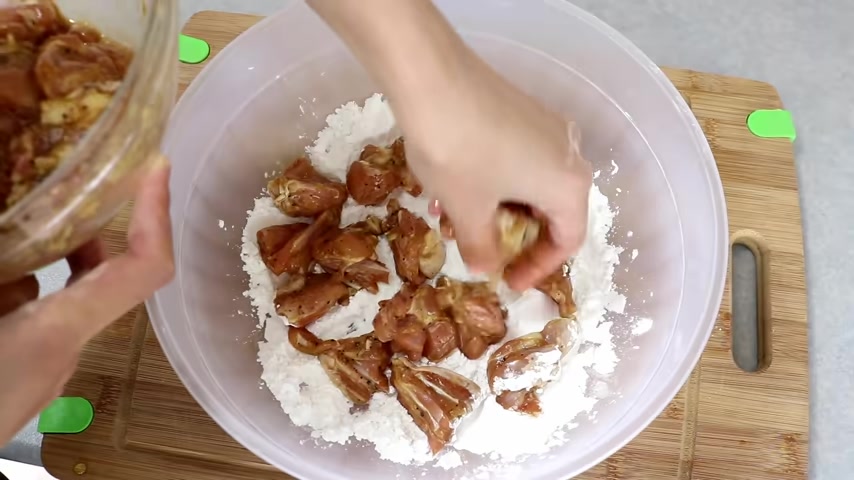
Adding the chicken do not throw in the chicken all in one or else they will stick together , try to separate them piece by piece , cover the meat with the other half of the starch .
Put on the lid and shake for a few minutes .
All the chicken pieces should be coated with starch evenly .
Pick out the meat and shake off all the excess starch .
I already heat up the oil to 300 °F , adding the chicken piece by piece .
So they don't stick together , don't crawl the pan because it overflows easily do it in batches .
If you need to , safety is most important .
The temperature is high in less than two minutes .
You can feel that the surface is getting crispy and the color is slight yellow .
Take them out at this point .
Then we can do the second batch before that .
You might want to fish out all those small little bits .
It's optional , but it does affect the quality of the oil .
Keep the temperature at 380 °F and fry the second batch of the chicken .
Once you're done , let all the chicken rest for about 15 minutes .
And we're gonna double fry the chicken , double frying will stabilize the crunchiness .
So it lasts longer because at the end , we'll coat the chicken with some glossy sauce .
If you don't double fry it , the chicken might not be crispy while serving .
You just keep an eye on the color in about two or three minutes .
It will reach that beautiful golden color .
Take them out and set it aside .
Next , we're gonna make the sauce .
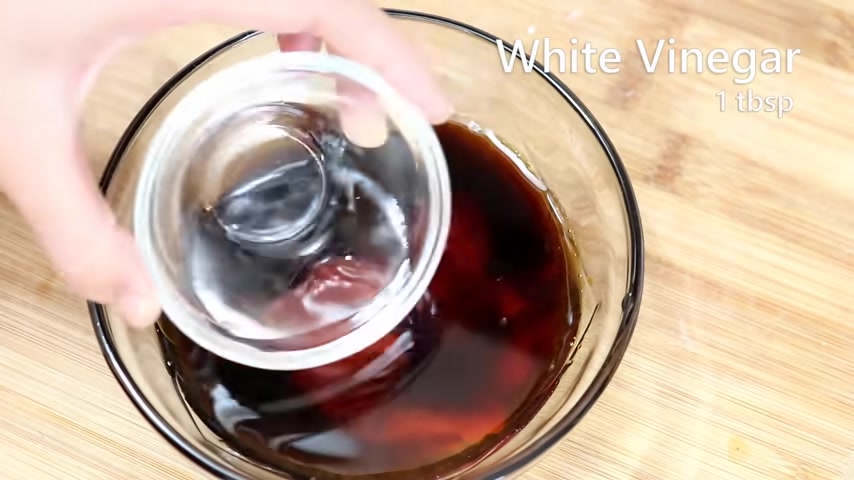
Adding three tablespoon of brown sugar , two tablespoons of liquid honey , 2.5 tablespoon of soy sauce , 2.5 tablespoon of ketchup , three tablespoon of water , one tablespoon of vinegar , mix them until well combined , put your wok on the stove and pour all the sauce in .
There are some sugar sink in the bottom of the bowl .
Make sure you clean that keep stirring the sauce on medium heat .
Bring it to a boil and pour in some starch water to thicken the sauce .
This is just two teaspoons of potato starch , mixed with two teaspoons of water .
Keep stirring until it reaches a thin syrup texture .
Introduce the chicken back into the wok along with a drizzle of sesame oil and 1.5 tablespoon of toasted sesame seed .
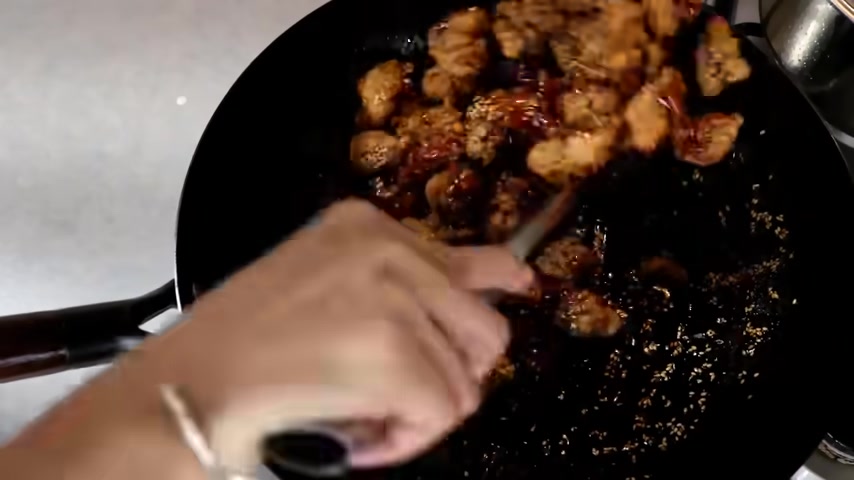
Toss everything until the chicken is coated nicely .
Take them out .
I sprinkled some diced scallion on the top as garnish .
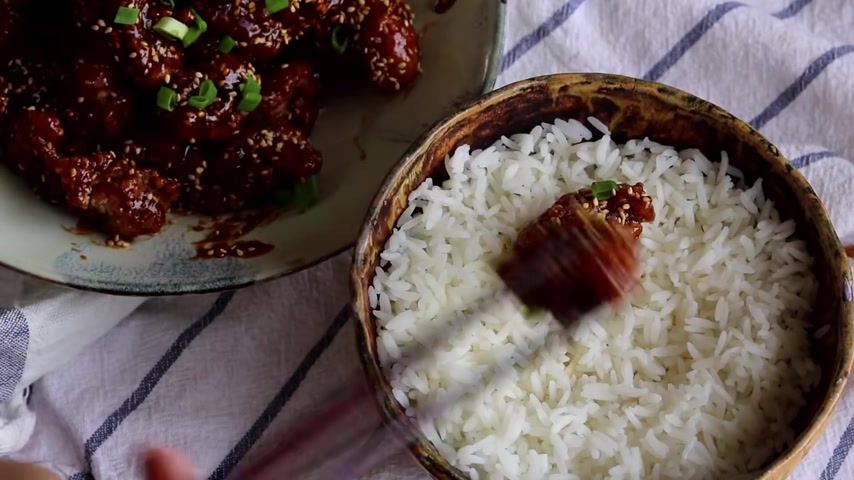
This is great to serve on top of white rice .
Just look at this .
Don't tell me that you're not jeweling .
I love shiny looking food .
If it happens to be crunchy , that will be the best thing I can imagine and listen to this .
It's so crunchy .
Nothing is more satisfying than this .
You can really taste the sesame .
Very nice and naughty .
To be honest , the first time I have heard sesame chicken , I was thinking no Chinese people do not eat sesame chicken .
And now look at me , I make it every week .
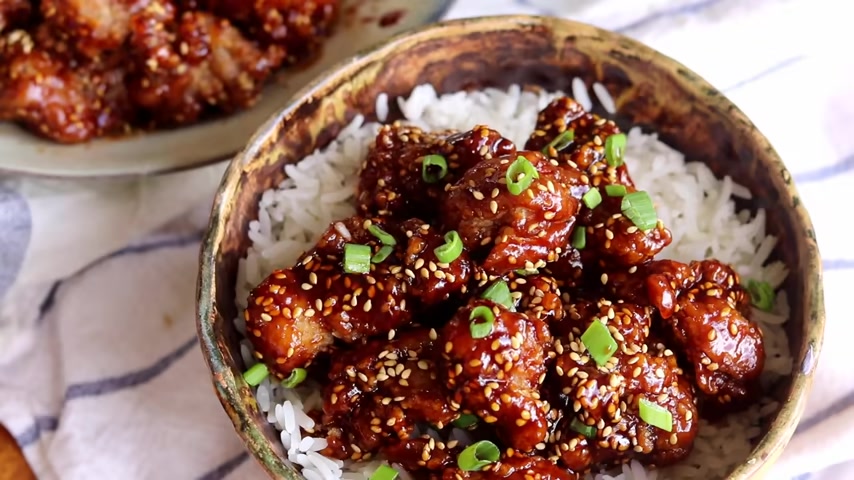
I hope you give this a try soon .
The recipe will be in the description down below the video .
You can go check that out .
Thank you for watching until the end .
I'm so excited that finally I got a complete sample of the walk that I'm about to launch , which means it's going to be available soon .
So let me show you some details .
It comes in a nice printed box here has my little soup up recipes logo .
Very cute .
Like me included is a carbon steel wall , a wooden handle , a natural wooden lid and a stainless steel spatula .
The wooden handle comes unattached .
You just screw it in very easy .
The walk is lightweight and it has a flat bottom .
So it works on gas , electric and induction stove tops .
This whole set looks so beautiful and traditional .
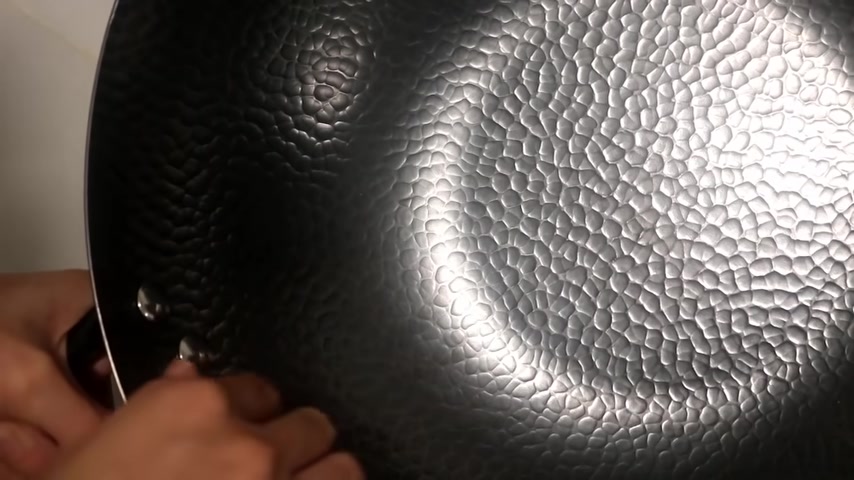
I was using a glass lid for my old walk , but I prefer this wooden lid just the way it looks the organic wood pattern and the nice hammered marks made me feel so good while cooking .
Besides that , there is another small change .
I added a pouring loop on the edge .
My old walk does not have it .
So it was a bit difficult when you want to transfer some liquidy food .
Sometimes the counter gets a little messy .
So I hope this lip will make your life easier .
When I launch this product officially , I will also share a full tutorial about how to season and take care of your carbon steel work with the proper care .
It will become nonstick and last you many , many years .

Ok .
That is all the information for today .
Can't wait to see .
You next time .
Bye .
Are you looking for a way to reach a wider audience and get more views on your videos?
Our innovative video to text transcribing service can help you do just that.
We provide accurate transcriptions of your videos along with visual content that will help you attract new viewers and keep them engaged. Plus, our data analytics and ad campaign tools can help you monetize your content and maximize your revenue.
Let's partner up and take your video content to the next level!
Contact us today to learn more.