https://www.youtube.com/watch?v=IcbRo5hBabA
Real Chicken Fried Steak Recipe S1 Ep46
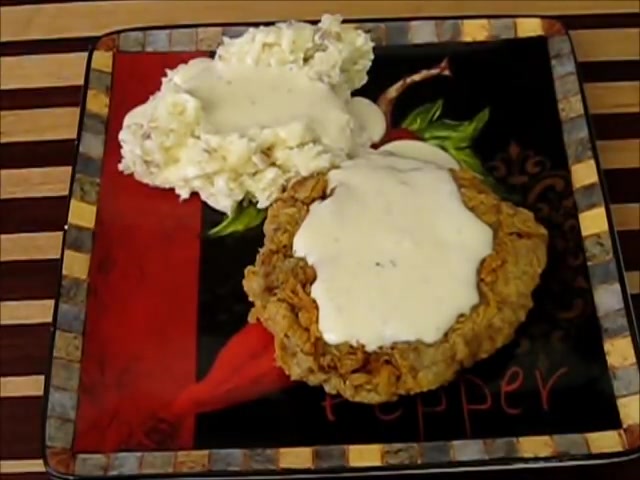
This wonderful looking dish .
This is chicken fried steak with cream gravy and mashed potatoes that have been fixed up with some sour cream , bacon bits and plenty of butter .
I tell you what , this is a Texas favorite .
If you want to try some of the best food you've ever had in your life .
Give this recipe a shot and it's going to blow your mind .
Welcome back .
Well , we're about ready to go ahead and make our chicken fried steak .
This is going to be a simple dish and what I have chosen for the meat here is a simple cut of the eye of the round and it's about three quarters of an inch thick .
I'm actually going to pound this down a little bit and use a tenderizer on it and I'll show you how that's done .
We'll use a mechanical tenderizer now to flavor this to season it .
I'm going to use some salt black pepper and a little cayenne .
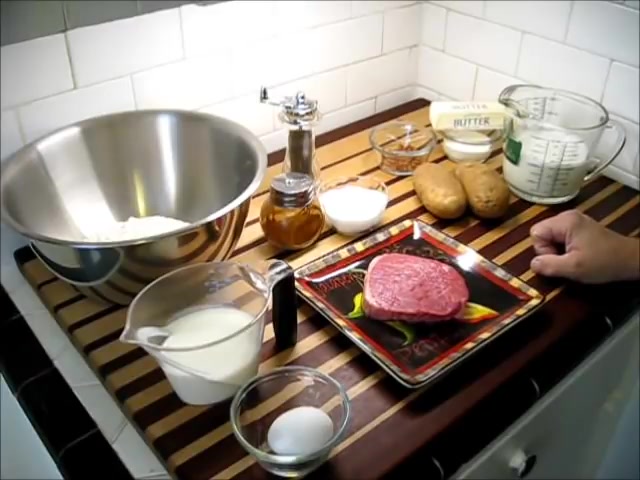
The cayenne isn't necessary or if you want to keep a type of chili in this to give it that chili flavor without the heat of the cayenne , you could also use paprika and that will tone down the heat a lot while giving you the warm flavors of a nice chili pepper in the , in the meat .
Now , this isn't always done that way in Texas .
Usually when they prepare a cutlet in a restaurant in Texas , they'll only use salt and pepper if that much on it .
Maybe , sometimes just salt .
Uh , the next item we're gonna do is gonna be some mashed potatoes .
I want to take these two potatoes , we're gonna peel them and we're going to then cube them up , boil them up and match them up .
And I'm gonna teach you how to mash potatoes .
There's a couple of different ways it can be done to add to that .
We're going to add bacon bits , some sour cream there and also butter .
So when I'm doing the mash itself , I'll incorporate those ingredients .
Then over here I have some milk .
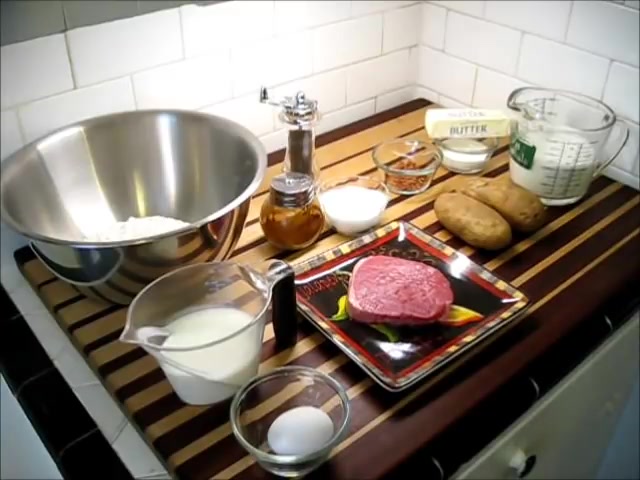
We're going to make some cream gravy and there's a couple of different ways of making cream gravy where there's one that's not so healthy and one that's a little more healthy .
And that's the one we're going to do is what's a little more healthy .
But I'll explain the other method as well as we go .
And that is just basically where you're using the drippings from cooking the meat or frying the meat rather to make your gravy with .
And in this case , I'm going to be deep frying this .
So I'm not going to be able to take drippings for that purpose .
So we'll move on to our next step .
Here we go .
All right , we're going to start our meal by peeling the potatoes and we're going to boil these things first .
Now you can get these vegetable peelers .
They're very simple little tools .
They don't cost very much .
I highly recommend them .
And you can see why they make quick work of this .
And what we want to do is just whittle away that skin .
You can do a skin on mash .
But the way I'm going to match this won't work for a skin on .
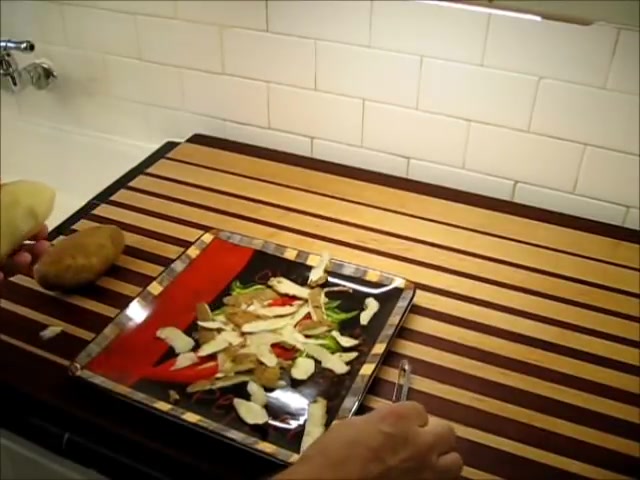
Um There are a couple of different mashing techniques that will work for skin on and we'll go over those as well and you are OK .
I have one potato .
I give it a quick wrench just to wash off any dirt that might have been on my hand from when I was peeling it .
Watch your fingers around a vegetable peeler .
These things do have a tendency to bite when you don't expect them to .
You can also use a pairing knife for this to gently peel away that skin .
There's a couple of techniques you can use there with a pairing knife .
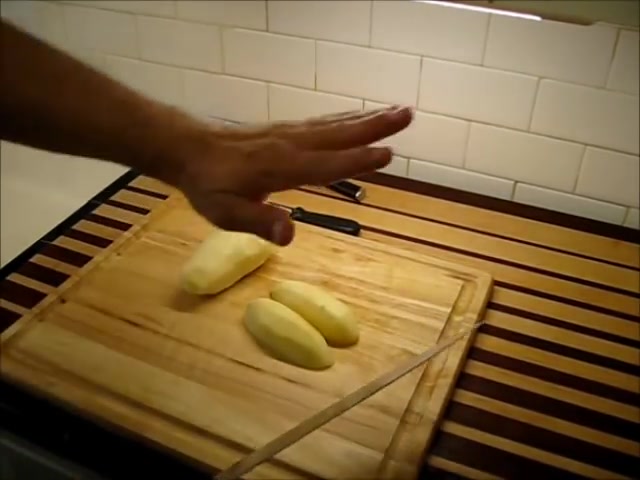
You would just simply go around the potato like so peeling off a thin layer in a rotary fashion or lengthwise if you wish , you can remove it that way .
But I find the knife technique takes just a little bit longer .
It's not quite as quick as this .
And frankly using that peeler is a much more comfortable way of working .
Now , I need to get these peels out of our way and let's get a cutting board up here .
And when we're cutting our potatoes for boiling , we simply need to cut them down so that they can boil up quick .
So what I want to do is to quarter the potato lengthwise like , so that's the first thing .
Now , when you're cutting , remember , keep the fingers under and the thumb back behind the fingers .
So we're going to cut these into about three quarters of an inch to an inch long strips , depending on whether it is at the tapered part or if it's in the center .
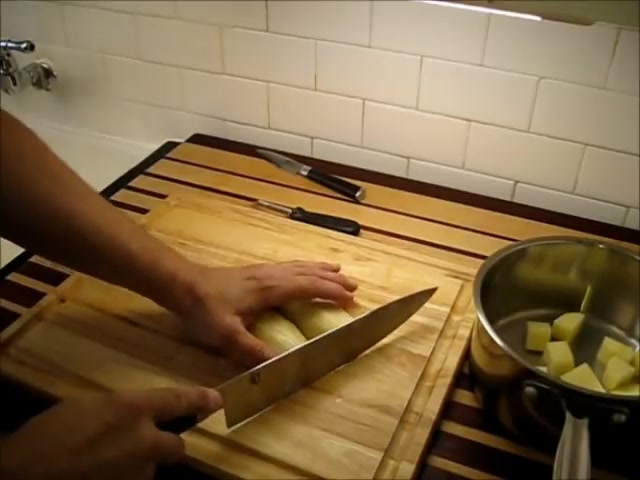
So I want all those pieces to be roughly the same size .
So they'll cook about the same speed hand .
Right .
That's easy enough .
Do it one more time .
Remember these cuts don't have to be perfect because it's all going to get mashed up later .
Right ?
Ok .
I just need to fill this with some water and we're ready to boil .
I have just now put that little pot of potatoes on the stove and I turned the burner on high .
I filled it with water until the potatoes had about an inch above them with water .
Now I'm putting on some of these wonderful blue gloves .
Again , we're getting ready to work our meat .
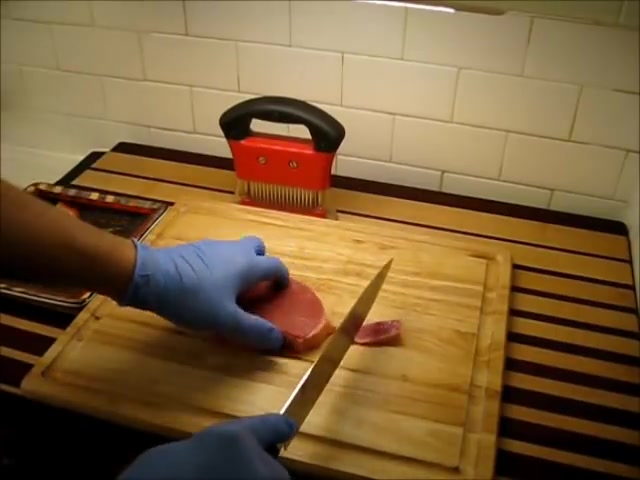
Now , what I want to do is I want to take this eye of the round , which isn't necessarily a super tender piece of meat .
And I want to make it a little more tender I have here with me , a mechanical tenderizer and these are commonly used in commercial cooking .
They are illegal in France because people would use them to portray the meat as something .
It's not , they would be taking like choice cuts of meat and then processing them with a meat tenderizer and calling it prime beef when it wasn't .
And so the government there just made this thing illegal even though that's where it was invented .
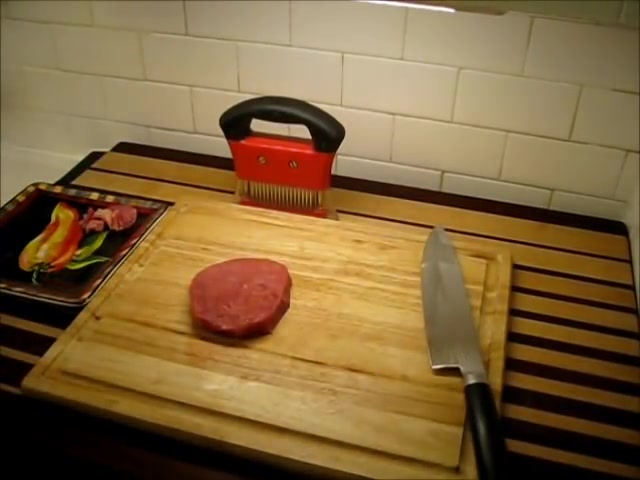
So the item I want to use my hand off here , this is a meat tenderizer and what we have here , if you've never used one of these , this has a series of small knives or blades that stick out from the handle and a spring loaded retractable base .
Now these little knives , when they shoot down into the meat , they won't leave any noticeable marks , but they will tenderize it very , very well .
And that's exactly what we're going to do .
So I want to take this little guy , you running across that meat a few times .
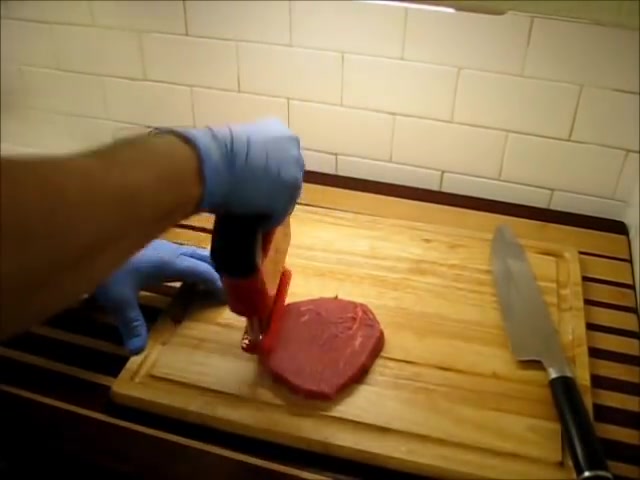
But now on a chicken fried steak , what this does is it helps to make the meat more tender by breaking down the fibers in between the individual meat filaments there .
So it just by breaking it down , that makes it more tendered .
Now I'm gonna do that a little more but a different method here .
There we go .
Now , the next thing I want to do to this , we're going to place it inside of a Ziploc bag and this just helps to keep things a little cleaner , keeps the meat from breaking apart as much .
You can also use a couple of layers of plastic , clean wrap or even some foil fold over with foil .
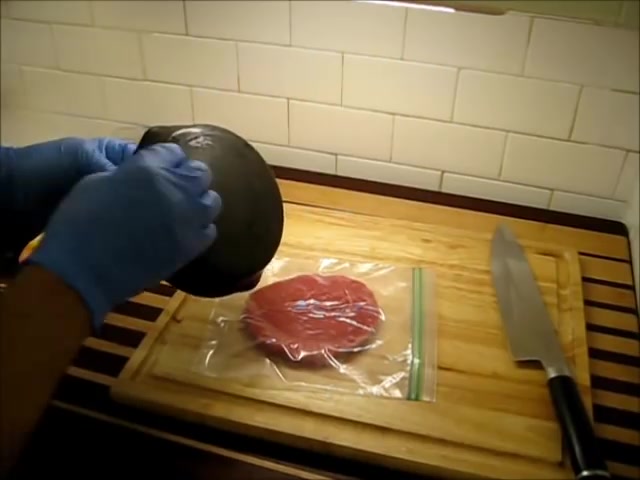
Take a skillet , a small skillet will do fine or a pan , use the bottom of it in the back edge right along here .
And we're going to use that to make it more tender .
But what this does is it also further breaks those meat filaments apart .
And if you've ever noticed when you cook a piece of meat , it'll go from this and it will shrink right up .
Well , we don't want that happening when we're chicken frying because if it shrinks up , then the batter stays one size and the meat inside is a smaller size .
It has released from the batter .
We go , don't be afraid to be a little rough with it there .
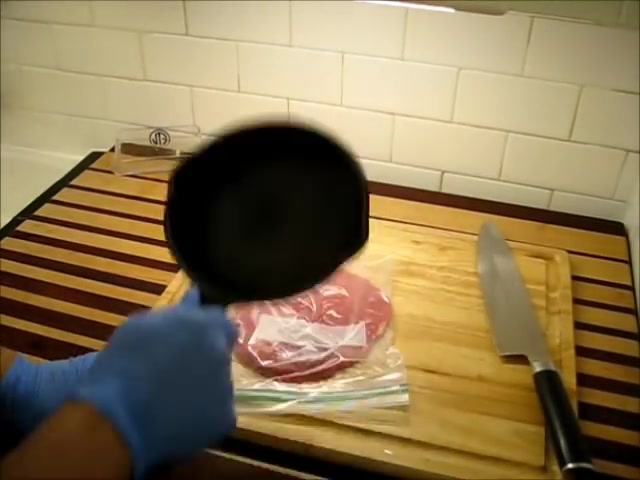
Now , if you'll know this , we have a piece that is much larger , larger in diameter .
There we are .
Now , I have a beautiful meat cutlet here that has been processed and that's gonna make a wonderful chicken fried steak .
Now , the next thing we need to do is batter this guy up , but I'm not in a rush to do that as our potatoes are still cooking .
So we're going to give them time to go ahead and cook on up .
I'm just going to set this meat aside and as this meat comes up to room temperature and that's fine .
It doesn't hurt at all .
That actually helps the cooking process .
Now , if you'll notice in the lower left here , I have some potatoes boiling and that's what we cut up just a few moments ago before starting our meat .
Now , I'm going to go ahead now that it's come to a boil and we're just going to add in some salt .
All right .
And I add in a healthy amount of salt that was maybe a tablespoon worth in another pan , your fried pan .
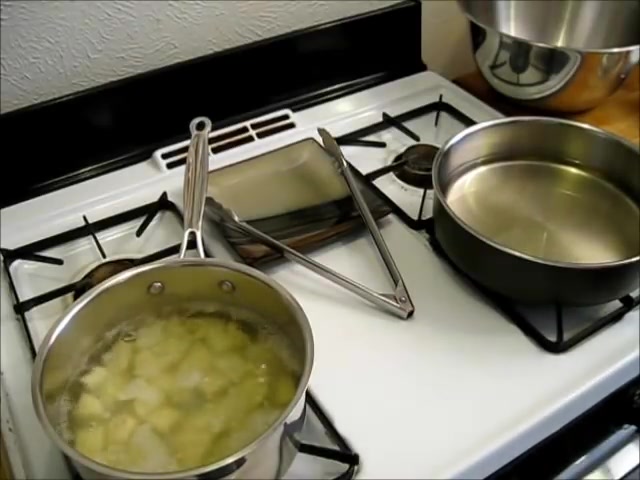
You're going to want to go ahead and get some oil in there .
Now , I've put about a quart of peanut oil in this .
And what I like to do on my pan is to bring the oil up to about half to three quarters of an inch from the bottom of the pan .
That way when I put my cutlet in there , not only is the bomb being fried well , but so are the sides and I get a little more even cooked .
Now , I have some tongs out and ready so I can handle the meat and I'm going to be preparing the batter for the meat .
Next , this particular part of the battering is a two part process and , or this type of battering is a two part process .
What I'm going to do is first we're going to crack our egg down into the bottom of this bowl and I want to rinse my hand before I get moving because you don't want to spread that egg everywhere .
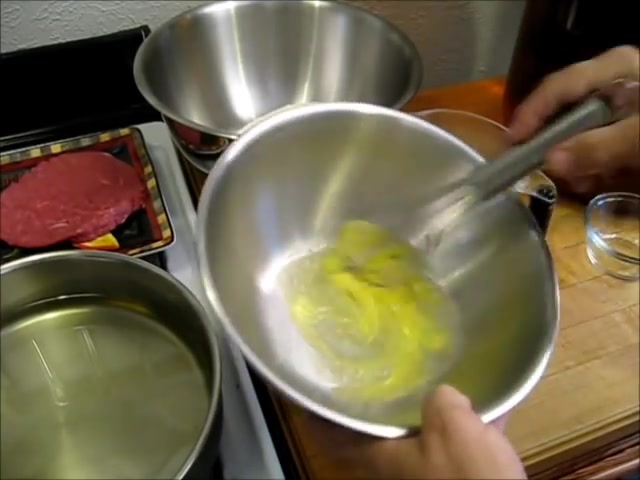
Now , gonna quickly scramble that if you notice when I do this , I don't go in a circular motion .
When you're using a whisk , you're going to get a faster action and a faster mix .
If you go simply side to side , there we go .
Now , here I have some buttermilk .
Buttermilk has a very thick consistency to it .
That thick consistency actually adds to the quality of the batter .
There we go .
And that was a cup of buttermilk , one egg that's going to be more than enough for one cutlet .
In fact , this is bad enough to do two .
I have two dry battering techniques like this , that I do one that uses butter milk and the other uses regular milk .
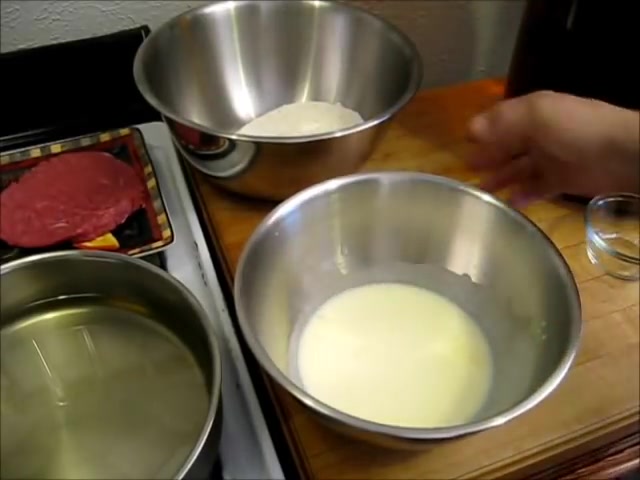
If you're using regular milk , I recommend that you place your meat first in the flour , then in the milk mixture , then back in the flour , then in the milk mixture again , back in the flour and then fry it if you want that double thick crust .
And that's what I like is a real thick hearty crust .
If you're using buttermilk , you only have to do that once dip your meat in the flour .
Then in the egg mixture back in the flour and then in the oil and that will give you this wonderful thick crust .
Now , it's always a good thing before using a liquid batter or before using the egg mixture in a batter to put flour on it .
First , it will help that egg to stick a little bit better and you will get a thicker coating that way .
So our batter is prepared .
Our potatoes are boiling and pretty soon we're going to be cooking up the meat .
Let's go ahead and take a moment to season our meat .
First thing , let's go with some salt .
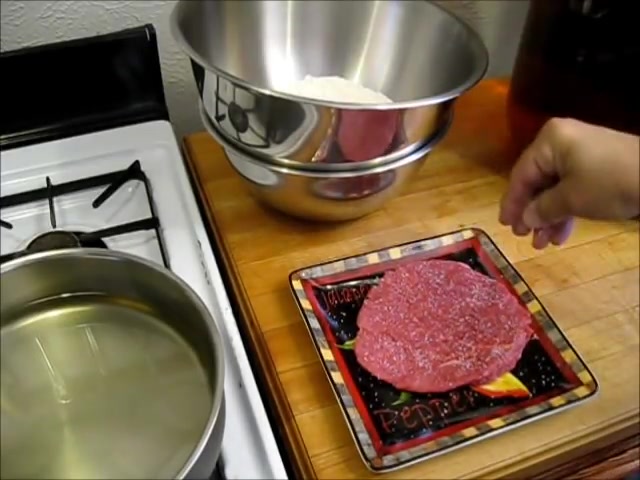
We just want to gently Sprinkle the salt down over this .
Now , I like to use a Kosher salt and I like to apply it by hand .
I get a more even coating that way .
The kosher salt also makes it a little easier to see fish and black peppers .
And depending on how strong your palate is for hot things , some cayenne and when you're dusting something like this with cayenne , you want to go light .
However , I'll say this when it comes to deep frying deep frying , cooks a lot of the heat out of .
In fact , any kind of frying will cook a lot of the heat out of this pepper .
So don't worry about adding just a little bit extra .
And as you use it , you'll get used to how much you need .
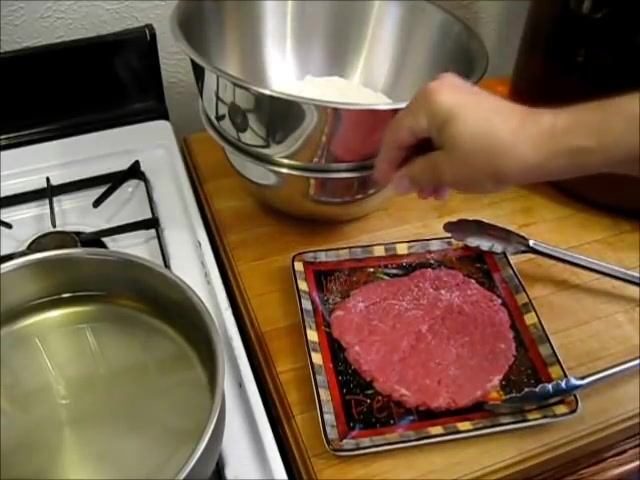
Turn that over and do the backside exactly the same way there .
We are .
Now , my cutlet is seasoned and I'm ready to go ahead and dunk it in some fat .
The first thing I'm going to do though , before I go any further , I want to find out just how far my potatoes have gone away .
Now to test those .
What we will need is a spoon and a fork right down a spoon .
If you want to push the fork into it , if the fork slides in easily and the potato breaks easily , then it is fully cooked .
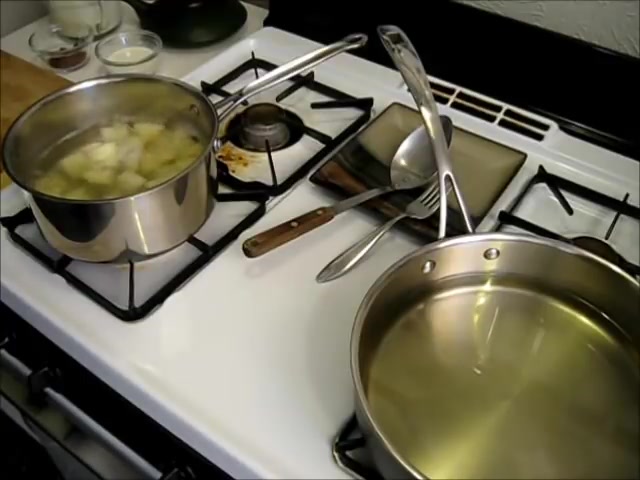
That was still just a slightly tough one .
So I'm going to let it cook just a little bit more .
I would say this needs no more than maybe 10 minutes more .
Now , one of the neat things about preparing your mashed potatoes ahead of time is mash holds heat really well .
So once you've prepared it , you can simply cover it and it will be just fine .
Turn our attention back over to our cutlet again .
Now , what I want to do here , I'm gonna take my cutlet .
I'm gonna place it right down in this flour .
Ok .
Let me get this other plate out of our way .
Now , you can either turn this into the flower if you wish , using some tongs or if you want to be creative about it , simply shake that boat .
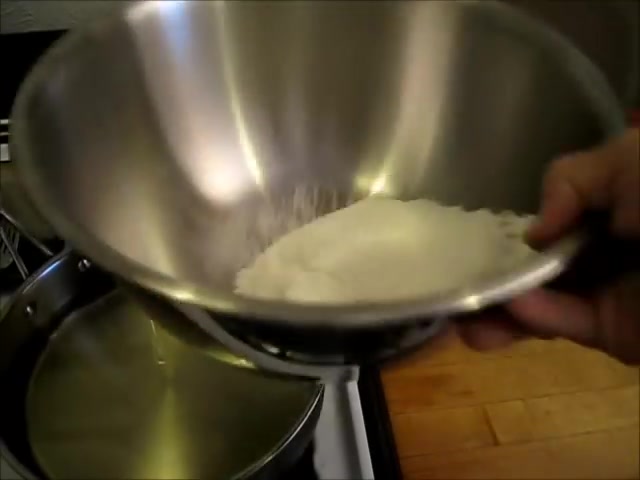
See how the flower will flip up over the sides and it will catch that meat .
So here we go , we have it .
That's all you have to do to flour out your meat .
Now , for the meantime , I'm just gonna let that sit there for just a moment .
Some of that flour is gonna bond to it just a little bit better and then we're gonna put it down in that egg mixture .
I'm gonna go ahead , just turn on that front burner and I want to get this oil up to a nice comfortable temperature and a good temperature for frying .
A chicken fried steak is going to be between about 303 150 degrees because your oil is likely to come down in temperature .
Initially , it's smarter to start at a higher temperature .
So I'll probably start this between 325 and 350 .
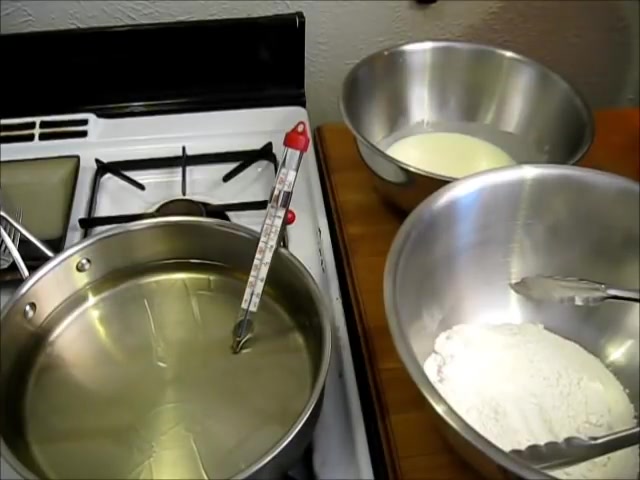
I want to put a thermometer in this , this thermometer can be used for frying or candy and there's multiple different kinds of thermometers .
There's a dial thermometer that has a metal rod that comes down from it .
This one of course is a glass thermometer .
They're a little more delicate .
However , make sure when you're cooking in your kitchen that you have a couple of thermometers for knowing what you're doing or just an instant re thermometer is also very good for chefs .
Our oil is still coming up in temperature .
It is right now about 225 degrees .
It's only been a few minutes since it was turned on .
Let's check one of those potatoes again , all the fork slides in easily and it breaks in half .
Those are ready to be matched .
Ok .
That's how you tell I can go ahead and drop the heat on this .
And if they stay in there a few minutes longer in that warm water , it's not gonna hurt anything .
Ok .
Now , let's go around to the other side .
We'll drain this pan and prepare them for .
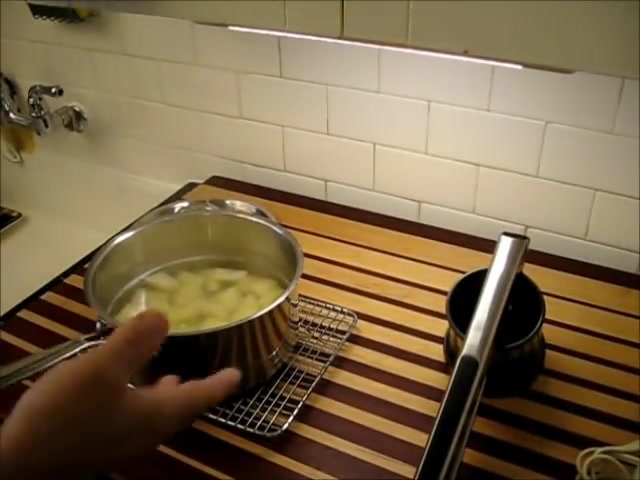
There's a couple of different ways that we can handle our mashed potatoes .
As far as removing them from the water .
I could just spoon these large chunks out with a spoon that would work fine .
Let's say a slotted spoon or I can use a strainer like this and just pour them right down into the strainer .
I could use a colander such as this and that way the colander would catch it or if you're balanced enough and good enough , then go ahead and just take a lid , put it over the pan cock , it just slightly like so and then pour the water off .
There we go .
That was quite easy .
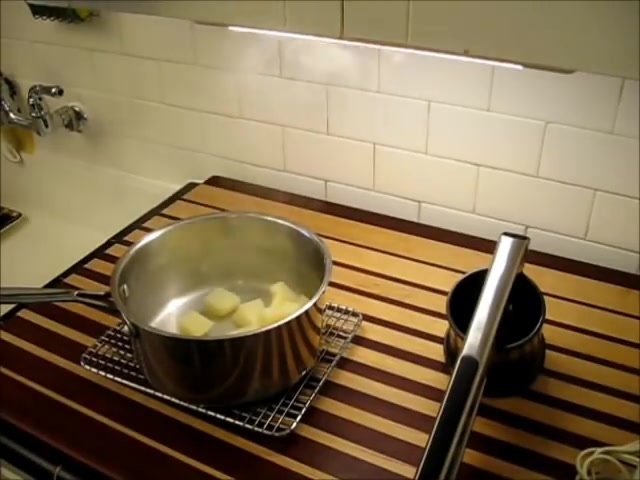
Now , if you're using a lot of potatoes for this , it would be smart to have a separate bowl that makes this just slightly easier for these off into that cause I want to do the mask itself right into this one .
Don't worry about those potatoes .
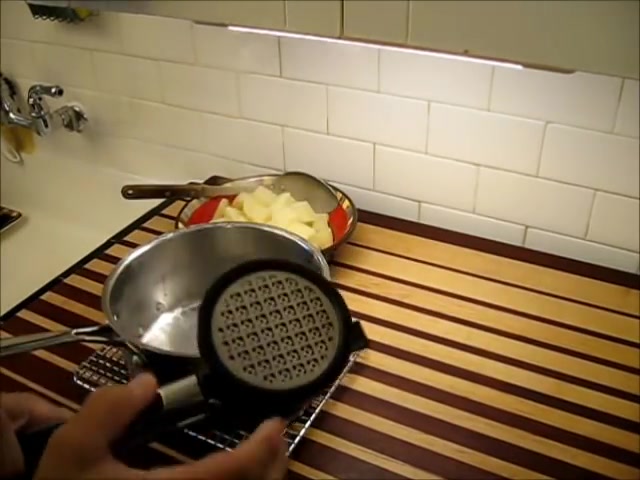
They're going to hold heat really well , there's a couple of different ways I mentioned before of mashing potatoes and one of them is the old fashioned method , which is a , it looks like a spoon handle .
But on the end , there's either a zigzag wire or a flat plate with holes in it .
And you simply mash it by doing this while these are in the pan .
The another method of doing this is to use one of these guys right here .
This is a hand blender , ok ?
And these work great for doing mashed potatoes .
I recommend them if you have one , give it a shot , try not to overwork it , work it quickly and once it starts getting into the mashed steak , just stop at that .
Otherwise , they will become dense , then there's something about match those you need to know the less you work them , the more light and fluffy they will be .
This little device here is called a ricer .
And what you do is you place an item that's cooked in here , lower this handle and it forces that item through a plate in the bottom that has a bunch of small holes in it .
This one allows you to cut different size .
You can do large holes or there's a medium hole size .
And today we're going to use the small holes because I want the smallest size I can get .
Now I'm gonna take my potatoes .
All I have to do is simply spin them into this .
I think one of my potatoes , two of them , the move on me , sir .
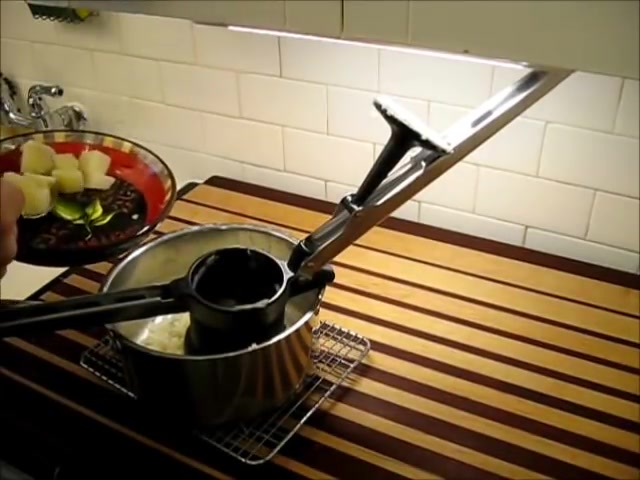
Now see there , if these aren't cooked well enough , they're not going to push through there very easy .
All right , this is called a potato ricer or in short , just a rer you can do a lot more than just potatoes in it .
You can do carrots this way , any kind of a route .
Anything that's not too fibrous can be worked through this and even some fibrous items can be worked through from the larger size and you can work it down to the smaller size by processing them more than once .
Potatoes , however , push them through one time .
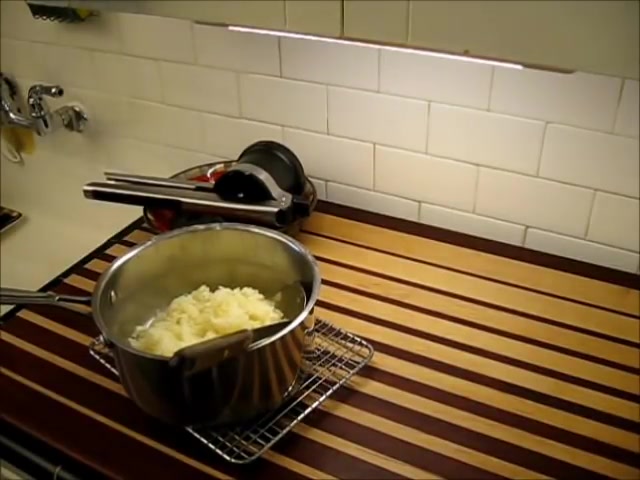
And that makes for a good , consistent match , truly , truly the best way to do mashed potatoes .
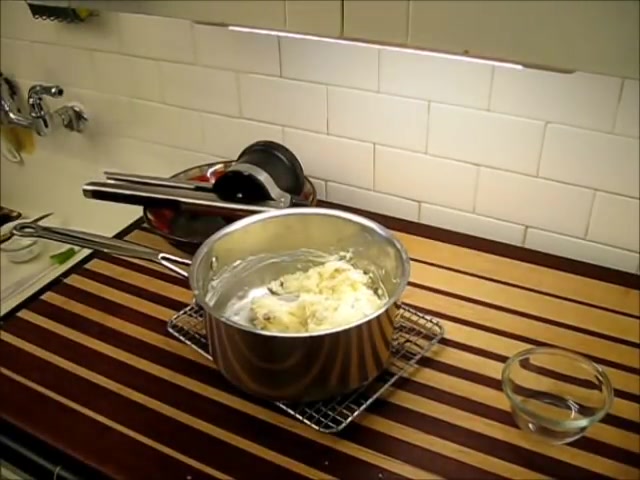
All I have to do now is add in some butter and my other ingredients and stir them in .
Now , oil has come up to temperature and I just turned the flame off and that's ok .
You can sit there for a little bit , we'll hurt it a bit .
Let's put some salt in there .
I'm putting in quite a bit , a little over a teaspoon .
Potatoes are salt thirsty for now .
I wanted some , these wonderful bacon bits .
Let's put the sour cream in place on what of the extra taste ?
And now for some butter , now I've softened my butter by leaving it out for a little while and you put in the amount that you would feel comfortable with .
If you don't like butter , if you're wanting to cut down on those fats .
Go ahead and don't put butter in this , this particular meal .
I've already mentioned it .
This is not good for you .
It's a fat filled meal and we're going to do a few things to reduce some of that fat .
But still , as far as being heart healthy , this meal is not all I have to do is stir this lightly .
Don't overwork it , gently , stir it and then I want to put a lid on it and we're going to let that butter melt down just a little bit more and then we'll stir it one more time but only lightly .
Ok .
Let's turn our attention back to our meat .
Now , we've had this sitting down in the flour for a little while .
Let's simply take it , place it into our butter milk .
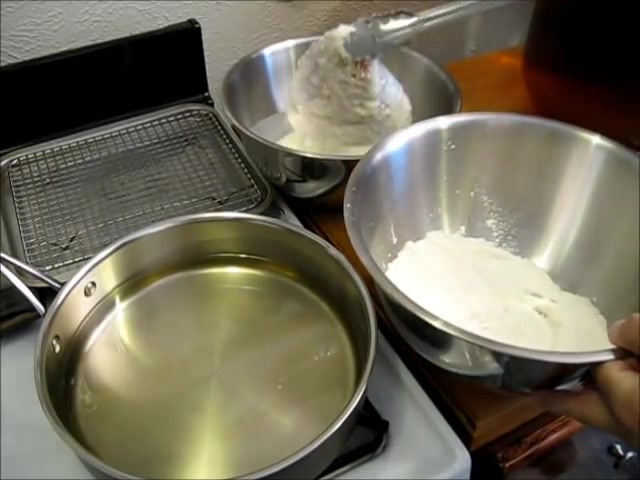
Give it a good coating that buttermilk straight back into the flour and shake it just the way we did before .
Here we are .
And I turned to that once while I was shaking it and I've gotten it thoroughly covered .
I have behind here another pan with a cooling rack on top of it .
And these make a good drainer for things pulled out of the fryer .
A bit into my battery a little bit .
Put that right down in your hot oil .
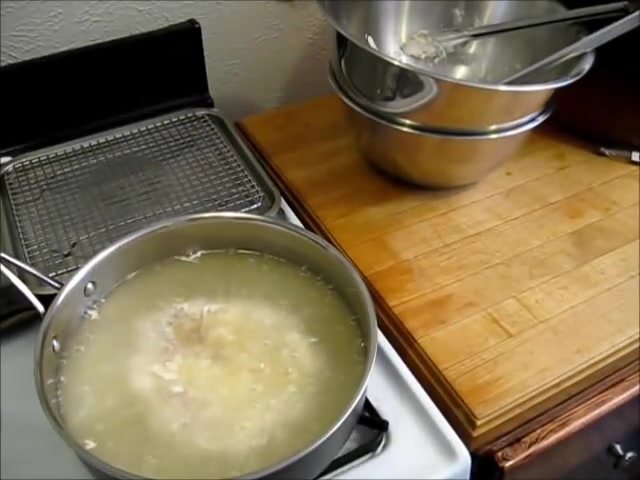
I'm turning my burner back on because this is gonna bring the temperature of that oil down quickly .
I took the oil right up to 350 degrees .
In fact , it was just a little bit over , turned the oil off , it was cooling while we were doing the bathroom , get these bowls out of our way .
You're gonna want a fresh set of tones to pull that out of the oil .
And on the side over here we're going to start our cream gravy .
So , while that's cooking , let's turn right back over here for a clean gravy .
I'm going to do a combination of items .
I'm going to do a little bit of peanut oil .
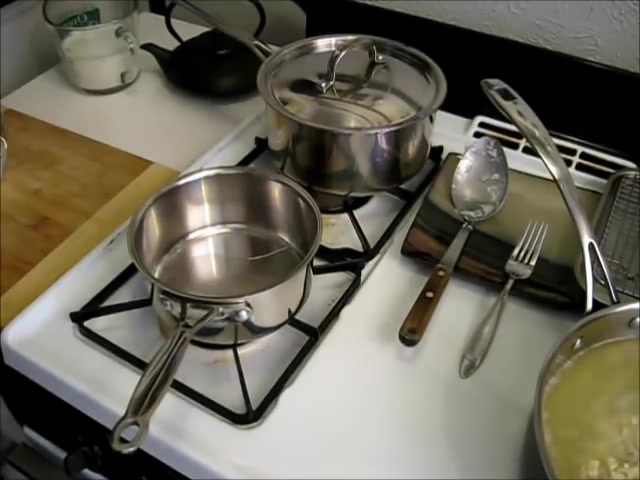
And what I want in the way is peanut oil is just a little bit about 2 to 3 tablespoons and then about a tablespoon , a tablespoon in the hand of butter and I have just that amount right here .
I want to turn that truck burner on until that butter melts and then we're going to dust it slightly with a little bit of flour .
That meat sure sounds good .
I have here a quarter cup measure that has about an eighth of a cup of flour .
So about halfway full .
Take a look at that mate .
So beautiful .
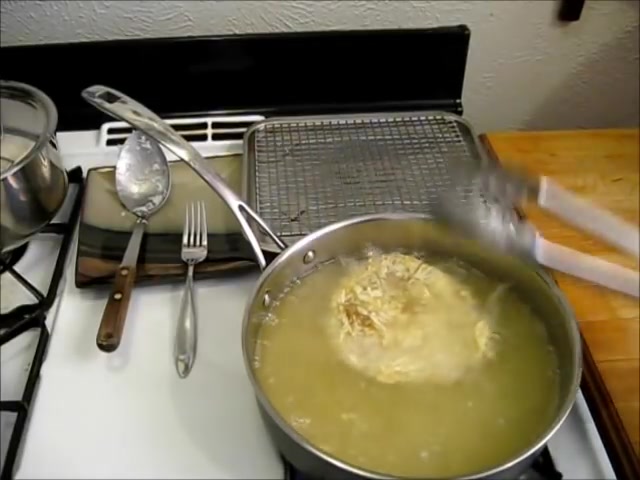
You see hot floats around in the oil exactly what we want , but it's beginning to melt .
Now , making creamy gravy is a real simple thing .
Two different ways that you can do that , as I mentioned before .
Two different methods of making cream gravy and one is using the drippings in the pan .
So if you're only cooking in a slight amount of oil .
And let me explain a little bit , then you can use those drippings , however , you have all the fat that was cooked out of the meat as well and it makes it less healthy gravy .
In this case , we're going to have a gravy that's made with peanut oil and just a little bit of butter .
So the saturated fats will reduce dramatically and we've increased mono infa and poo saturated fat .
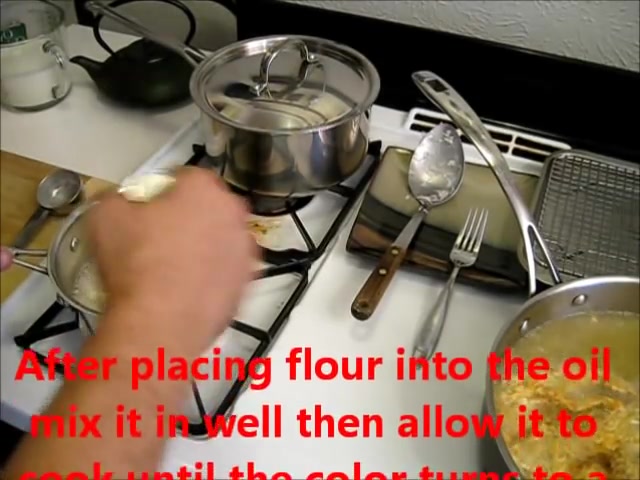
I just turn that meat over .
You go doing real well .
Now our butter's starting to bubble a little bit flour in there .
Take a risk .
Sure that , well , now I'm going to let that sit and cook until the flour or the butter mixture takes on the color of a peanut .
Just a slight can color .
Now you hear how the meat has quieted down a little bit .
It's not frying quite as hard earlier .
That means it's not releasing as much juice .
And that means it's starting to get cooked right now .
I have my flooding down to a medium low .
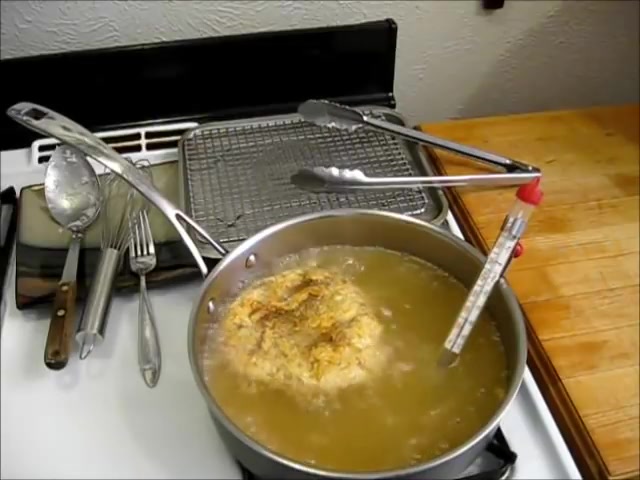
I'm going to take a quick look to see what our temperature , this mixture , the color on it is still a little light .
So let's get some more .
I tell you what if you like good country cooking .
This is the best of it all .
See how this is going that that set up method works really well .
Ok .
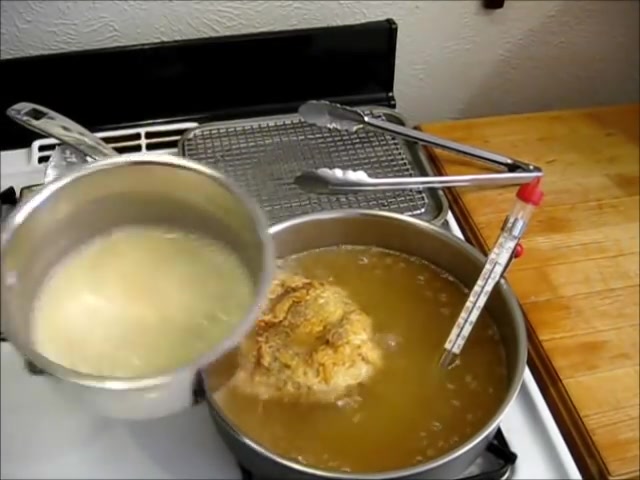
You see the color of that butter taking on sort of a peanut color , lightly brown .
That's a perfect stage to do a cream gravy cru or if it's on the fire , I'm going to increase the temperature just slightly to a medium now and pour in my milk , whip this in .
Ok .
Now I'm going to bring this up to temperature and as I do it's going to thicken up on me .
I'm gonna go ahead and add in some salt about a teacher .
Some black pepper .
Got to have to keep that also if you like more , add a little more .
All right , let's check that meat again .
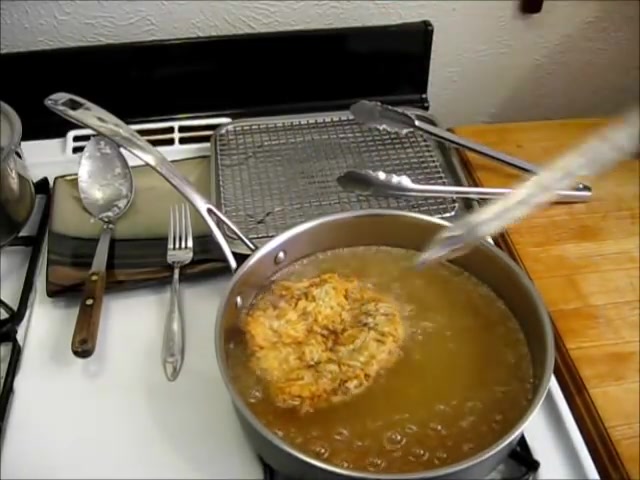
Look at that beautiful golden color , beautiful .
This is what we're looking for .
My temperature shows it to be right at 300 degrees .
Now , the beautiful thing about a buttermilk batter is it stands up to heat really well for you .
You can do good long cooking with it starting to come up the temperature and if it does , it's going to thicken on me .
It's already started to thicken and I started with about two cups of milk there .
I used about three quarters of a cup somewhere between that and itself and you don't want to add too much milk at the beginning because you want it to thicken .
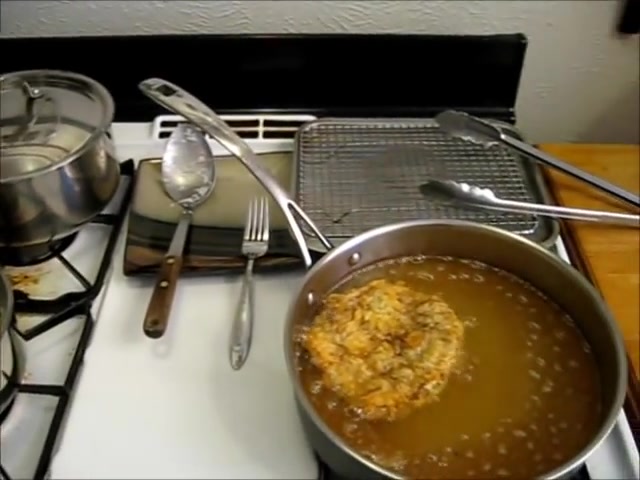
And then if you have to thin it , then thin it , but wait till you get it thickened up first for adding any more milk .
I believe that drying has slowed dramatically and that is almost great .
Take this again .
That you got and I can sit on it with 16 grades .
What I'm saying ?
If you don't want to have that much too soon , if you're afraid it's going to be too soon , you can always spin it , but you can't make it thicker and add another quarter cup there .
Reduce my point to a low .
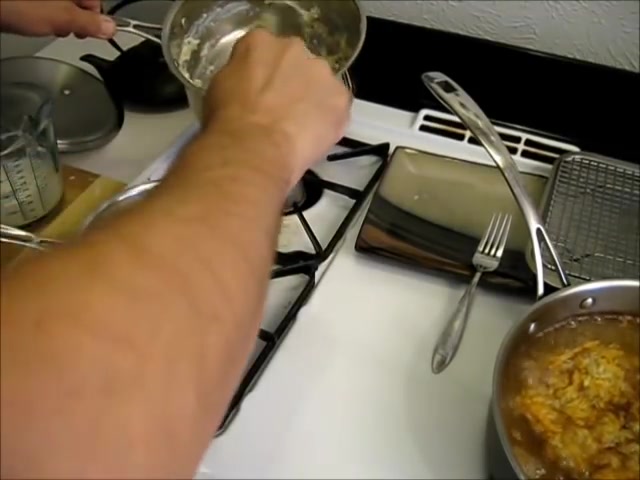
Now , remember that butter we had melting .
Give that match one last quick stir .
Incorporate those ingredients was set no more than that .
I don't want to overwork it .
We want to keep them light and fluffy right time for my meat to come out of that oil .
It is a true and beautiful chicken fried cutlet are gravies about gravy to see how all this came together at the same time .
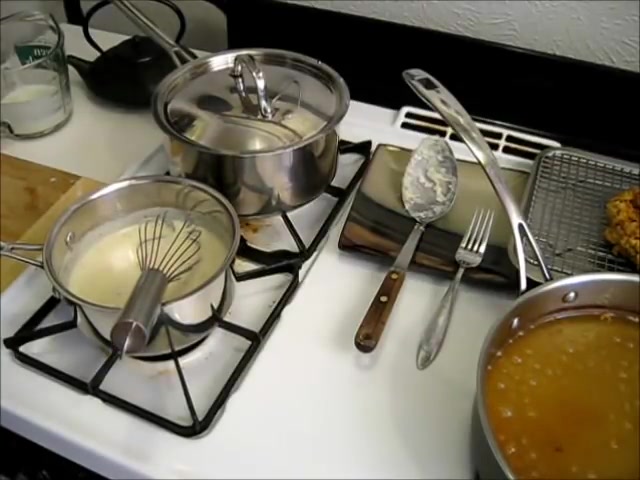
It's all about what you start when and the progress that you make with your meal .
So when you're combining multiple things for dinner , you have to figure what's going to take the longest to cook .
What's going to take a certain amount of preparation and figure an order in which to do it .
That's what you saw me do right here today .
Yeah .
Turn that burner off .
My cream gravy is ready to go .
The next thing we have to do is just plate it up .
Ok .
It's time for us to plate this wonderful Texas meal up .
Let's start with placing this right on the front here .
Now , I want my mashed potatoes .
You want to take those from right in the back .
Now , I'm one of those guys that likes to have the gravy in the middle of the mashed potatoes .
So I'm just going to give it a little opening there .
So it'll hold just a bit more .
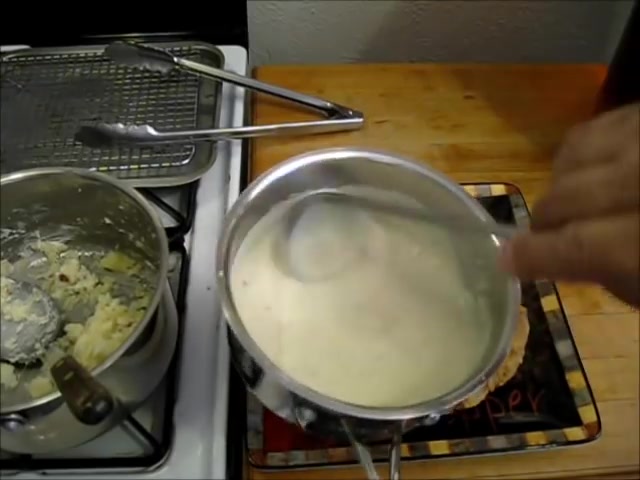
And of course , this wouldn't be right at all without a little of that cream gravy we fixed up .
Now , that stuff can skin over on you really quick .
So if you have a problem with that happening , go ahead and cover it with a lid and that will reduce the problem .
Here we are just until it overflows and there we go .
Ok .
There you have it .
A real Texas favorite .
This is chicken fried steak , cream gravy and mashed potatoes and it is delicious .
I hope you give this a try .
Ok .
Let's give that a try .
If this guy open .
Look at that .
Oh , that's just gorgeous .
Crunch of the batter .
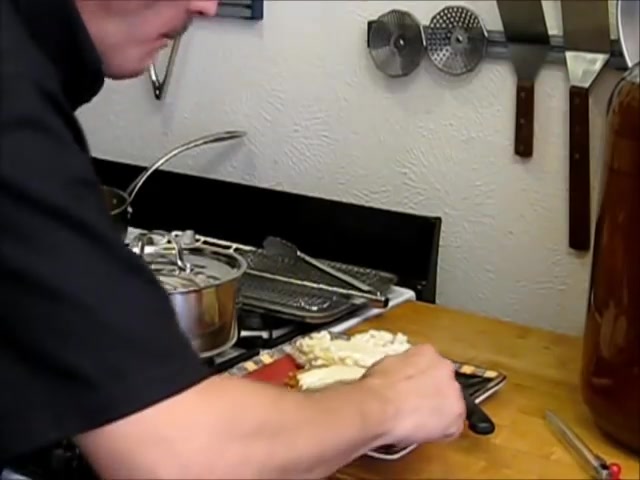
Oh my .
You've just got to try it .
Unbelievable .
Thank you for watching Texas cooking today .
The show where you can get great recipes and the best techniques are taught .
Please subscribe to Texas cooking today where you will always find something hot and ready to eat .
Are you looking for a way to reach a wider audience and get more views on your videos?
Our innovative video to text transcribing service can help you do just that.
We provide accurate transcriptions of your videos along with visual content that will help you attract new viewers and keep them engaged. Plus, our data analytics and ad campaign tools can help you monetize your content and maximize your revenue.
Let's partner up and take your video content to the next level!
Contact us today to learn more.