https://www.youtube.com/watch?v=e8tymUqV2-4
2023-07-12 12:54:19
The 12 Steps of Baking Guide _ Bread Making Principles
Welcome to the channel today .
We'll be talking about the 12 steps of baking .
When baking any loaf of bread you will take most if not all of these steps sometimes overlooked and not given much thought .
Each of these steps is just as important as the next this video will be a quick overview of each of the steps and an introduction to a series of videos that I'll publish going into a lot more detail into each and every one of them .
And I will link it down below and at the end of this video once that's done .
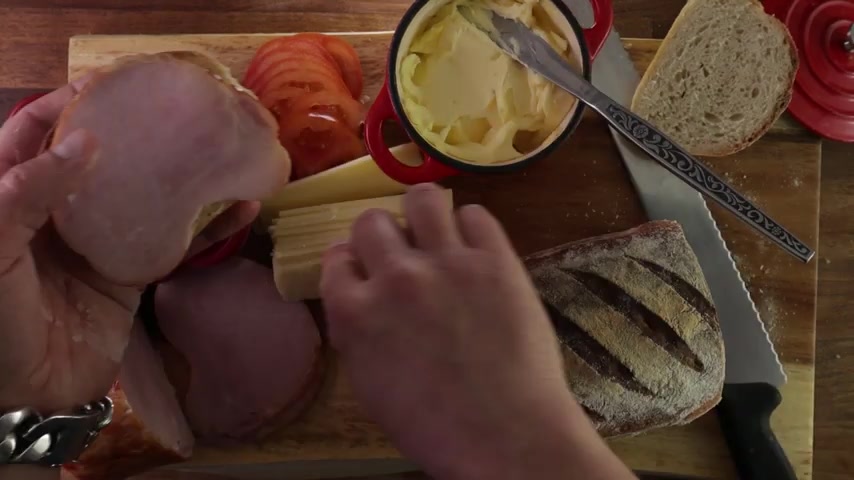
But for now , let's see what the steps are and for presentation purposes , I'll make sandwich loaf today .
So let's begin .
What is the first step scaling ?
And I say scaling because we should be weighing our ingredients on scales .
Measuring by volume is very inaccurate .
Every single ingredient must be weighed on scales for consistent results , flour , water , salt , yeast , anything .
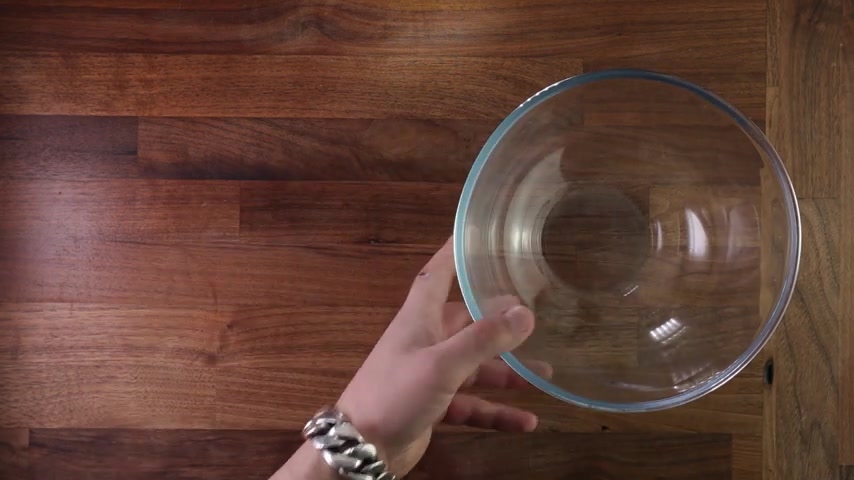
And once you've scaled all your ingredients , the next step is mixing and mixing is not only the act of mixing your ingredients in a bowl , mixing is also the process of needing your dough , developing the gluten and temperature .
Here is an integral part .
If your water is too cold , your dough will not rise .
If it's too warm , it will rise too quickly .
If you make your dough by hand , it's not going to warm up too much .
If you mix it in a mixer , it might overheat .
These are the things you need to consider when making bread .
There is another extra step that may be taken called auto lease .
It helps hydrate the flour in high hydration dough and wholemeal dough .
But I'll talk about that in a separate video .
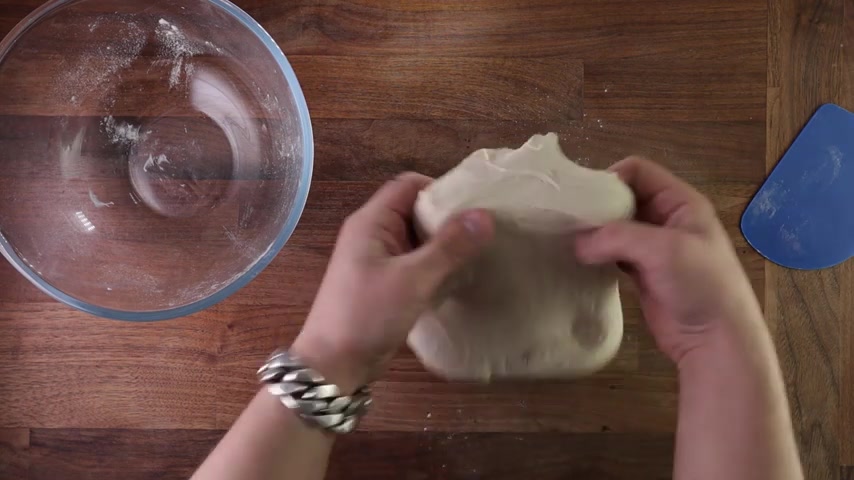
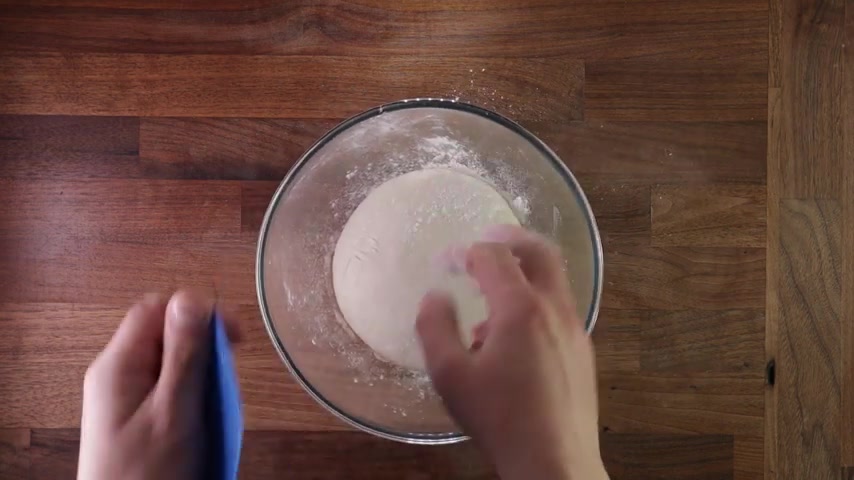
So once all your ingredients are mixed to a cohesive mass , you start working it .
Now in my videos , I always show you how to make bread by hand because I think it's important to learn to field the dough and not everyone has a mixer at home , right ?
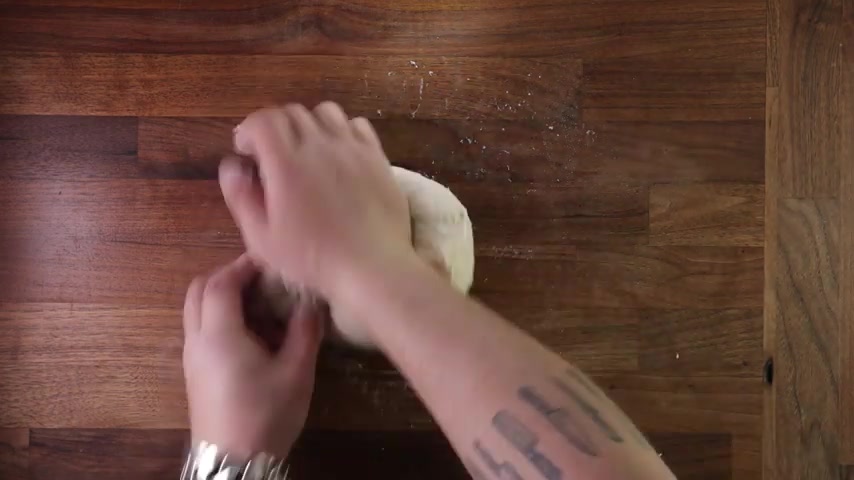
So when needing by hand , you need to consider what kind of dough you have ?
Is it wet ?
Is it dry ?
What K needing method do I use ?
Because when needing by hand , there's a couple of methods you can press your dough against the table and stretch it and fold it .
And depending on what kind of flour you are using and how much water there is in the dough , the mixing time will vary dramatically .
But the main purpose of mixing or needing is to combine the ingredients and start the gluten development .
And for this particular dough , I will add butter to it and it is advisable .
If you're adding fat to your dough , you might want to add it later on in the mixing process .
Once the gluten is already formed , fat coats the flour and that prevents gluten formation .
So adding it after the gluten is formed , will make your life a lot more easier if I was making a high hydration for , for example , and I wanted to add some olive oil into the dough if making this by hand would be quite difficult .
So I would add the oil even later in the process .
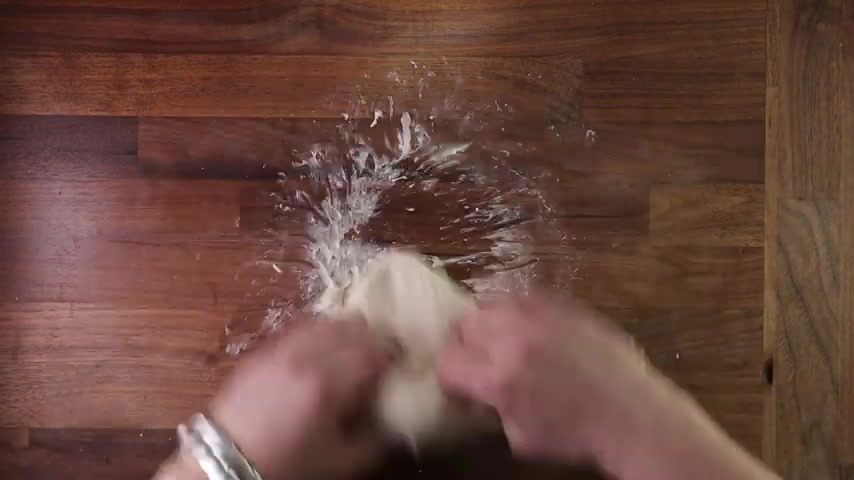
And as you can see , I've added the butter and it's made the dough a bit more stretchy and sticky .
And I am using a different kneading method right now .
And again , mixing methods needing methods .
I'll talk about these in a separate video in more detail , but this dough looks about right to me , it's a bit sticky , but it's fine .
There's plenty of gluten development .
So I'll shape it into a bowl and have it ready for the next step .
And step number three of any bake will be bulk fermentation .
This is the step where your bread will develop most of its flavor .
And don't forget that temperature is a very important ingredient in baking .
So always take it .
Most breads will spend most of their time in this step unless you are cold proofing or retarding your dough in the fridge overnight .
Obviously , refrigerating your dough will slow it down .
So the bulk fermentation should be where your bread ferments the most .
Now , during bulk fermentation , there's another step we take is folding , folding serves a few purposes .
One , as you fold the dough , you create more layers in the gluten structure .
Thus making it stronger two , you'll degas the dough .
It's important to degas your dough once in a while .
Also called punching down but don't punch your dough .
Done nothing wrong to you .
Another purpose it serves is to equalize the temperature in the dough .
Let's say your kitchen is cold , your dough is warm on the inside , cool on the outside .
As you fold it , you distribute that temperature evenly throughout the dough .
Thus giving you an even fermentation , another purpose would be adding ingredients .
So if you want to add some olives to your dough , this is a good moment to do it where as I mentioned before with high hydration for ketchup , for example , you can fold in your olive oil into the dough and different breads require different kinds of folds and different amount of folds .
But in any case , folding is done during the bulk fermentation .
And after the bulk fermentation step , if you were making more than one piece of bread , then you would divide the dough .
So dividing is important because you need your dough to be even shapes and sizes , right ?
I'm making only one loaf .
So I'm skipping this step straight to the pre shaping step and pre shaping is generally done to get the dough into its final form .
But it also gives us a chance to give the dough a few more folds to make the gluten stronger and make it stand up a bit better .
Generally , when pre shaping , you are trying to make the bread into its final shape and how tight you are pulling and what shape you are making will fully depend on the bread you are baking .
But in any case , once you've done your pre shape , you cover your dough and you let it be rest .
Now , be interesting , will give the dough another chance to proof up a little bit and we will let the gluten relax ready for the final shaping .
If your dough is tense , you will not be able to shape it .
You probably end up tearing it .
And that is why you need to control the tension in your pre shape and your bench time .
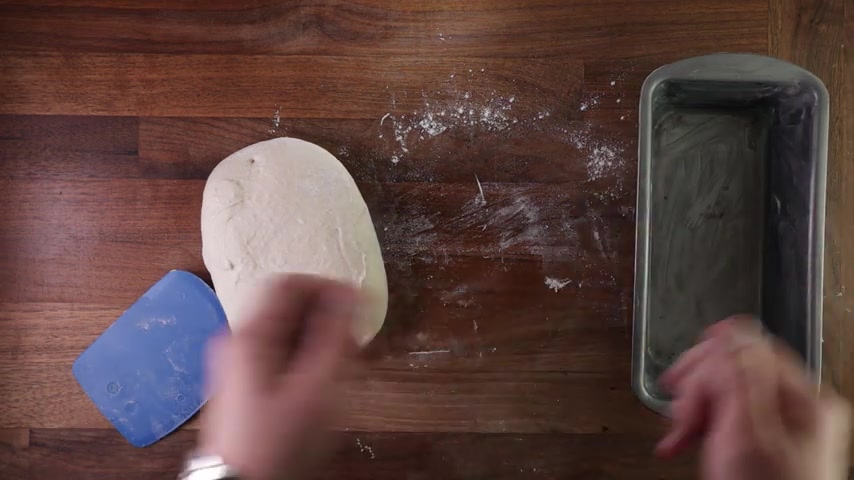
But the final shaping is just that it's the final time you get to shape your dough .
And this is when you really decide what it will look like at the end , I'm making a pan loaf .
So I'm just gonna roll it into a tight roll .
And this is all about creating more tension in the dough which will give it more oven spring as it's baking , it will expand more .
And there's the right method for each kind of bread .
And it is very important not to overdo it because you can tear the dough .
Now , in some breads , for instance , Shabaa , you would skip pre shaping and final shaping .
You would just divide the dough after the bulk fermentation , I leave it proof and then bake .
So there's different requirements for different breads .
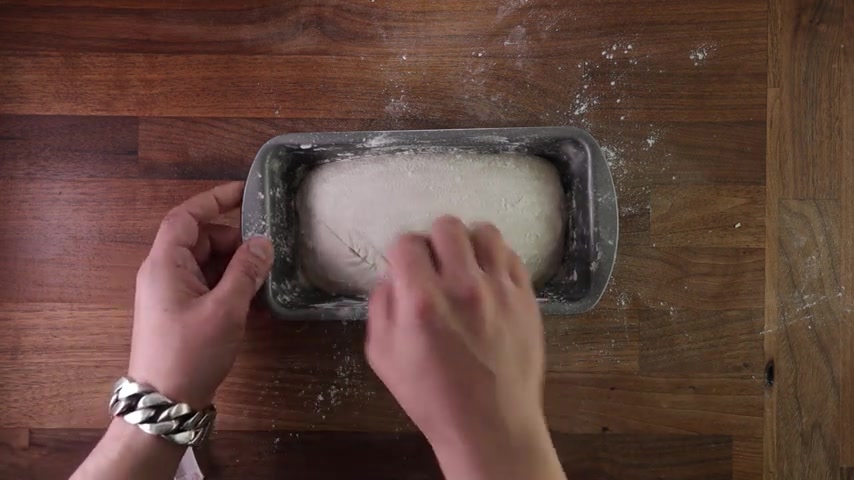
But for this particular sandwich loaf , I'll just shape it tight and place it in my greased cake tin ready for its final proofing .

And as I'm proofing and baking this bread inside the tin , I'll place it smooth side up because that's the way I'm going to bake it .
Now , if you were to proof your bread in a bread basket , you place it in a basket upside down , so smooth side down because when you bake it , you will tip it out of the basket and they will face smooth side up .
But whatever you do after the final shaping , cover it up , ready for its final proofing .
This is the last time your bread will rise before it goes in the oven .
And it is very important not to under proof or overproof your bread .
You need to catch that sweet spot times and temperatures vary massively and it's up to you to learn how to ferment your bread .
But the more you do it , the better you will get at it .
So the final step before baking is scoring .
Now , scoring is very important .
It will determine how your dough will rise and what it will look like .
If you don't score your dough .
In most cases , it will open up at its weakest point as it's rising , which will normally be on the side on the bottom at the seam .
Obviously , the other purpose of scoring is to make the bread look nice to put your own little signature on it .
And different breads require different scoring .
And depending on how fermented your dough is , you might not score it at all the depth , the angle and the amount of times that you score , it will each impact the end result .
A loaf like this does not exactly require any scoring , but to do some lines to give it that visual .
And the next step after scoring is baking , arguably one of the most important steps which I will talk about in detail in another video .
And after baking , the last step is calling and calling your bread properly will also make a massive difference .
But in short , those were the 12 steps of baking and I will add the link to a playlist at the end of this video where you will find individual videos on each of these steps .
And as always , thank you for watching and I'll see you in the next one .
Partnership
Are you looking for a way to reach a wider audience and get more views on your videos?
Our innovative video to text transcribing service can help you do just that.
We provide accurate transcriptions of your videos along with visual content that will help you attract new viewers and keep them engaged. Plus, our data analytics and ad campaign tools can help you monetize your content and maximize your revenue.
Let's partner up and take your video content to the next level!
Contact us today to learn more.