https://www.youtube.com/watch?v=GanlBMXSHA0
How to Make a Bagel _ Bread Slicer Cutting Box (woodlogger.com)
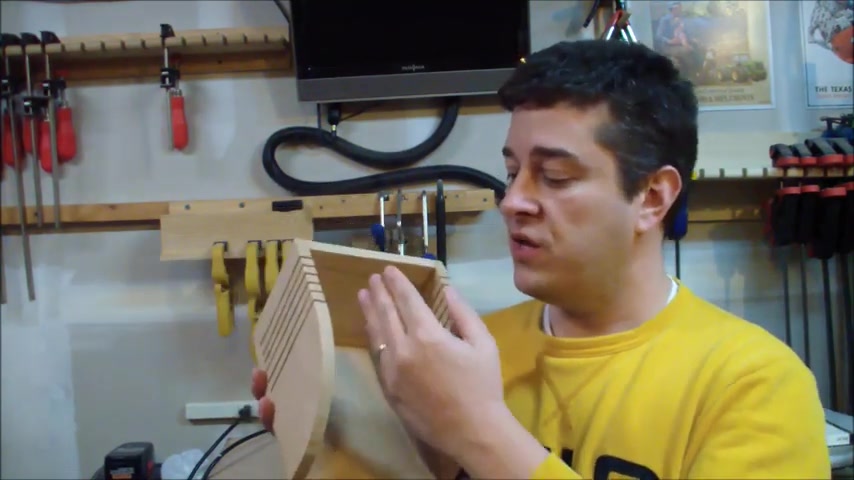
Hey , guys .
So this time I decided to make a bread cutter maker or box , uh , maybe not a baker , but I guess , uh a slicer box .
Well , you know , the dinner promise is that , you know , you put your bread in here and you take a bread knife and you slice your bread , right ?
Also works great for bagels .
And , you know , this was really a great beginner project .
You know , if you're new to woodworking and if you've only done a few projects , um , or even if you're just looking for a kind of a cookie to do on a , on a week night or on a weekend , um , this one was great .
I only used one board for the whole thing and , um , you know , use my band and , uh some glue , you know , the whole project , like I said , is really a pretty simple one to do .
So , um , if you wanna see more about how I did this and how I made it .
And uh I also got a free project plan , you know , that I made for this , check out my website at wood locker dot com .
And uh , here's the video of what I did to make this , hey , guys .
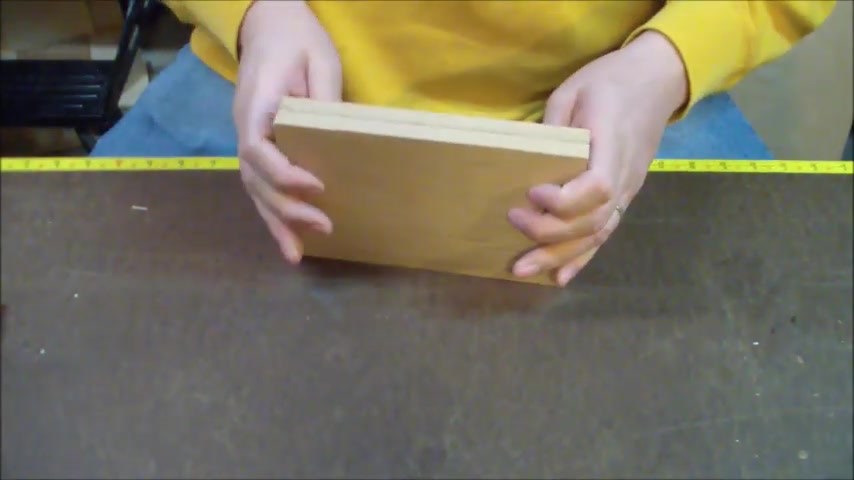
So , on the , uh , bagel maker , I used the , uh , four , by 1.5 inch board and , um , I was able to get away with just a 4 ft board and , uh , I actually used oak for mine and , uh , I crosscut the , uh , the four boards that you see right here .
And , uh , if you take a look at my plan over on my website Wood locker dot com , you'll see the , uh , exact measurements that you'll need to make it .
And , you know , when you think about it , it's , it's pretty simple , you know , it's just sort of , you know , these two things on the side and then , you know , you've got your back here and , uh , it kind of sits up in there and , uh , you know , I'll , I'll draw a kind of a decorative corner around here to , uh , get rid of some of the wood on both sides .
So , before I head over to the band , so I just want to show a , a little trick that I like to do .
And that's where I , I take both sides .
And if you know , you're gonna be making an identical cut , you just kind of line these up and just use some tape .
Huh ?
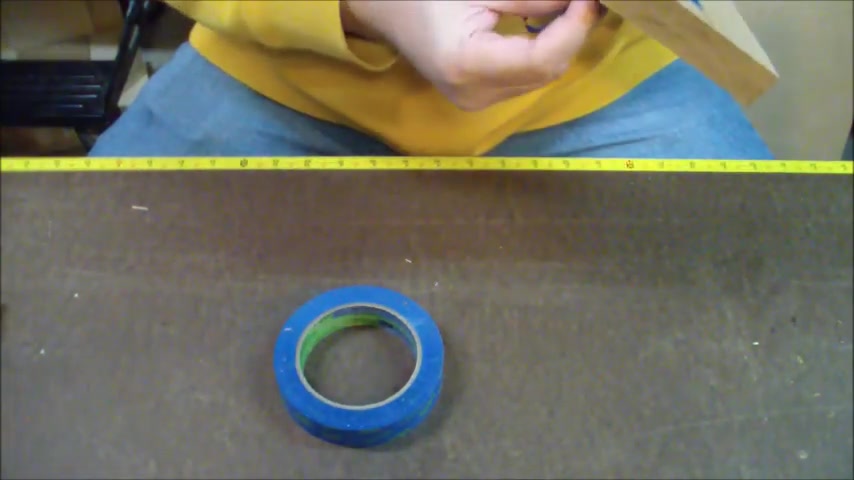
Some people like double stick tape that , that might actually work a little bit better .
I , I prefer painter's tape .
It's just cheaper and it , it's easier to take off .
So now I've got my , uh , my two pieces taped up that I'm gonna keep together .
Now , I wanna go ahead and mark my corner and I've , I've got this little measuring our marking tool .
Rather , it's called a quick corner .
And I use this thing all the time .
I think if you had any skills whatsoever , even remotely artistic or not , you could pull this off by yourself , but that I have none .
I use this quite a bit .
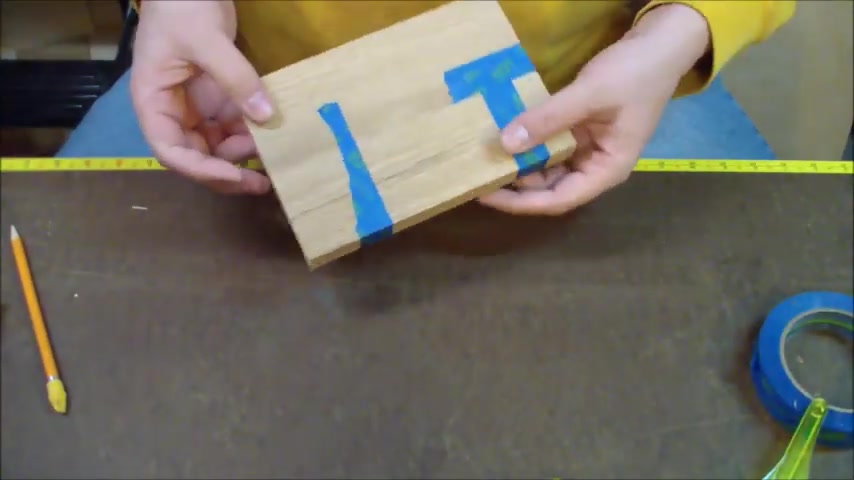
So with my quick corner , I got my corner marked , I'm going to trim that off and then I'll cut slice little slits here for where the , uh , the brighter the bagel slicer will actually cut right through .
And I've gone ahead and I've started to mark on the other side where I'm going to uh actually cut these slits where the knife will actually slide down into it and I'm spacing them out about a half an inch apart .
Ok .
Well , I think that looks pretty good .
I've got my six marks on the air .
I just need to head over to the band saw .
So I'm ready to uh do my band saw cuts .
Now , I'm just gonna set my uh dip on here .
Yeah , I think I'll do at least maybe one stress stress relief cut .
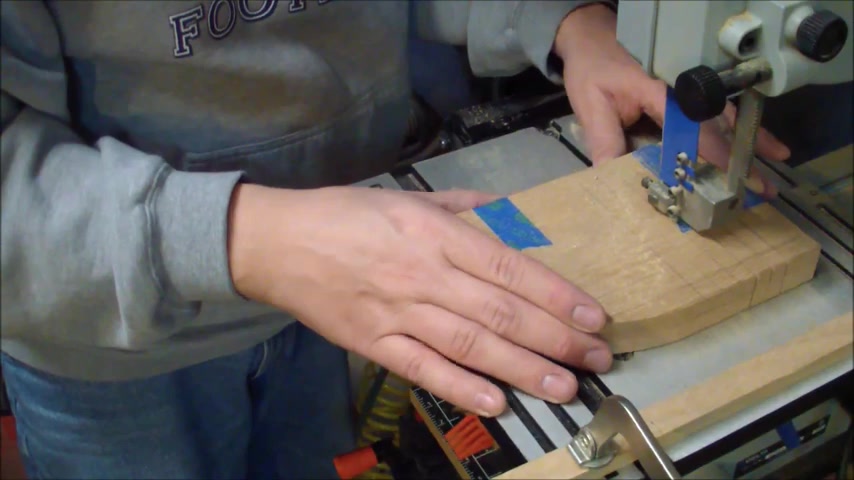
So , after I completed the , uh the stress cut here , um I just sort of followed my , uh my lines and just , you know , took it slow and uh it came off pretty easily .
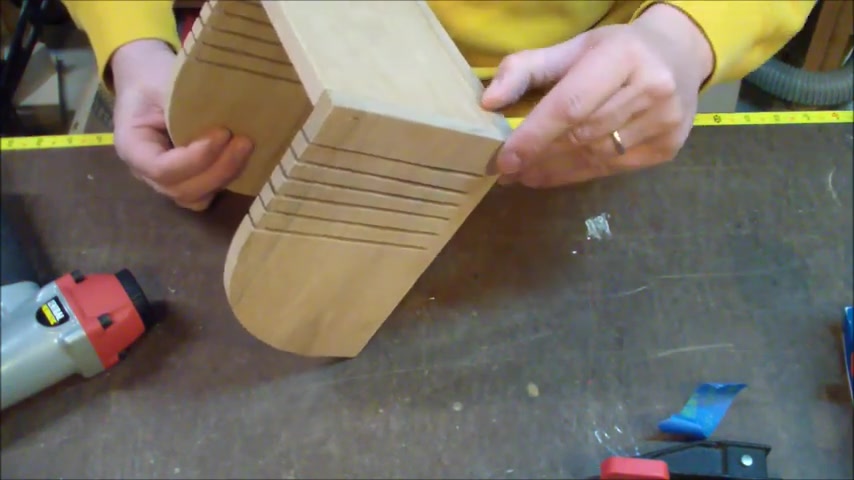
And , um , after I got the , uh , the , uh , sort of , I guess the rounded corner here that I was going for , uh , next up was the , um , the actual slits that are gonna be cut on the box .
And , uh , I , I did this freehand and , um , what I found was that after I cut the original slit , I , I tested it with a knife just to see if it would go through and it just wasn't thick enough .
So I ended up going back and actually cutting it just a little bit thicker on each of the , on each of the slits .
Um , so that the , uh , knife would have room to cut through the , the bread .
So I'm doing pretty good with my box .
And my next step really is to work on getting this sort of glue together .
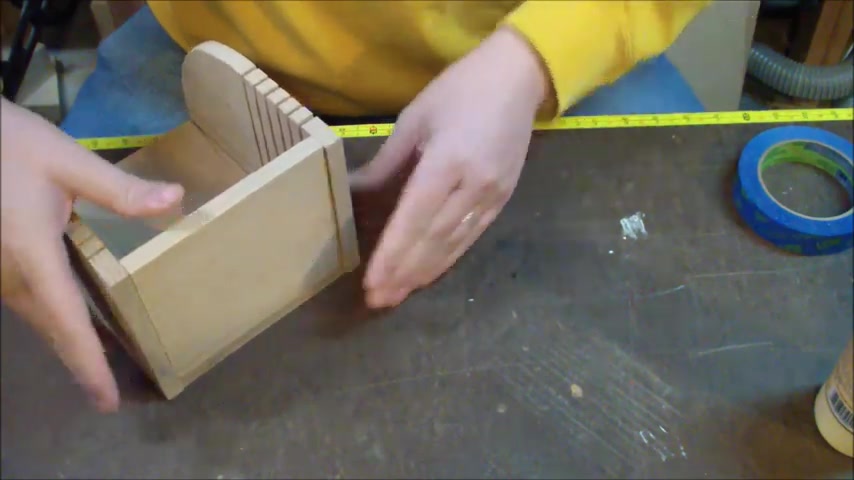
And I think what I'm gonna do this time , I'm actually gonna do a technique where I kind of tape the back on the stage together , just using some masking tape , done this before in the past .
And it worked pretty well .
So now that I've got my , I got my , uh , my box taped up a little bit , at least the , I guess maybe the kind of the harder pieces .
What I do next is I just take this off and I just lay it out .
I'm actually gonna use AAA waterproof glue as I'm sure this will be getting wet when you wash it .
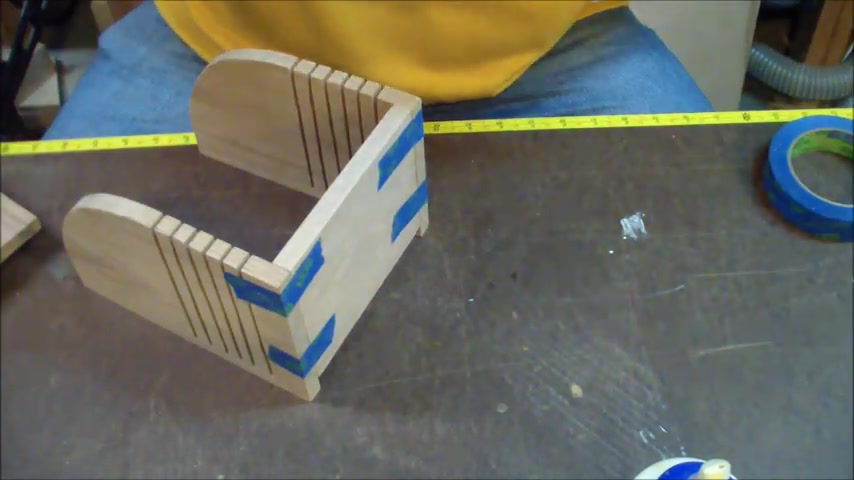
I think what I'll do is I'll , uh , I'll put just one clamp on this for now and clear up some of my excess .
All right .
Well , I've got this , I think almost set .
Yeah , I decided not to wait till it completely set just in case I needed to , uh , have some room for when I glued the bottom on .
We're gonna do that now .

All right .
Well , I'm taking off the last of my clamps here .
Blues dried and I think it's probably pretty safe just as it is , but out of maybe a , an overabundance of caution , I decided to go ahead and put a couple of brads in , uh , just to kind of sturdy it up a little bit .
All right .
Well , I think that just about does it blue seems pretty good .
I've got grabbed on all my sides .
I don't think it's gonna go anywhere .
All I need to do now really is just do a little bit of sanding .
I'll probably just do a little bit of light sanding and then , uh , I'm gonna finish it off with a , um , uh , this product called Salable Finish , which I believe is just mineral spirits .
But , um , I've used it before on some other projects and it worked pretty well .
That is my bread pickle slicer .
We'll see how it goes .
Are you looking for a way to reach a wider audience and get more views on your videos?
Our innovative video to text transcribing service can help you do just that.
We provide accurate transcriptions of your videos along with visual content that will help you attract new viewers and keep them engaged. Plus, our data analytics and ad campaign tools can help you monetize your content and maximize your revenue.
Let's partner up and take your video content to the next level!
Contact us today to learn more.