https://www.youtube.com/watch?v=8R0Bh-tomv0
Hate your Babycakes Cake Pop Maker Tricks to making them taste better!
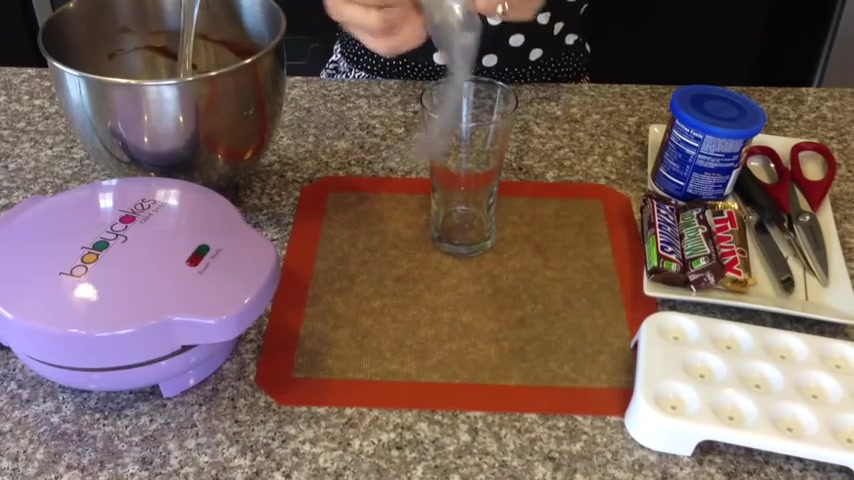
Hey there .
Cake pop lovers .
Did you buy a baby cakes ?
Cake pop maker and didn't like it .
Thought your cake pops came out too dry .
Well , I will show you how to make them way more tasty .
You will need your baby cakes , cake pop maker .
Some cake batter , ac a piping bag or any Ziploc bag .
Some frosting .
Any of your favorite chocolate bars , a serrated knife , a butter knife , your kitchen scissors , the fork that the baby cakes cake pop maker came with and your cake pop stand .
Now taking your tall cup and your piping bag , place it inside the cup .
This will help you hold the bag in place while you pour in your batter .
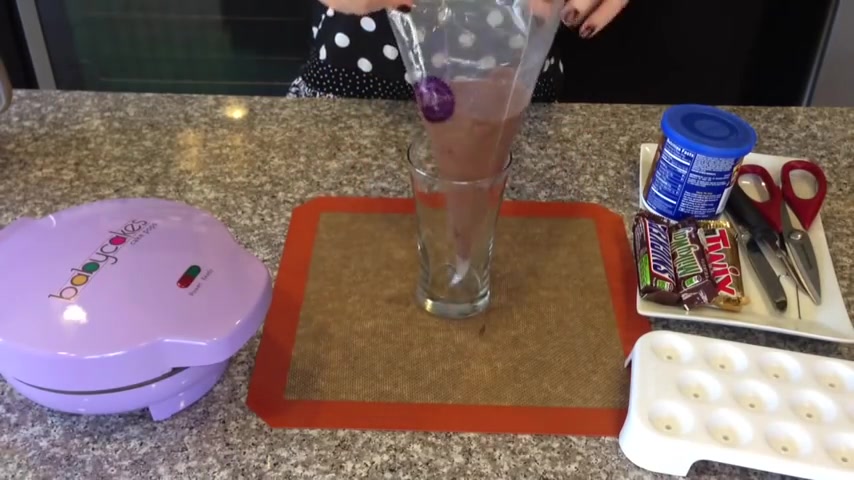
Once your cup is full , you will want to take it off the cup and twist it at the top .
If you have a rubber band , it would be smart to tie it at the top .
But if you're a badass like me and don't have one , just set it off to the side time to preheat your baby cakes .
Cake pop maker , your light will be red .
Give it a couple of minutes for it to turn green while that's preheating .
You will want to cut your chocolate .
Go ahead and take your scissors or just open it up the old fashioned way yours knife and go ahead and cut it into bite size pieces .
If you do not want to use chocolate , you can always use your chocolate frosting .
It's time to start making baby cakes .
Cake pops .
So go ahead and snip off the tip of your bag .
Open it up carefully .
It is very hot .
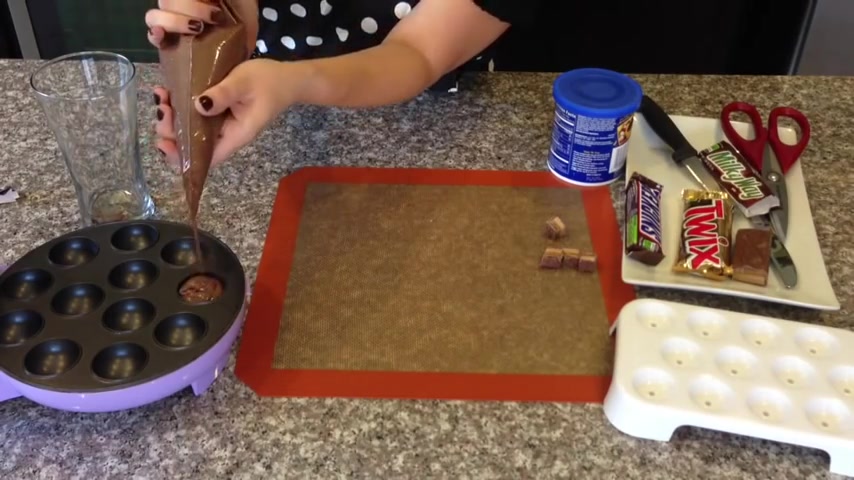
You will want to fill each cavity almost all the way up to the top but not quite .
Now , the instructions say to let them cook for 4 to 6 minutes .
I prefer to leave them in for four minutes , leaving them in for six minutes makes them a little too dry .
Using the fork that the baby cakes cake pop maker came with , go ahead and take them out and place them on the baby cakes , cake pop stand and let them cool .
Once they have cooled , they will look like this .
You can see that one side is perfectly round and the other side is kind of deformed .
All the cake pops that came out of the baby cakes , cake pop maker came out this way .
But don't worry , we will fix this , take your knife and cut them in half .
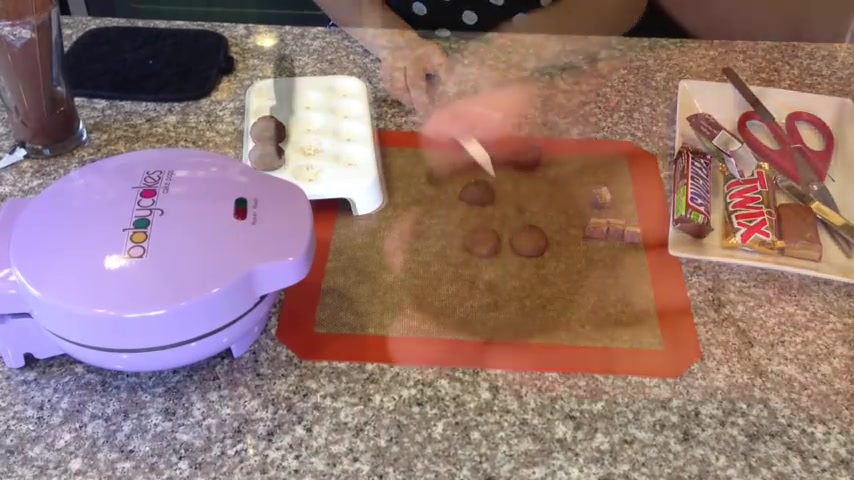
Discard the deform looking side and keep the nice round side .
See how nice and around this side is .
Oh , look at the other side .
It's so deform nasty .
We are going to take two of the nice sides and place them together with frosting just like you would with a sandwich , taking your butter knife and spreading some frosting in the middle will make them not as dry and they will taste like real cake pops , go ahead and squeeze it together and place it to the side .
Now , the second way of making your baby cake cake pops taste better is again filling up the cavity .
This time , do not fill it up all the way to the top .
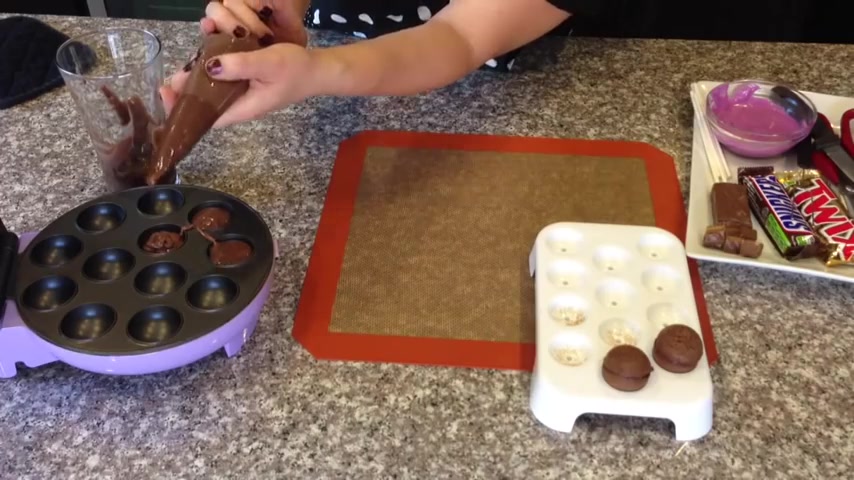
Maybe a third of the way because you will be placing the bite size chocolate pieces inside each cavity .
And remember once you place the chocolate piece inside the cavity , it will make the batter rise .
Now , close the lid and wait four minutes while we are waiting for those to cook .
We'll go ahead and start on the regular cake pops that we did with the frosting .
Go ahead and take one cake pop , dip your cake pop , stick into the chocolate and stick it into the cake pop just like you were to do with any ordinary cake pop .
Pow .
We'll put these aside and then check on our milky way .
Cake pops .
Yum .
They look delicious .
Already .
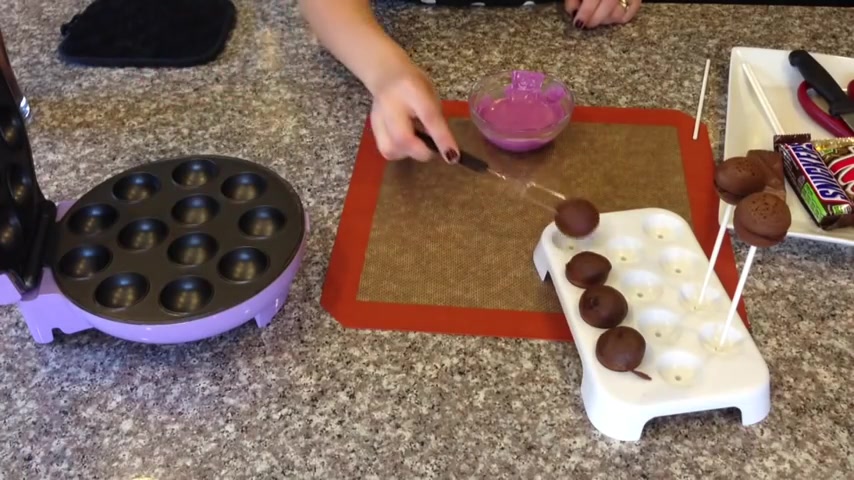
Go ahead and take them out and place them on the baby cakes .
Cake pop stand and let them cool while those cool .
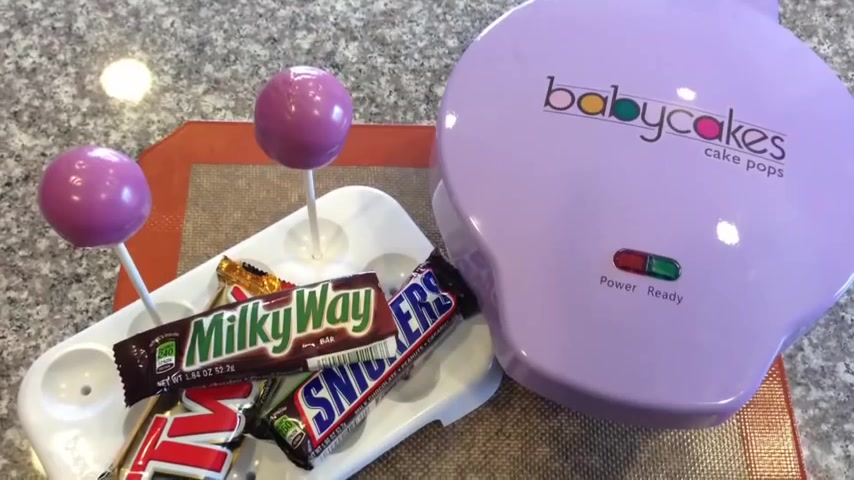
I will use my regular cake pops that I use the frosting with and dip them into my candy melt .
You know , the drill , dip tap and then let dry Tara .
Now , let's see what the milky way kick pops look like .
I'm gonna cut one in half so you can see how delicious it looks inside .
I can't wait for it to go in my stomach .
I'm a dork .
I know and I don't care but look at how yummy this looks , you know , you want to eat it .
Thanks so much for watching and don't forget to subscribe .
Are you looking for a way to reach a wider audience and get more views on your videos?
Our innovative video to text transcribing service can help you do just that.
We provide accurate transcriptions of your videos along with visual content that will help you attract new viewers and keep them engaged. Plus, our data analytics and ad campaign tools can help you monetize your content and maximize your revenue.
Let's partner up and take your video content to the next level!
Contact us today to learn more.