https://www.youtube.com/watch?v=CBY28h4U_sg
How to make a cake topper using Cricut _ EASY Tutorial _ Beginners
Hi , everyone .
Welcome to my channel .
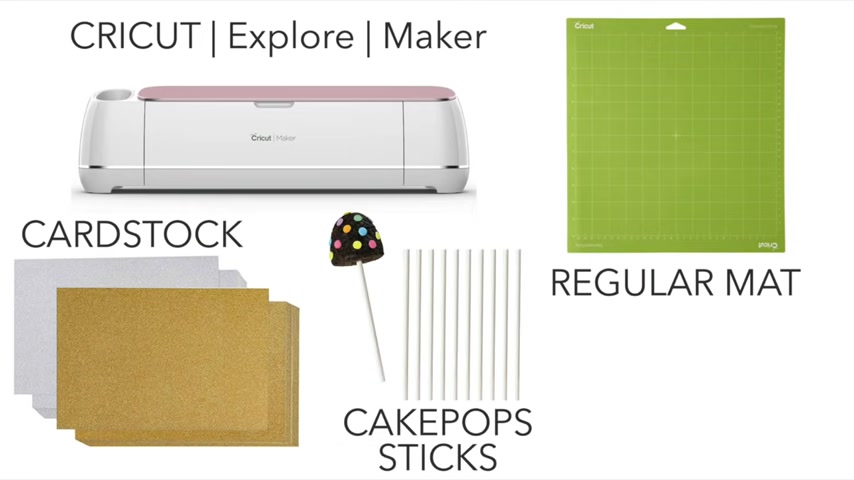
And in today's video , I am going to show you a tutorial on how to make these two cake toppers using your cricket and cricket design .
I actually used to make cake toppers and sell them , but I no longer do that because I have a total different thing that I do in my store , which you could check it out on WW dot R dot com .
Anyway , so here are some pictures of the cake toppers I did because they're so cute before I begin with the tutorial .
If you have not yet subscribed to my channel , please do and don't forget to turn on the notification bell to get notified whenever I post a new video .
So I have my cry design open .
I'm going to insert text .
The word I'm gonna use is one for like a first birthday .
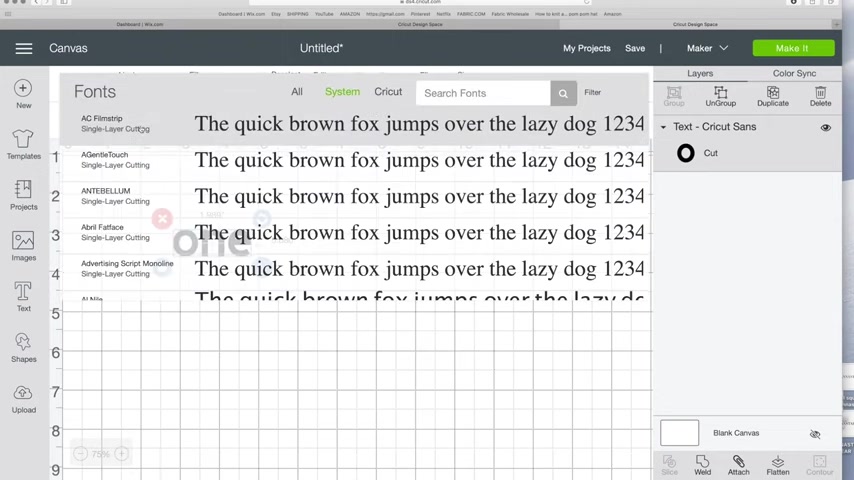
So I'm gonna change the font to October Twilight .
I do have a video .
It's gonna pop up right now on the top right corner and this is where I show where I get all my fonts and such .
I'm just going to make it bigger .
I'm gonna click on advanced .
I'm going to un group two letters , so everything is separate and I'm going to move it around .
So the letters are touching , I'm going to select all the letters and right here , um I am going to click weld , not attached but weld and I'm gonna make two of them .
So one of I'm going to attach because I want to show you what the difference is .
If you attach it versus welding for cake toppers , you have to weld them and us standard cake toppers are like six inches in width and that's all , it's really easy and I'm going to make it .
So the top one is my welded image and then the bottom one is my attached image .
OK ?
I'm gonna click continue .
I'm gonna pick heavy card stock done and from default , I'm gonna change it to more .
OK ?
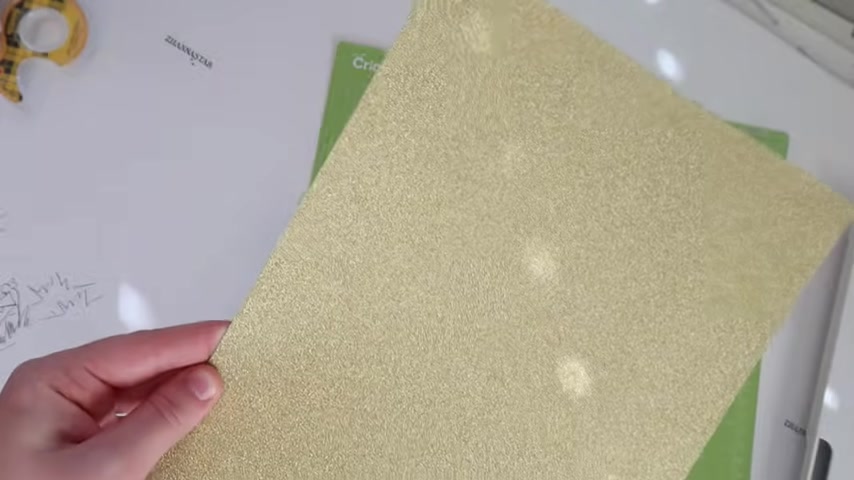
So I'm using this really pretty glitter card stock .
It is double sided .
It's super sparkly .
I do have the link in the description below where I got it .
I'm just using a regular sticky mat because it is brand new .
Otherwise I would use the stronger grip because it is glitter on each side .
And with glitter car stock , I use a paper tape or painter's tape to tape down the edges .
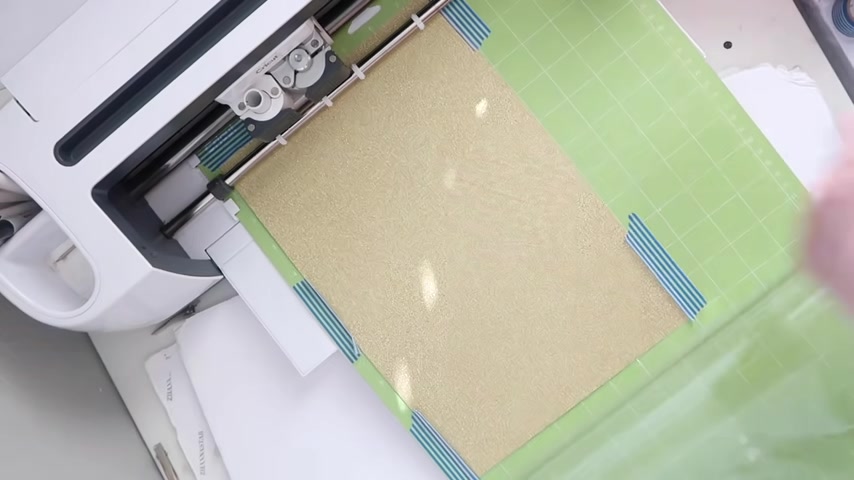
The paper does not slide while it's being cut before I unload this .
Uh what I like to do with this card stock .
I like to first check if it cut through all the way and it did .
So now I could take it out .
Always tick off the negatives first .
Here's the welded word and here's the attached and what I like about this car stock because it's pretty sturdy .
So when I attach the cake stick , it will stand straight like that , it will not be bending .
Now , this is the attached letters because it wasn't welded .
It cut out all the letters individually .
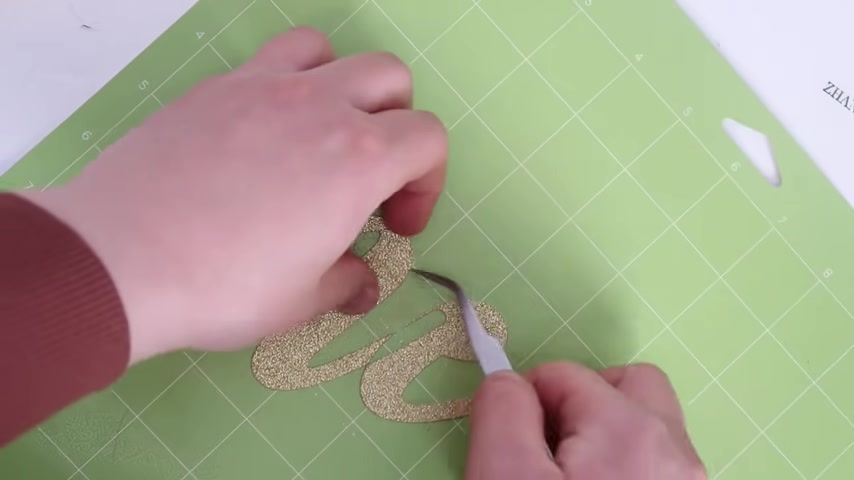
That's why it's important to weld the letters together and not attach them when making a cake topper .
And that's all .
And how I attach the wooden stick , I just put glue on it and I like to place it either in the middle or on the longest thing .
And here's how I make my double word cake toppers .
The best fonts to use is always cursive that are thick .
I'm going to use the same font , October twilight and with this one , I also un group all the letters .
So the first thing I do , I rearrange the first word and then I do the second one .
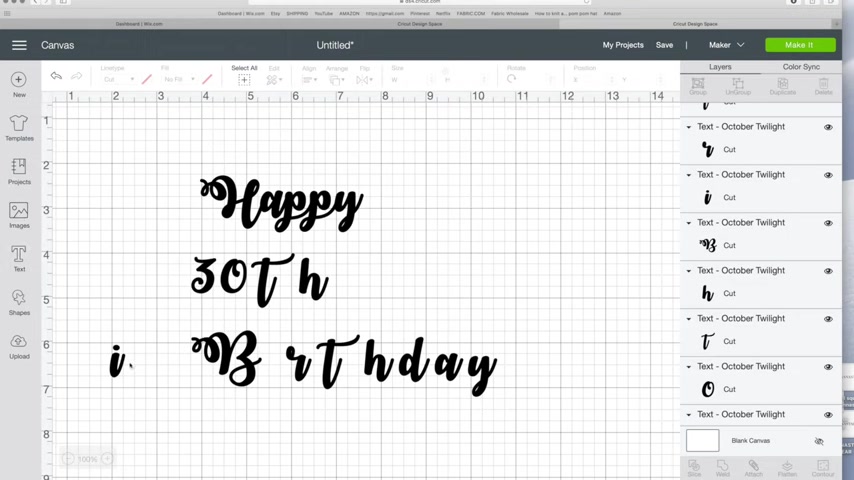
If there are any eyes , I move it to the side and I insert a circle shape , gonna resize it and I place it over the eye , just the dot And then I select both of these and I'm going to slice it .
Once I do that , it separates the dot from the eye and I'm gonna delete these extra things .
And now I have my and if I have numbers in the cake toppers .
I like to make them really big and these , I like to make them smaller .
Ok .
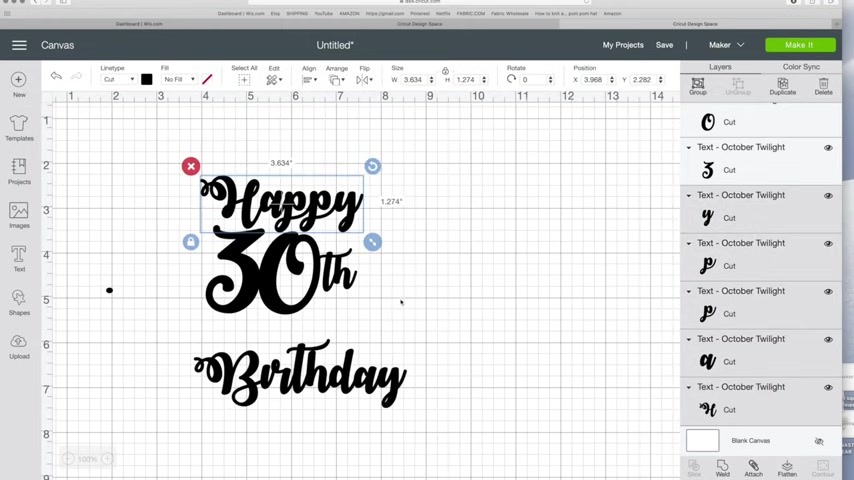
Now that I have done that , I'm going to select the top and I do not weld anything yet just in case I want to move stuff around and you need the top word to be attached to the bottom one .
And now this big word , if I just leave it attached to the t it is not going to be sturdy at all .
So what I like to do , I like to bring this up .
So the bee is touching as well .
I'm gonna bring the eye up .
And sometimes what I do like with this be , I don't like how it's too wide .
So this little lock button , I click it and locks it and now I could make it a little taller or wider if I wanted to , but I wanted to make it more narrow and I basically just kind of play around with it .
So it looks nice .
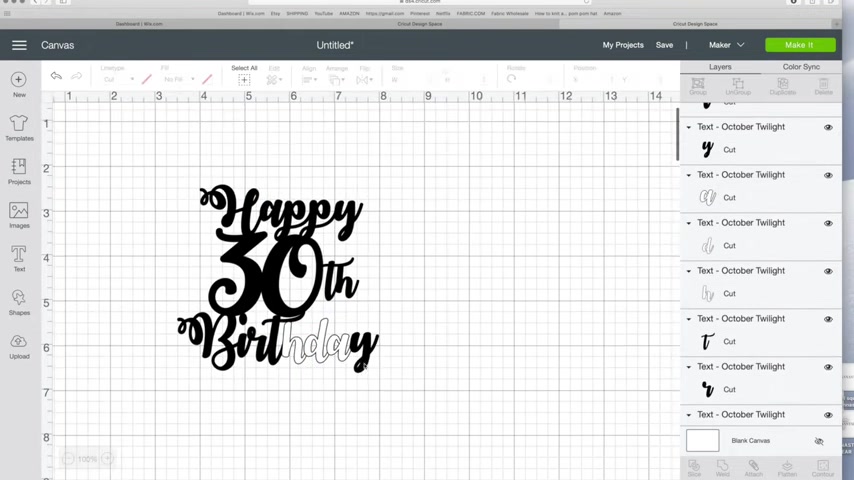
And now for my dot I usually like to make it bigger and you do have to attach to something .
I'm gonna attach it right there .
So every single letter has to be touching anyway .
So once I do all that , I'm going to select all of this and I'm going to weld it and now you can see that the D and the A , they don't have those little holes anymore .
And there's a reason why ?
So I'm going to undo the weld and I'm going to show you why it does that .
I'm going to change this to white these three letters that did that .
So now if I bring the D over see how this little tail it has because it's so close to this hole in the A I guess , um , it will fill it in once it's welded , what you could do , you could move it .
So you could see these two lines are not touching and same with the age , but sometimes because I like them to be super close .
What I do , I insert a circle and I'm going to put it over the D .
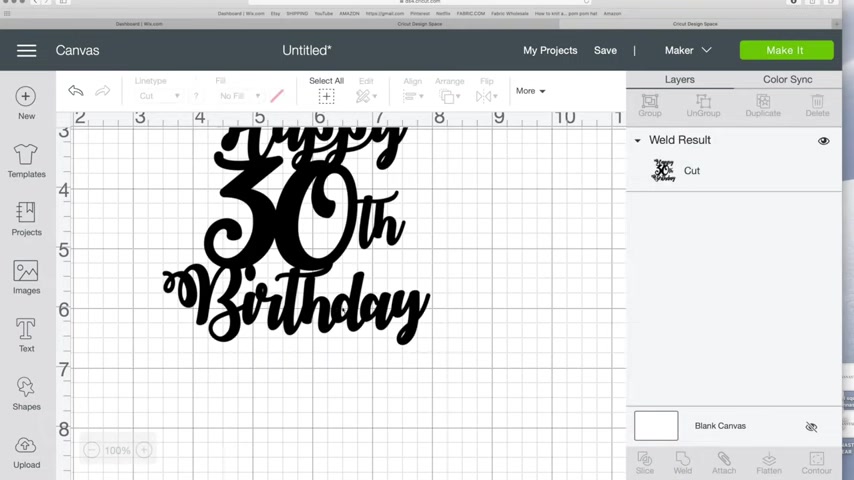
So I'm gonna click on the circle and then hold down the shift key and select the D .
That's it .
Just these two right here on the side .
And I'm going to click slice and now I'm going to delete the circle and then see it cuts off the stick and I'm going to delete that .
I know this is like extra work .
So sometimes it's just better to move the letters , but this is how I like it .
And now that's done , select all and I'm going to click weld and now you could see that the little holes in the DNA are still there and this becomes one image .
And I'm going to aside the width to six , how I do the width is the size of the cake .
So usually cakes are like six inches .
99 inches is a pretty standard uh size of a cake .
If it's like a layer , a tiered cake , it's usually the top is usually like six inches , sometimes less .
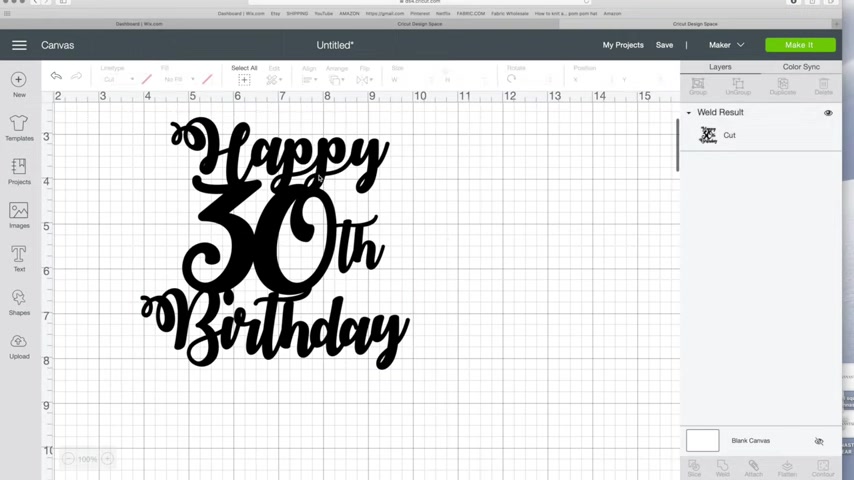
So I think six inches in width is a good size and , and I'm done and I'm just going to make it and do the same thing that I did with the first one .
So I forgot to , uh , run it through again because it's such a thick card stock .
So I actually ended up taking the whole thing out and then putting it back in and it's actually cutting it over the exact same spot .
And as you could see if you would stand on one stick , it's really sturdy .
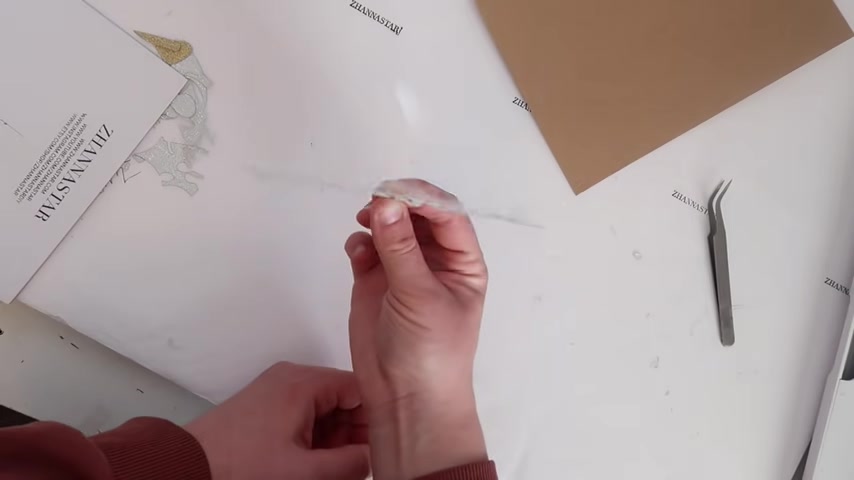
It's a flop to the front or back .
Bigger cake toppers like this .
This is where I would put the cake sticks or you could just place one in the middle , right ?
And this is out if you have any questions .
Comment .
Hello .
And I hope you liked this video and if you did give it a thumbs up and don't forget to subscribe to my channel .
This is where I post a bunch of cricket tutorials and tutorials and all kinds of diy projects .
All right .
Thank you for watching .
Bye .
Are you looking for a way to reach a wider audience and get more views on your videos?
Our innovative video to text transcribing service can help you do just that.
We provide accurate transcriptions of your videos along with visual content that will help you attract new viewers and keep them engaged. Plus, our data analytics and ad campaign tools can help you monetize your content and maximize your revenue.
Let's partner up and take your video content to the next level!
Contact us today to learn more.