https://www.youtube.com/watch?v=6i6JDwEwXJI
How To Draw Heads Using The Loomis Method

This video is brought to you by comics on coffee head on over to comic on coffee dot com and type in code David Finch for a 15% discount .
This video is a breakdown of how to draw heads using the Luis method .
Andrew Luis was a very prominent magazine and advertising illustrator , but he's by far and away remembered and best known for his series of instructional art books .
His books are an absolute gold mine and countless illustrators and comic artists have based the foundation of their career on his work .
I'm David Finch .
I've been a comic book artist for over 25 years .
If you enjoyed this video , please hit like and subscribe and share with your friends .
It really helps out the channel to start drawing the lum head .
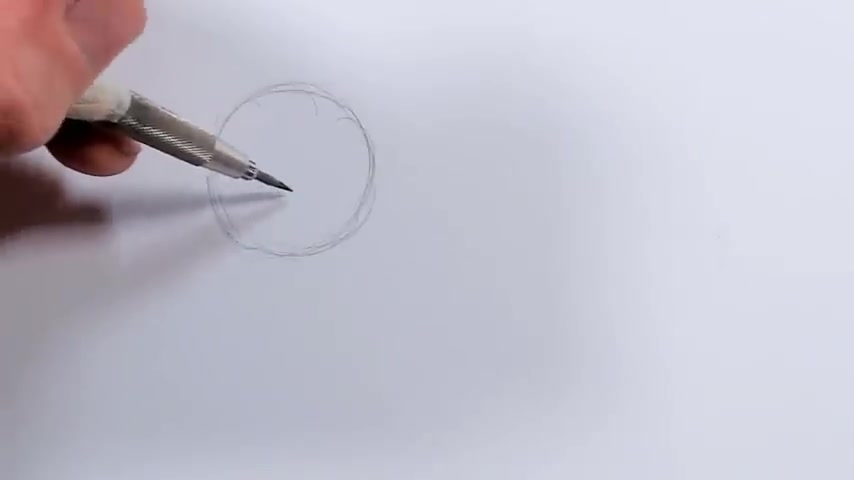
We're going to start at the very beginning and explore the simple shape that we'll be constructing our entire head off of .
And that is the sphere .
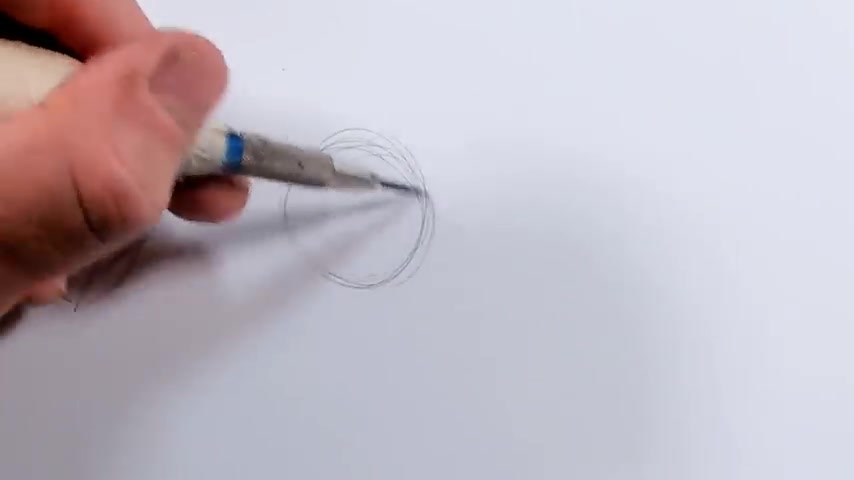
I'm not gonna use a template to draw my spheres .
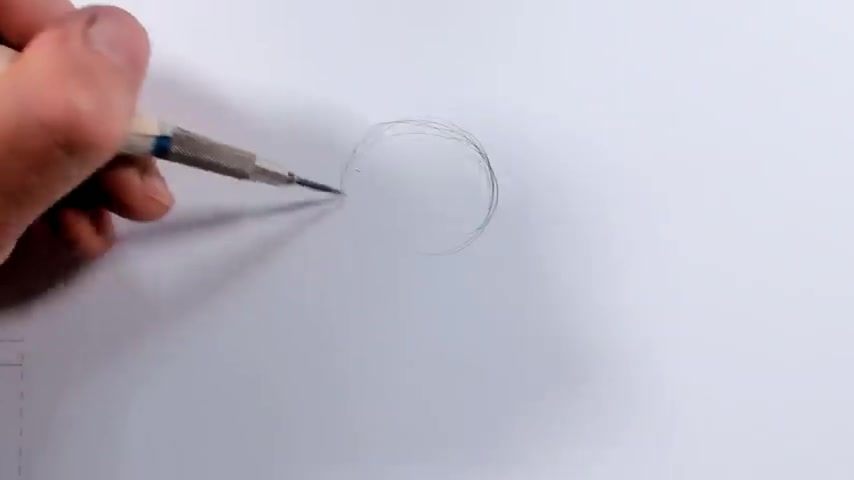
What I'm gonna do is just lightly sketch and you can see I've got a mass of lines all over the place , but because I'm going very lightly this is something that I can lighten down and I can get a pretty good sphere just on my own without using a template just by kind of molding it with a pencil like that .
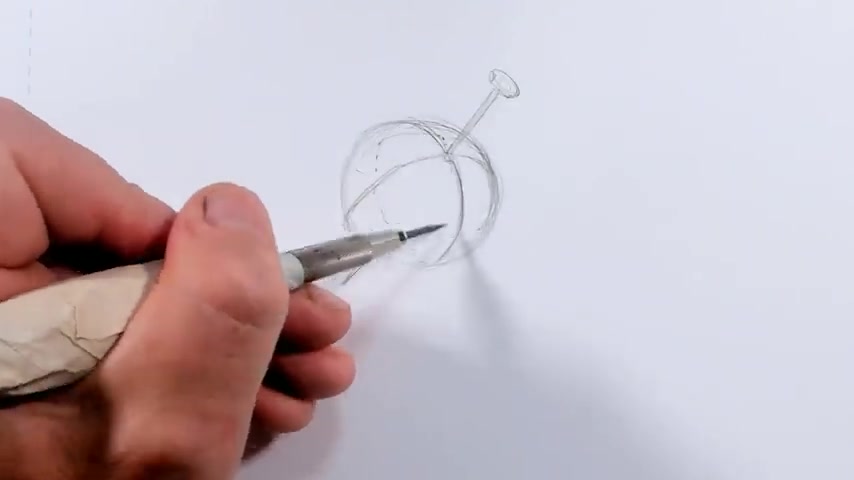
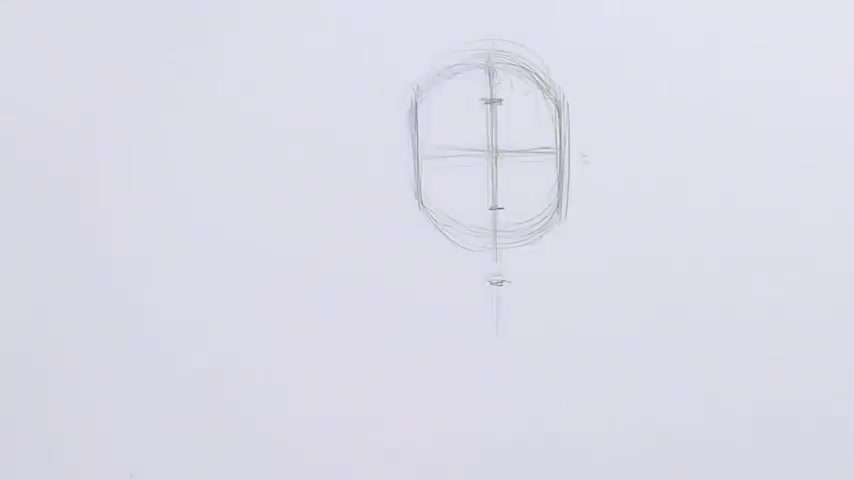
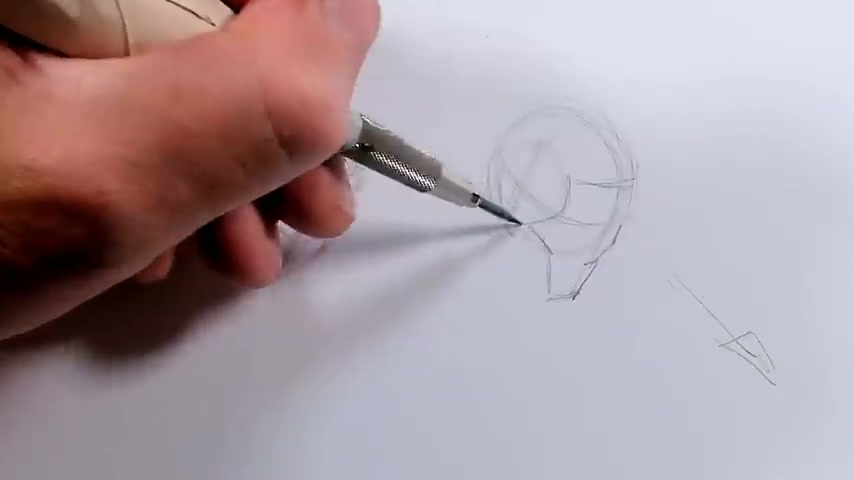
Now , from here , what we need to do is define an axis and with Luis , what he does is he draws a line through the sphere and it really can be at any angle .
We're gonna choose the angle that he uses in his first example where he really describes this and he actually uses a nail .
And so let's go ahead and do that .
And so the nail is gonna intersect with my sphere right here and it's gonna come out the bottom here .
And so I'm gonna draw my opposing axis across that this way .
Now , if I was to draw through , I would end up with a line along the back just like this .
And I'm gonna draw another line from my sphere this way .
And so that's going to represent our brow in the front of our face here .
This will be our brow .
This will be in the front of our face .
We need one more line and that is going to be this access axis along here .
Let's make sure that that is define well enough to make it clear .
So none of that is perfect .
I'm not using a ruler or trying to be incredibly clean with it because the point is this needs to be something that you can get comfortable sketching over time on your own very , very quickly .
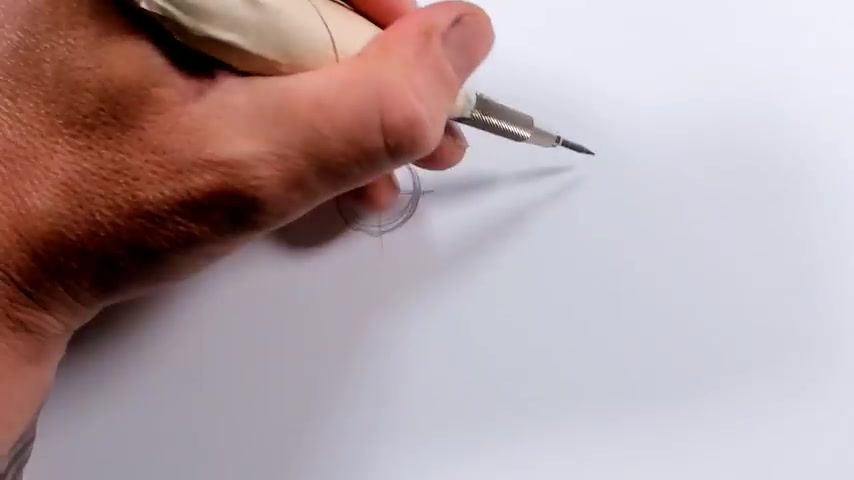
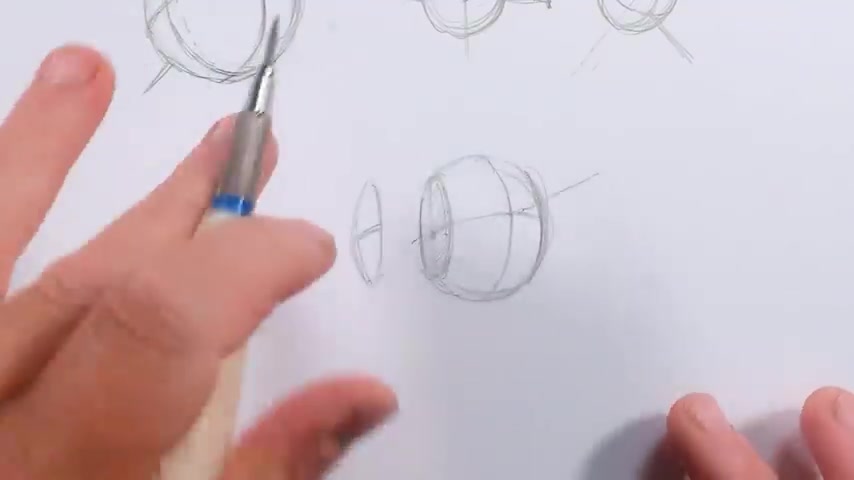
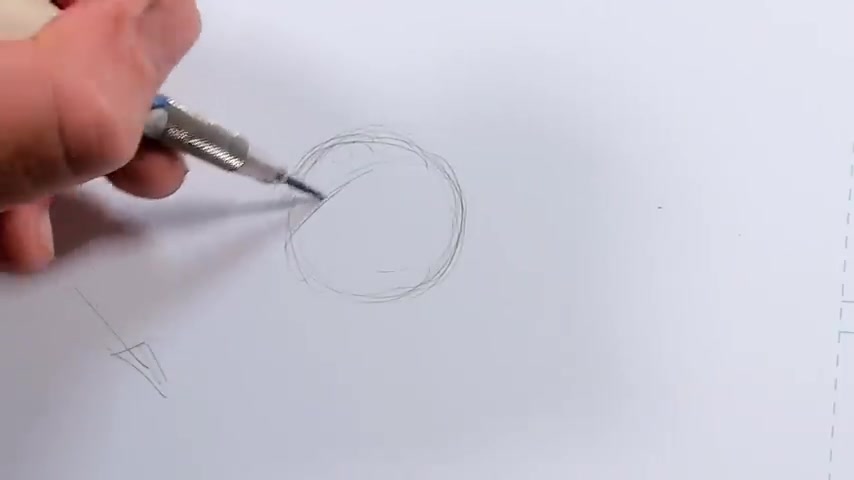
So now from here , I'm gonna lose my pin and I'm gonna draw this sphere from a bunch of different angles , just drawing the sphere .
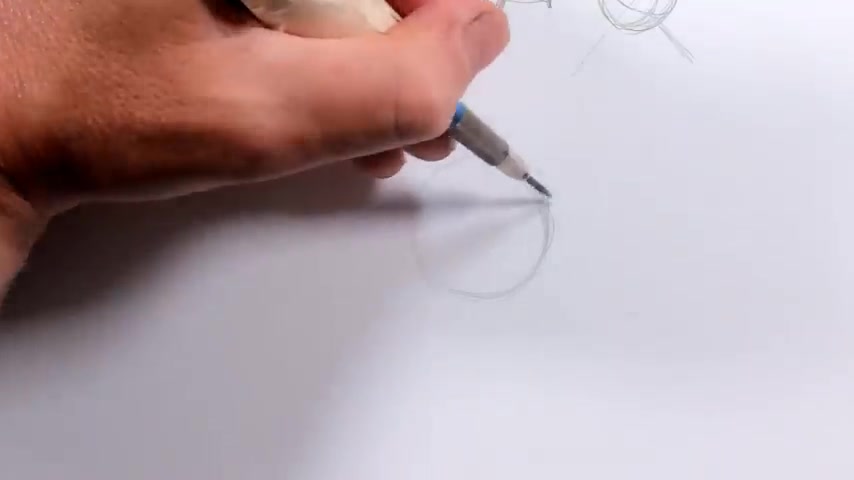
And so if I was to draw it from the front , we'll go a little bit smaller here .
So here's the sphere , we're looking directly at the front of it .
And so that means I'm going to intersect it this way and that's going to be this line here .
And then this line will be right through the center just like this in my pin .
If it were there , you would just see the head of it right there .
And this line here is going to be invisible .
It's the outside of my sphere .
I'm gonna draw another sphere and this time I'm gonna draw my axis down through this way .
And so my center line will be here and then my brow line will be here .
I got a little shallow there and because I'm tilted up , it's gonna tilt this axis forward .
And you can see it's , it's basically a 90 degree angle and it's trying to make that as clearly 90 degree as I can just estimating .
And so it's gonna be just about there and I'm gonna draw my third axis through here .
And what I've done here is really just draw the opposite of , of this .
Now , if we were to look at the head from the side , what you would really end up with is just the pin sticking out just like this .
So there's my pin instead of drawing a whole other head from the side , that's really what you would get .
And so you can draw this an infinite number of angles .
But I think that really covers the basic concept right there .
And so now that we have that we're gonna move on to the next basic concept , the lum covers and let me go ahead and draw a sphere , my axis , I'll go just a little bit more shallow .
This time will come through just like this and I'll have it connect right there .
And so let me draw my center line here and that's gonna be my center line of the face and my brow right there .
And I'm gonna draw another line through here for the other axis .
You should see just a little bit of this connection here under the ball .
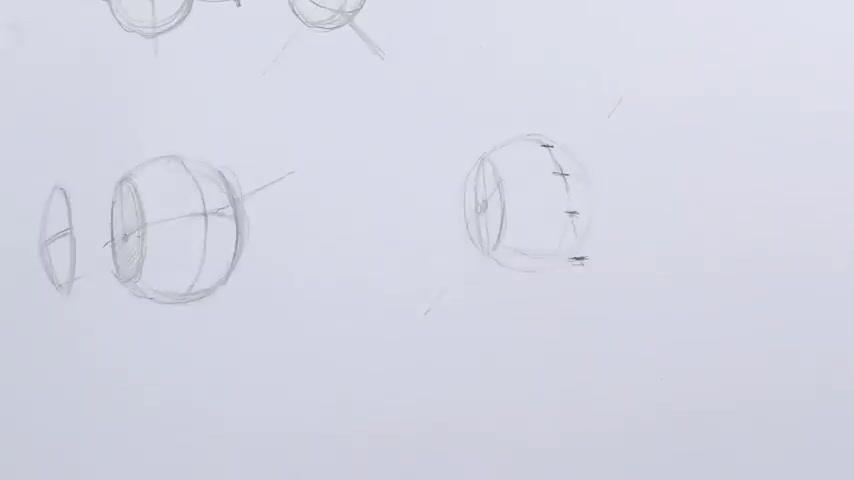
And now if I draw another line just about here on my sphere and draw it all the way through , I'm gonna draw it flat .
This is a , a flat surface , this line here is gonna flatten .
And so is this and I'm gonna end up pulling this point in to just about here .
And so let's go ahead and erase the piece that we just cut off .
And essentially what we did is we just created a slice .
And what I have left over is something just about like this and we've gone ahead and , and cut that off .
And so we've ended up with a slice and we're gonna do the same thing on the other side .
It won't be quite as visible because it's around the other side .
And that slice there much more closely represents the actual shape of the head instead of a sphere which is much too round .
And so that's all some pretty basic conceptual stuff .
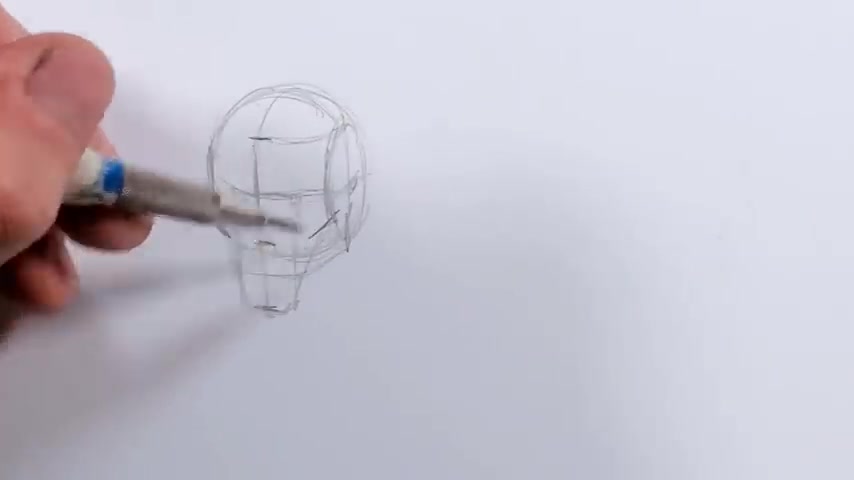
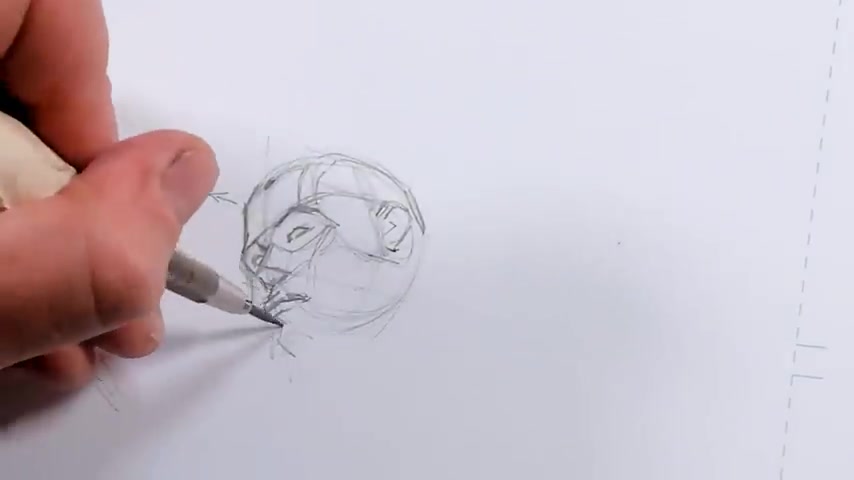
What we're gonna do now is we're gonna take what we did and I'll use the same angle from my first example .
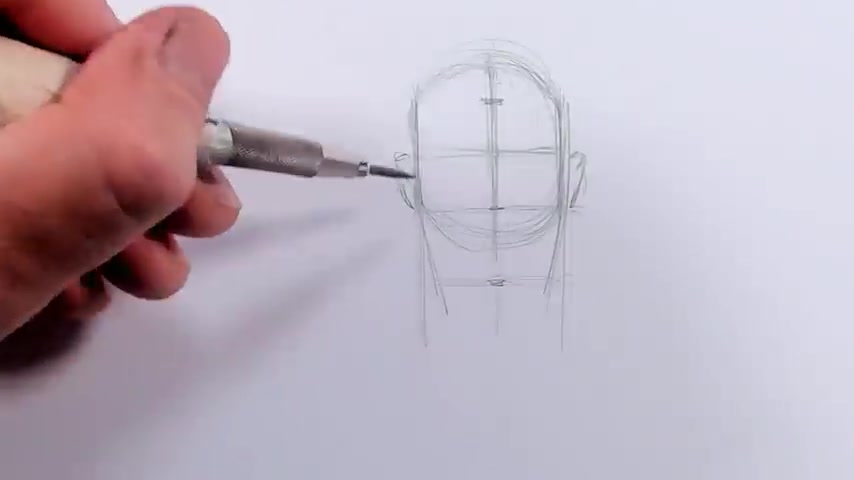
This is gonna be my brow line , my center line .
And the next thing that I need to establish is my hairline .
And so that's gonna be just about here .
Uh on the face is directly from the side , it would be just about here .
But since we're looking up at it , you see less of the top of the head above it .
And so I'm gonna take that distance and I'm gonna to duplicate it here and then I'm gonna to duplicate it again here .
You can measure it if you really want to be very , very accurate .
As a matter of fact , I think I went a little bit long here .
And so let's go ahead and erase that I tend to at this angle start to come out just a little bit longer toward the bottom because as things get closer , they get a little larger and as things get further away , they get smaller .
But we're gonna keep this as simple as possible and try to keep my distances the same .
And so I've got a straight line drawn out .
I'm not following the curve down because obviously the face is flat coming off of the sphere .
And so the next thing that I want to establish is a line for my cheek along either side of the face .
And so I've got a line here and I've got a line here and you can see that this line automatically comes in and is for shortened as it rounds around the head .
And because you have that , that sphere line as a reference , it makes it fairly easy to get that established .
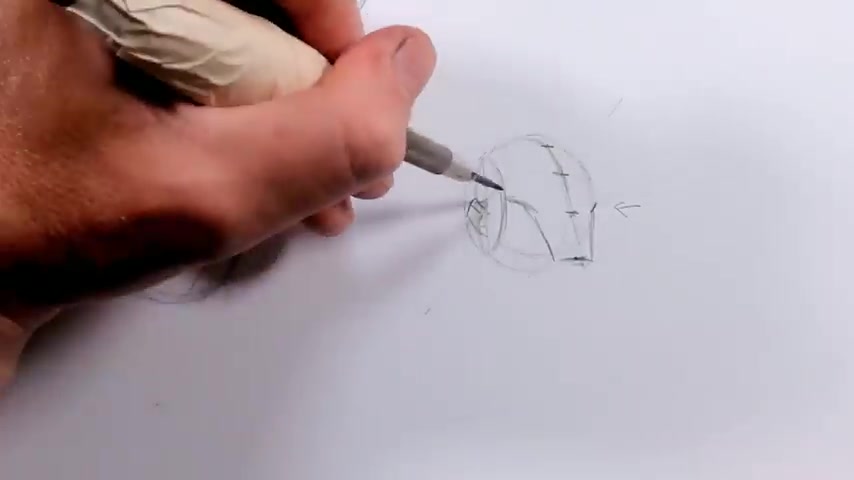
I'm gonna go ahead and connect that down to my chin on both sides and I'm gonna draw my ear connecting from , from this point here and that's level with the brow and the bottom of the ear ends up being level with the nose .
Let's make that just a little bit bigger then .
And so now my jaw is gonna connect from just in front of that point right here and my mouth is gonna be just about halfway .
Uh depending on the , depending on the person in their face , it can be a little higher , it can be a little lower .
But for an idealized face , it's gonna be just about halfway and I'm gonna extend the line back from that and that's gonna give me the back of my jaw and now I'm just gonna connect this up here and I'm gonna draw a line through and that's gonna give you my other side so we can see just a little bit of the bottom of the jaw there .

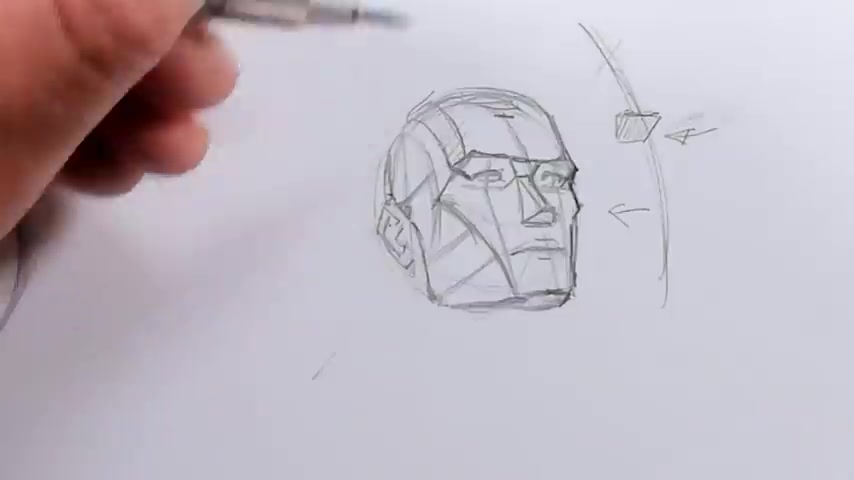
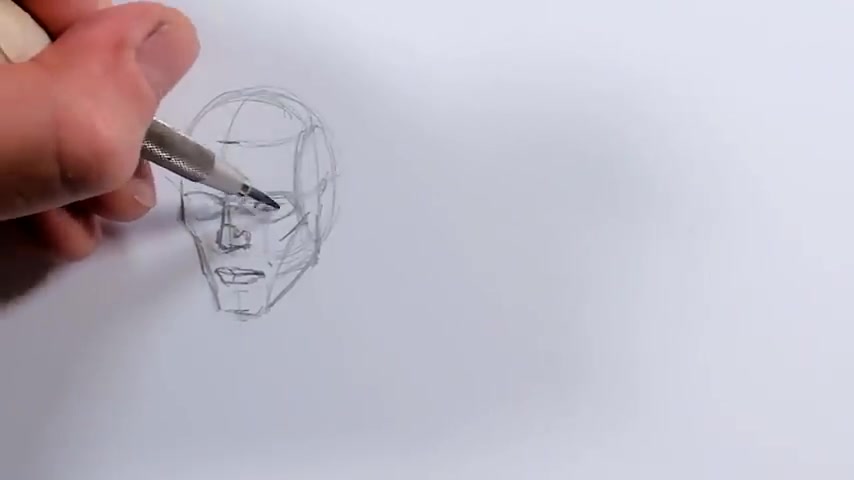
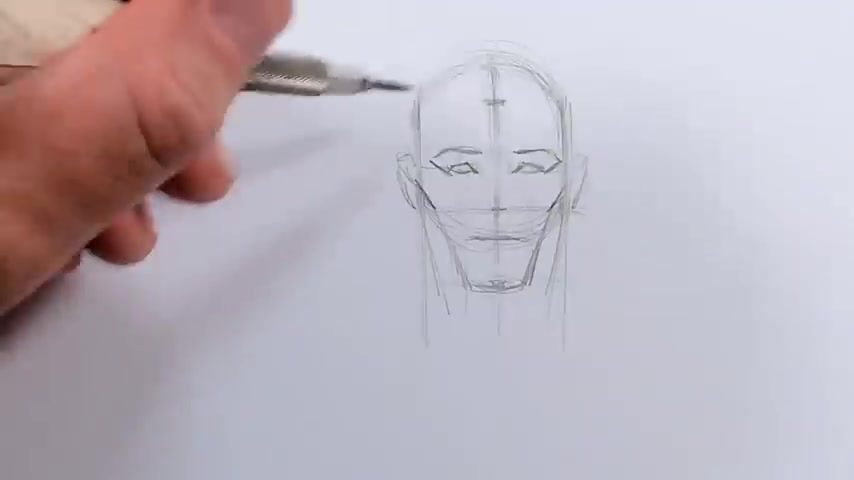
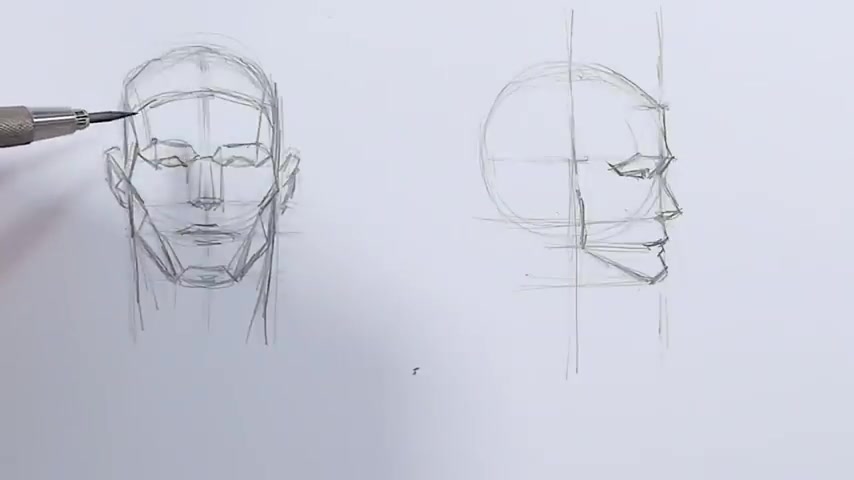
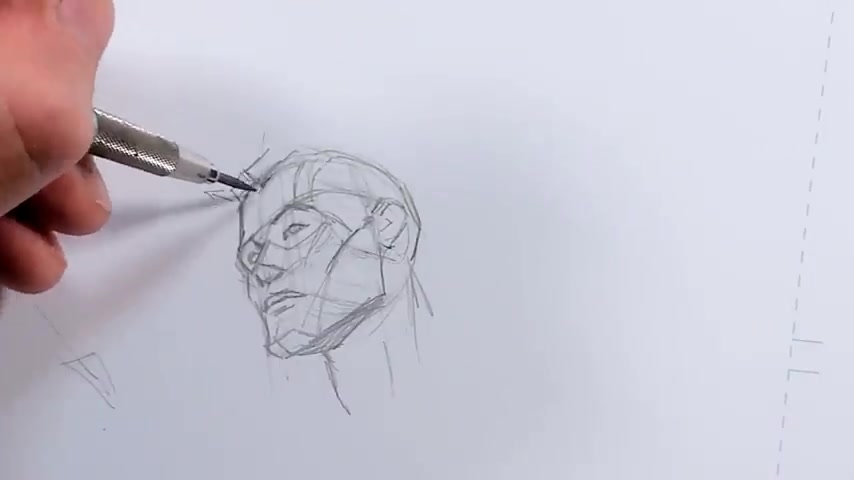
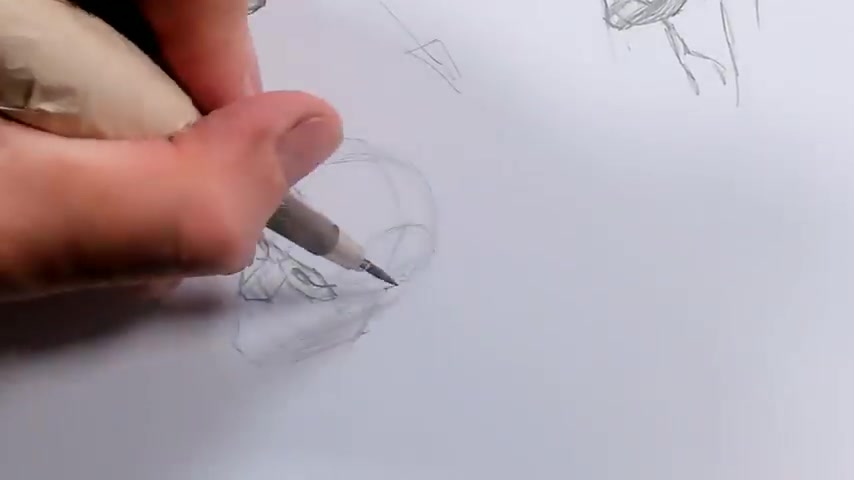
And so the next thing we need to do is start to establish our features and the planes of the face .
And I'm gonna go ahead and start with the top of my nose right here and I'm gonna create a shape just like this and my nose is gonna extend from that and my nose tilts outward from this line and I wanna make sure that the tip of my nose doesn't go all the way to that line because the base of my nose is gonna be just right here and it's gonna fall to the same upward angle of the rest of my face .
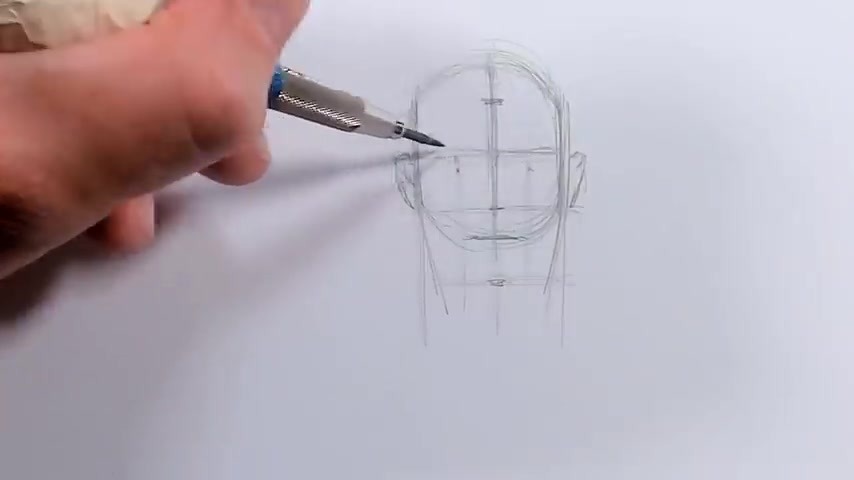
Now , I'm gonna go ahead and draw lines for where my brow connects here and dry in and draw in the cavities from my eyes .
And before we go on , the next thing I wanna talk about is my forehead rounds around that ball , but that's really not ideal .
And so we need to give that much more of a , a proper forehead shape .
And so I'm gonna lift that and flatten that , I'm gonna draw a line back from here and back from here .
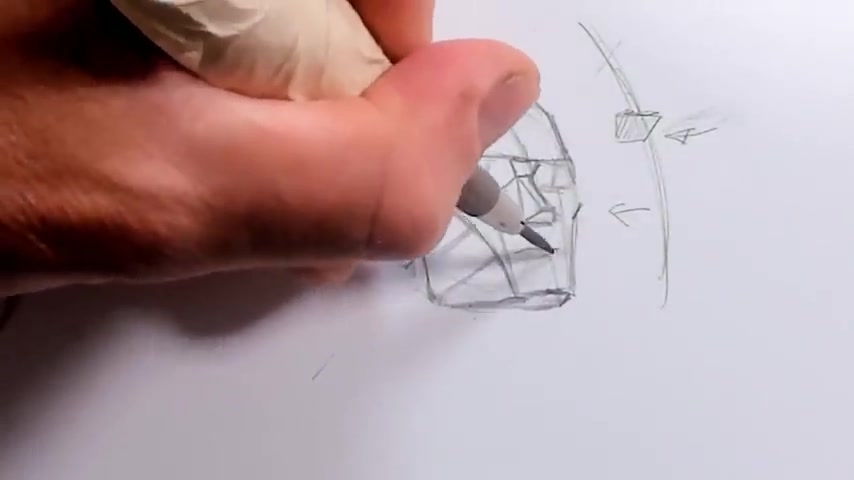
I'm gonna bring my cheek out just a little bit and connect this line here just like this .
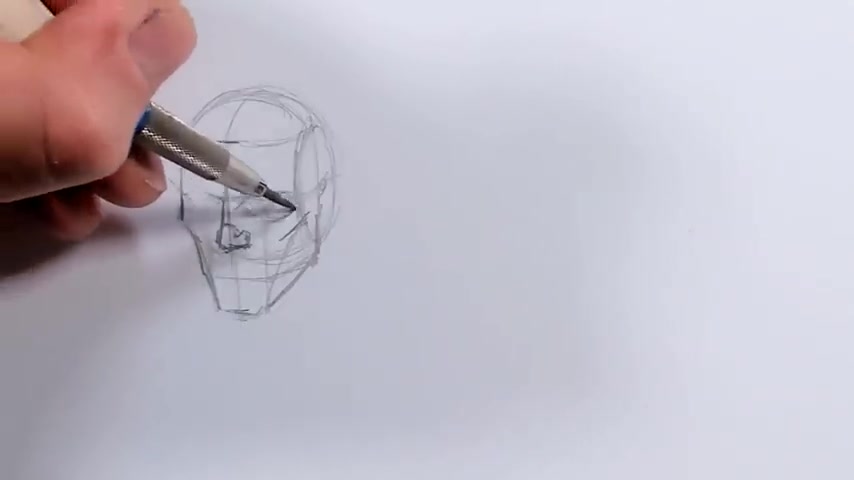
And my mouth is going to go right here .
The center of my eye sockets is also going to define the contours of my mouth .
It's going to define the outside of my mouth on both sides .
And so now I wanna go ahead and just inside there , establish my eyes .
And here's another I and from the corner of my eye , I'm gonna come up at an angle just like this .
And this is a very important line because this really defines your eyebrow .
And it also defines where your cheek connects right here .
And it also is now gonna connect up just like this and give us a plane along the side of the head here , we won't see it on this side .
I'm gonna draw the line for my forehead down just about like that to find a plane along the cheek here .
And I can give my character a hairline by dipping in here just a little bit in creating a ridge all along .
And where I've connected here , I'm gonna draw a line up through and that's gonna represent the edge of the back of my hair here and my neck is gonna connect just under the ear on both sides .
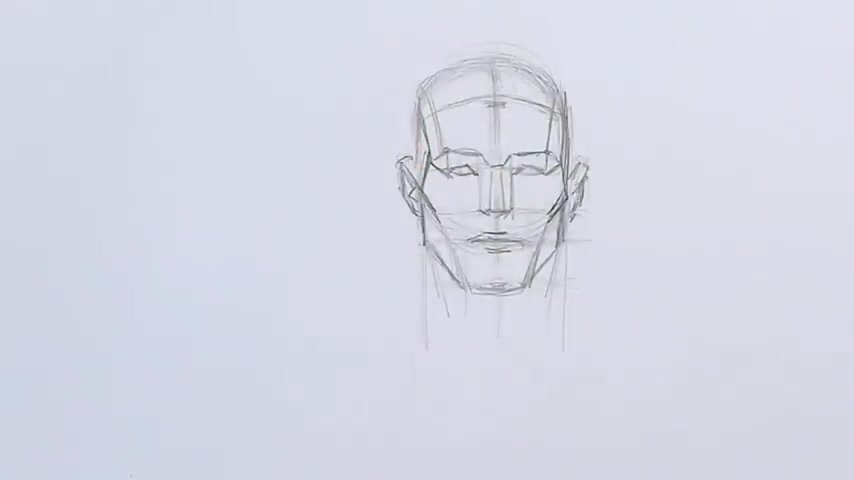
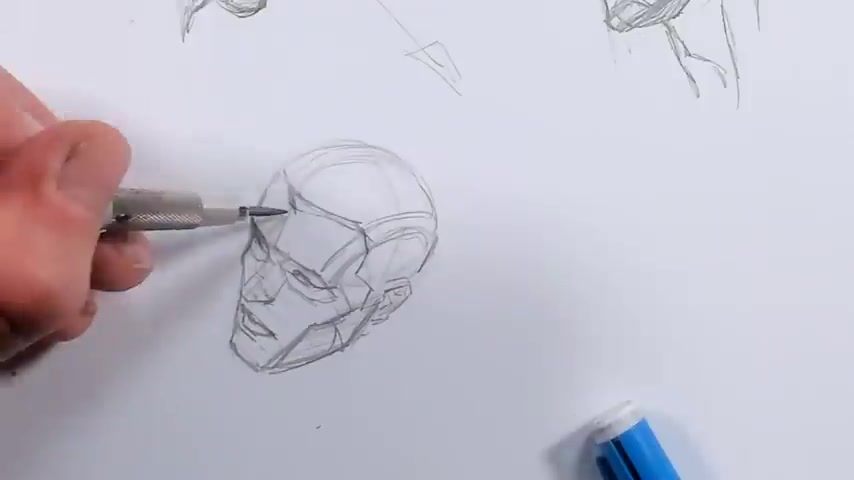
And so at this point , we've taken a very simple shape and used that to construct our face and then establish the basic points of the face .
But now what I want to do is start to use that construction to draw the face from multiple different angles and keep everything as simple as possible .
Instead of drawing an axis at this point , what I want to do is I want to decide where I want my eyes and my brow to be .
And I'm to go , I wanna tilt my head down just slightly .
And so I'm gonna draw my line just about here and I'm thinking that I want the center of my face to be just about here .
And so that would put my axis just about like this .
So there's my starting point .
My brow is gonna be just about here , just about level with the top of where I'm slicing my head .
And now my nose is going to be about here and I want to start going flat .
I don't want to follow the contour of the sphere all the way back obviously .
And then that's gonna be my chin .
I'm gonna establish my cheeks side of my face here .
I'm just gonna keep it simple .
I'm gonna draw up a line through here and then I'm just gonna connect through my chin .
My chin is generally gonna be just about half , half of this distance down through here .
I'm gonna draw in line for my mouth , connect that up for the side of my jaw .
And at this angle , I don't think we'll really see this side of the jaw .
I could maybe sneak just a little bit in .
And I think that'll work .
But you need to be very , very careful .
And unfortunately , unless you have a little model that you can turn in your hand , and I highly recommend that you do that , it can be very difficult to know if you can see that chin or exactly the angle that you should be cutting in here .
And obviously , that's an extreme example .
But to know exactly that angle , there is no mathematical formula for it , but making that exact is very , very difficult .
What I'm gonna do now , I know my nose is gonna extend outward .
And so I'm just gonna draw that line and because I'm looking at my face downward , I'm gonna come down just slightly with the tip .
I don't want to exaggerate that because I'm only slightly looking down .
And now in my , my nostril , I'm just gonna draw the tip of my nose .
If you want more information on drawing noses , I have a video on drawing noses .
I have videos on drawing mouse eyes and noses on my youtube channel and you can check out those videos .
And so I know my eyes are gonna be just about halfway here .
That's gonna be the center of my eye .
But I'm gonna go ahead and establish my eye sockets first .
So there's one eye socket , my other eye sockets gonna connect in just like this .
My nose is gonna connect up here .
I've got that little plane there and my mouth , I feel like I'm a little bit too far down , going halfway .
And so I'm gonna lift that up just a little bit .
But what I wanna do is establish this is the center .
I'm gonna come out just a little bit here and out a little bit here and the corners of my mouth are gonna be along these lines here .
And because I'm looking down at the face just a little bit , the corners of my mouth are gonna be slightly higher .
You need to be very careful .
You don't end up with it , an expression that looks like a small smile unless that's what you're trying for , but for a neutral expression , that's what we want .
Now , I'm gonna go ahead and draw my eyes into my sockets and they're lining up with my nostrils .
So this eye is gonna line up closer into that nostril there , which is for shorten and I'm gonna draw a line up on my eyes here and that's gonna give me the angle that I need here .
I'm gonna go ahead and cut this in drawing my ear that's gonna be between my nose and my brow .
Let me go ahead and lighten down the top of my head and we're gonna draw a hairline .
So I'm gonna come down just a little bit .
Also , I've got this line here in the same way that I do with the mouth .
I'm going to bring that out just a little bit and I'm gonna do the same here .
And I do feel like you really wouldn't see that side of the draw and we're gonna go ahead and just get rid of that .
And that's a much more basic construction based on the overall lum head that really works for me before we move on very quickly .
I want to talk about some measurements .
I , I personally find measurements to be a fairly limited use and I'm gonna explain to you why .
So I'm gonna start by drawing the forehead here .
You wanna be careful not to go too high with this line because otherwise you'll end up with a very long face on your head .
And so here is that line replicated again and that line replicated again .
Yeah , I think that's about just right , maybe just a little bit longer because you start with this line baked in the first line you establish is your forehead line .
And if you make this too long or too short , it's going to affect the proportion of the entire rest of your face .
It might take a little bit of experimentation to find this line .
Exactly .
If I go further up here , my whole face is going to be so long that I'll end up with something that looks very , very distorted .
I don't know of an exact measurement to find exactly where that line is .
And frankly , if there were an exact measurement , it's really not a useful thing to use because when you start to turn the head at , at different angles , all of that really gets blown out the window and it becomes much more difficult to reference exactly distances like that .
It's something you do need to get a bit of a feel for .
And so from here , I'm gonna go ahead and draw a line across from my nose and across from my chin and just draw lines down just to give me a box in which I'm gonna be drawing the rest of the face .
I know that my jaw is not straight down from the top of my head .
It comes in just a little bit like this .
My ears are gonna connect in between my brow and my nose .
So let's just get those drawn in quickly .
There they are and my mouth is gonna be just a little higher than halfway between these two points .
So just about like this and it's gonna connect to the center of my eyes when I hear when I hear and that's gonna connect to my mouth just about like this .
I don't want to connect my eye to my brow , which I just did there and end up with a very distorted looking face .
And so you can see there's starting to be a face that is beginning to appear .
I'm gonna go ahead and just above my nose line from the outside of my face , I'm gonna establish my cheekbones and then bring those into my , my chin , my chin is gonna be the same width or just a little bit more narrow than my my mouth , depending on the kind of strength you want to give to your jaw .
My eyes are gonna measure five eyes across .
It sounds a little confusing , but all it means is that I've got a space , an eye wide , space between my eyes here and then my , let's go just a little bit wider here .
My actual eye is here and then another eye width toward the outside .
And so I'm gonna go ahead and draw in my , my eyes and just erase this down a little bit .
So I don't have too much of a mess and you should be able to fairly accurately eyeball .
Um , the space between your eyes and , and the a at the outside to make sure that you're , you're accurate .
I'm gonna go ahead and draw my brow and to establish the outside of my brow .
I'm gonna draw a line at about this angle up from my eyes and my brows gonna connect right there just like that .
I'm gonna draw a line from my whole forehead and then from the outside of my eye .
That's gonna be just about where the , where the , the peak of my brow sits .
I'm gonna draw a line back like this .
The top of my nose starts at just about the top of my eyes right here and then my nostrils are gonna line up with my eyes I'm not gonna go ahead and finish my mouth just a little bit .
It's obviously a very simplified face and you'll find that a lot of times faces that you draw , using really accurate measurements like this and being very careful with it can end up looking a little bit stilted .
I find that for myself all the time .
Uh And they'll get more natural as you draw on your own .
From this point here , I'm gonna draw another line to describe that plane up here and attach my jawline to that my cheeks to that .
And now I'm gonna draw from my mouth straight across and that's gonna give me the sides of my jaw and that's a pretty accurate head that is surprisingly easy to distort and it's so easy to distort because when you establish from this line up to this line here , if you don't establish an appropriate distance , it's going to mess up with the proportions of your overall face .
So if you're having problems and you're feeling like you're being accurate with these measurements and you're still having that trouble , that is the first place to look and make sure that you have that measurement set .
And now from here , if you like , you can go in and draw the plane of the chin here , connect that up and get something that is more cleaner .
We're gonna go ahead and do the same measurements from the side .
So I'm gonna start from my sphere that's as accurate as it needs to be .
I'm gonna draw a line through the center vertically and horizontally .
And that's gonna give me the center of my head just right here .
We won't see this line down the center of the face because it's because it's directly at the side .
But now what I'm gonna go ahead and do is just draw a flat line here , a flat line down from here .
You don't need to do any of this when you're actually drawing your heads .
But just to get this really established in terms of , in terms of proportions .
And so from here , I'm gonna establish my forehead and that's gonna be just about here and I'm gonna take that distance .
I'm gonna measure it out again , measure it out again and that's gonna be my face .
I'm gonna draw a line back from , from my nose , a line back from my chin .
I'm gonna just go ahead and establish a line for my mouth .
I'm gonna go just a little bit higher just right about here .
And that automatically now is going to give me my jaw from behind so I can just get that right out of the way just like that .
My nose obviously needs to jut out .
And so I'm gonna go ahead and , and do that .
I know I've got a plane coming out like this and that's going to connect to my brow just like this and I can draw a line straight down here , but obviously , that's not going to be very accurate .
What I need to do is remember what I have here .
I'm gonna go ahead and start just a little bit back and draw that shape just like this .
We're looking at it directly from the side .
I'm gonna come in here .
My mouth is gonna connect here and my eye is gonna start right here , not a full eye width back from the nose , but three quarters of an I with I think is a good distance .
Everybody's face varies , but for generic attractive face , that's a good distance .
I'm gonna straighten up my forehead just a little bit .
And now through all this , I haven't established my actual cheek line .
So let's go ahead and do that .
Draw a line up from here .
That'll give me this .
I had this point at the outside of the eyes and you can see obviously that's not gonna be the case here .
So it's gonna be much more .
If you draw a line straight down here , I'm gonna draw my ear in here and I'm gonna go ahead and adjust my mouth , which I feel like even though I went just a little higher , it's not quite high enough .
So I'm gonna go ahead and fix that and make that just a little bit higher and draw a line down from here and connect my cheek just like this .
Mhm Before we move on with the rest of the video .
I wanted to take a minute to talk about our sponsor .
Comics on coffee .
Comics on coffee is a family owned coffee company serving premium coffee to people who love all things geek .

They import high quality coffee beans from farmers all around the world and pay better than fair trade prices to make sure that farmers directly get the money they desperately need .
So right now I'm drinking Dark side roast .
That's this one right here .
It's my current favorite .
I'm almost out .
Actually , I have a few favorites , but this one is definitely right up my alley .
I like a nice strong dark roast coffee and this one is absolutely incredible .
You can subscribe to comics on coffee and get a bag delivered directly to your house once a month , once every two weeks or once a week , which I really need to get on right away because again , I'm almost out , be sure to head on over to com on coffee dot com and type in code David Finch for a 15% discount .
They're good people and they make great coffee for people like you and me .
All right , let's go back to the video .
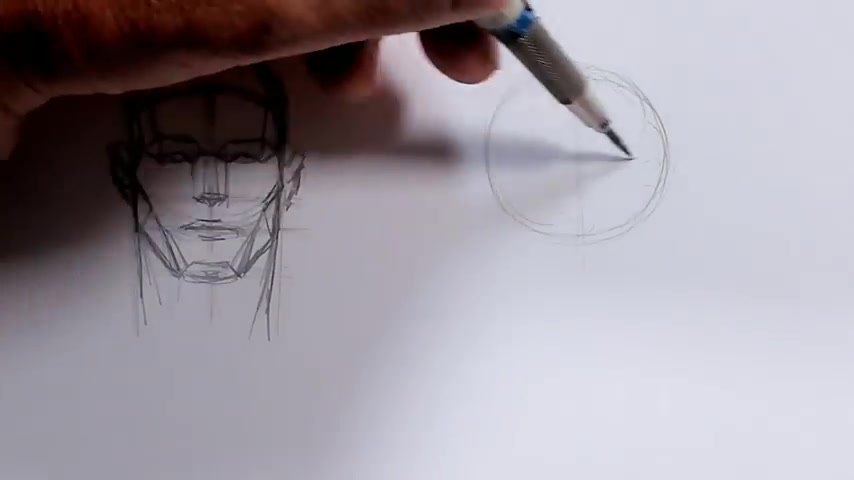
All right .
So now we have the basics down .
This is where we can really go ahead and start to have some fun .
I'm gonna draw some heads at some different angles and in order to do that , we need to be able to work with simple shapes in perspective obviously a box in perspective , it's gonna be something like this .
And if I was to draw a center line would be through here , my side , center line would be here .
And then I've got one more center line here and you can see how this correlates pretty closely to what we're doing with the sphere .
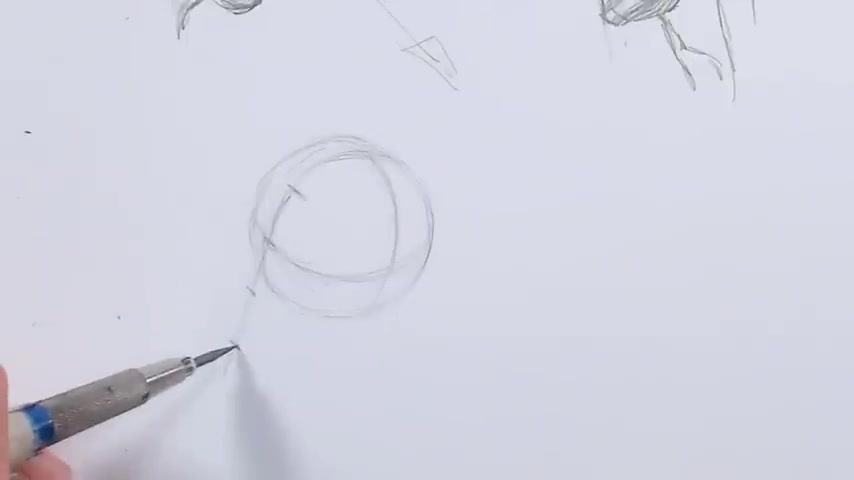
I'm gonna draw this again .
I'm just gonna start with the sphere , which at all times and it makes it very easy to use is never an oval .
It's never different .
No matter what angle I draw , it's always going to be a sphere where I start to add my character to it .
I'm gonna draw this angle first because I really want to establish the direction my character is looking and I'm imagining they're looking this way here .
And so now I'm gonna draw a line through like this and then I've got another line through here just gonna flatten that off just like this .
My forehead is gonna be about here .
My face at that angle is gonna be like this .
So here's another line , another line and I can go ahead and lighten this down again and establish my cheek here .
On the other side .
We're very flat here .
So I'm gonna be just about like this and that's gonna give me the side of my head .
I've went , I've gone very flat here .
So let me just correct for that .
My nose is gonna connect out from here .
So there it is .
My mouth is gonna be just about here .
You won't really see the other side of the mouth at all .
I don't wanna go too wide with it either .
I might have gone just a little bit too wide there .
I'm gonna come in here and then my jawline is gonna connect right up through here , dry in my eye sockets and then my eyes are just gonna sit within those sockets .
Really won't see much of the other eye at all .
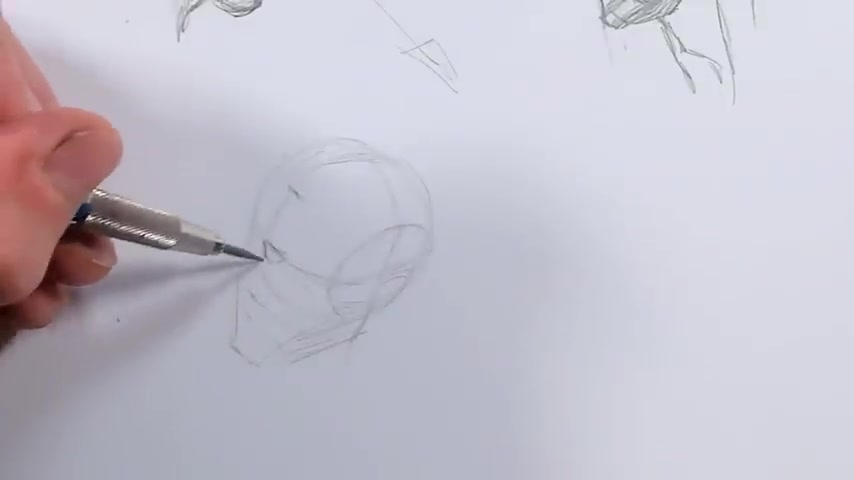
I'm gonna draw another sphere and this head is gonna be directly from blue and we're gonna start to do some blue studies from different angles .
And so he's got his angle just about here and this is gonna be my brow line .
And so let me draw that along my sphere .
That's gonna be the angle that I'm looking for for the front of my face just like this .
This is my brow line .
And so I'm gonna draw my forehead line just about here .
My nose will be here and my jaw will be here .
I'm gonna go ahead and flatten this here .
And so that's gonna place my ear just about here .

And so I'm gonna draw the line for the bridge of my nose here , bottom of my nose , it's gonna connect up through here and it makes it very easy to get my nose established properly at the right angle just doing that following the same basic path I'm angling just a little bit because it's narrow at the front and I can use that to establish my eye socket here and here .
And so let me go ahead and draw my eyes in there .
And the example I'm looking at Lois is actually angling his forehead back along the sphere .
I don't like to do that .
And so I'm bringing mine out just a little bit further here just to flatten it and give it a bit more of a straight forehead .
These are all choices .
And now for my mouth , I want to come out just a little bit in , in here at the bottom and then out from my jaw which has this shape here , there's the center , here's the top of my mouth here , the top lip , bottom lip .
So when uh draw a line from my eyes down , my mouth is gonna be and the edge of my mouth goes to , to the center of my eye .
And so let me go ahead and get my mouth established in here .
I'm gonna come from at this point here and draw a line down through my chin and then connect up through here and back of my jaw is gonna be just about here .
And at this angle , we'd see some of the bottom of the jaw .
And you can see how using these basic shapes really does make it pretty easy to keep things working proportionally .
Andrew Loomis really has a very , very good breakdown of how all of this works and it's very , very useful .
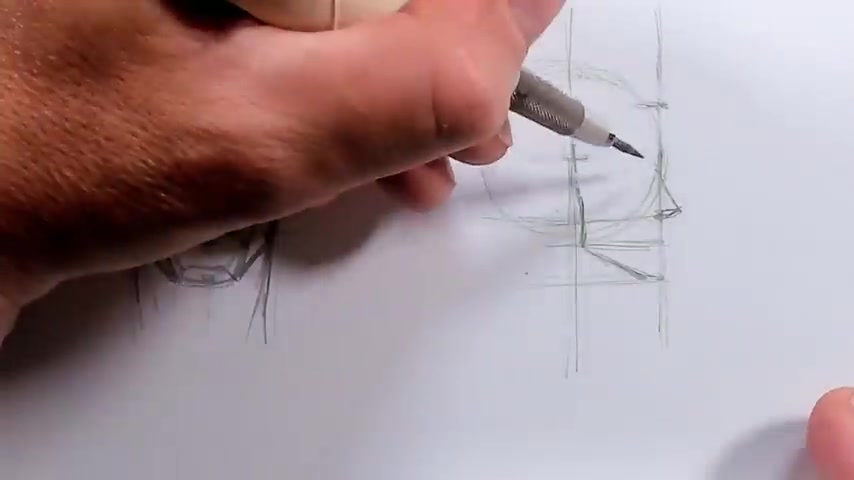
But we're gonna be looking down at this head and it's gonna be tilting toward us , but a sphere stays the same .
I know I want my brow line to be just about here .
And so the top angle is gonna be here to make sure that rounds around my sphere properly .
And then my ear line is gonna be just about like this instead of fighting with your drawing and really trying to make a line every line accurate , you're much better off to just draw lightly and then just erase the way that I just did .
And so I've got my forehead just about here and I want to angle my face straight downward like this .
And so here's my brow , my nose and my jaw , my chin , I'm gonna cut the side flatten that off to make sure that let's give that just a little bit better .
I'm gonna just connect this in very , very quickly and get that angle right .
You can see I went too shallow with that angle .
It was contradicting the angle I had on my face there .
So let's fix that .
It's really easy for me to establish my sphere .
Since I've got these two angles , I can just make sure that my sphere connects along with angles .
Other side of my chin is gonna be just right here .
I'm gonna draw a line all the way down line across from my nose connect that up .
My ear is gonna be in here .
We'll clean this up in a second and my mouth just , but here draw that line up and that's gonna give me the line for my jaw just like this .
And that gives me my basic head pretty well established from here .
I'm gonna go ahead and start with really the keystone of the face in a lot of ways , this shape between the eyes connect to my nose .
My nose is gonna project outward from this line here , brow because I'm looking down at it .
My eyes are gonna be pushed up quite a bit higher .
Probably really should establish my uh eye sockets .
It makes it much easier to draw the eyes in , gonna draw a line up from here and from here , we really won't see that line at all because of the angle , but it makes it nice and easy for me to establish my cheek line right there .
Once I get my ear just looking a little bit better , I'm gonna draw a line and now I'm gonna go ahead , the center of my mouth is gonna be just about here because we're looking up at the mouth , it's gonna round around the face just a bit .
You need to be very careful with this because again , it can look like they're smiling , which is fine if that's what you're looking for .
But you don't want every face that you draw , looking down at a face to look like it's smiling and I feel like I've got that effect going on just a little bit .
So try and keep that as minimal as possible , dry my , my jaw and now for me to go out for my hairline , I'm gonna come just a little bit lower here , bring it up through here to this point .
Happened to that point .
So that's the basic rundown of my understanding of the loomus head .
There's quite a bit more information that you can find and you can go far more technical with this .
But you have to bear in mind that the only way to really learn it is to draw multiple heads from multiple different angles and keep working it and massaging out the problems that you will inevitably run into .
You have to be patient with yourself and just understand that drawing all the features and making them all fit on the head from every angle is a challenge and there is no true shortcut , Andre Lius , simple head construction is a great way for you to simplify the head .
And enough that you can start to draw these kinds of drawings from every angle as accurately as possible , but it will still take work so be patient with yourself and allow yourself to make mistakes .
Thank you so much for watching and I will see you in the next video .
Are you looking for a way to reach a wider audience and get more views on your videos?
Our innovative video to text transcribing service can help you do just that.
We provide accurate transcriptions of your videos along with visual content that will help you attract new viewers and keep them engaged. Plus, our data analytics and ad campaign tools can help you monetize your content and maximize your revenue.
Let's partner up and take your video content to the next level!
Contact us today to learn more.