https://www.youtube.com/watch?v=eod5cUxAHRM
No Knead Beginner Sourdough Bread

Homemade sourdough bread .
Do I need to say more or ?
No ?
No , I don't .
So if you watched my last video about making a sourdough starter from scratch with two ingredients , flour and water , that is all you need .
I think that's what I said in the last video .
Actually using two very simple ingredients , flour and water .
That is all you need .
Really nice .
I'm already recycling content .
You're welcome .
I actually wasn't originally going to make this video when I toasted that for some reason , I thought that y'all would just be happy with a sourdough starter and then you would find your own recipes .
But then I was like , that's messed up , right ?
I should give you a bread recipe .
Now , my personal recipes for the loaves that so many people have seen on my Instagram .

If you don't follow me already , you should go check the link in the description .
They're a little bit more complicated .
I don't want to see that .
I dumbed this down but I simplified it in a way that made it really easy to execute and pretty straightforward and gives you pretty similar results .
This video might get a little lengthy So I'll cut the chatter now and we'll get to making it .
Now , if you haven't seen my last video or you don't have a sourdough starter , please go check out my last video before this .
There will be a link in the description .
Anyway , if you do and you're good to go , then let's move on .
Now , first thing we need to do is make our Levan .
Now , that is a French term for Levin .
It is a splinter of our sourdough starter .
Notice that I'm making a splinter and not taking directly from our sour dough starter .
Now , your van build is gonna start with 45 g of mature starter from your sourdough starter to that , you're gonna add 45 g of stone ground whole wheat flour and 45 g of unbleached all purpose flour .
Please make sure it's unbleached .
Use some decent organic stuff .
At least .
Then to that you're gonna add 90 g of room temperature , unfiltered water or no filtered water .
Why did I say unfiltered ?
I meant filtered water .
I'm sorry .
Then third stir that Leven until everything is completely incorporated and no dry clumps of flour remain .
I decided to use a larger jar just because I think the rise was gonna be too big for that other jar .
So yeah , make sure that you have a large enough jar and make sure that the lid is not tightened to the point where it's air tightened .
Ok ?
Or it looks blue .
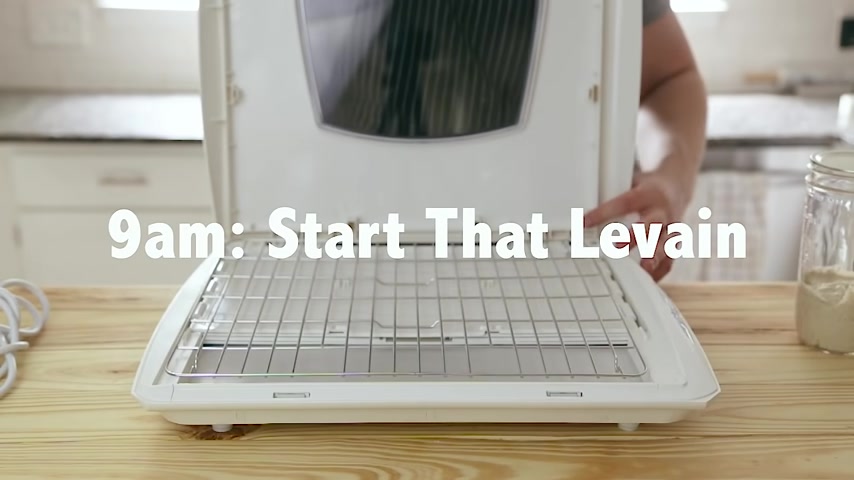
Now , to give you some time scheduling , I'd recommend you start the lavan at around 9 a.m. and you're gonna let it ferment for six hours at 78 F .
Now , I know those of you who know me know that I have a fermentation station to keep it at that temperature .
Now , if you don't , you can just use your oven while it's off with just the light left on that should create a warm enough environment .
But I will be using my fermentation station 30 minutes before your van is ready to use .
You're going to start the lease .
Now , what's an auto lease ?
You might ask , you're just mixing the flour and water together for it to kind of mingle and chill out with each other for a second .
Sounds fancy , but it's really easy .
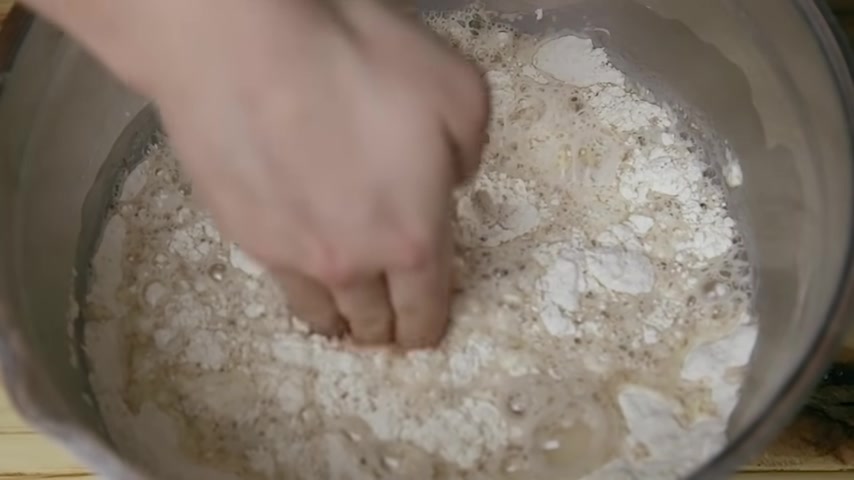
You're gonna start with 500 g of all purpose , unbleached flour .
270 3 g of bread flour , unbleached , of course .
And 175 g of stone ground , whole wheat flour .
Please use all the organic stuff .
Use the good stuff guys and give that a thorough mix by hand .
Sort of using an open claw hand thing .
You're gonna wanna do that because I want you to get used to feeling the flour .
You gotta be one with the flour next .
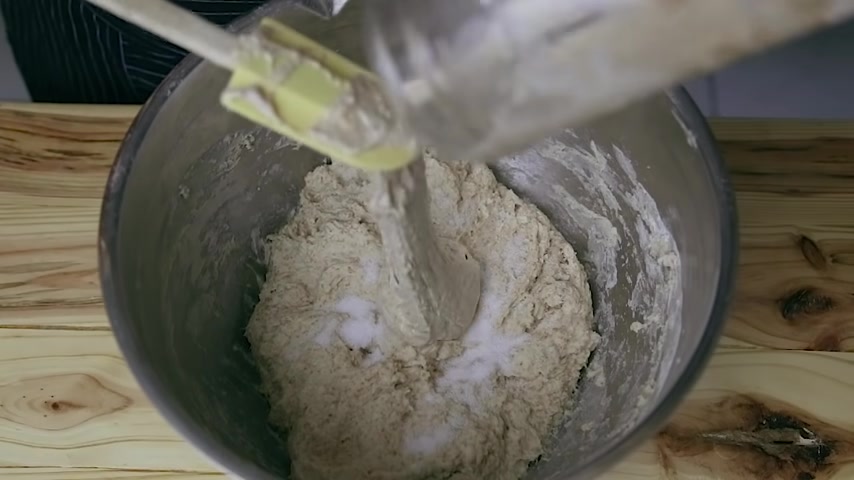
You're gonna add 660 g of lukewarm water at 90 to 95 F .
Now you're gonna add that directly to all of your flour and then just mix everything by hand .
Now , you're not looking to develop any gluten here .
You're just looking to mix it and make sure that all the flour is pretty much hydrated and then you're just gonna cover your bowl with a damp towel or a plastic wrap and let it sit for 30 minutes .
A K , the remaining sourdough Lavan ferment time .
Oh , and I almost forgot , make sure that you're auto leasing that right next to wherever you're fermenting your sourdough Lavan .
That way it stays at the same temperature once the dough is auto leased and the Lavan is done , Sprinkle 18 g of fine seed salt across the surface of the dough .
Then to that , you're gonna add all of the van that you made directly on top of the dough .
This is why we don't use your sour dough starter because if you use all of your sourdough starter , then there ain't no more sourdough starters .
So , don't do that , please .
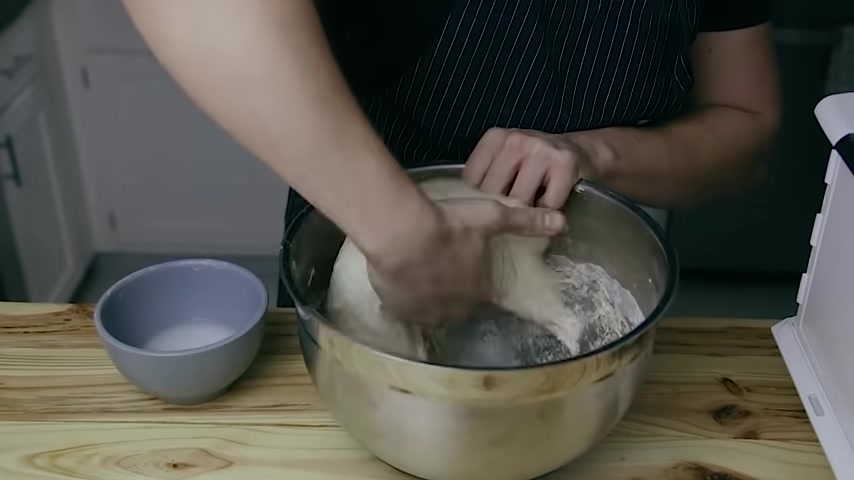
Once that's done wet one hand with water and spread your sourdough starter across the surface of the dough , using the water to wet your hand is needed .
So the dough is a stick , then dimple the sourdough starter all into your dough .
Press all the way to the bottom .
We're trying to make sure that that gets incorporated nicely and it's ok if there's a tiny bit of dough steak in your hand , don't worry just keep going .
Now , you're noticing that I'm kind of picking it up and stirring it around a little bit with my hand just trying to make it get incorporated , do whatever you can stir it .
Pinch the dough throughout , sort of using your index finger and your thumb .
Just sort of pinching the sourdough starter directly into the dough just like that .
And you're just gonna repeat that process until you feel like everything has been evenly distributed , which should take , you know , one or two minutes .
Now , at this point , you can go ahead and see , stop there or you can do one more additional thing , which is completely optional where you're going to do something called the rhubarb method .
Now using a moisten hand , you're basically going to essentially use your hand as a scoop sort of doing this scooping and slapping method where you scoop the dough up with your hand and kind of slap it back down against the bottom of the bowl and you're gonna repeat that process .
Scooping and slapping and scooping and slapping over and over for about three minutes .
And that is it .
Now , you can totally skip that part if you don't want to do it .
I understand everything .
It , it's mixed enough .
So you're Gucci if you don't want to do now , I know you're thinking , oh Josh , the sticky dough on my fingers , just scrape it off and put it back in the bowl .
No worries and wash your hands up .
It's all good .
Let's keep the , no , just keep it light .
Don't be worried about it .
Don't stress about it , just keep it light , don't worry about anything going wrong .
Just enjoy the process .
Anyway , cover your bowl back up with plastic wrap or a damp towel and place it back in your 78 degree warm spot or wherever that may be .
This portion is called the bulk from it .
Now , if you started your stuff at nine in the morning , then it should be about 3:30 p.m. So you're gonna let this bulk ferment go for 3 to 4 hours at 78 degrees until it doubles in size .
Now , during that bulk ferment , you're going to do something called a fold .
In order to do a fold , you're gonna wet a hand and pick up a piece of the dough with your hand , stretching it as much as it will go without tearing and then folding it to the other side of the dough , you'll do those folds all the way across the entire edge of the dose so that it eventually forms a little sphere in the center .
The folding is done once the entire perimeter of the dough has been folded and you're gonna repeat that , that folding process three total times .
The first two fold are gonna be spaced out by 15 minutes and the final fold is gonna be spaced out by 30 minutes .
Then just let the dough rest for the remaining time that it has in a 78 degree environment , obviously covered with plastic crab .
Yes .
Weed .
Yes .
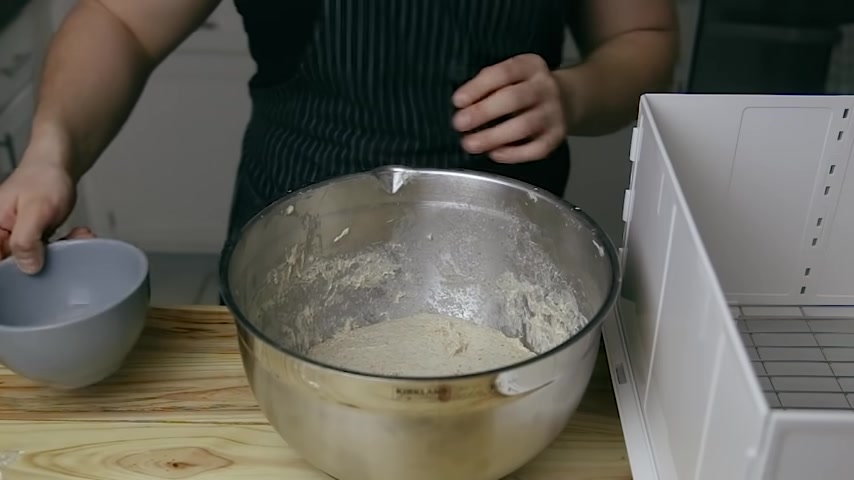
Once the dough is finished bolt fermentation , you'll notice that it's a little bit dome and it's got some signs of bubbly activity .
That's a sign that it's ready .
Next .
You're gonna carefully scoop this dough out onto a unf flowered work surface .
Yep .
That's right .
Unf flowered and make sure you do this real carefully .
Try not to pop any of those precious bubbles that are in there .
You can work it out with flowered hand , just kind of like letting your fingers do the work or you can use a rubber bench scraper up to you .
Once your dough mass is out , you're gonna use flour to sort of paint a line down the center of the dough to sort of divide it in half as best you can .
Then using a bench knife or bench scraper , just divide the dough down that line and try and separate the two pieces as best you can .
It's gonna be really sticky .
It's gonna be hard for your first time , but just be patient .
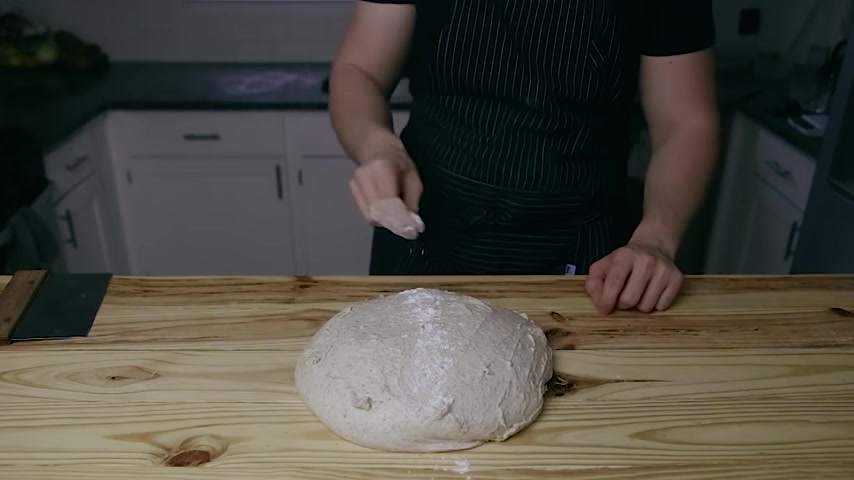
Then using a flowered bench scraper pre shape these into a nice little sphere by sort of pushing the dough under itself and rotating your dough until you get a ball shaped .
Kind of like this one right here .
I know it seems difficult .
It's gonna be challenging your first time .
This is really honestly , the hardest part , it will take some practice , but I promise you'll get it .
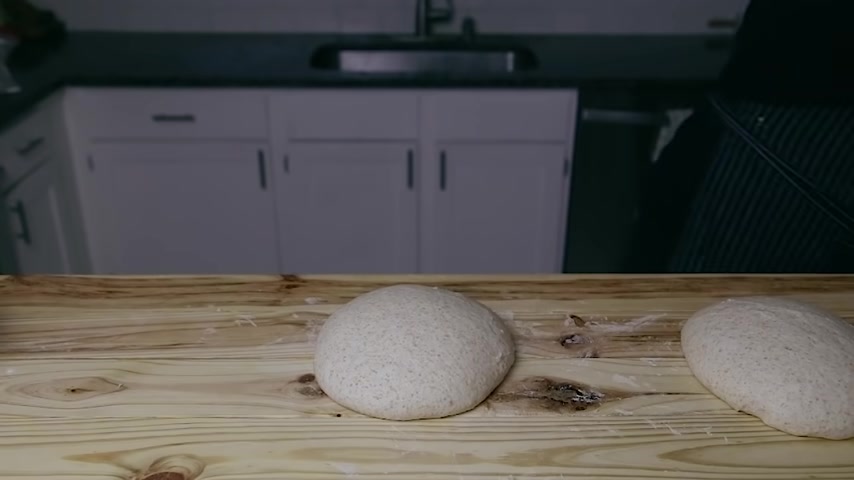
Once these have been pre shipped , you're gonna immediately cover them with an overturned bowl large enough to accommodate some extra space in there .
And you're just gonna let them sit for about 15 minutes , then you're gonna remove the bowls and then let them sit uncovered for 10 more minutes just to sort of dry .
The next , you're gonna flour a proofing basket with rice flour .
This is called a beat .
Now , you can absolutely buy one of these on Amazon .
There's a link in my description or you can just use a mixing bowl with a kitchen towel dusted with rice flour in it .
Now , we're gonna shape our loaves .
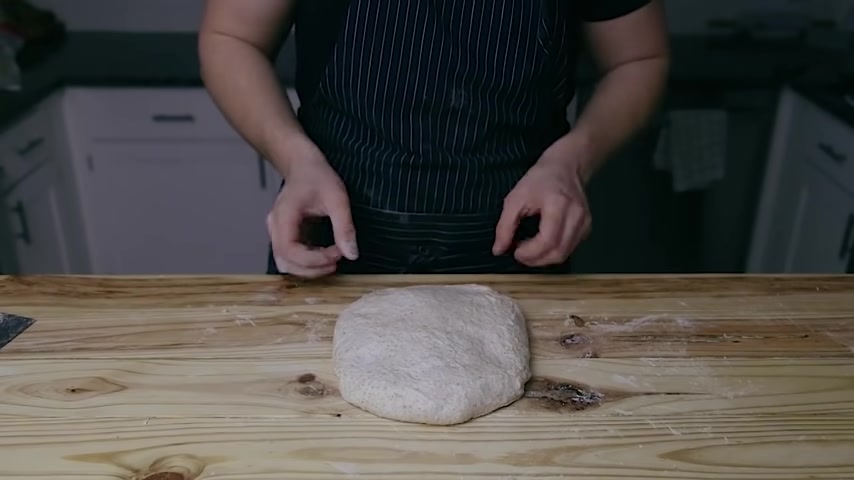
So you're gonna start that by dusting the top of one of your dough portions with flour , not rice flour .
Then you're gonna loosen the edges using your bench scraper and flip your pre shaped round carefully upside down so that the flour side is facing down and the un floured side is facing up .
Grab the bottom of the dough , stretch it and fold it over half of the dough mass , then stretch and fold the left side over to the center and then the right side over the left side , then grab the top piece , stretch it away and then fold it over all the way down to the bottom of the dough mass , then gently flip your dough over .
So that the seam side is facing down .
Then using your hands , you're gonna sort of use your pinkies to pull the dough towards yourself .
And you're sort of pulling the dough into itself while pulling it towards , you rotate it , pull it towards you , rotate it , pull it towards you until it forms a nice tight circle .
Now , we're gonna do a quick recap on the shaping method here .
OK .
So remember you're gonna grab the bottom and then stretch and fold it down to the center and then you're gonna grab the right and left sides and fold them over each other .
I did both at the same time on this one , but you can do them individually .
Then the top goes down to the center , then you're gonna flip it .
Seams side down and then you're gonna create friction by pulling the dough against the work surface towards you , turning and pulling and turning and pulling until it's a nice tight ball .
Then you're gonna gently place it in your floured Ban Ain Seams side up or of course , you can use a bowl with a flowered dish towel in it either or whatever you want to do .
I would recommend getting one of these though .
They're pretty awesome and I have a link in the description .
So , and that's it .
Well , that's almost it .
You're gonna place each of these Banna Tis into a large plastic bag closed with a rubber band so that the loaves do not dry out while they're proofing , then you're gonna place your hog tat , sorry .
Then you're gonna place your plastic bagged Banna Tis in the refrigerator to proof overnight for 14 to 15 hours and good morning .
So if you're still watching , thank you so much .
I feel like 90% of the people who've been watching it probably already clear off by now .
But if you are , the next part is bake day .
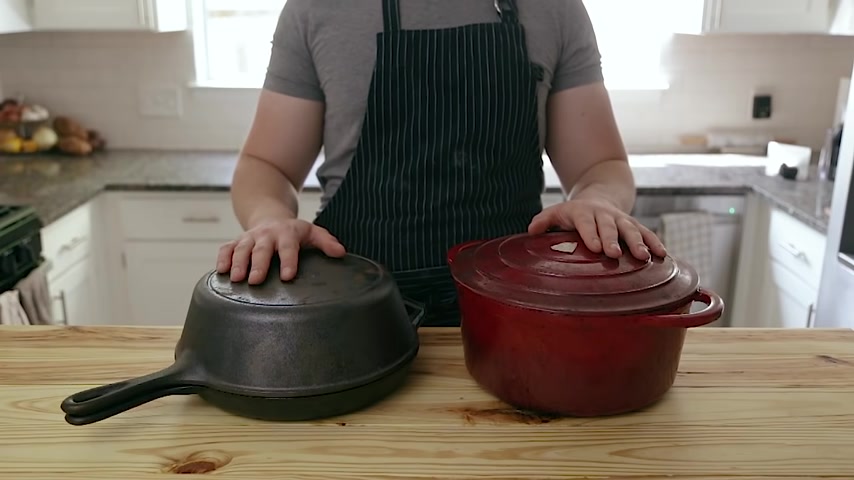
So you can bake this in any Dutch oven or cast iron Dutch oven , sort of set up that you've got .
Now I've got this Dutch oven over here , which is enameled cast iron .
And then I also have this other one which is a lodge combo cooker .
This is my personal favorite to use , but , you know , it's up to you whatever you wanna use .
And lastly , you'll need something to score your bread with .
I like to use this thing called the , it's basically a holder for a razor blade .
You could just use a razor blade or you could use a very sharp knife or you could just skip the scoring entirely , which is totally fine .
Now , since you have two loaves , you're gonna need two Dutch ovens .
But if you only have one that's totally fine , you'll just have to bake them sequentially , which is totally fine .
Now , you're just gonna place both of your Dutch ovens or just one Dutch oven into the cold oven , the lower part of your oven you're gonna preheat your oven to 500 degrees for one hour with your Dutch ovens in there .
You want them to get super hot .
Now , obviously , you want to start that preheating process one hour before your loaves are done .
But once it , let's say everything's said and done , you're ready to bake .
Once you're ready to bake , you're gonna go straight from the fridge to the oven .
That's right cold to hot .
That's how you want it .
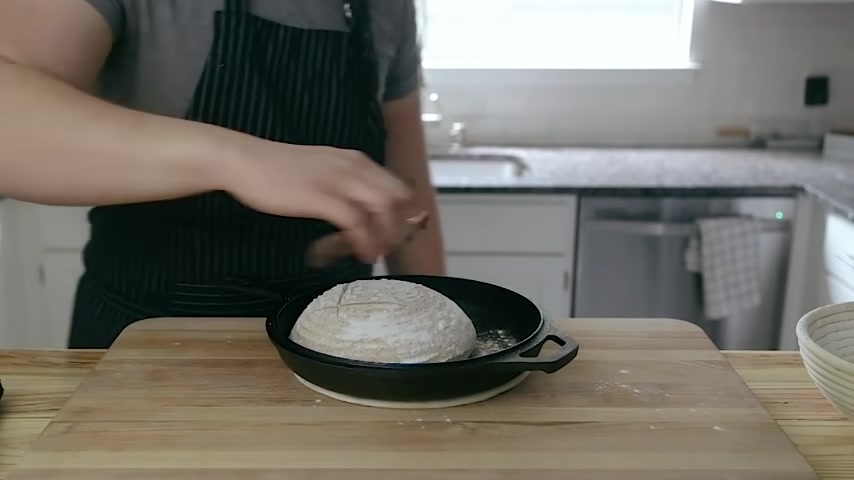
Now , I'm gonna show you what baking method for both the lodge combo cooker and the Dutch oven .
So first thing you're gonna wanna do is dust the bottom of your loaf with flowers that doesn't stick to the pot , pull your hot pot out of the hot oven , remove the deep part of the lid with the shallow part on the bottom .
Dust , the bottom with some flour and carefully dump your loaf into the bottom of the shallow part of the pan .
Now , this is the part where you would score .
I scored it sort of into like a square pattern .
You can score it in a cross hatch .
You can not score it at all .
I would recommend that .
This is your first time .
Just don't score it just , just don't , it'll be , it'll still look beautiful .
It'll still be delicious .
Anyway , once that's done , pop the lid back on which will be the deep part because you want room for expansion and place that bad boy .
Right .
Back in the oven .
Now we're gonna do the traditional Dutch oven .
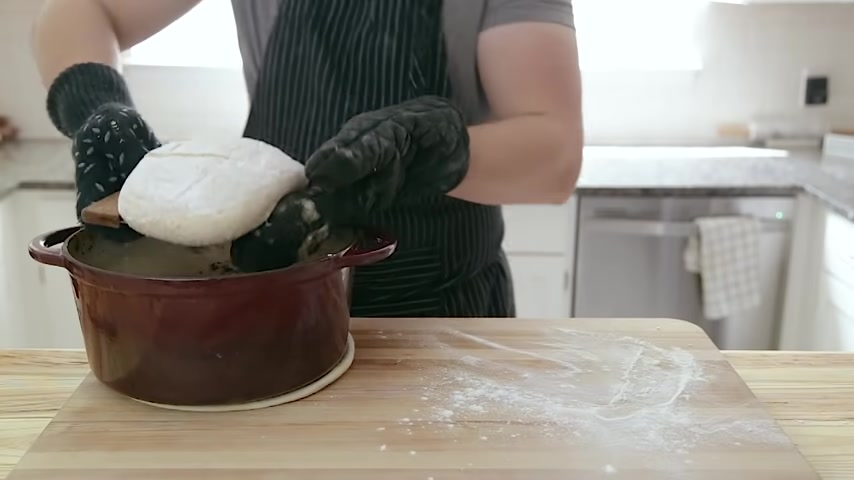
So dust , the work surface with flour , dust , the bottom of your loaf , dump that out onto your work surface and this obviously is where you would score it .
It's your first time , don't score it .
And then just using your bench scraper and some gloves , some gloves to keep yourself from getting burned .
Drop that bad boy directly into the Dutch oven , put the lid on and place it in the oven .
Bake them at 500 degrees with the lid on for 20 minutes .
Then remove their lids , reduce the heat to 475 degrees and bake them for an additional 25 to 30 minutes or until they're a deep dark rich brown .
And we made it to the end of this video .
I hope you didn't .
And if you did well enjoy that .

All right guys .
And that is bread in a nutshell .
It is your starting point for beginner loaf .
Simple yet intricate but understandable .
I hope , I don't know .
Maybe you're completely turned off at this point .
I hope you're not .
I just spit a lot when I said that and if you wanna see more bread videos for me or anything of that nature , let me know , leave a comment below and just tell me and I will take the advice .
Trust me .
I actually listen to you guys .
Well , not always unless it's a rude comment like somebody saying to go myself , then maybe I won't .
Anyways , as always if you enjoyed this video , leave a like , subscribe and I will see you next week .
Are you looking for a way to reach a wider audience and get more views on your videos?
Our innovative video to text transcribing service can help you do just that.
We provide accurate transcriptions of your videos along with visual content that will help you attract new viewers and keep them engaged. Plus, our data analytics and ad campaign tools can help you monetize your content and maximize your revenue.
Let's partner up and take your video content to the next level!
Contact us today to learn more.