https://www.youtube.com/watch?v=8MEYw3F77K0
Faster No Knead Bread - Beginner Crusty Artisan Bread Recipe

Today , I want to share with you how to make a faster no need bread .
This is a beginner crusty artisan bread recipe that only requires four ingredients .
No overnight rise and can be ready from start to finish in about two hours .
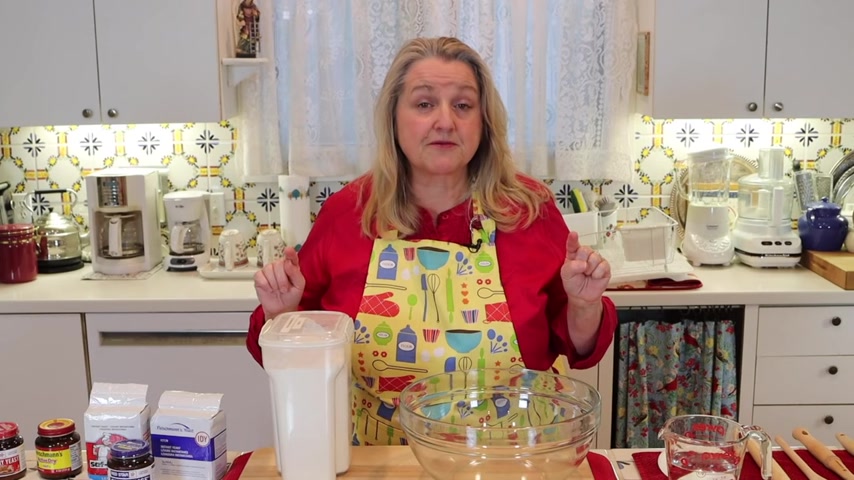
Hi , sweet friends .
I'm Mary and welcome to Mary's Nest where I teach traditional cooking skills for making nutrient dense foods like bone broth , ferment , sour dough and more .
So if you enjoy learning about those things , consider subscribing to my channel and don't forget to click on the little notification bell below that will let you know every time I upload a new video .
Well , this bread couldn't be easier and it's the perfect bread .
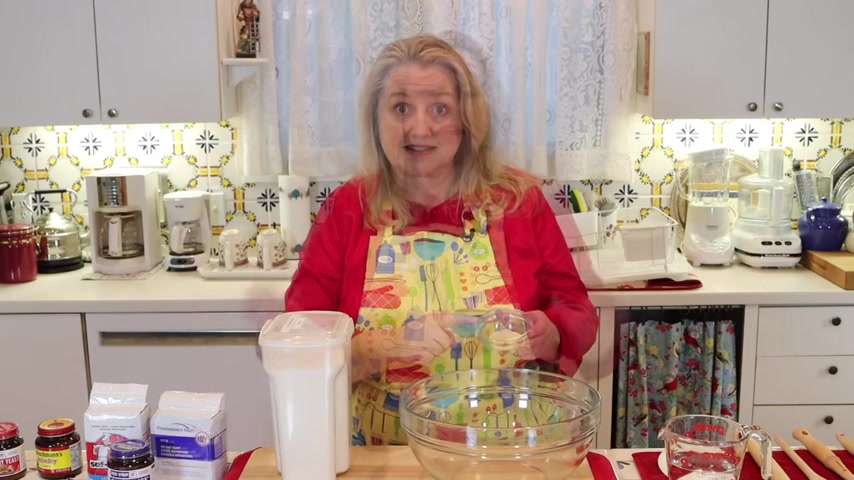
If you're a beginner and you're making the transition from a processed food kitchen where you've been buying maybe packaged bread in the grocery store .
And you're making that transition to the traditional foods kitchen where you want to start making bread , but you're not quite ready for sour dough or maybe you've found sour dough a little challenging and you're not even thinking about soaking in sprouting grains and making sprouted bread .
Then if that's the case , this is the bread for you all you need to make .
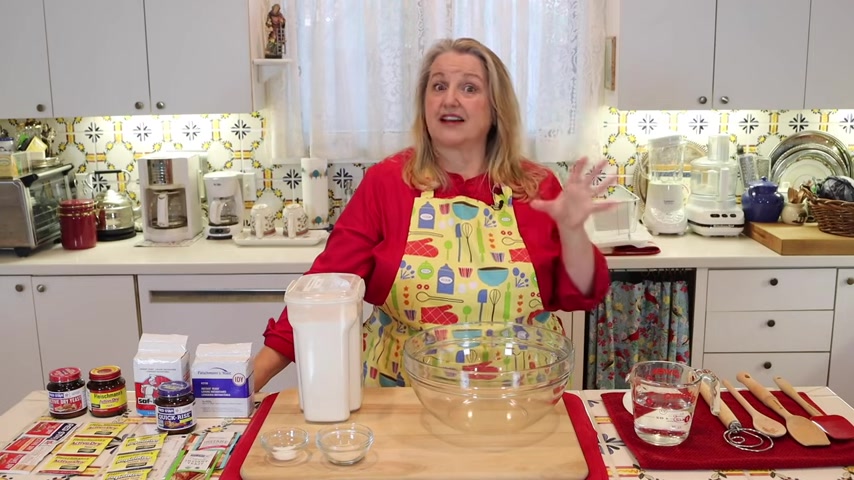
This bread are four simple ingredients that are available at pretty much any grocery store .
You're gonna want to start with three cups of flour .
You can use plain all purpose flour or you can use bread , flour , whatever you have on hand or whatever is easy for you to find at your grocery store .
And I want to mention that this complete recipe that you can look at online or print out will be over on my website Mary's net dot com .
And there'll be a direct link to the recipe in the description below .
So be sure to check the description below .
Next , you're gonna wanna have one teaspoon of salt and what I've got here is a fine ground sea salt .
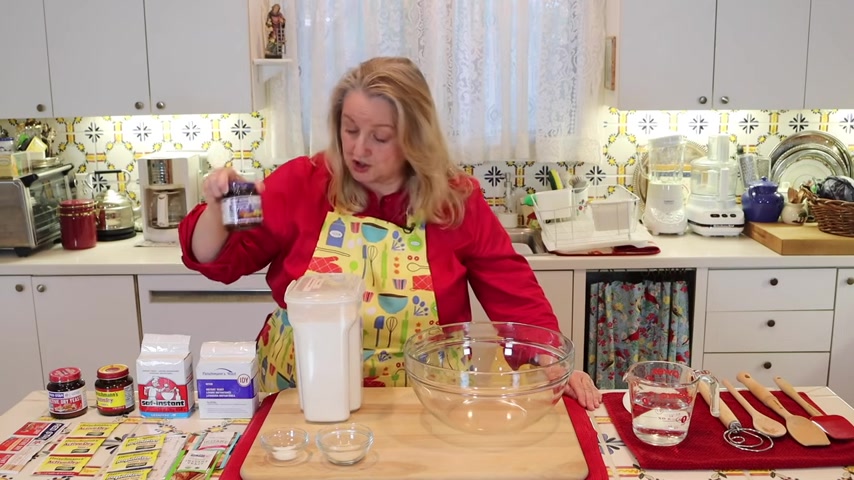
And then next , you're gonna want two and one quarter teaspoons of yeast .
Now , when it comes to the yeast , you may see some options at your grocery store .
You may see active dry yeast and you may see instant yeast .
The only difference is that the active dry yeast will take a little longer to rise than the instant yeast .
So for example , with the instant yeast , we're probably gonna let this bread rise for about an hour .
With the active dry yeast , you'll need to add probably 15 or 20 minutes to your rise time .
And I've got a variety of yeasts here that I could find at my grocery store just to give you an idea of what you might be looking for , especially if you're a beginner .
Uh your instant yeast will sometimes be called rapid rise as it is with this brand by Fleischmann's .
Uh it'll sometimes will come just in little packets like this .
Uh Also you might find it in a jar depending on how much you plan on baking .
You may want to buy a jar size and then sometimes you'll even have these larger packages .
This one by Fleischman , their instant yeast .
And this large pack was actually from my grocery store .
So this one , I got the A F I like this one very much .
And this one I got online and I'll , I'll put a link to this below .
Uh But as you see , there's a , a large variety of instant yeasts .
I actually find more instant yeast .
Now at my grocery store because they're also the yeast that people use in bread machines .
Now your active dry will also , this is Fleishman's and as I said , it'll just say active dry on front .
And they're also , they also come in jars like this .
So you can look for that .
And this one by Red Star was very interesting because it's an all natural yeast , non GMO and it doesn't have any additives .

It has just the yeast , some of the others will add different ingredients that just help .
I won't go into all the details .
But uh you'll see on the ingredients on the back , they'll have different things that they'll add in small quantities that just help with the rise of the bread .
And you may be wondering what's the significant difference between the active dry yeast and the instant yeast .
As I mentioned with the instant yeast , we're gonna have a shorter rise time of our dough than with the active dry yeast .
And that's because with the instant dry yeast , there are additional ingredients added that help with the rise and that's basically the difference .
So I just wanted to show you some of those in case you're a beginner , you'll know what to look for .
And then the final ingredient that you're gonna need is 1.5 cups of warm water .
Now , you don't want hot water , hot water will start to kill your yeast .
If you go over 100 and 20 F , your yeast will start to die off and at 100 and 40 F , you'll definitely be killing your yeast , but don't worry too much about the getting the right temperature of water .
And especially if you don't have a thermometer to check it .
Uh , if you got it uh from your tap water and it's warm and you can put a clean finger in there and it feels warm , the temperature is perfect .
Now , this is a very forgiving recipe .
You don't need to worry about weighing your flour or anything like that .
You don't need to worry about spooning it into your measuring cup or anything like that .
Just go in there and just do a little lift and scoop and even it off with your finger and put it right into your bowl .
And now we'll just do the same for our second cup of flour .
And then we just want to get a total of three cups and we'll be ready to add the rest of the ingredients and then goes our third cup of flour .
And I'm using a bread flour .
But as I said , bread flour or all purpose flour will work fine and create a beautiful loaf of bread .
Next , you're just gonna go ahead and add in your salt and then we're gonna go ahead and add in our yeast and I'm using an instant yeast .
Now , if you're using an active yeast , you can also go ahead and add it right in .
Just make sure to check the expiration date and make sure that it's not expired .
Another option is if you want to be 100% sure that you're active yeast is working well .
You can go ahead and put it into your warm water and let it called .
What's what the expression is called bloom ?
You can even add into your water .
A little tea , a little bit of sugar , maybe a teaspoon , teaspoon of sugar to help wake up your active yeast and it should pretty quickly start foaming and bubbling up , you know , after for a few seconds or maybe a minute and then you know that it's active and that it's healthy and so on and so forth .
But blooming really isn't necessary , especially if it's not expired .
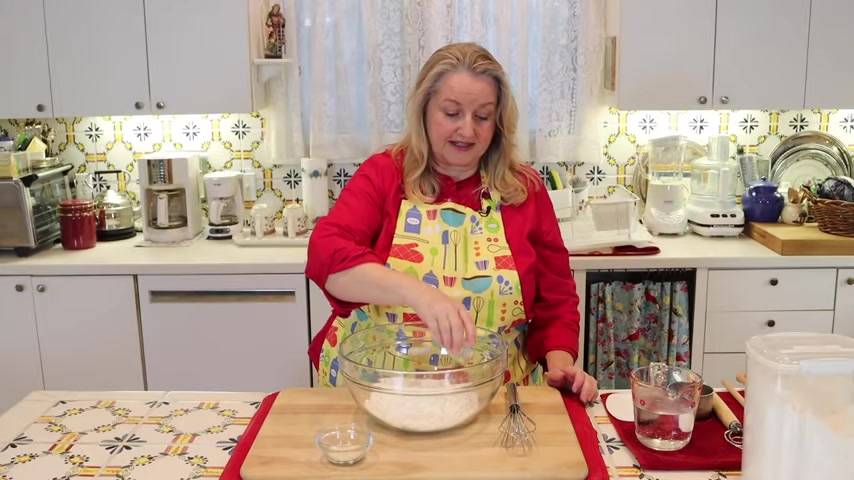
Now , just take a whisk and just incorporate your yeast and your salt into your flour .
No big deal .
Just give it a little spin around next before we add in our water .
I just want to talk about what we're gonna do as we mix the dough .
As I said , this is a no need dough .
It's a nice wet sticky dough and it's very easy to come to it , very easy to mix and bring it together .
You can use a little silicone spatula like this or , or a wooden spatula .
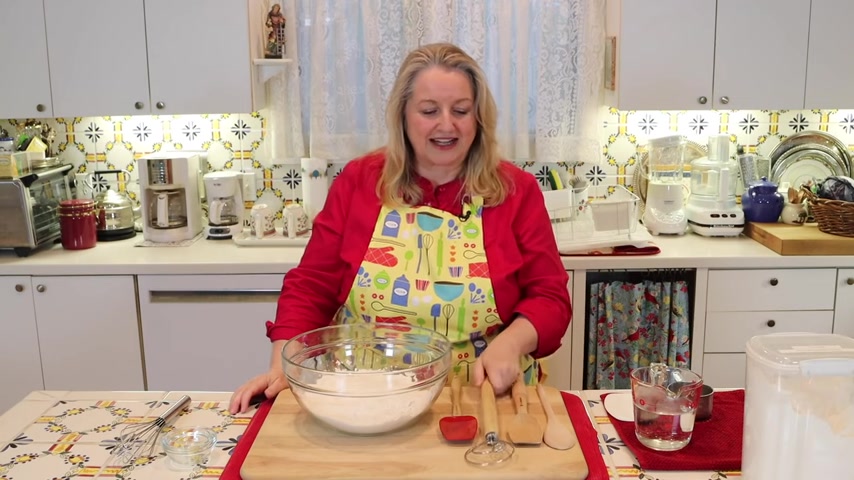
You can use a little danish dough whisk if you have one of these , uh you really don't even need it .
This is if you were going to do a needed bread .
Uh But you can also use it here just to mix a no need .
And if you've never used one of these , they're really terrific .
Uh You'd never know it looking at it because it's such a funny looking little thing .
Uh but it works as well as a , a dough hook in one of your big machines , you know , and if you don't have one of those big kitchen aid type machines with the dough , the dough hook and you're making a bread that requires needing , this can really come in handy and they even make them with plastic handles and you can throw them right in the dishwasher .
And uh the bread Smart company makes one with plastic handles .
And if that's ever something that you would want to buy , I have a uh a discount code uh in the description below .
So be sure to check that .
But uh that's really more , you know , for your needed breads today .
What we can do is even just use a wooden spoon will work fine .
And one of my favorite uh bread bakers on , on youtube , a fellow named Steve and I'll put a link to his channel in the description below .
He uses the handle of the wooden spoon and brings it right together .
So we'll do that today .
I'll show you how to do it .
So it's very easy .
So we've got our warm water and as I said , just take it from your tap , put your finger in it .
If it feels warm , it's the perfect temperature .
We're just gonna go ahead and pour this right in and then we're just gonna take the handle of the wooden spoon and we're just gonna start working all around the edges here just bringing in the flour and mixing it uh until we get a nice uh wet sticky dough .
And what we'll do is just so anything that's sticking down on uh sticking on the sides of the bowl , don't worry about it .
You can use your spoon uh to pull it down into the dough or you can just use one of these little plastic bench crapes .
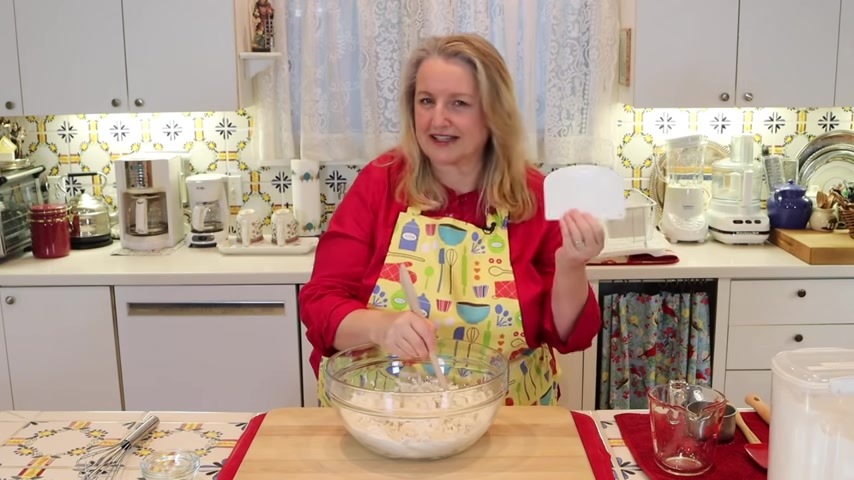
These are so inexpensive and they're wonderful to have on hand if , if you start making some breads at home and you can often find these in the kitchen section at your grocery store .
Uh and they're literally like two or $3 not expensive at all .
And uh if you don't see it in your kitchen store , I'll put a link in the description below , but be where you can find one .
You can find them on Amazon or any of the kitchen stores .
But I'm confident they'll have it at your grocery store .
As you see , this is just coming together beautifully .
I'll take a picture overhead so that you can see exactly how it just starts coming together .
So as you see , this literally comes together in seconds and then if you have one of these , you can just uh scrape off what is on your spoon and then you can scrape off what's around the side of the bowl here just to make sure you get every little last bit of the flour mixed in and that's it .
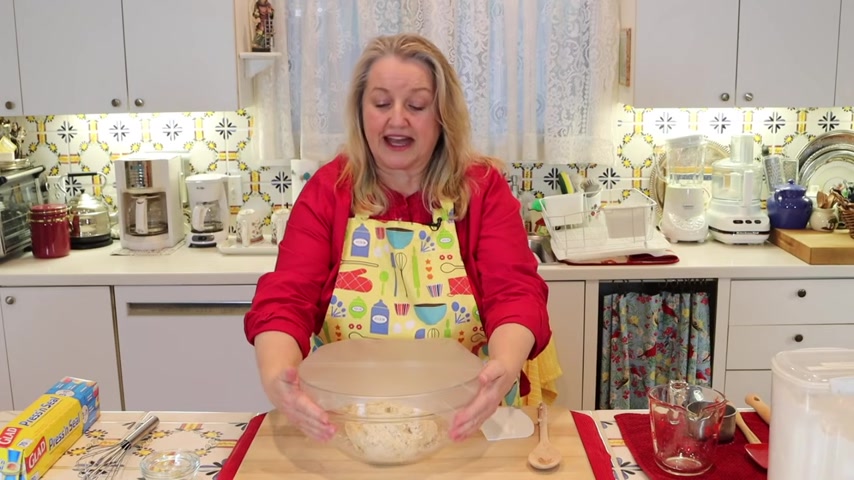
Now , all we need to do is just cover our bowl with a little bit of plastic wrap and we need to put it in a warm place for an hour .
And that's if we use the instant yeast .
If you use the active yeast , then you're probably gonna want to let it rise for about an hour and 15 minutes or an hour and 20 minutes .
And basically what you're going to be looking for is for it to double in size .
And I know that terminology can be a little , uh , concerning when you're a new baker , but don't worry , in an hour's time , uh , it'll definitely have doubled in size if you're using the instant yeast .
And if you're using the active yeast , it's going to have doubled in size uh by that hour and 15 minutes or by that hour and 20 minutes .

And if you're worried , you can always let your instant yeast rise go a little bit longer or you can let your active yeast rise go a little bit longer than its time , but you're gonna be fine .
I don't want you to worry .
The most important thing is to find this a nice place to rise .
You want it to be very warm and cozy and you want it to be out of a draft if you have a proofing option on your oven , that's perfect .
If you don't have something like that , maybe on top of your refrigerator or put maybe a nice towel around here uh to keep this warm and a towel on top , uh the warmer and cozier , the better .
Now my oven does have a bread proofing option .
So I'm gonna use that to let this dough rise .
But some other options for you .
If you don't have that bread proofing uh option on your oven is to just put your oven light on , your oven is turned off .
But you've got your oven light on that can often create a nice warm environment to rise your dough .
If you have a pilot light , that can also create a nice warm environment for your dough to rise .
And then also , you know , on top of your refrigerator can be a nice warm cozy place for it to rise .
And if you don't have any other option and you're just going to be put this on your counter , what you might want to do , I'm gonna give you a little tip before you even start any of this process .
Wash your bowl in very hot water and then dry it well .
So that you're starting with a nice warm bowl and then wrap your bowl in a towel .
Uh When you go to , you know , you put all your ingredients in , mix it up as you see , it goes very quickly .
Your bowl is still gonna be warm it in a dish towel on the bottom , put a dish towel on the top and that should keep it nice and cozy while it rises .
Well , I'll let my dough rise and then we'll discuss the different options for what you need to bake your bread in .
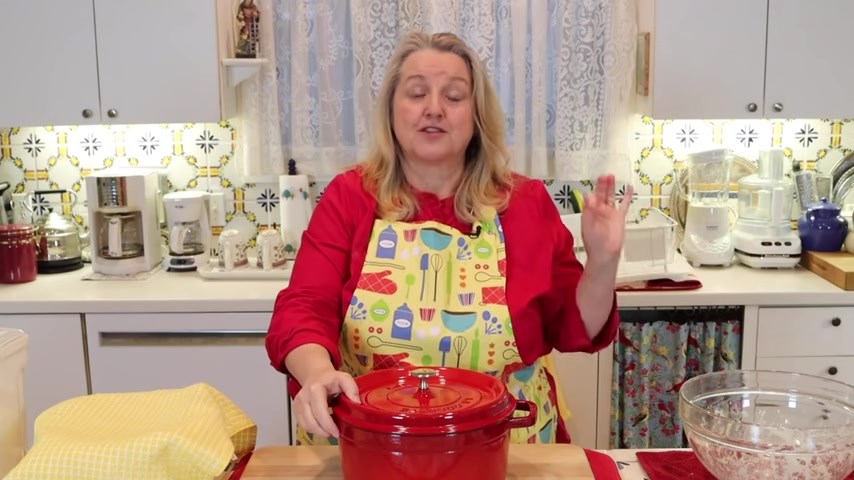
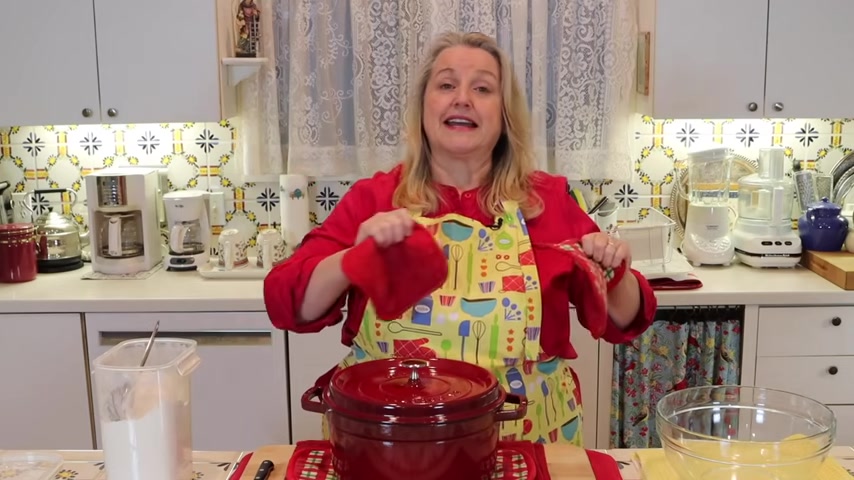
Now , when it comes time to bake our bread , we have options .
You can certainly use a covered Dutch oven like this , but you can also get a crusty artisan bread just using a frying pan .
In this case , a cast iron frying pan .
But any vessel you have that's oven proof up to 450 F will work perfectly .
The only difference is if you bake in a covered vessel like a dutch oven , you're going to bake your bread at 450 F .

If you bake your bread in an open vessel , like some type of roasting pan or a frying pan , whatever you use , you're going to bake it at 400 F .
But you can use either type of pan .
You don't need a big uh covered Dutch oven .
Well , I let this rise for an hour and it looks glorious and I'll take a picture from the side of the bowl and on the top and I'll overlay those pictures so that you can uh get a , get a feel for , you know what , what you're looking for .
And when you take your bowl out , you're going to notice and maybe I'll try to do a little video of this .
Uh when you shake your bowl , it's going , your dough is gonna look very jiggly and uh you'll know that it's , it's risen nicely .
Now , the next thing you wanna do is just put a little flour down on your cutting board or , or your counter .
I have tiles .

So I have to do this on a cutting board .
So I have a flat surface .
But if you've got one of those nice , completely flat counters , you can certainly , uh , put your flower right down on that .
Then the next thing you're gonna do is just take your hand and just start to pull this , uh , away from the sides .
It's gonna be wet and sticky .
Don't worry about it .
That's just , that's exactly what you want .
And we're just going to pull this away best we can and get it down onto our flowered board .
Also , if you have one of these little plastic bench grapes , this can be a great time to use it .
There we go .
Perfect .
Now we're just going to take our bench scrape or if you don't have one , you can just certainly use your hand , just get a little flour on your hand and just start to pull this in and around like this .
We're just gonna get some flour worked into it just so that we can handle it .
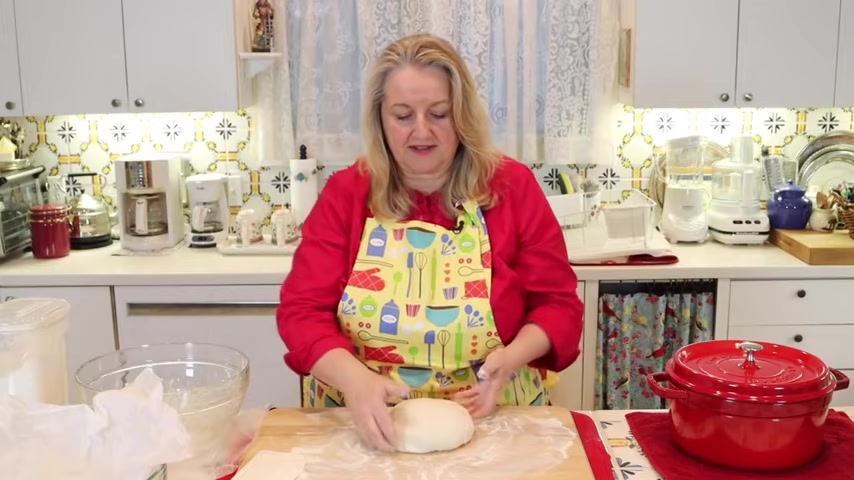
Then all you're going to do .
No needing involved .
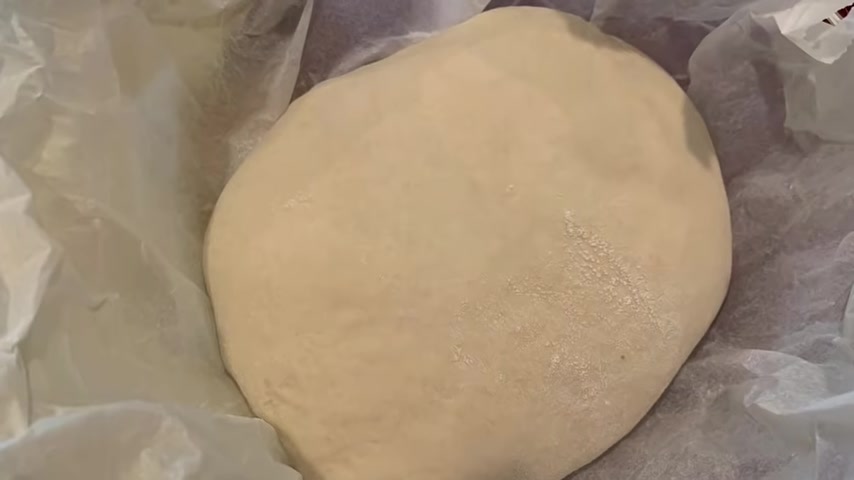
We just want to get this into a little bit of a round shape because we're going to be making a bull , a round loaf , a bull .
Basically , all you want to do is just sort of try to pinch underneath with your fingers , just pulling it around and getting it into a bit of a circle .
I'll make a little video and overlay it .
It's really nothing much at all .
You're gonna find , this is a very nice dough to work with .
And it's gonna come together in this nice little round shape very quickly .
The next thing you want to do is you're gonna want to get a bowl and you're gonna want to put some paper in it .
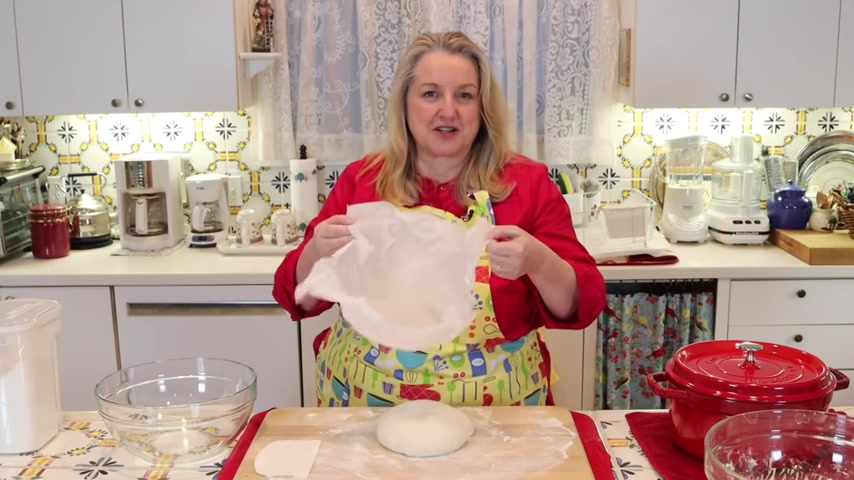
And I did this off camera because I didn't want to make all the crunching sound for you uh over the microphone , but I recommend crunching up the parchment paper so that it's a lot easier to work with and then just fitting it down into your bowl and then all you're gonna do is just take your bread and we're gonna put it right into that bowl .
And the next thing all we want to do is just put a nice towel over this , a little dish towel or a tea towel , whatever you have and put it in a nice warm spot undisturbed for 15 minutes .
And then we're gonna get ready to bake it .
Now , while we're waiting for that bread to rest for 15 minutes , we're gonna go ahead and we're gonna preheat our oven to 450 F and then whatever vessel you're using to bake in , whether it's a covered Dutch oven or an ovenproof frying pan or like the cast iron frying pan or another type of o oven proof frying pan or some other type of open uncovered vessel you have , whatever the case may be , you're going to want to put this into your coal oven on the lowest shelf or the lowest rack .
And then you want to set your oven 450 F and let your vessel preheat in the oven along as the oven is preheating .
So both will be heating up together while I let this rest for 15 minutes while I preheated the oven and the pan uh or the Dutch oven in my case .
And now what I'm gonna do is I'll overlay a picture .
So you can see uh the bread has just risen a little bit .
Uh Don't expect a lot of change .
And what I'm gonna do now is just take a little bit of flour and I'm gonna put it into this little sieve here .
I'm just gonna just dot some flour all around the top there because what I'm gonna do is take my knife and I'm gonna make a cross on the top so that when the bread bakes , it will bake .
Uh In that design , you could put three slashes , you could put any design that you want .
You can also not make any cut at all and simply let the bread crack wherever it cracks as it rises and bakes in your oven uh to have a very rustic look .

And the reason that I'm just dusting some flour on the top there is just so that the knife doesn't stick too much as I go ahead and make this cut .
And like I said , I'm just gonna go ahead and cut it right down like that and then I'm gonna cut it the other way , just make a nice cross there .
But again , you could make three slashes , you could just let it crack on its own in whatever pattern you want .
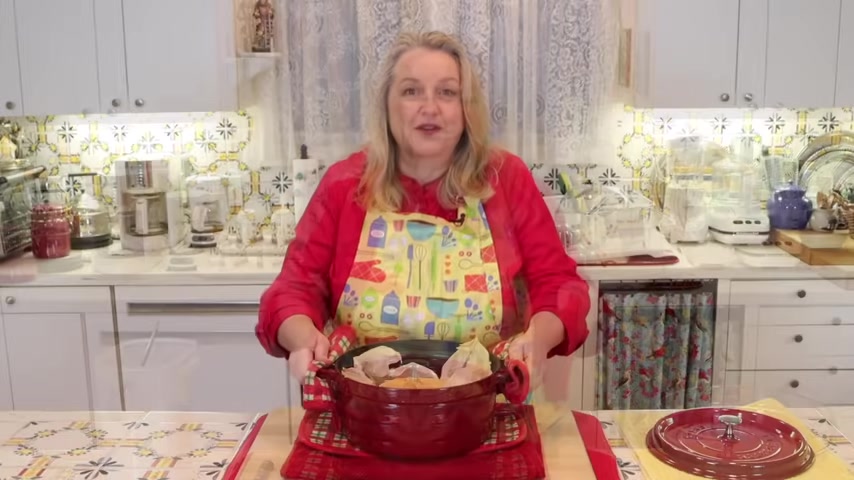
Well , I took this out of the oven .
It's very hot .
I'm gonna open this lid away from me because , yeah , some steam will come out and then I'm gonna take my bread and I'm gonna lift it right in with the , with the parchment paper and I'm just gonna put it right down into the , into the pan .
Then still with the , the parchment paper in there and the bread in there .
I'm just gonna go ahead and put this lid on and now I'm gonna put this back into my 450 F oven and let it bake for 30 minutes covered .
Now , if you're doing this uncovered , what you'll wanna do is take your bread and dump it into your frying pan or whatever you're using , uh you can even flip it over .
It's fine and you can put a cut in it then or just let it crack naturally in a very rustic fashion .
But you're gonna want to remove the parchment paper and in your pan , maybe put down a little cornmeal , a little flour or something like that and then put it into your oven at 400 F .
So even though we've preheated the oven to 450 when we were making our pans nice and hot .
When you go ahead to put your bread in that's uncovered , you'll want to have your oven set to 400 F .
Alrighty .
Well , I'm gonna go ahead and put this in the oven and bake it for 30 minutes .
Well , this baked for 30 minutes covered and it looks wonderful .
Now , with the one that we bake in the Dutch oven , we need to take out it 30 minutes and we need to remove the parchment paper , put the bread back into the Dutch oven uncovered and let it bake for another five minutes to get browner and crustier on top .
Now , be very careful when you do this because it is everything is very hot .
I'm just gonna put it over here on this cooling rack , pull back the parchment and then I'm gonna go ahead and put it back in into my Dutch oven and back in we go .
Now you may need oven mitts to do that .
My fingers are after so many years of cooking are a little less heat sensitive .
Uh but it is the bread is pretty hot .
So by all means use potholder or oven mitts to get that back into the Dutch oven .
Now into the oven for another five minutes uncovered .
And while that's finishing baking , I just want to mention something about this apron because I get so many questions whenever I wear this as to where I got this apron and I just got it on Amazon .
It was very reasonable , I think maybe like $15 or so .
And I checked to see I've had it for a while and I checked to see if they still carry it and as a matter of fact , they do .
So I was very happy to see that and I'll put a link in the description below .
Look at this glorious .
This bread just looks fantastic .
And can you believe in about two hours homemade ?
So I'm just gonna lift this out of the Dutch oven .
I'm gonna put it over on my cooling rack .
We'll let that cool a little and then we'll give it a slice and see how it tastes .
Well , this is cooled nicely .
It's still a little warm , but we'll move this cooling rack to the side and we'll get ready to slice it .
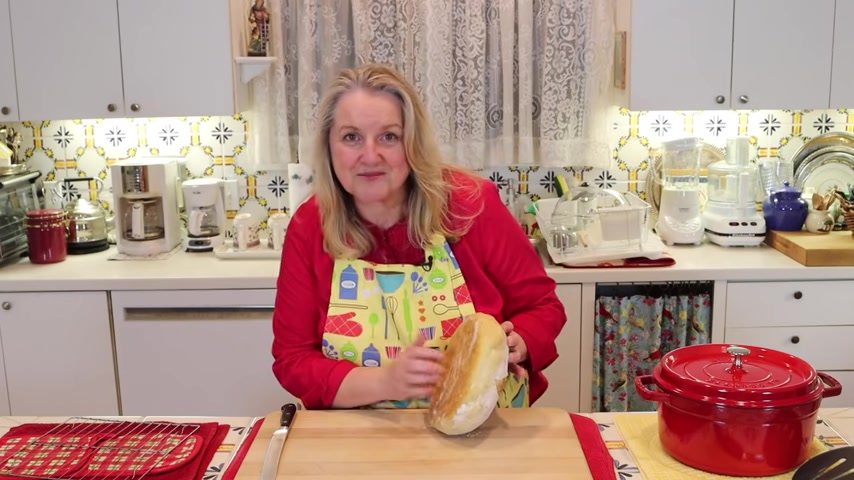
Oh As I pick it off the cooling rack , it's still quite warm down here .
But I just want to show you this is how you know that your bread is done .
If you tap the bottom , I try to put that near the mic .
It sounds hollow and that's how you know your red is done .
Well , what I'm gonna do is I've got a serrated knife here .
I'm gonna cut it right down the middle so we can see how this came .
Oh , listen to that sounds wonderful .
Oh Look at this .
Glorious .
Just a beautiful bread .
I'll take a close up picture so that you can see it .
Well , let's cut a slice off of this .
It's still actually quite warm inside .
I should have probably waited a little longer .
But oh , here that crust we'll give this a good taste .
Oh , this just looks lovely .
I'll take another picture and overlay so you can see this slice but it just looks lovely and such a lovely .
Can you hear that lovely crust ?
Let's take a bite .
Mm mm .
Delicious .
Well , this is just delicious and the aroma is really quite heavenly .
Even my dog came in the kitchen .
You may have heard her collar dangling and I think she's looking forward to a bite , but I hope you'll give this a try .
It's very easy to do and it's perfect for beginners and now you know how to make homemade bread .
Be sure to click on this video where I have my complete sourdough starter guide and I take you through step by step , start to finish on how to make a sour dough starter .
And I'll see you over there in my Texas Hill country kitchen love and God bless .
Are you looking for a way to reach a wider audience and get more views on your videos?
Our innovative video to text transcribing service can help you do just that.
We provide accurate transcriptions of your videos along with visual content that will help you attract new viewers and keep them engaged. Plus, our data analytics and ad campaign tools can help you monetize your content and maximize your revenue.
Let's partner up and take your video content to the next level!
Contact us today to learn more.