https://www.youtube.com/watch?v=C_pt2Y5dpuQ
BACK-TO-SCHOOL Crayon Box CAKE!
I'm back and you're going back to school .
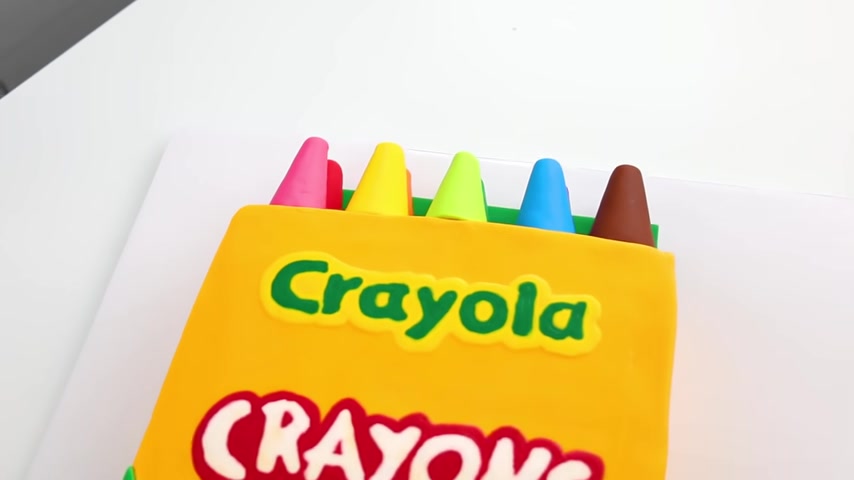
So we are making a crayon box cake .
My name is Laurie and you are watching nice sing artist to start off .
I've ate a nine by 13 vanilla cake that I'm just gonna use my template to carve into the shape of a crayon box .
I know difficult stuff right ?
I then divided my cake into two layers because I want to add a really colorful splash into this cake .
I mean , how could I not with it being a colorful crayon cake ?
So I dyed my butter cream all the colors of the rainbow and then just pipe diagonal .
It's going all the way across the filling .
Hopefully , when we cut it open , you're going to see all those colors in each slice .
I set the second layer right on top of my cake and now it is time to crumb coat it .
I dyed my butter cream a little bit of yellow and a little bit orange kind of match the color of the crayon box .
Once my crumb coat is nice and smooth .
I use a piping bag and a large tip to add my icing to my cake .
This is just to help get an even coat of icing all the way across this big cake .
I then smoothed that out the best I could using my offset spatula .
I use a small one on the side and then my big one across the top and just smooth it out .
Making sure I kept those really square corners the best I could .
Of course , guys , if you're new to this channel and haven't subscribed and hit that subscribe button down below and ring that notification bell .
So you guys see when I put up new videos then to make our cake perfectly smooth .
I have a genius technique .
I went to the Dollar Store , got some napkins and these are perfectly smooth .
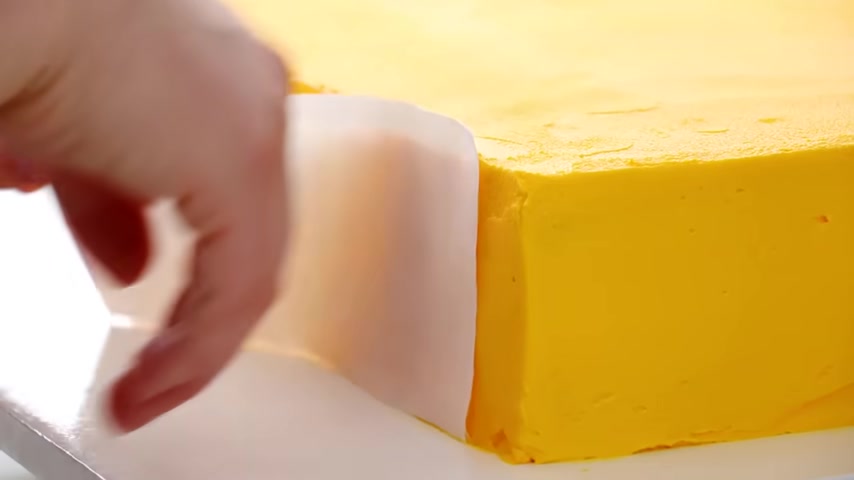
So I'm just gonna wrap those right on the side and the top of the cake peel it off gently .
And that is going to give us a perfectly smooth texture for all you guys who have been in the icing spot a long time .
You may remember that I used to use paper towel that wrap on the cake and peel it off , but I hated the paper towel texture that it left .
But I found with the napkin because there's no texture on it .
It's perfectly smooth .
It leaves a perfectly smooth finish .
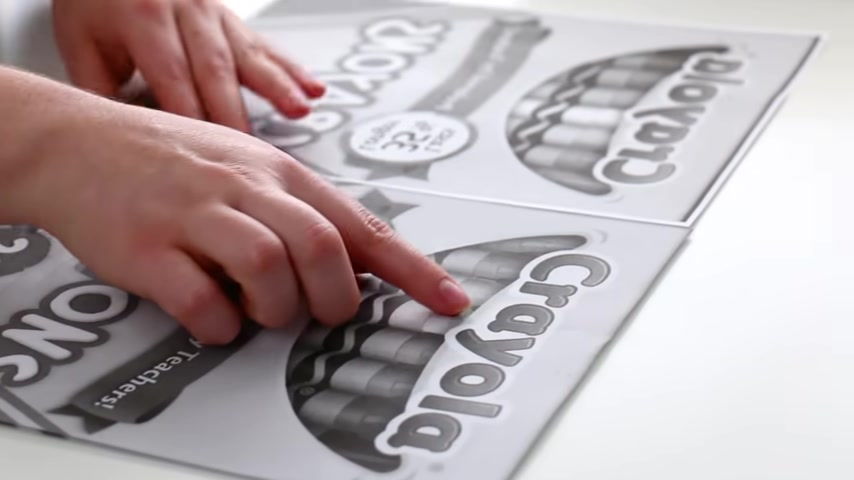
Now to get those logos on the cake , we're actually going to use the template , but I have to flip the template over and you will see why in a minute I use some wrap and place that right on top of my image and then just using a number one piping tip , the smallest piping tip I could find , I'm gonna outline that kind of yellow bubble and then outline each of those green letters .
You want to take your time with this and make sure you do a good job outlining everything because that is going to be your guide when you're filling on all the colors .
But you don't want to take too long because you don't want the icing to crust .
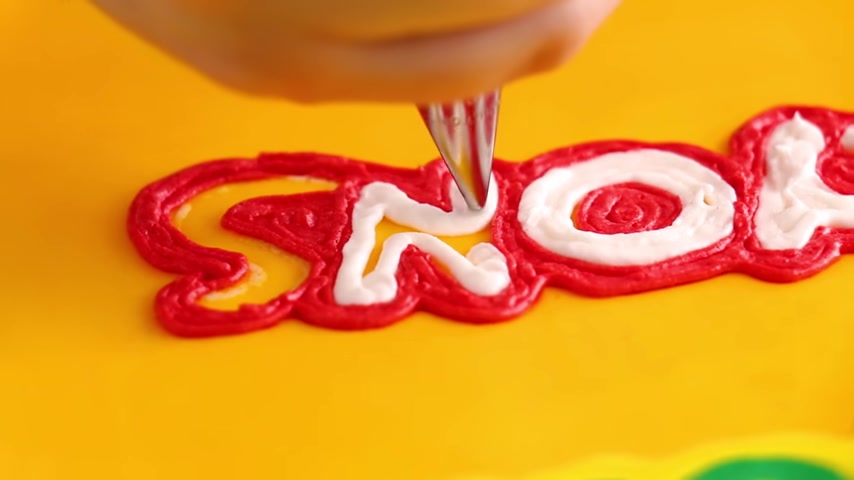
I'm gonna pick up my image and I'm gonna flip that right onto my cake and then just smooth that out with my hand .
Once it is stuck to the cake , you want to rip off that Andra like band aid .
If your icing had crusted too much , then it would be too dry to transfer .
That's why that's that thing I mentioned before and I'm just gonna do the exact same thing with my crayon text .
I love this technique because it gives you perfect logos every time .
Even if you don't have mad piping skills , then you just wanna fill that right in .
So I know I've missed a few videos , but I promise it is for a very good reason .
I got married to the man of my dreams , my new husband , my partner in crime man who helps create all these videos with me .
The day was absolutely perfect .
Of course .
I had to take some time off to actually plan my wedding , have my wedding and then you know , enjoy some time after my wedding .
But now we are back as a newly wed team .
I can't wait to share pictures and everything with you guys .
I don't have them yet , but when I do , I will share them with you and let me know , do you guys want to see me kind of recreate my wedding cake ?
Do you guys want to see anything ?
Let me know down below now that our logos are officially on the cake .
It is time for the rest of the details .
The next thing we're gonna do is that little car park flop at the back of the box flop , tab flop and I decided to make that out of font .
So I just rolled out my green font , cut out a rectangle shape and then I even cut out that little missing , you know that hole that like hangs it on that little rod thing .
I , I cut that out .
Now , all of those green pieces on the bottom of the cake .
I decided to do those out of fun in two .
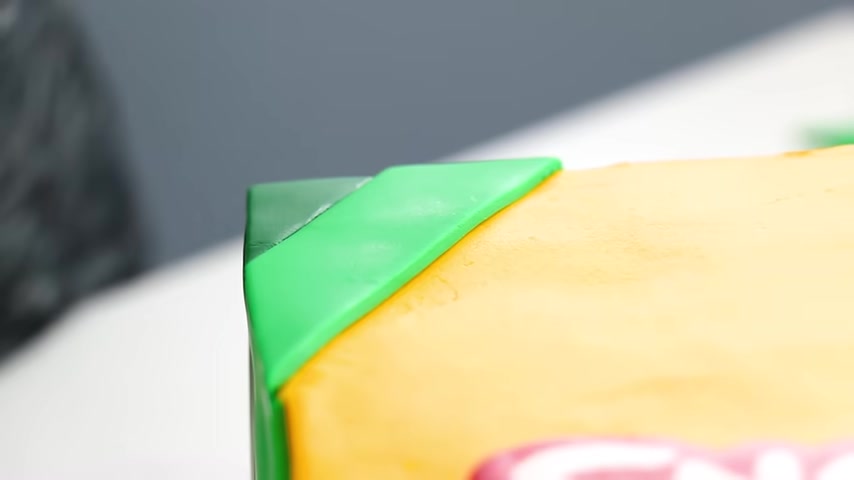
So I just rolled that out and use my Monte pizza cutting tool and just cut out little strips and glued that on using water .
I like this because I was able to get like even more so s on the bottom of the cake , which looked awesome .
Although it was a pain with all of those little pieces , but it look much better with Fond and much cleaner with Fond than it did with butter cream .
So they love you .
I just marked a circle right in the center of that using a circle cutter and then filled that in with some red butter cream and paper towel that smooth .
I love using circle cutters as my little guide and template because any time I try to freehand a circle , I don't know .
And if you guys have the same problem , but any time I try to free hand a circle , it ends up looking like an oval , not this circle , this circle is actually gonna look like a add a number 10 right in the middle because we are going to make 10 crayons to go in this box to make those crayons .
I just use little mini ice cream cones .
These are gonna help all of our crayons look the exact same .
I love this .
I feel like I'm full of good ideas .
I took the break now I'm back and I'm excited .
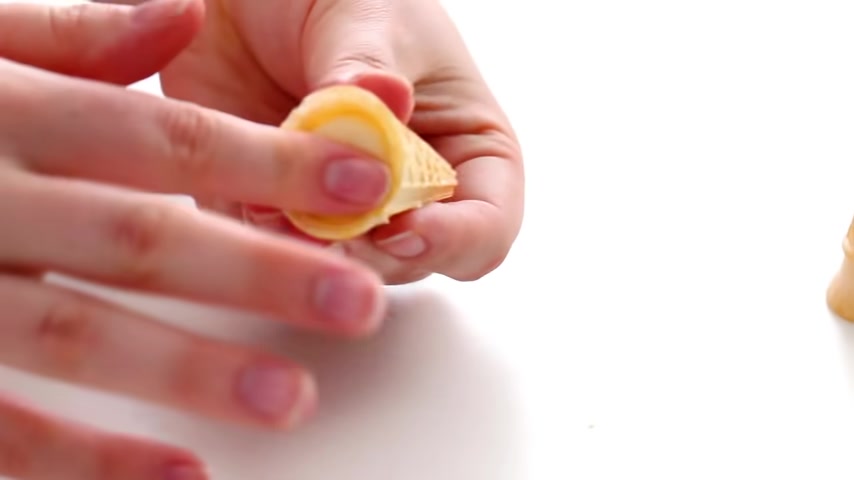
I cut the little nubs off the top because crayons oddly have little flat ends on them .
Why don't they have sharpened guns ?
And then because we're making 10 , I want to stagger them so you can see all of them on the cake .
So I shorten half of them .
I felt those the fondant to keep those nice and strong .
And so the cake pop stick that's gonna hold those into the cake kind of holds it in there .
What does the gel taste ?
So my font would stick to it and then just roll my font right over the crayons and cut off the excess for that little flat knob on top that now has all that excess fond in .
You .
Just kind of fold that over .
I just use a ruler to get that like nice flat end and then cut off the excess for the crayons that are going to be on the bottom row .
We need that little like wrapped nubby end that some crayons have .
So I just wrapped a little strip of fondant around them .
I stuck a cake pop stick in them and then I stuck those right into the cake starting in the center and then work my way out .
I figured that was the best way to get these crayons centered and then did the top row right on top .
I am so in love with this cake .
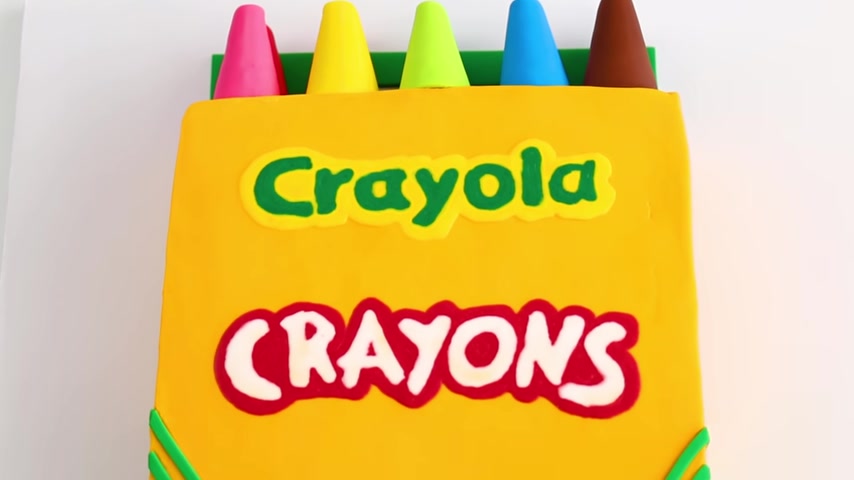
I hope that you guys really liked my first cake back and of course , when you cut it open , it has that beautiful rainbow pattern right on the inside of it .
Thank you guys so much for watching and for coming back after all this time .
I love you and I will hopefully see you guys again here back next week so we can make something else in the cake .
It's going to be really cool .
Are you looking for a way to reach a wider audience and get more views on your videos?
Our innovative video to text transcribing service can help you do just that.
We provide accurate transcriptions of your videos along with visual content that will help you attract new viewers and keep them engaged. Plus, our data analytics and ad campaign tools can help you monetize your content and maximize your revenue.
Let's partner up and take your video content to the next level!
Contact us today to learn more.