https://www.youtube.com/watch?v=TjL1S0dX3MA
2023-07-12 12:50:31
Guyanese Plait Bread
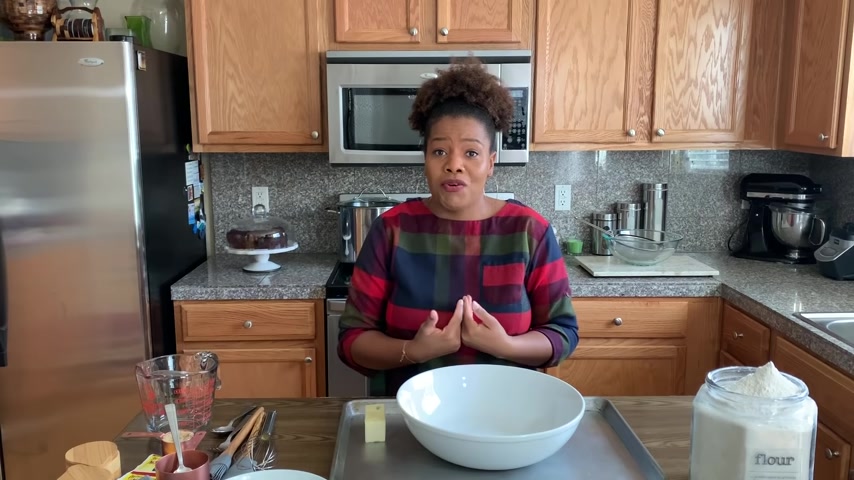
Hey , everyone .
Uh Welcome back to my channel .
I hope you're enjoying my comeback and all the videos that I'm making .
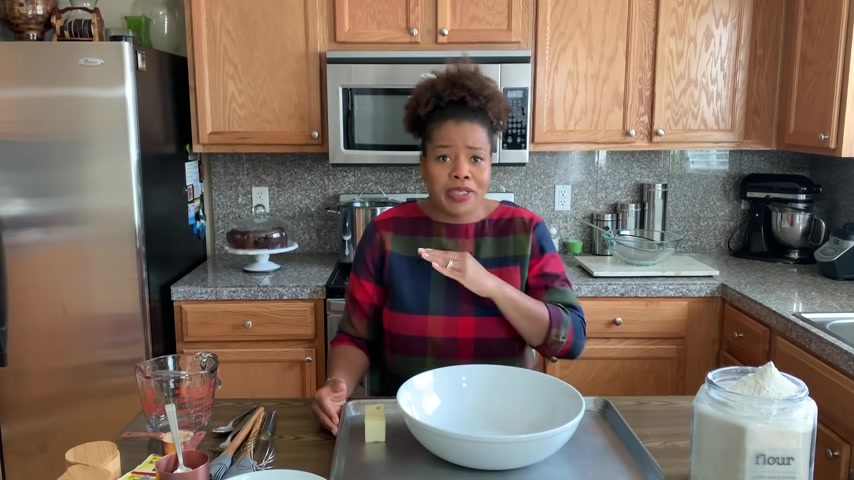
I'm making hot bread and this recipe doesn't require a stand mixer .
It doesn't require kneading for 30 minutes or anything like that .
It's just very simple and straightforward .
Um And I'm dedicating this video to my late grandmother , Miss a Glenn um who was a master baker .
Um a little emotional just thinking about her .
Um She's a master baker and she lived in West Rum Housing Scheme and she made the most amazing bread and cakes out of a homemade oven that she would use a tin with some water to regulate the temperature of the oven .
Like that's how legit this was , you know .
Um And that's the tradition that I grew up around .
Like when I visited her , visit her over August holidays , she would have homemade bread and it was the most delicious bread like the color was even imperfect .
The texture was soft and moist and it stayed soft .
Like for the whole time I was there , she would bake on side and you'd have bread till the next side and the bread stayed soft .
So , and it had amazing flavor and it just had that feeling of warmth and comfort and I want to give you this so you can add it to your tradition and you can make homemade bread for your family .
Not just around the holidays .
I mean , don't get me wrong pepper pot and fresh homemade bread is the epitome of comfort food for me .
And I mean , and I'm gluten free , but I will eat that homemade bread and that pepper pot and be sick because it's like my religion like I can't um I can't explain why I cannot eat the bread .
Like why I can , can't stay away from it like I just have to .
Uh and so I'm giving you this uh I hope you , you try this bread .
I hope you try it not just for holidays , but on the weekends or whenever you want to , I'm making it as easy and simple as possible .
I'm giving you all the measurements and all the tricks so you can get it done .
Um So stay tuned for the recipe .
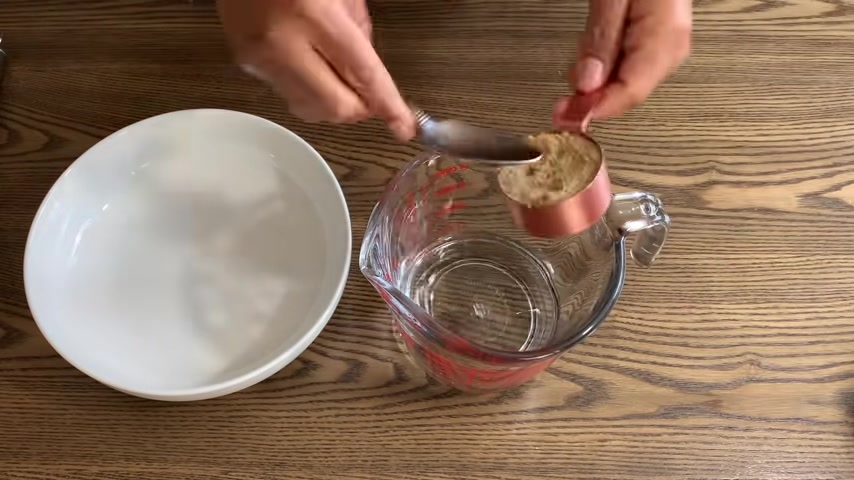
So the first step in the recipe is to activate your yeast and you're gonna do that by first dissolving a quarter cup of brown sugar in a cup and a quarter of warm water .
Now you need the water to be pretty warm but not to the point of boiling .
If you have a thermometer , go ahead and check the temperature of the water it should be 100 and 10 F .
But to be quite honest , I don't imagine my grandmother ever having a thermometer and checking the temperature of her water .
So I just get my water from the top .
I set it to a hot and then I let it run for a minute or two and then I fill it up to a cup and a quarter and that's worked well for me .
So , feel free to try that .
If you don't have a thermometer , then I'm gonna add uh one packet of dry active yeast to this sugar water but mixture .
Um if you don't have the , your yeast in a pocket and you have maybe a big jar of yeast , it's one tablespoon of yeast .
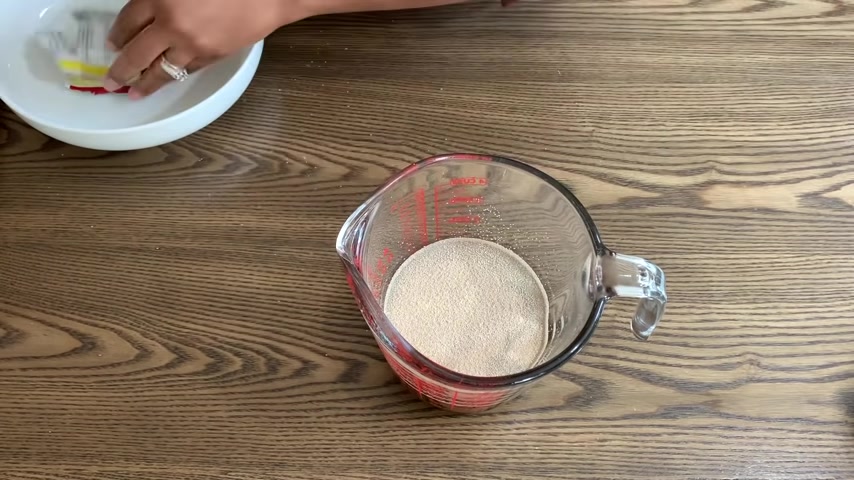
So you go ahead add the yeast to this mixture and then um mix that up really well to get it activated and we're gonna set it aside in a cool dry place and it will um activate and be ready for our recipe while that's happening .
I'm gonna go ahead and add three cups of flour to another mixing bowl .
It's a separate mixed bowl .
So three cups of flour , um , just add it to this mixing bowl .
And um , I'm not quite sure why I leveled off the flour into this bowl , but you wanna level it off into whatever continue you have your flour in .
And then this right here is what I call a happy accident .
So typically when I make bread , I use quite a cup of , um , butter or , or margarine or any , um , kind of fat .
But I used a half a cup for this recipe because the butter sticks were short and fat .
And I didn't realize that it was actually half a cup until I was writing the recipe together for my blog .
Anyways .
So , um , I said it's a hobby accent because it actually is the best bread I've ever made to date .
It was so soft and , um , it was so buttery and flavorful .
So if you wanna try half a cup of butter , try it .
If not a quarter cup of butter works just as well .
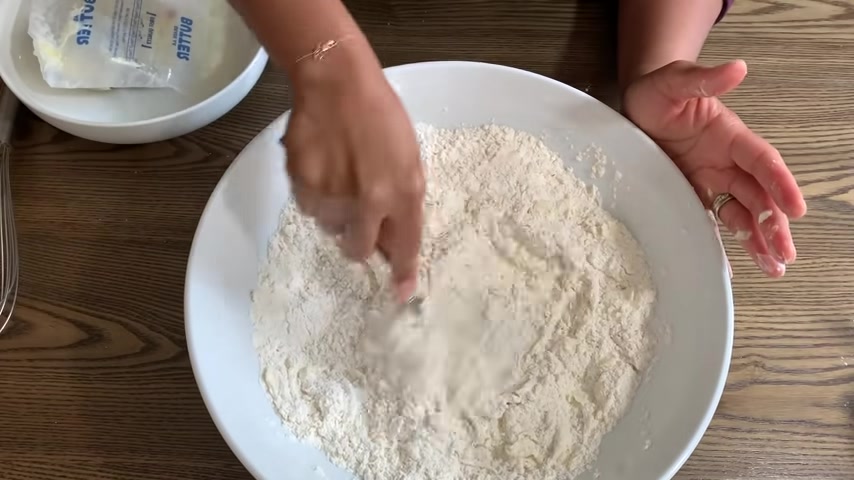
Anyways , you wanna mix that in until , uh , it forms a crumbly texture and then make a well in the center of the flour and butter mixture .
You can do this with your hand or you can do a bit of spatula if you prefer , it's , it's whatever works for you .
Then we're gonna go ahead and add in that activated yeast , sugar water combination that we had set in before .
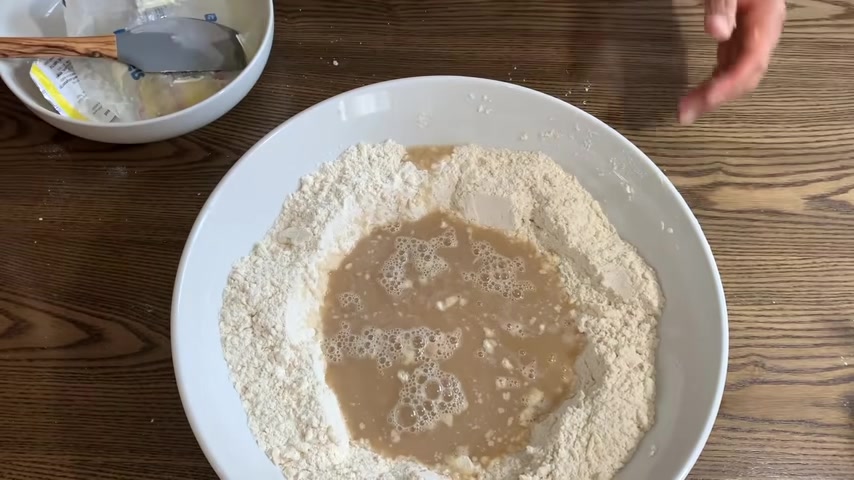
Um , and just put it in into the center .
And this step is really important .
You wanna get a whisk or you can use your fork if you still want it and you wanna mix in that flour into that sugar water yeast combination and you wanna do it um , in small circles until all of the flour and liquid is mixed together to form a very sticky dough .
So the trick to getting really soft bread besides adding , doubling the butter is the texture of your dough before you need it and set it to rise .
So you want to have a soft dough , you don't wanna have a really stiff dough if you wanna have stiff um soft bread .
So then I'm gonna go ahead and um show you guys that you can use your hands to continue to mix this if you prefer or you can go ahead if you have a rubber spatula and you can use that as well .
So it's pretty easy .
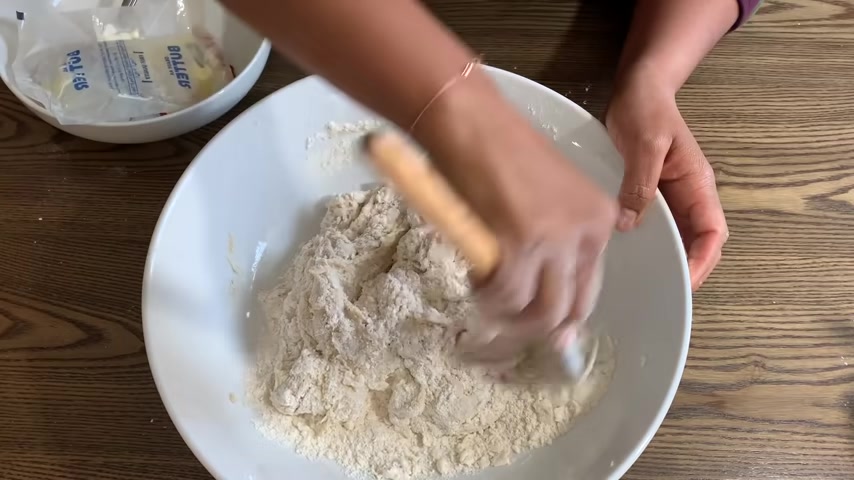
You don't need a fancy mixer for this .
Um The spatula is serving as a mixer .
Your whisk served as a mixer and your hands obviously can serve as a mixer .
So you just mix that in .
I kind of do a circular motion .
Sometimes I do a little figure eight and , and get that going .
Um And then once I've incorporated all of the dry ingredients into the wet ingredients , I'm going to um add a little bit of flour at a time and keep needing this or mixing this until it's a manageable dough and not as sticky as it is .
So total that I needed .
It was three and a quarter cup .
And if you guys see uh some movements in the corner of the screen , that's my daughter , Amelia .
She is sitting right in front of me while I'm making this and asking me all sorts of questions and also suggesting tools that I should use .
Um She's a real riot .
But anyways , we , we got through it .
So I'm gonna go ahead and add um flour a little bit of a time until about a quarter cup , more flour is added .
So total , I use three and a quarter cups of flour .
Um And that's all purpose flour .
Um not self rising but just regular , all purpose flour .
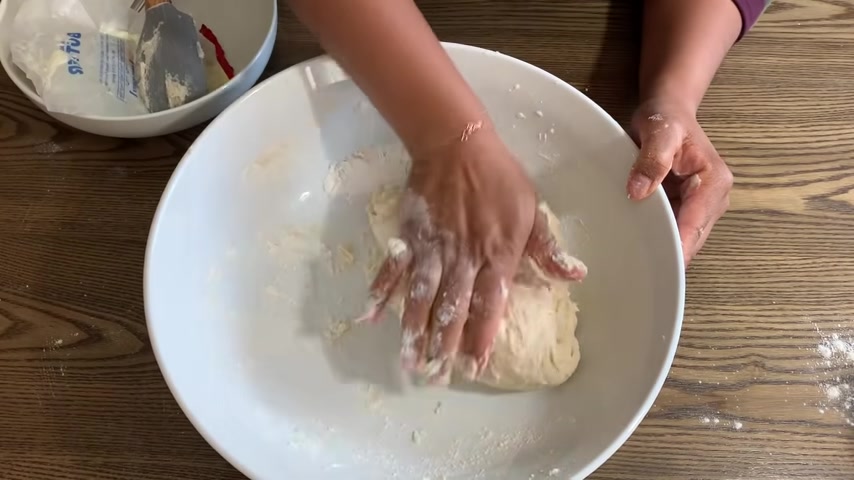
Now , I want to show you guys a little Deaning technique .
I use my knuckles to need the bread or I use the palm of my hand just like the base of my hand .
So I just pull and push , pull and push .
It's nothing fancy .
Um It's probably not even a legit technique .
Um , not professionally trained , but it's worked for me and I think you can do it .
I just don't want people to be afraid of making their own bread because they're like , I don't know how to need bread or I don't know what to do .
There's no big fancy trick for this .
You just pull and push and get the bread dough as smooth as you could possibly get it .
I want to get all those little bits um from the bowl .
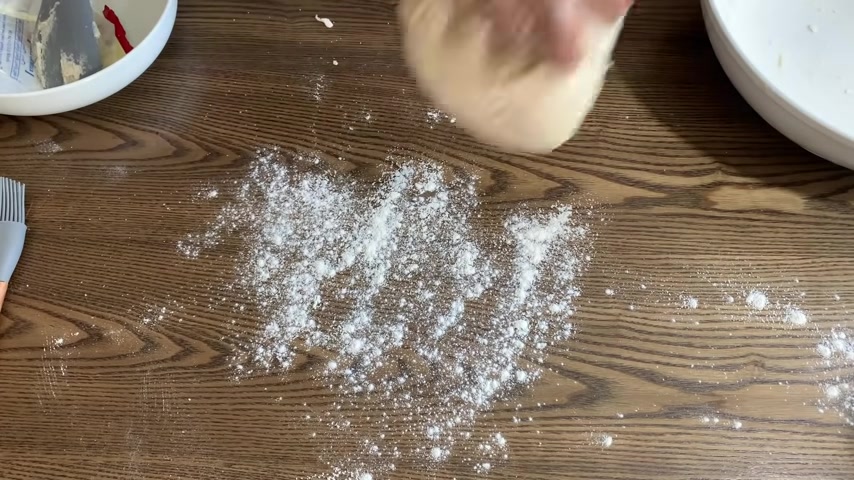
Now , I'm going to turn this dough onto a flowered surface and I'm going to continue to knead just for a little bit and I didn't speed up the video here because I wanted you guys to see that .
It's not taking me a ton of time to get this done and I'm not needing it forever and trying to get it to a perfect smooth ball .
I'm just making sure that it , um , all the flour is incorporated into it and it's uh a stiff ball enough for it to rise and , and , and be a nice texture for when I'm ready to plot that loaf .
So , um , you can see it's not terribly , terribly smooth , but it is ready .
Um And we're gonna go ahead and get a fresh bowl .
I'm gonna use that same paper that the butter was in .
Um And I'm gonna rub that all over grease my bowl and then grease my dough ball .
So go ahead and , and you can use fresh butter or you can just do what I'm doing because nothing is wasting in my kitchen .
So once we get that grease , set it in the bowl and then we're gonna cover it .
And here is my trick for getting this dough to rise really quickly .
Typically , you would set this aside in a cool dark place and let it rise for 45 minutes to an hour .
I put my oven on , I put it on warm .
That's about , that's about 200 F .
And I stick this dough in here and within 30 minutes it's doubled in size and I'm ready to go .
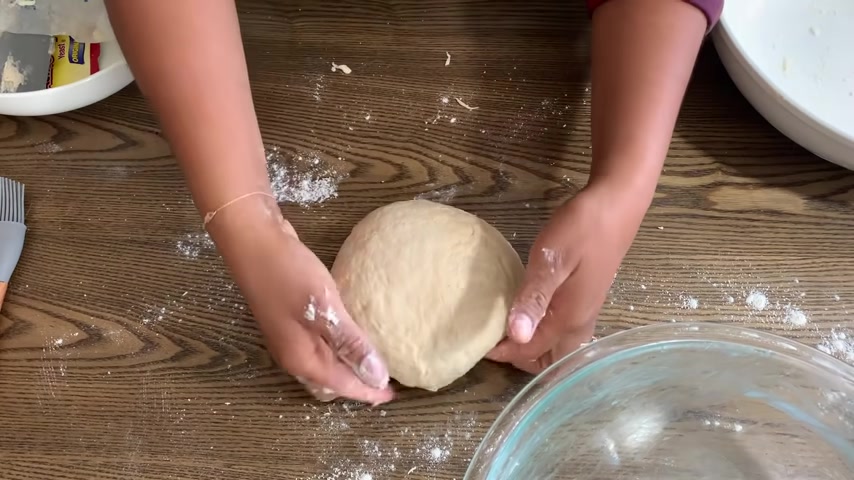
So 30 minutes later , if flower a surface and I turn my dough ball onto that surface again , making sure I get any bits of dough that's left over in that bowl .
And then I'm gonna need this dough again .
If you're the kind of person who like to punch down your dough , go ahead and punch this one to release that um rising , that was happening there .
But I never do that and I never have a problem either .
I figure it gets punched down enough when I'm gonna be needing it the second time .
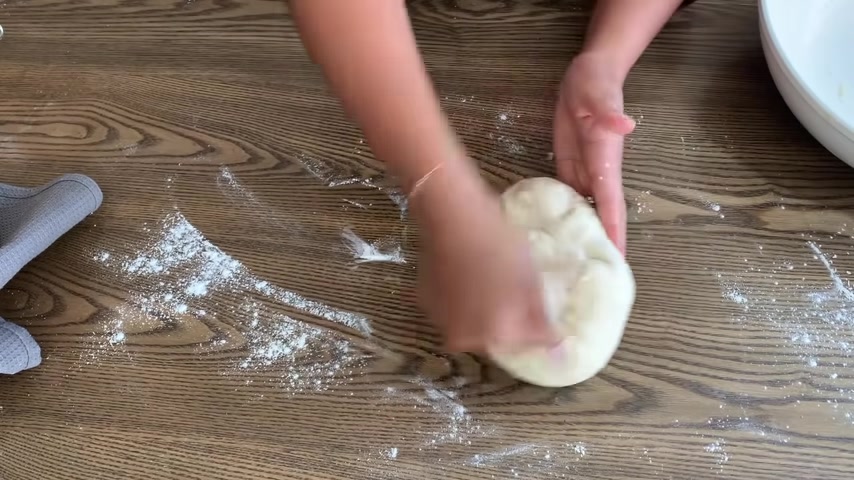
So I go ahead and I need it a second time .
You can see I'm using my knuckles and I'm using my hand and I'm just pressing and pulling and I get that really smooth and then I'm gonna get ready to plot my bread and then um I'll show you guys how I do that .
So first I pinch off or you , you can cut off a small piece .
It's just a tiny ball and that's gonna be that long straight piece that you put on top of the , the bread loaf .
I'm not sure what that piece is called , but not everybody does it .
But this is how my um pot bread used to look in my family and when my grandmother is .
So this is how I do it .
Then I go ahead and I cut um three equal pieces off .
Um I'm using a bull scraper but you can use uh a knife or anything you want to use .
Uh just to cut it into three equal pieces .
You don't need any fancy equipment .
I just had that .
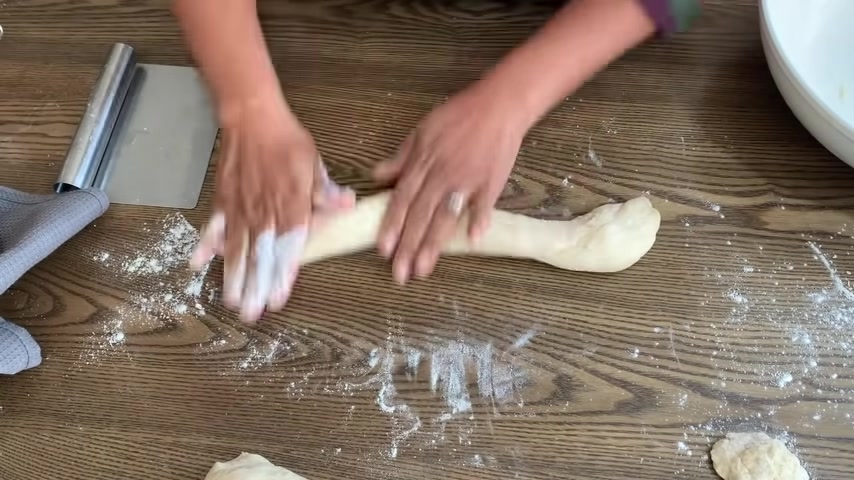
So I used it and then I'm gonna roll this out evenly into about a foot and a half long piece .
So I just roll it out .
I wanna keep it fat because I want my loaf to be fat .
Um And I wanna keep it even just because I want it to be a nice even plot when I , when I plot the bread .
So you're gonna do that to all three pieces , use as much flour as you need .
So doesn't stick to your hand .
There's my daughter again asking for a snack .
Um and then do the same thing to the third piece and then we're gonna um put them alongside and you can see they're , they're relatively even .
I mean , um with my O CD self , I probably would have just weighed this dough if I weren't doing it on camera .
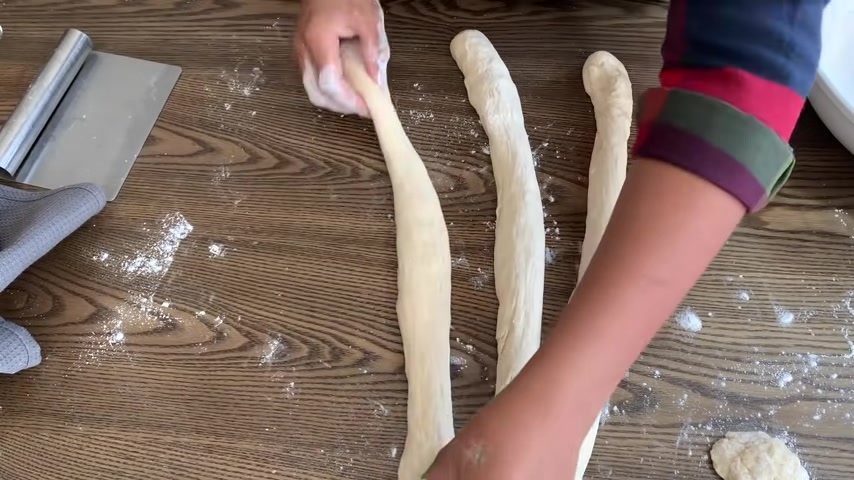
But um this is gonna do just average it out and um roll it out into three even logs pieces , ropes , whatever you wanna call it .
And then we just squish that together at the top and then we go ahead and braid .
I always start um with the right and go over , over , over and keep doing it one tip here .
I must mention you really wanna do this tight .
If you can do a tight braid hair , it makes a difference in when your uh loaf rises again and when your plot bread rises again and if it's not too tight , then you will see some separation in , in , in where the bread meets each other .
But if it's really tight , it won't separate as much .

So you go ahead and plot that and then I kinda fluff it out a little on the side because I want all of it to be even when I'm done .
But , um , this looks pretty even then that piece I set aside first , I'm going to roll that into a really thin long , um , rope piece , whatever you wanna call it .
I should really look that up and see if it has a name .
But yeah , um , then when you're done , you go ahead and put that over the top , tuck it under the bottom .
So it doesn't come out when it's stretching or when it's rising again .
And then I transfer my loaf plot bread to a greased cookie sheet .
Now , this is actually a full size sheet pan , but you can put it on a cookie sheet or you can put it in a half sheet pan .
I just love , love , love baking on this pan .
It just , everything comes out perfect every time .
Um , it's , I bought it , um , from home .
Good .

I think it was like a professional grade sheet pan .
So I just love it .
So I'm gonna go ahead and transfer my flat bread to that and then I just even out my pot bread so it can rise evenly , then cover it and let it rise again .
I stuck this back in the oven and let it rise for another 20 minutes .
But if you're not doing that , you just let it sit outside covered for another 45 minutes .
And here it is , it's doubled in size .
It's fluffy and fat .
Um , and it's ready to be baked and then just stick it in the oven and I baked it for 25 minutes at 350 degrees .
And immediately after it comes out of the oven , you wanna brush it with some butter .
This butter is at room temperature so it's easy to spread .
Um So feel free to do that or you can just grab a stick of butter out of the the fridge quite frankly and just rub it on directly there and the heat from the bread will melt the butter for you .
So , not a lot of fanciness there .
And then I cover it again .
It is extremely dry in Denver and everything gets dry and crusty .
So I cover this bread again and I let it cool completely .
Now when it's cool , it's ready for me to slice it up and to show you guys what it looks like on the inside .
Um So let me bring that into camera view so you can see what I'm doing .
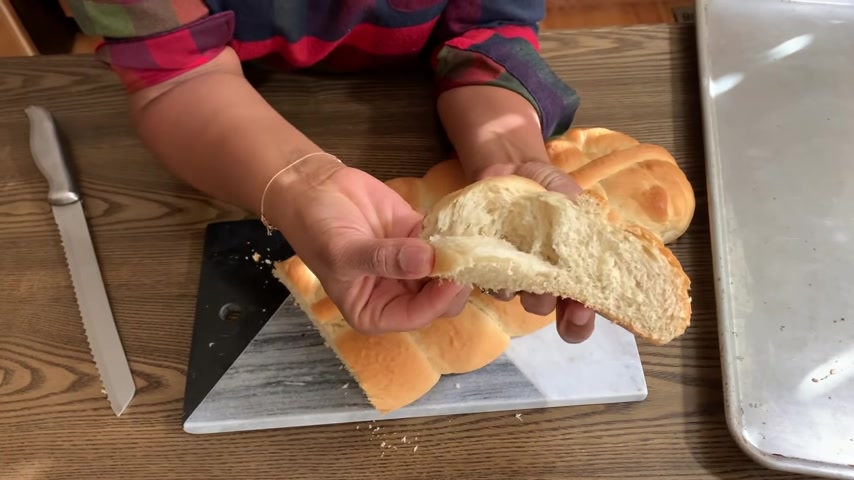
But this bread was so soft .
I had to just criddle it a little bit .
Uh so slice it open so you guys can get a look at what the temperature , the texture looks like inside it .
Look at this .
It is absolutely delicious and it smells amazing .
This bread smell like the whole house .
Of course , when Andrew came home , the first thing he wanted was bread and butter .
So look at the texture .
Um and of course , I have to taste it even though I'm gonna get a serious tummy ache .
Later tonight , I had to taste this bread .

There's no way I could be holding this bread and not taste it and it tasted like heaven .
It took me right back to my childhood um in memories of just eating nice fresh baked homemade bread .
Um And then let me slice it up for the camera so you guys can see how easy the knife is moving through it and how yummy and delicious .
This bread looks oh my gosh .
This bread was so good guys .
It was so good .
Um Please please try this recipe and comment below and let me know if you're already a bit .
A bread maker .
Share your tips and tricks .
But if you're nervous about baking bread , don't be nervous .
You got this .
You can do it .
I also have a whole wheat version on my um youtube channel .
So check that out as well .
But um guys , I kept eating this bread and bread and butter is my jam .
Oh My God .
It's so good .
Anyways , the bread was amazing .
Um And like I said , the half a cup of butter was AAA happy accident because this bread was light fluffy and buttery and was the best bread I ever made .
And of course I had to eat this whole slice and um , I haven't regretted it yet .
It was so delicious going down and um I will deal with whatever tummy comes after .
But yeah , it smells really good .
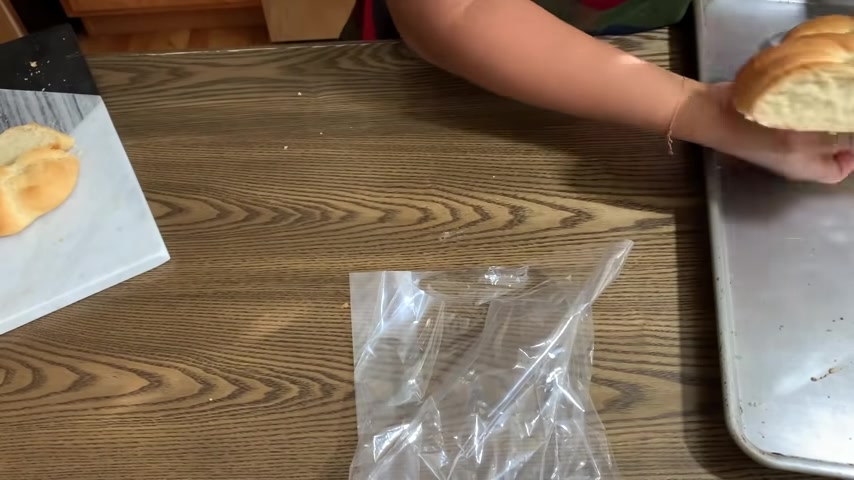
01 other tip before I go .
Um , I just said that it's really dry in Denver .
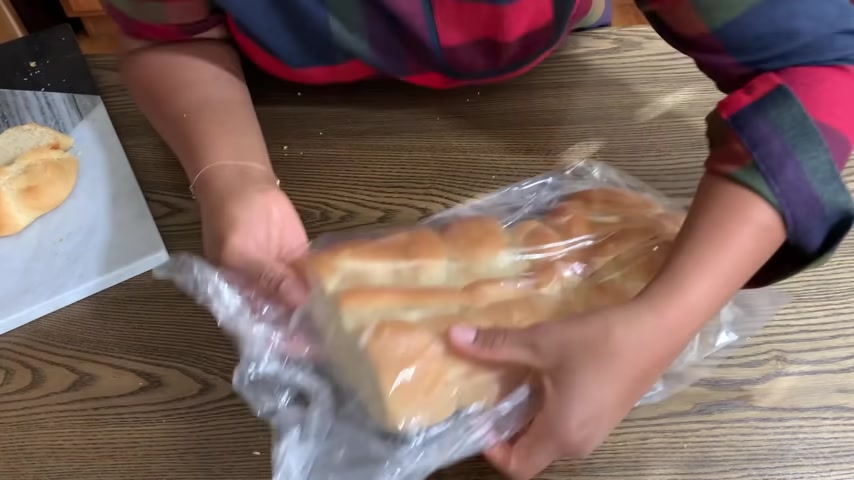
So I always put my bread in a plastic bag and I got these plastic bags on Amazon .
They were like bread bags , I think .
And um , I just slip it in there and I , since it's completely cooled , I tie it up , but if it wasn't completely cool , I would leave it open so that they could vent .
It would like sweat out in there .
And then that's how my bread stays fresh until the loaf is done .
And I don't think this loaf is gonna last that long .
But anyways , um I'm grateful that I made this recipe because oh my God , the bread smells so good and my house smells so good and I couldn't stop smelling it and eating it .
So I hope you try it and I will catch you guys next time .
Partnership
Are you looking for a way to reach a wider audience and get more views on your videos?
Our innovative video to text transcribing service can help you do just that.
We provide accurate transcriptions of your videos along with visual content that will help you attract new viewers and keep them engaged. Plus, our data analytics and ad campaign tools can help you monetize your content and maximize your revenue.
Let's partner up and take your video content to the next level!
Contact us today to learn more.