https://www.youtube.com/watch?v=NvnQemlD_5c
No Knead Sandwich Bread - No Knead Bread Recipe for Making Super Soft Homemade Bread
Today , I want to share with you a no need sandwich bread recipe .
It makes a delicious super soft bread and it's very easy to make and perfect for beginners .
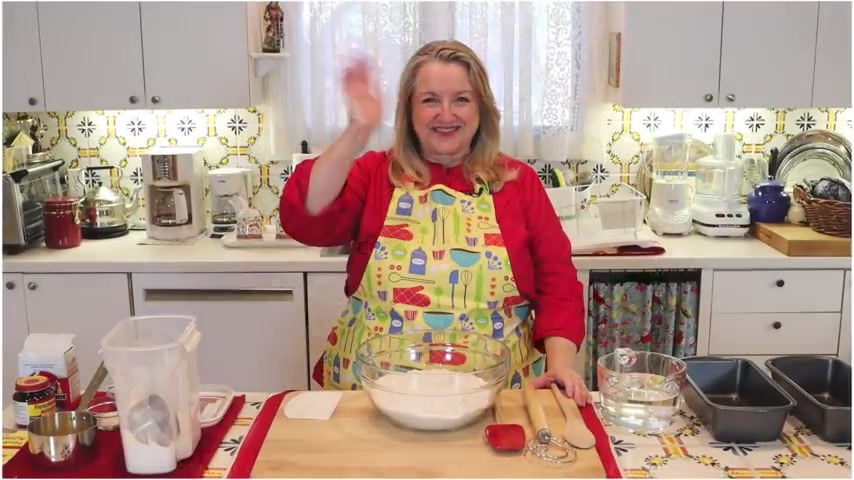
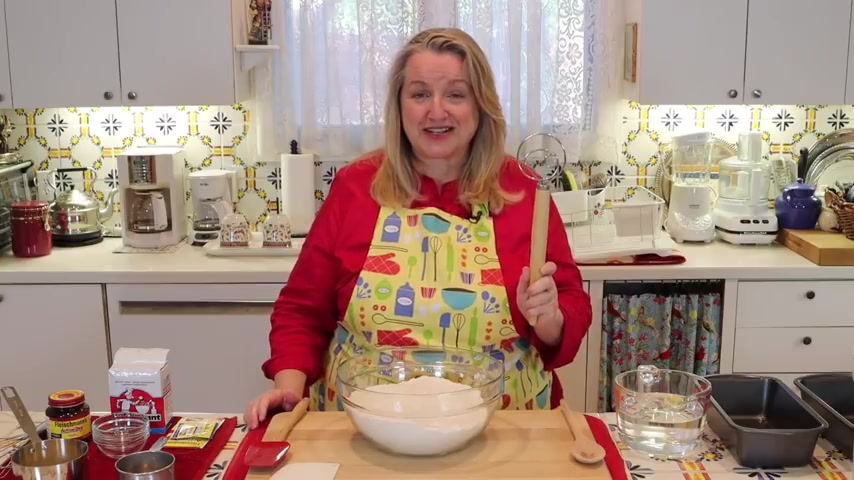
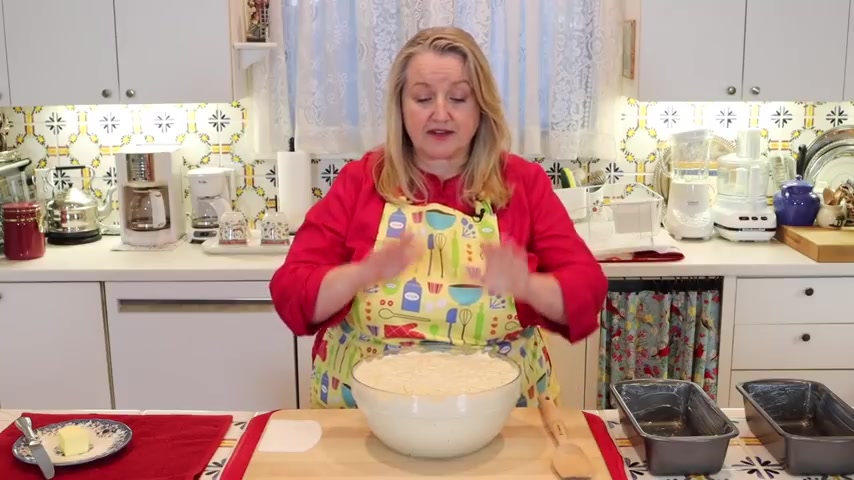
Hi , sweet friends .
I'm Mary and welcome to Mary's Nest where I teach traditional cooking skills for making nutrient dense foods like bone broth , ferment , sour dough and more so if you enjoy learning about those things , consider subscribing to my channel and don't forget to click on the little notification bell below that will let you know every time I upload a new video .
Well , this bread couldn't be easier to make and it's perfect for those of you who are making the transition from a processed food kitchen to a traditional foods kitchen .
And you may still be buying sandwich bread at your grocery store , but you want to start making it at a home yourself .

So this is the perfect bread for beginners , especially if you're not ready for sour dough and you're not ready to soak in sprout grains and start making your own sprouted flour .
You just want something very simple .
This is the sandwich bread for you .
The ingredients are very simple and I'm Sure all of them are available at your local grocery store .
What you're gonna want to start with is all purpose flour .
It actually works better than bread , flour in this recipe .
And what I've got here is an organic unbleached , all purpose flour , but use whatever you can find at your grocery store .
I don't want to make this difficult for you , especially if you're making the transition from a processed food kitchen to a traditional foods kitchen .
If you can find organic and unbleached all purpose flour , great .
But if not , don't worry , this is a good uh experiment for you to learn how to make your own sandwich bread .
So start with whatever you have at home or whatever you can find at your local grocery store .
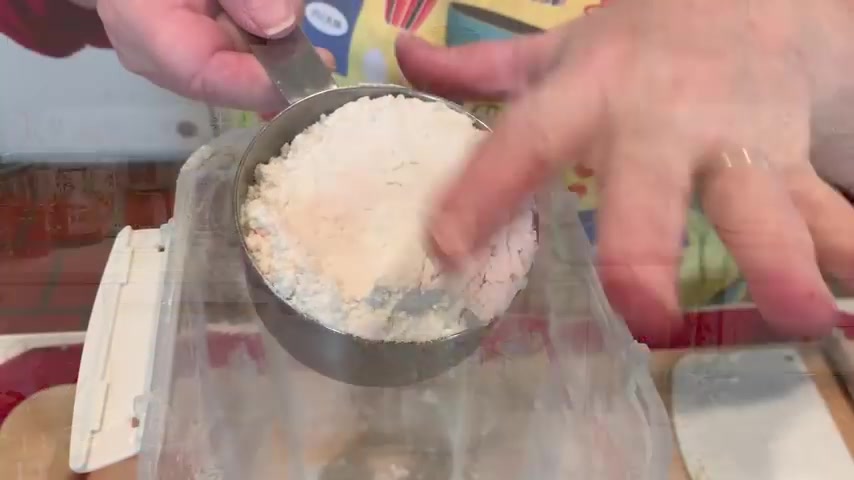
Now , so far , I've got five cups of flour in there and I'm gonna add my sixth cup and I wanna show you uh that there's really no big deal involved .
You don't have to weigh and measure anything .
You just put your cup measuring cup into your bag of flour , your container , however , you store your flour and then just level it off with your finger .
Perfect .
It's very forgiving .
You don't have to worry about being exact and don't worry about writing any of this down in the description below .
There'll be a link , it'll be a direct link that'll take you right over to this recipe with the instructions that you can read online or print out Now , the reason why I've got six cups of flour in , in this bowl is because we're gonna make two loaves of sandwich bread .
You can certainly cut this in half and make one loaf , but it's just as easy to make two at the same time .
And I highly recommend it because this bread is very delicious .
It's gonna go very quickly .
And if you do have any leftover , uh you can use it to make French toast or , or croutons or bread crumbs .
And these , I have videos on how to do all of these things and I'll be sure to link them , uh link to them in the IC cards .
And if I run out of space , I'll definitely put the links in the description below .
The other ingredients that you're going to need are one tablespoon of salt and this is just a fine ground sea salt , but use whatever you have .
And then you're also gonna need one tablespoon of sugar and I'm just using a plain white sugar .
It is organic but use what you have .
Um If uh you're , you're already stocking alternative sugar in your kitchen and you have um so the dried cane juice , you can certainly use that as well .
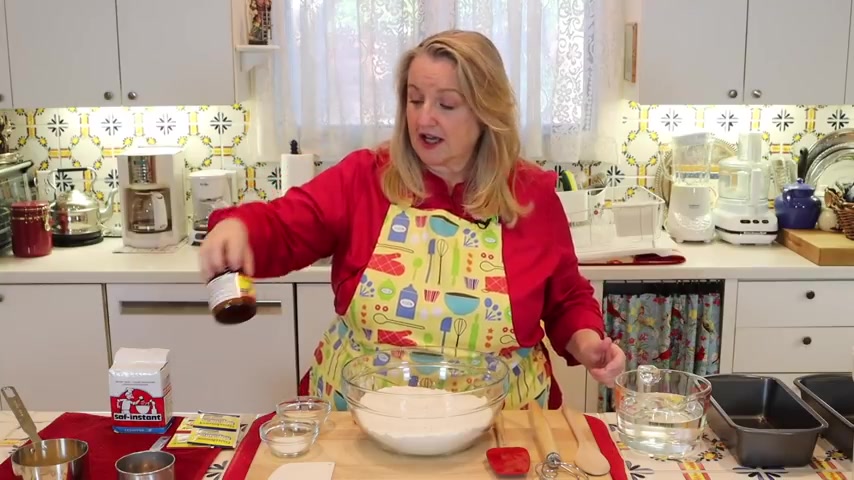
And next , you're gonna need some melted butter and this is just a quarter of a stick or four tablespoons of melted butter .
And then you're gonna need three cups of warm water and this can be filtered water that you have that you've just warmed gently on the stove .
Uh , I know sometimes people worry about using tap water .
Uh , so certainly if you have filtered water , that's great .
But if all you have available to you is tap water , that's fine too .
And by warm water , all , I mean , is water that if you took your clean finger and dipped it in there , it felt warm to you .
Uh , basically what you're looking for is if you have a thermometer , a food thermometer is 100 and 10 F .
But that basically is just water that feels warm .
Uh You don't want to use hot water because at 100 and 20 F , it can start to hurt your yeast and then at 100 and 40 F , it'll start to kill your yeast .
But I don't want you to get very worried about this because basically anything that just feels warm , very comfortable to the touch is going to be perfect .
Now , you can add some milk to this if you want .
If you want to do half water and half milk to make the bread a little richer , you can definitely do that .
I don't recommend three cups of milk because that al almost makes the sandwich bread a little too rich .
Uh , but you can certainly do a half a half , you know , 1.5 cups of milk and 1.5 cups of water .
The bottom line is you want to have a total of three cups of liquid and I just want to make a mention about the melted butter .
If you're trying to keep this recipe dairy free and you're just gonna use all water .
Like I'm using here , you can substitute the butter uh with an oil and you could use a coconut oil or an avocado oil or an olive oil .
Uh try to use an oil that is less processed than some of your more highly processed vegetable oils .
But just keep in mind whatever oil you decide to use that it may impart some flavor if it's a strongly flavored oil .
So you may want to steer clear of your uh very lovely extra virgin olive oils that have a wonderful rich taste .
Uh because it , it , if you like that taste , which I do in your bread , that'll be fine .
Um But if you are using an oil , you may want to go with something that , that might have a little bit more of a mild flavor .
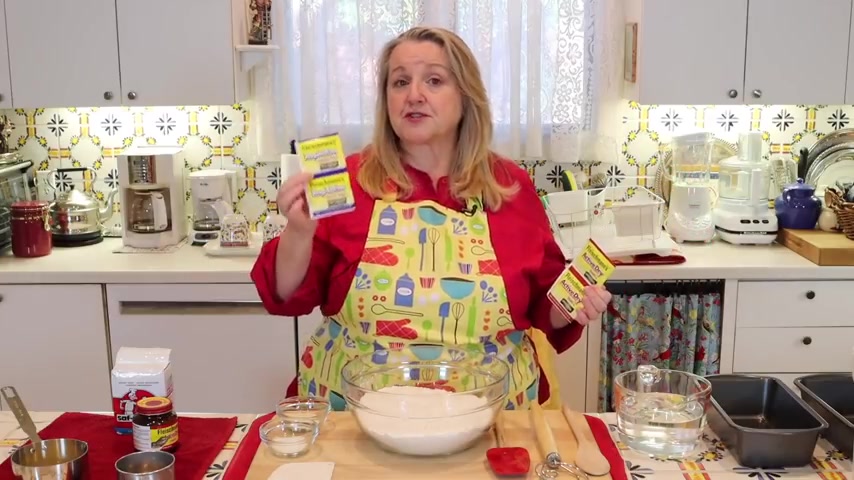
Now , the final ingredient that you're gonna need is yeast .
So let's go over the different types of yeast that are available to you uh at your local grocery store .
Uh Basically , you're going to have your active dry yeast , which is very common and also your instant yeast , which now has become a lot more common uh at grocery stores because this is the yeast that is required if you're using a bread machine .
But you can also use instant yeast in baking anything you want .
When you're baking in the oven , it's not just reserved for using in a bread machine .
Now , what's the difference ?
Uh Basically with an active dry yeast , you're going to have to allow more , more time for your bread to rise than if you use an instant yeast .
So when you use active dry yeast , you're usually gonna need to add 15 to 20 minutes extra onto your rise time .
And the other difference is that sometimes in instant yeast , there are additional ingredients added to help with the rise of bread and also to help extend its shelf life .
And the reason for that is that this was when this was being developed and being suggested for use in a bread machine , you had to put this right into your bread machine with all the other ingredients without what's called proofing it or blooming it .
Now often with active dry yeast , it's recommended that you proof or bloom your yeast .
And that means that you add it to warm water with a little bit of sugar and see if it starts to foam up and then you know that it's active and ready to be used to make bread .
I don't really worry about that .
I know some people really believe in proofing and blooming their yeast .
They feel that's very important .
And now what I do is if it's not expired and it's or or old or close to its expiration date .
If it's pretty fresh , I don't worry about it and I'll just go ahead and throw it right in with my flower .
But if it's close to the expiration date or maybe a little past the expiration date , then yes , I think that it's a good idea to add it first to your water with a little bit of sugar and see if it foams .
See if it's active and ready to help rise your bread .
Now , with instant yeast , you can go ahead and you can throw it right in .
It's guaranteed to work , uh you know , right up to its expiration date and it's not recommended that you need to proof it or , or bloom it .
And so you can just throw this right in with your flour and not worry about it .
Now , I don't recommend using instant yeast that has been expired .
Other thing I wanna mention about the difference between instant yeast and active dry yeast is that often when you open these packages and look at them , the instant yeast will look like it has a slightly finer grain .
I kind of find it almost a little hard to tell , but it technically , it does have a slightly finer grain to it .
And that's also why you can add it right into your bread .
It mixes with the water a little easier than the of dry yeast .
But as I said , I've never had a problem throwing the act of dry yeast in , in as well .
Uh But there's one other thing I wanna mention uh instant yeast is a little more forgiving when it comes to the temperature of your water .
Active dry yeast really likes the water to be around 100 and 10 degrees .
And instant yeast can take it a little hotter .
So if you're worried , oh , is my water too hot to whatever the case may be , instant yeast can be a good yeast to use because it can pretty much tolerate without any damage to it .
A temperature up to 130 F .
And I also just want to mention that in addition to these little packets , if you think you're going to be baking a lot and on a regular basis , you can find yeast in a big block like this .
I like this is instant yeast and this is by a , this is a very nice instant yeast .
And sometimes you might be able to find this at your grocery store .
If not , you can always find it online and I'll be sure to put a link in the description below .
Uh And this is an active dry yeast .
This is in a jar .
Uh So depending if you want to go and they also sell the instant dry yeast at my grocery store in a jar as well .
So you can get the active or the instant .
So it's nice to know that you can buy it in larger sizes , it kind of lowers the price a bit .
And if you're going to be using it regularly and you know that it's gonna still be fresh , not on your shelf for years .
Uh , it's worth it to , to buy it in a larger quantity .
Well , today we'll cut one of these packets .
They usually come , you know , like in three packets and sometimes they're just sold in one packet , the yeast , but this was in three packets .
I've used some of it already .
Uh I made a previous video where I showed you how to make a no need bread in the round shape and I'll be sure to link to that uh in the I cards and in the description below , that's very easy to make too .
And so we'll go ahead , we'll use the instant yeast and we'll just go and dump this right into our flour there .
Not much fanfare .
You just need one packet .
And if you're going to use a jar or a little package like this , you're gonna want one or two and one quarter teaspoons of the yeast , whether you use the active or the instant .
Next , we'll go ahead and add in our salt and we'll add in our sugar and then we'll take a whisk and we'll just mix the yeast and the sugar and the salt with the flour until we know everything is well incorporated .
Next , we're gonna get ready to pour in our water .
But before we do that , I just want to mention the tools that you're gonna need to mix your dough .
Now , as I said , this is a no need .
So there's really not much effort involved .
You can use a spatula , either a silicone one like this or a wooden spatula , whatever you have , you can use a wooden spoon .
If you've got one of these cute little danish dough whisks , you can use this , but this is actually geared more for when you're doing a needed bread and they work great .
If , if you've never tried one , I highly recommend them , they're very reasonable and you would never imagine that something like this .
I think it's very funny looking uh would need bread , but it does a great job of pulling it all together , especially if you don't have a stand mixer with a dough hook and all of that or you just don't feel like taking out all that equipment .
You can use one of these .
I love it , but it's really overkill for a no need bread .
You don't need to worry about it .
A wooden spoon works great .
And if any of you are familiar with Steve , that artisan bread and I'll put a link to his channel below .
He's a terrific bread baker and , and he just uses the handle of the spoon and it almost acts in many ways like a dough whisk .
And so that's what we'll do .
I'll show you that today .
I think it's a wonderful trick and it pulls the , pulls the flour and the water together very quickly .
So we'll go ahead and make a little well here and we'll pour in our water .
And then to that , we've got our three cups of water and then to that , we'll pour in our butter , our melted butter .
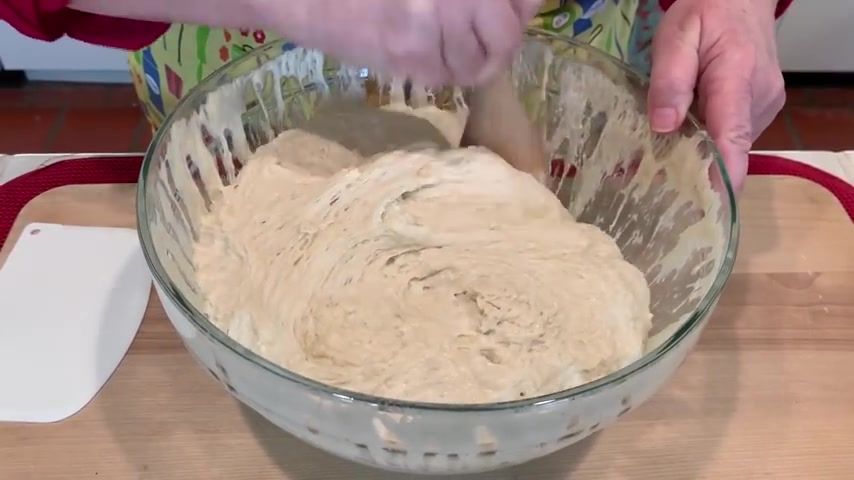
Alrighty , we got that all in there and now we just take the handle of the spoon and we just start moving all around working that water and that butter into our flour and it's gonna come together very quickly .
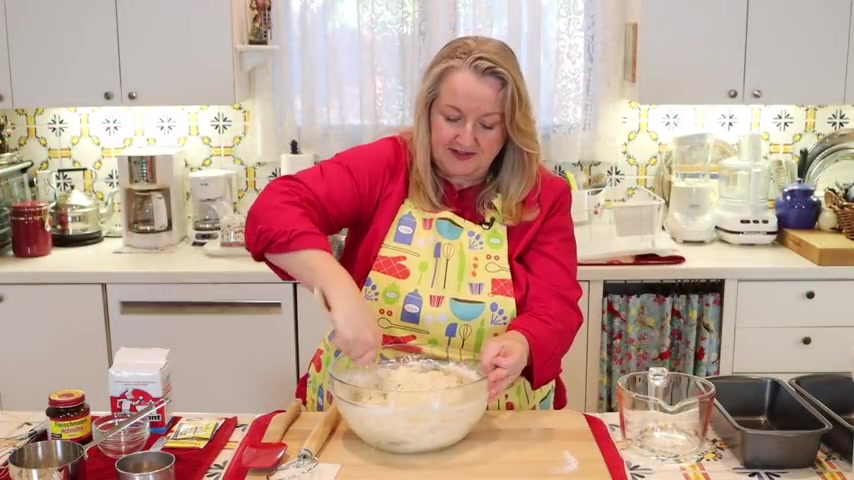
I'll take a little video overhead so that you can see exactly what I'm doing and as you'll see , just stir , you know , with the handle of your wooden spoon , just keep incorporating the flour and or or your spatula or whatever you're using , just keep going around bringing up any dough that dough , any flour you may see on the bottom and it comes together very quickly now .
Yes , it's gonna be a wet sticky dough .
Don't worry about that .
That's exactly what you want for a no need bread .
And then if you have a bench scrape , you can just remove whatever's on your spoon .
This is just a little plastic bench , bench scrape .
They're very reasonable .
I'm sure you can find one of the kitchen store at your grocery store .
Uh If not , I'll put a link in the description below .
Um but they're , they're usually very readily available , maybe 2 $3 at most .
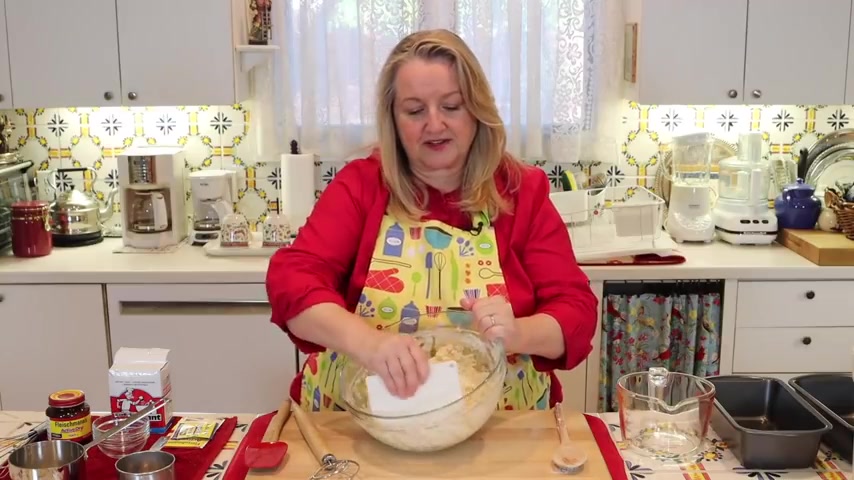
And then take your bench grape or uh your spatula or whatever you're using and just pull down any dough uh that may have gotten up to the sides .
And can you just want to incorporate uh every little kind of last bit of dough and flour and keep working that just until you incorporate it all .
And that's basically it .
Now that we got that all mixed up , literally took like 30 seconds .
All we're gonna do now is cover it .
Now I'm just gonna use some plastic wrap .
Uh You can also use a tea towel or like a dish towel if you have that , uh you may just want to put a little flour , just flour it a little bit .
Uh So that as the dough rises , depending on what size bowl you're using , uh you don't want it to stick to your towel and this is it .
Now we're going to put it in a warm place .
If you have an oven that has a bread proofing option , you can put it into that if you just have an oven that's turned off .
But you have an electric light on , you can turn the oven light on and you can put it in your oven with the oven turned off .
But the electric light on if you have an oven turned off , but with a pilot light , you can put it there or you can just put it in a warm place , maybe near your oven .
Oven is maybe preheating , uh , or on top of your refrigerator .
Um , or you can just cover it .
Uh , a little more as I said , if you have the plastic wrap or a towel on top , just to , you know , keep in the , the heat as you're letting it rise .
Uh , you could put some towels on the bottom and some towels on the top to try to keep some warm thin .
Another trick that you can do as I shared when we made the bow , the no need bowl , you can warm your bowl even before you even start this process .
Wash it in real hot water , dry it well , and then put in your flour and that will usually help retain some of the heat and then you can wrap it in a towel and let it rise .
Now , if you're using the instant yeast , you're going to want to let this rise about an hour and a half .
If you're using the active yeast , you're gonna want to add 15 to 20 minutes to your rise time .
Now , basically , what you're looking for is for it to double in size .
Now , I know that can be very intimidating to people .
That terminology of when you're a new baker because of new bread baker , you may be looking at it and saying , is it double ?
Is it not double ?
Should I let it go longer ?
And then you worry .
Oh my gosh .
Is it going over rise and what about the finger poke text test and you know , all these different things .
I don't want you to worry about any of that .
Uh , a little under or over as in the bottom , the bottom line is in the end .
It's gonna make about a 10% difference in your bread .
And if you're not a professional baker , I don't think you're gonna really notice and I don't think anybody in your , in your family or your friends is gonna notice .
All they're gonna notice is you made fresh bread homemade .
So , just plan on an hour and a half and then a little longer , 15 to 20 minutes and an hour and 45 minutes or an hour and 50 minutes if you use the active yeast and it's gonna be fine at that point .
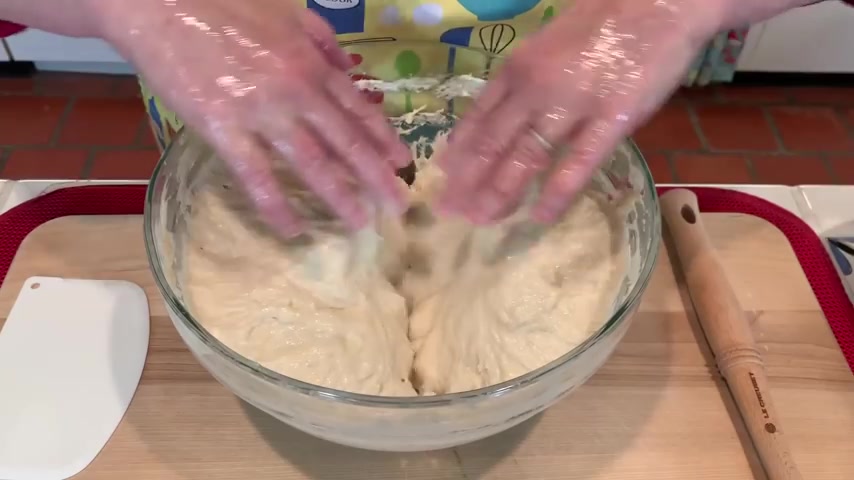
Well , this rose beautifully after about an hour and a half and I'll take an overhead picture and I'll also take a picture from the side so that you can see exactly what this looks like .
And then you'll notice that when you take your bowl and bring it over to your counter to get ready to put into your loaf .
If you give the bowl a shake and I'll put a little video so you can see this .
It's gonna shake like a bowl of Jell O .
That's exactly what it's gonna look like .
And that's exactly what you're looking for .
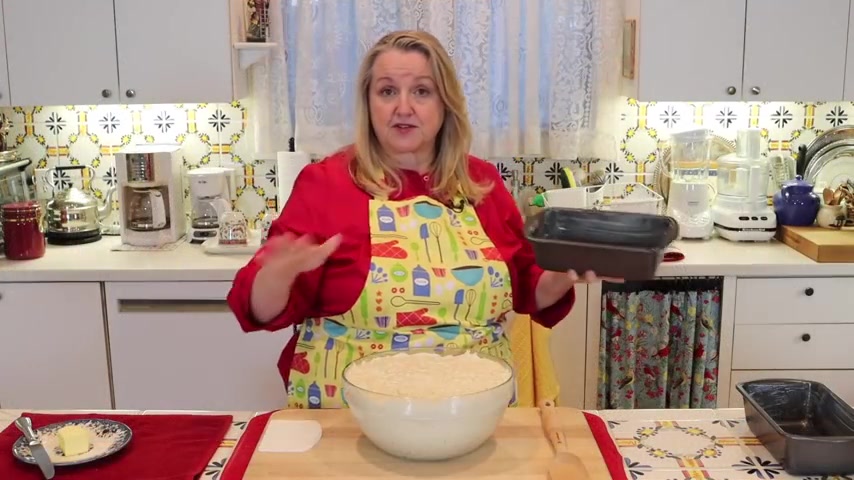
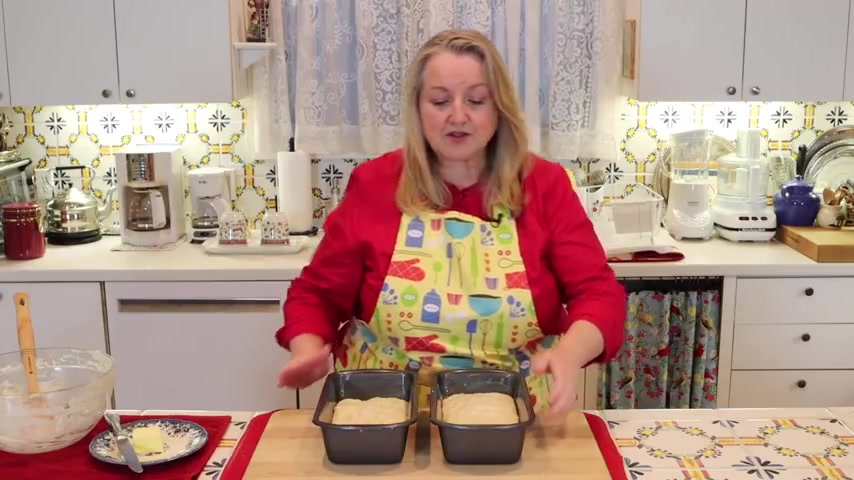
Now , what you're gonna need are two loaf pans and these are just plain old , regular loaf pans .
They're approximately maybe 8.5 by about four and a half or so .
And you can use metal loaf pans .
You can use glass loaf pans , whatever you have is fine .
What's most important though is that you want to grease them very well .
So if you're using butter grease them very well with butter and if you're using some type of oil that you've maybe used in your recipe , because you want to keep things dairy free grease it very well with oil .
This is a very important step because by greasing your pan very well is what's going to keep the exterior crust soft and then I'll show you another little trick when we take the bread out of the oven after we've baked it to how to keep the top real soft too .
But we'll , we'll get to that after we , after we bake them .
Now , the next thing that we need to do is deflate the stough and divide it into two equal portions .
Now , it is wet and sticky and we're not gonna be using any additional flour .
So you can do this with your hands .
If you do , you may want to give them a good greasing .
We're going to have to grease them as it is to get them into their pans .
Uh , or if you've got your bench grape , you can do that if you've got a wooden spoon or I've got like a wooden spatula .
This works real well to get it down off the sides .
But basically , what we're gonna do is just start to deflate it and we're going to push it into the center and get it to form into a ball .
And as you're deflating this and just pulling it away from the sides , you're going to just pull it and kind of pull it over itself and I'll take a video overhead so you can see what I'm doing .
But I'm basically just kind of pulling it over itself just as we pull it away from the sides and getting it to kind of form into a ball best we can .
It's not really going to be a ball per se , but you just kind of want to get as much as you can away from the sides and get the bread basically down deflated and in the middle of your bowl .
Now , once you've got it pretty much deflated and you've turned it over on itself a few times , take a little butter or whatever , uh , oil that you may have used and give your hands , just rub the butter right in , in your hands and cover your hands really well .
So that they're nice and greasy .
This is fun .
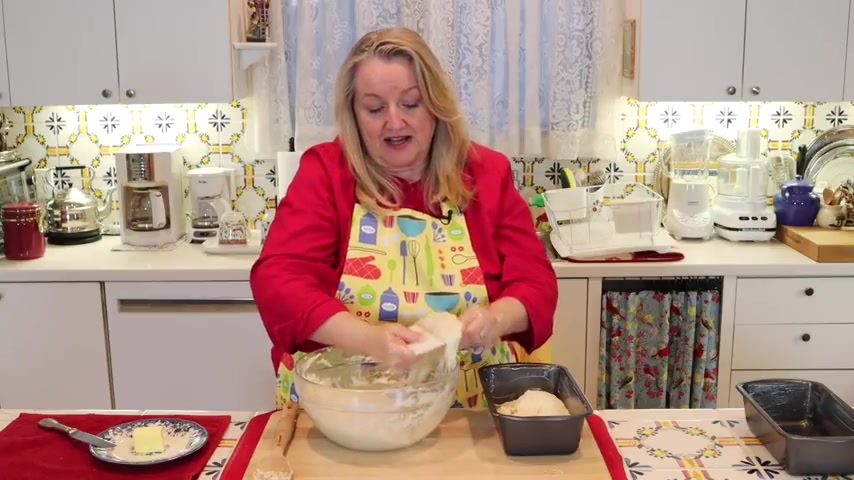
Now , with your grease hands , you're just going to get in here and you're basically going to separate this evenly best you can into two pieces .
And as you work to separate these into basically two of their two individual loaves , they will kind of fall back into one another .
However , even after you do this , and I'm gonna overlay a video so that you can see when you stop doing it , they will , they , there will be a line down the middle .
And so you'll know exactly now that you've divided it into two loaves to just get in there and lift out the one half .
Now , if you have a bench scrape like this , it's a great time to use it .
If not , you can certainly use your wooden spoon .
But what's gonna come in most handy in this job is gonna be your hands .
So you'll see .
So just try to scoop out about half .
Don't worry , you , you're gonna be adding to this .
Just do the best you can .
Oh my goodness .
Look at that .
And then we're just gonna dump that right into our pan .
Nothing special .
Nothing fancy .
We're just gonna get in there and get the rest of what we left behind for that half and again , just dump it right into your pan .
Then once you get half the dough in your pan , just give it a good little shake to kind of fill all the nooks and crannies and it's gonna be perfect .
So after you give it a shake to kind of get everything to level out , uh , if you find that there's still may be a little nook or cranny that you don't feel the dough is expanded enough into .
You can get in there with your grease hands and you can just pat it down a bit and move it around a bit to fill any area or to flatten it a little , even it out whatever you want to do .
Uh and that's it and now we'll get ready to fill our next bread pan .
Alrighty .
Well , now we've got both loaves of dough in our loaf pans and we want to let this rise for another 40 to 45 minutes .
If you're using the active dry yeast , you may need a little more time but you want to leave them uncovered but in a nice warm cozy place and what you're gonna be looking for is a rise that is more or less going to be close .
You know , there may be some uh doming uh but it it will be relatively close to the edge of the pan and then we'll be ready to bake them .
And as you're getting closer to that 40 to 45 minute rise , go ahead and preheat your oven to 375 F and have your oven rack in the middle because these are gonna go on the middle rack in that 375 F oven .
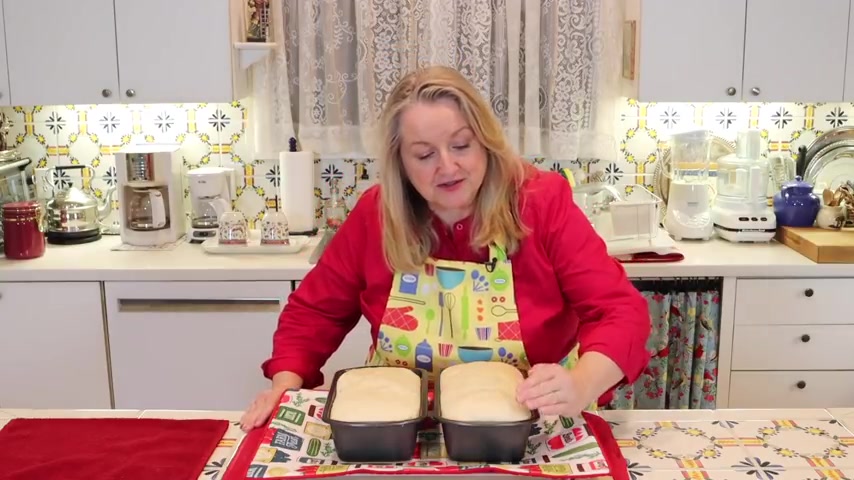
Well , I kept these in a nice warm cozy spot and if you notice they're just crowning like the rim of the pan , I took a photograph from the sides and I'll overlay it so that you can see , they don't have like a big dome like that .
You're not looking for that .
It's just when they just start to uh slightly dome up over the side of the pan .
I don't , I did my best dividing the dough up .
Um I think there was a little more in this one , but this one is perfect .
This is what you're looking for .
Just a slight dome right at the rim and , you know , depending on what time of year it is and what the temperature in your kitchen is .
You know , as I said , it can be about 40 minutes .
Um , but it can also be less .
So , you know , if say you're doing this in the summer , just keep an eye on it .
Uh , because you just don't want them to get too puffed up .
Now , we're gonna go ahead and pop them in to our 375 degree oven middle rack and we're gonna let them bake about 40 to 45 minutes until they're golden brown on top .
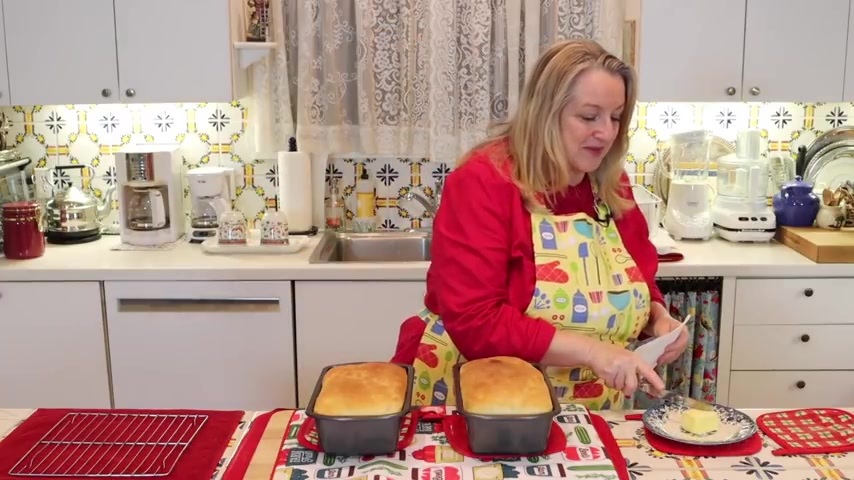
Well , these were in the oven about 40 minutes and they look wonderful .
And what you're looking for is to get this nice golden brown on top and you want them to sound that they sound hard on top .
However , what we're gonna do to make them nice and soft is we're gonna take some butter and we're just gonna put it in a little bit of a paper towel here to hold it and then we're , while they're nice and hot right out of the oven , we're just gonna start rubbing butter on top and this is gonna help really make this top nice and soft .
Well , I've rubbed butter over both of them and that'll sink in and then as it cools it'll help soften up that crust making it a little more similar to the sandwich bread that you buy at the grocery store .
But look at how beautiful these look all shiny with that melted that butter melting on top of them .
Well , now what we're gonna do is we're gonna take them out , take them out of their pans and we're gonna put them on a cooling rack and let them cool for a bit .
Well , what I'm gonna do is they're cooling off a little bit .
Uh , is just flip these right out .
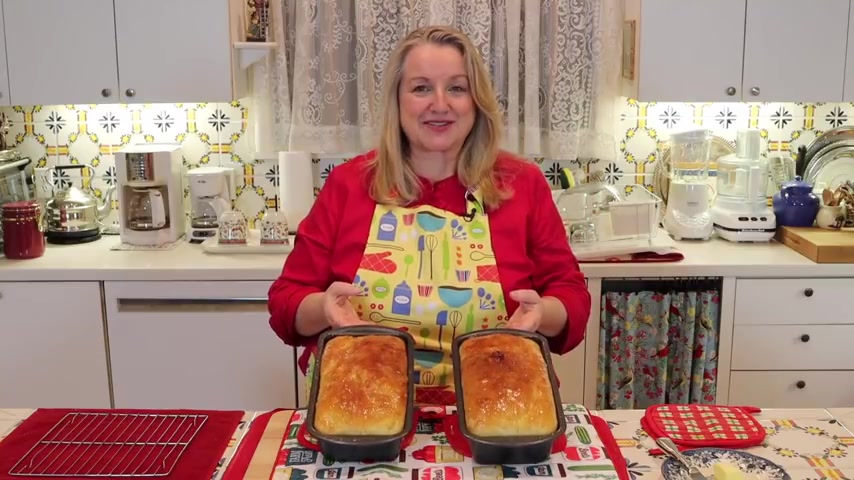
Oh , look at this .
Oh , they're glorious .
Oh , look at this .
Beautiful bottom .
Oh , looks so nice .
Oh , it's quite hot .
And I'm just gonna put it over here on the cooling rack and then I'll do the same thing with this one .
Well , these are still quite warm but I think we're just gonna have to slice into them and uh , see how they came .
So let's give a nice slice here .
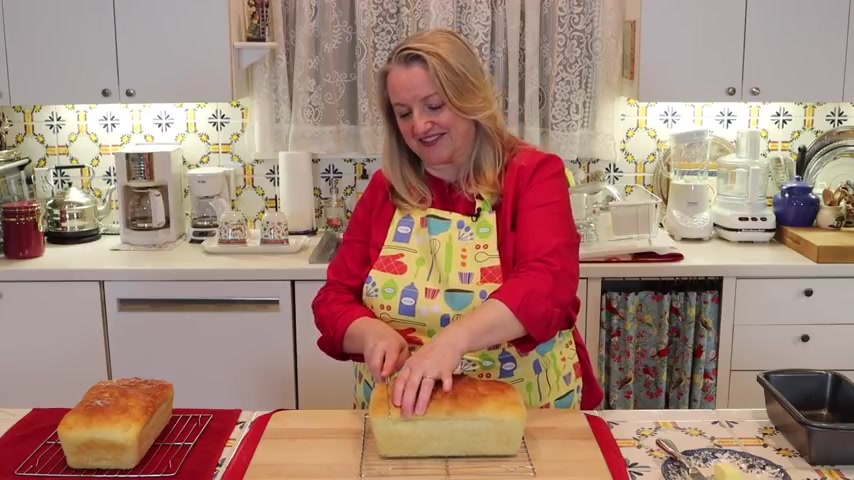
I've got a serrated knife .
Oh gosh , it cuts like butter .
Oh , my goodness .
Look at this glorious piece of bread .
Look at that .
I'll take a close up shot so that you can see it .
It's gorgeous .
Well , this came beautiful and it's so soft .
I cut it nice and thick .
Almost like a Texas toast .
But let's give it a taste and see how it is .
Ok .
It's a little warm .
I should probably have waited .
But look at that and the crust is nice and soft now .
Hm .
Mm .
Oh , delicious .
You're gonna love this bread .
It's the perfect homemade sandwich bread .
It's so soft and it just melts in your mouth .
And now that you know how to make homemade sandwich bread , you can try your hand at sourdough .
So be sure to click on this video over here where I show you how to make a sour dough starter from start to finish .
And I'll see you over there in my Texas Hill country kitchen .
Love and God bless .
Are you looking for a way to reach a wider audience and get more views on your videos?
Our innovative video to text transcribing service can help you do just that.
We provide accurate transcriptions of your videos along with visual content that will help you attract new viewers and keep them engaged. Plus, our data analytics and ad campaign tools can help you monetize your content and maximize your revenue.
Let's partner up and take your video content to the next level!
Contact us today to learn more.