https://www.youtube.com/watch?v=WROSZ6803cE
Draw a Face in Proportion - front view
Hello .
My name is Paul Priestley and I go into schools and teach Children how to draw and paint .
This is my website .
This video is the first of two and how to draw the human face .
In this video , I shall demonstrate how to get the proportions of face correct teachers .
These exercises are easy to demonstrate Children and can be used with young primary school Children as well as all the secondary school students .
OK , let's make a start .
Firstly , we need a face , a finger and the sun .
We need to do a little bit of measuring .
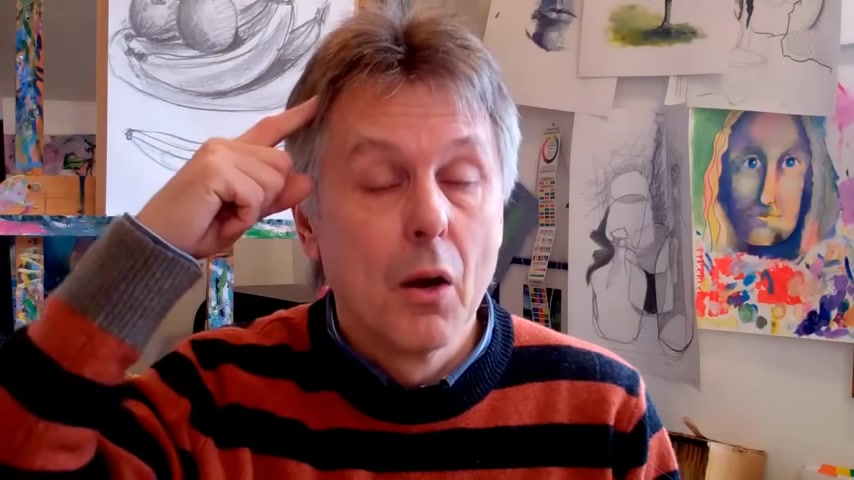
First of all , I'm going to put my finger between my eyes , my thumb underneath my chin .
If I put my thumb where my finger was , you'll see that my eyes are halfway down my head .
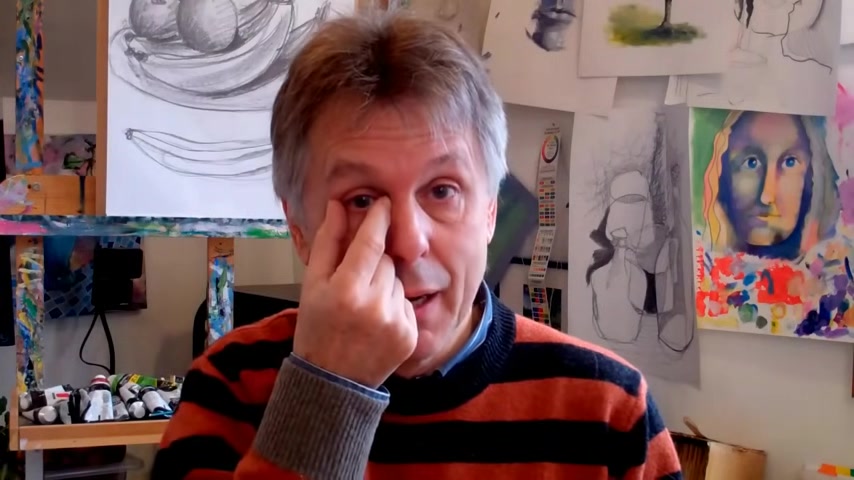
Secondly , if I put my finger and thumb either side of my eye and move it in between my eyes , you'll find the gap between the eyes is the same width as one eye .
Now if I close my eyes , put my fingers on my pupil turn it 90 degrees size my nose .
OK , so the pupils equal the size of the nose now if I take that same measurement the nose move it down down to my chin , nose to chin , same width as one nose .
If I take the nose , turn my head 90 degrees .
You can see the ears , same level , same size as my nose .
If I put my finger on the top of my head here , press drag it down the side of my face , goes into the temple out of the cheekbone , down around to the chin and finally work out the width of the mouth .
Put your fingers on the pupils .
Close your mouth .
Don't smile .
Pupils , Same width as a mouth .
OK , we've now learnt how to use those measurements .
Let's see if we can put them into practise .
So the Children are all sitting nicely .
You're ready to demonstrate and here we go .
We start by getting the Children to measure approximately halfway down their paper and halfway down their paper .
They're going to draw a very , very faint line across the paper .
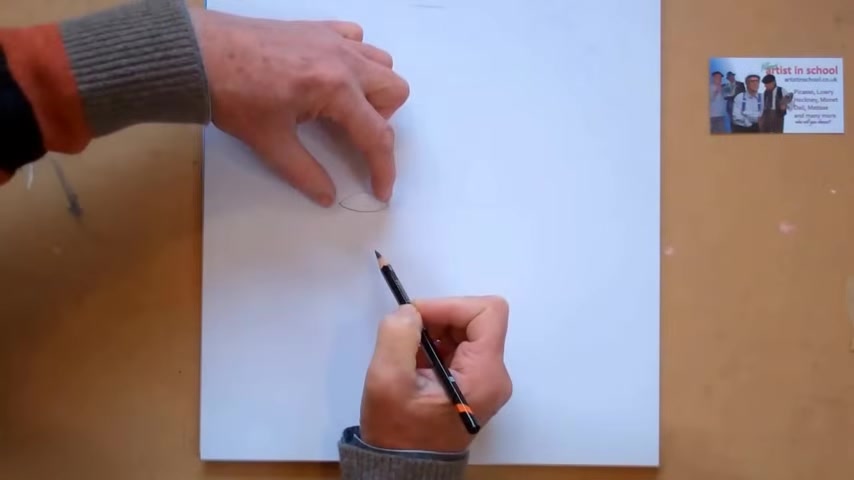
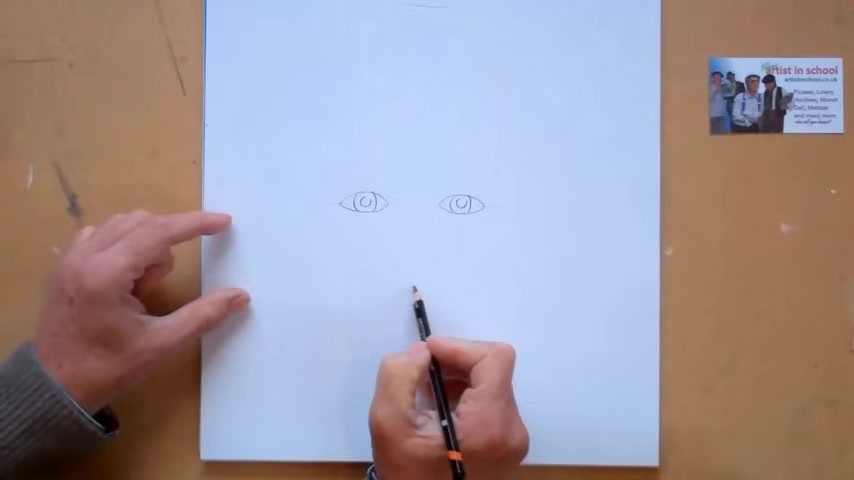
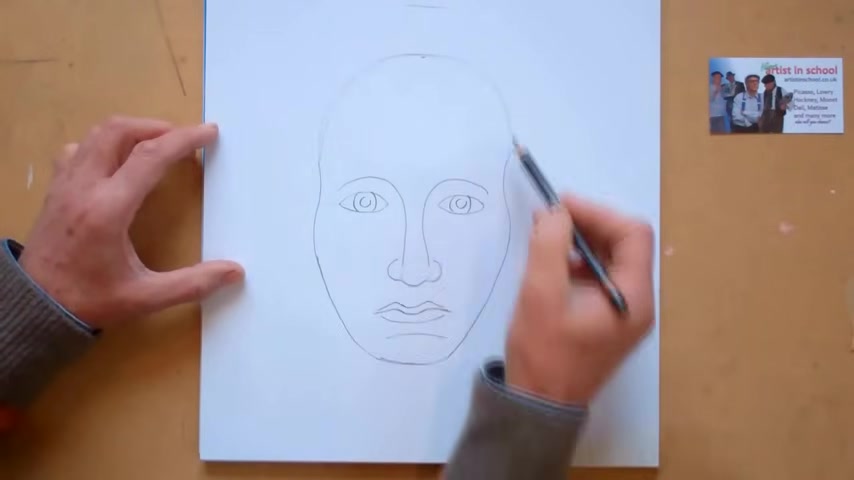
We're then going to draw the two eyes now with young Children , we just draw two simple oval shapes , not too small .
So we draw the first oval shape This to represent the eye So one oval shape And remember we did the measuring .
So we know where the second eye is going to start and we make the other eye the similar sort of size .
OK , there we are .
So we've got two eyes which are approximately the same size .
Now we need to just make sure the eyes look a little bit more like eyes .
So we'll just do two semi circles to create the eyes .
And we'll put a pupil in the centre by just doing a little circle but not quite completing it .
You'll see why we do .
We do that later on .
OK , we measure the two pupils turn a hand round that gives us the size of the nose so we can mark where the nose is going to be OK .
We start now with just turning two hockey sticks just down the side .
Here , Children can draw hockey sticks , two nice simple shapes , so go around the top of the eyebrow down the side of the nose .
As we come around here , we want to make sure that the we go narrower at the top and slightly wider as we come down the nose .
OK , at the bottom Here we draw a circle very , very faintly .
We've got a very faint circle .
And then either side of the circle , we draw a semi circle one here and one here , not quite touching .
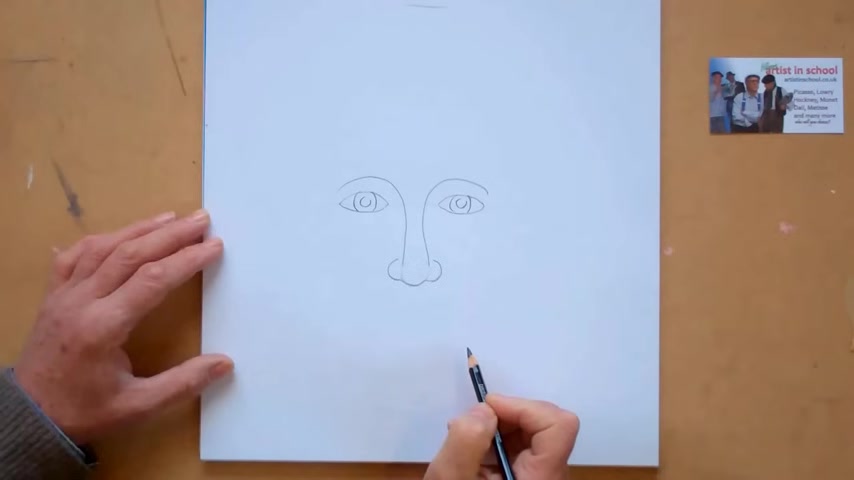
All we need to do now is to draw around this semi circle around the bottom of the circle there and around that circle , and we have the basic shape of the nose .
Now , if you remember , we then took this measurement here the size of the nose , and we took it down .
That gives us where the chin will be , So we'll just mark where the chin will be .
And in between here and here is the mouth .
Now to draw the mouth , I'm going to come down just above halfway and I'm not going to draw the lips .
I'm going to draw the gap between the mouth .
So I'm going to start with a very simple curve shape , a simple curve shape like that , and then a curve going in the opposite direction on that side and won that side .
And if you remember , the mouth is the same width as a pupil .
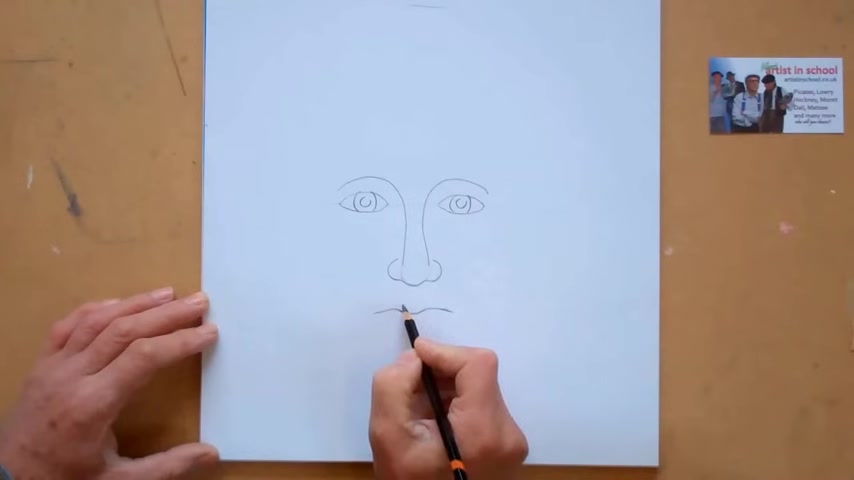
Make this one slightly longer There .
OK , Now the top of the mouth is exactly the same as this .
So we just draw this again , little curve up here , curve down .
Don't quite meet , but we don't need to worry about that .
And a nice single curve running along the bottom there .
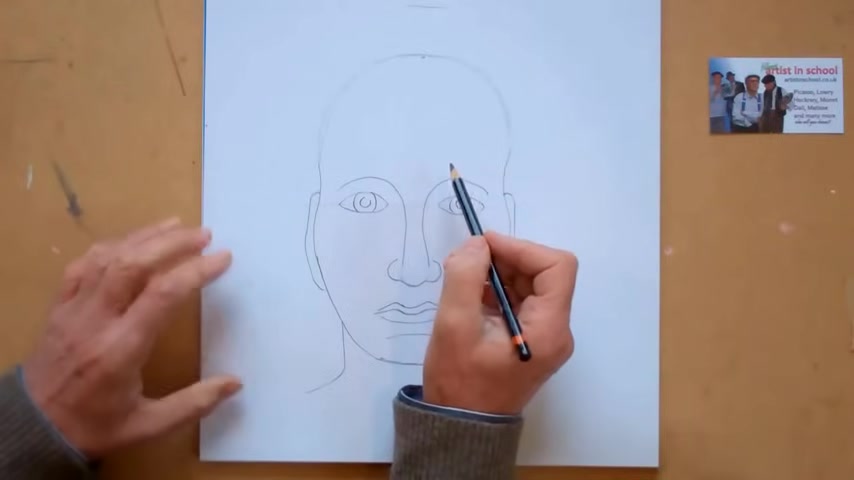
So we have a basic mouth shape underneath the mouth .
Then we find that we have a little curve going this way where the skin attaches to , uh , jawbone .
And then underneath that we have the chin .
So very simply , we got our basic shape .
Now , if you remember , we put a finger then on the side of the face and we pressed in very hard .
Well , press hard .
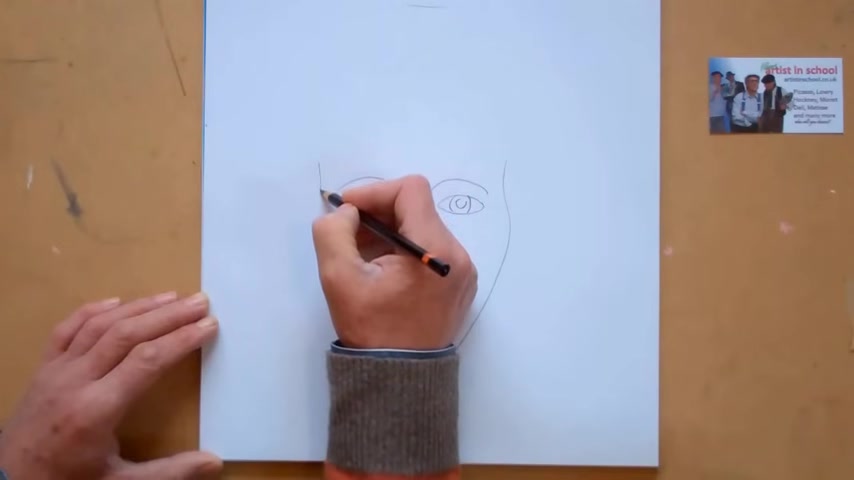
And we go into the temple out for the cheekbone , down and round until we reach the chin .
We do exactly the same the other side .
So we start to the same place , the other side .
We go in slightly out for the cheekbone , down and round for until we reach the chin .
OK , so we've got our basic face , the bottom part of the face to get the top part of the face .
We go back to what we did right at the beginning with the measuring .
Take our two fingers , finger and thumb here and we move it up .
And that will give us the top of the head , which is approximately there now , the top of the head .
When we draw this bit , the Children will always burst out laughing because the figure will end up looking a little bit like an alien , but just very , very loosely .
Nice big curve on the top Here .
You don't need to be too careful because we're going to go over this with hair in a moment .
So we just go a nice big curve on the top of the head There .
There we go .
So we've got that nice drawn curve .
We're going to go over that shortly .
Now we need to draw some ears .
If you remember , the ears are the same size as the nose , and they're opposite the nose .
So the ears start here you go down the side of the face and around and similarly on the other side and and finish off round about there .
The neck don't make the neck too narrow .
If you take the corner of the mouth as a guide and we put a line approximately here going off to the shoulders Approximately here , Coming down here , going off to the shoulders .
The shoulders are obviously much wider than this , but we'll not worry about that for the moment .
OK , if we go back to the hair now , assuming this is a young boy , well , we'll just do a very simple hairstyle for this .
Uh , if you imagine that , be halfway between there and there would be where the hairline would be .
OK , that would be where the hairline would be .
But we're going to come a little bit below that and assume the boy has got a fringe , so we can just do a little jagged line coming along here .
There we go , down in front of the ears again , A little jaded line cross here and down in front of the ears , assuming the hair is standing above the skull .
Then we might have a few little little bits of hair sticking up here , perhaps , and the hair would come around above the skull here , right round to the back and similarly over this side .
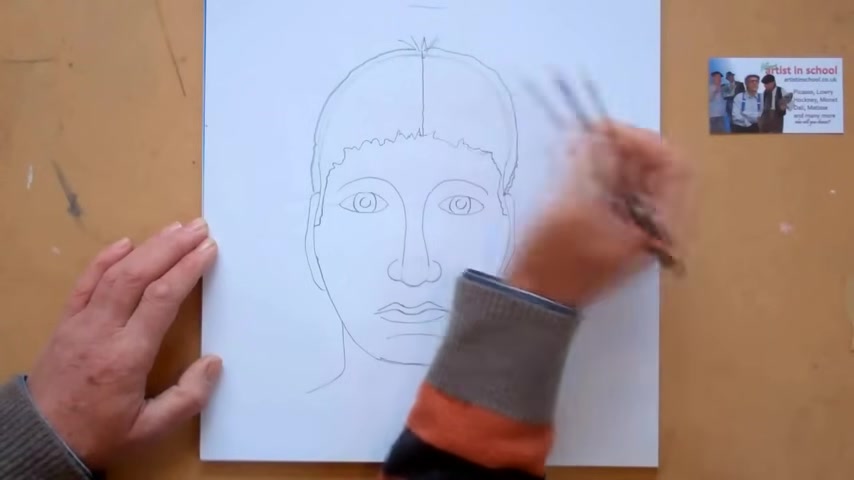
Now , now , now we have the hair looking more or less or the head looking more or less in proportion now to just to finish off the head .
We're going to do a little bit of , uh , drawing of the hair rather just scribbling the hair in What we're going to do is to draw a straight line down there , and we're going to then radiate all the lines for the hair from the same place .
And by doing this , it will make the head look a little bit more three dimensional .
You see , the hair is all coming down from that centre point from the crown .
You can actually do this with the Children and get them to look at their own crowns or somebody else's and see all the hair radiating out from the crown .
So we then , by the time we've finished this , we have a face that looks in proportion .
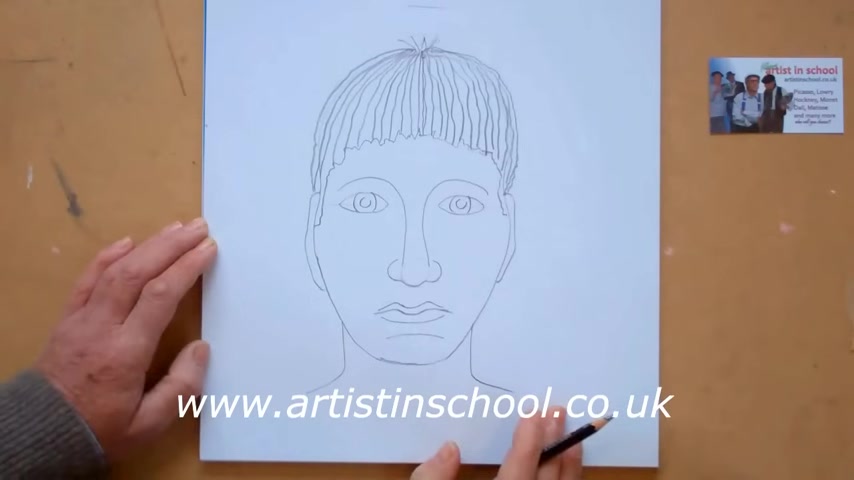
As you can see , the next step , which we'll look at in video two , is now adding light and shade to this to make it look a little bit more like a real person .
Thank you for watching
Are you looking for a way to reach a wider audience and get more views on your videos?
Our innovative video to text transcribing service can help you do just that.
We provide accurate transcriptions of your videos along with visual content that will help you attract new viewers and keep them engaged. Plus, our data analytics and ad campaign tools can help you monetize your content and maximize your revenue.
Let's partner up and take your video content to the next level!
Contact us today to learn more.