https://www.youtube.com/watch?v=NJVkAAZqc0k
How To Create a NFT Minting Website for FREE!
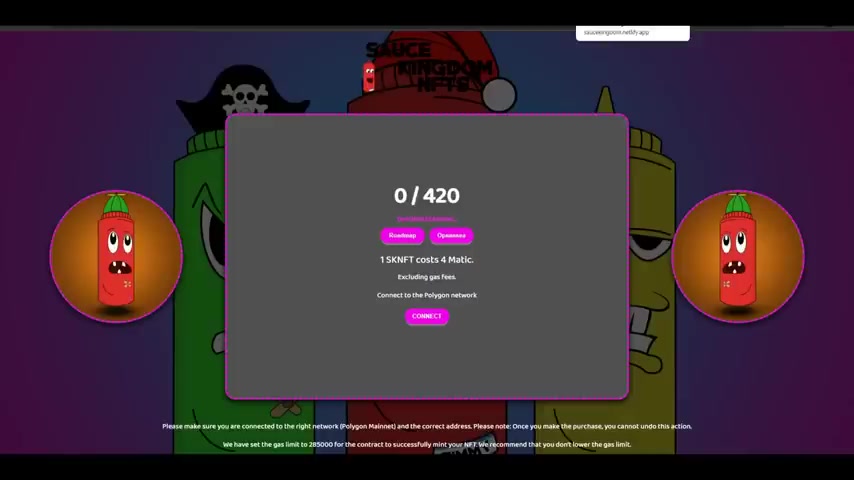
Hey , hey , it's your host sauce for um the viral Kingdom .
And in today's video , I'm gonna be showing you guys how you can make a fully functioning minting website in the quickest way possible .
This is so easy to do and we will take no time at all before we do get into that .
If everyone watching can go down and leave a like on this video and subscribe to the channel .
If you're into the NFT world , it would mean a ton as I've been posting a ton of NFT content lately .
Additionally , I just started up a Patreon .
So if you wanted to show some extra support and check that out , it would mean so much , there's going to be a ton of benefits by joining this Patreon that I'll have listed down below .
I just started to work on it .
So there's so many big things coming and I highly suggest joining the Kingdom community .
It really supports me so that I can make more of these educational NFT videos for you guys .
With that being said , let's get right into this tutorial .
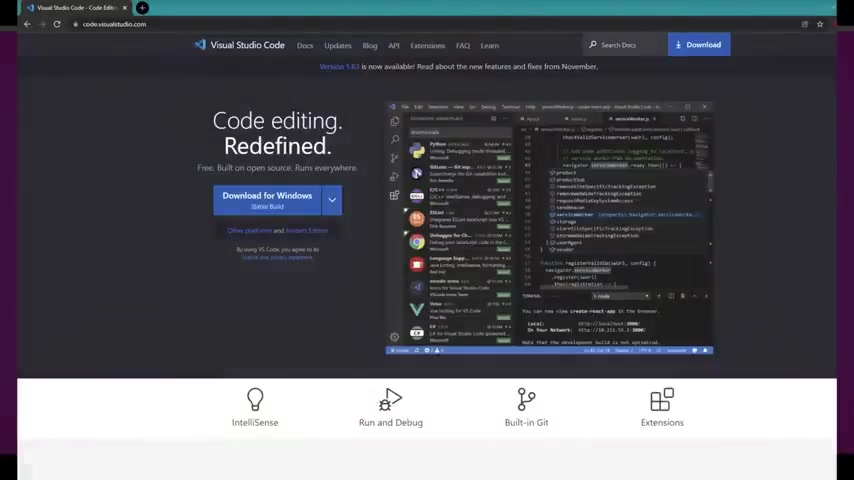
So for starters , the things that you will need is visual studio code this is a program I've used on my channel before .
And no , you will not need to know how to code to do this tutorial , but you will need to download that program .
So I'll have a download link to that in the description .
The next thing you want to do is go to this website called panda dot cloud .
Don't worry , you don't have to pay it for anything as long as your collection isn't like a million pieces .
So first you got to make an account which we are going to do right now .
When I ask , are you a builder or creator , you just want to select builder slash developer and then hit register .
It may ask you to verify your email .
So you'll just have to do that .
But once you do that , you will be logged into Pinata and ready to go .
Not as very easy to do .
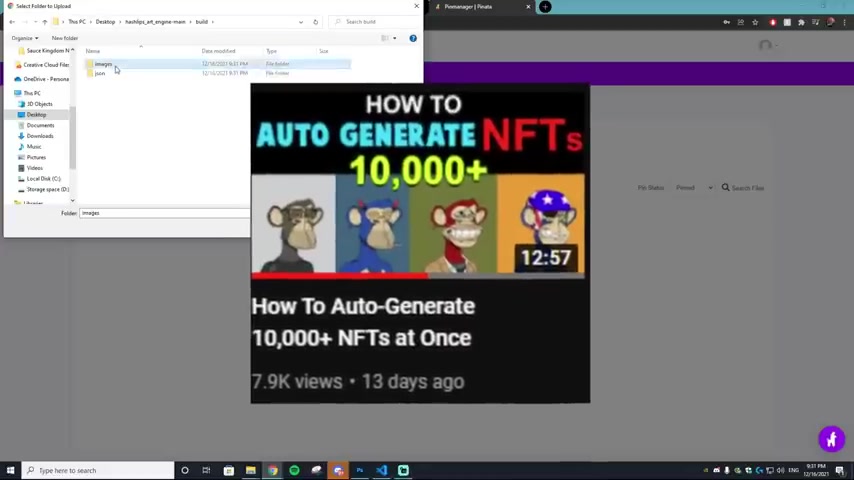
You'll see this nice little upload button right here and you just want to click that and then select folder , then hit select and this is where you are going to find your images folder with all your NFTS that you want to upload .
If you haven't watched my earlier video on how to mass generate NFT SI highly suggest doing that because I'll be able to show you how to mass rate all of these NFTS that you see currently uploading right now .
I have the program running .
So it's auto generating all of these .
If you haven't watched that video .
I have suggest you check it out .
So I'm just going to upload that entire folder , hit upload and then name it .
I'm going to name it Sauce Kingdom nfts and we are just going to wait for this to upload .
Alrighty .
So once your folder is uploaded , what you want to do is hit that copy .
So it copies all of this C ID .
Then you want to go to visual studio code and open that up .
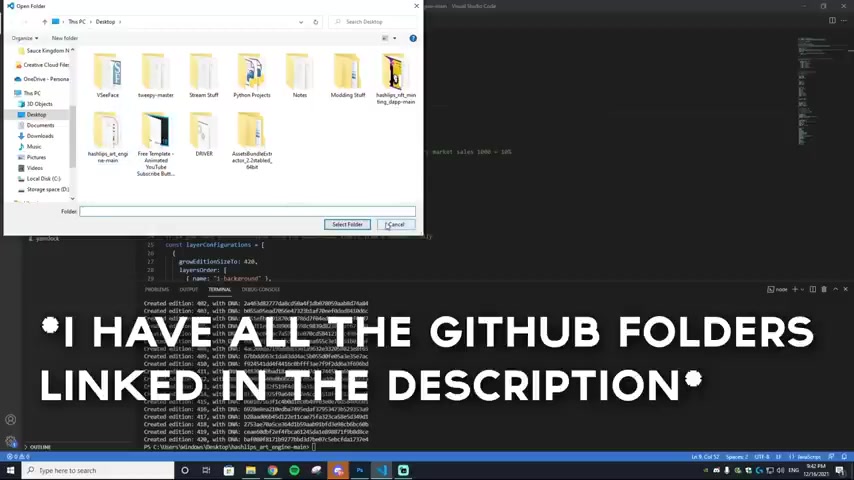
Then you want to go to file open folder , find your ash lips art engine mean make sure it's not the minting dap one .
Make sure it's the art engine one which you use to create the 10,000 Generative Art .
Once that's opened up , you just want to find the config dot Js and open that up , then you want to change the name prefix to whatever your NFT is called .
So in my case and it's called the Sauce Kingdom description .
Welcome to the Sauce Kingdom change .
Get to that .
And then the most important part you want to paste in the C ID right here .
So take this part out .
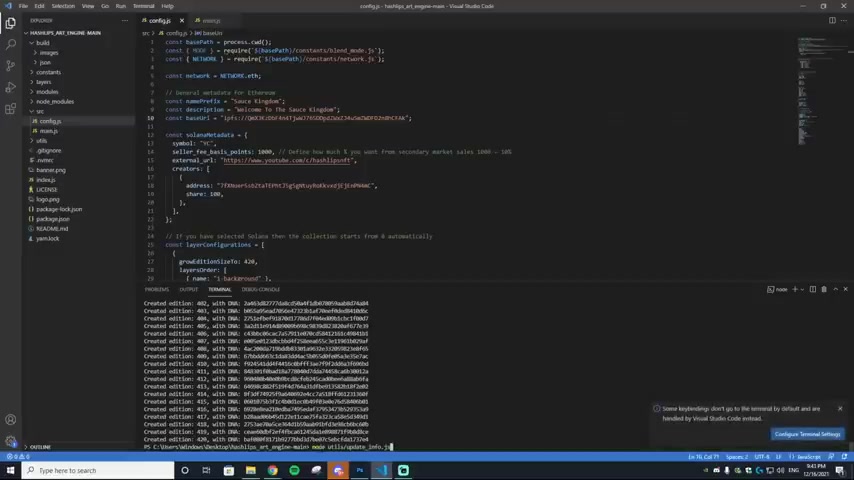
I'm gonna delete that and then I'm going to paste it in and bam then you want to select file , save all and then inside the terminal you want to paste in this code right here or type it in sorry node space util slash update underscore info dot Js then hit enter and this will update your description prefix and the C ID to double check that this updated .
What you want to do is go to the JSON files , click one of them and see what the IP FS goes to .
And bam , this is what I pasted it in everything updated as you can see .
Sauce Kingdom number one .
Welcome to the Sauce Kingdom .
Beautiful .
So our jasons are perfect .
They're all ready to go .
We can go back on to that Pinata web site and go to upload , then go to folder select and then we want to find our Json files .
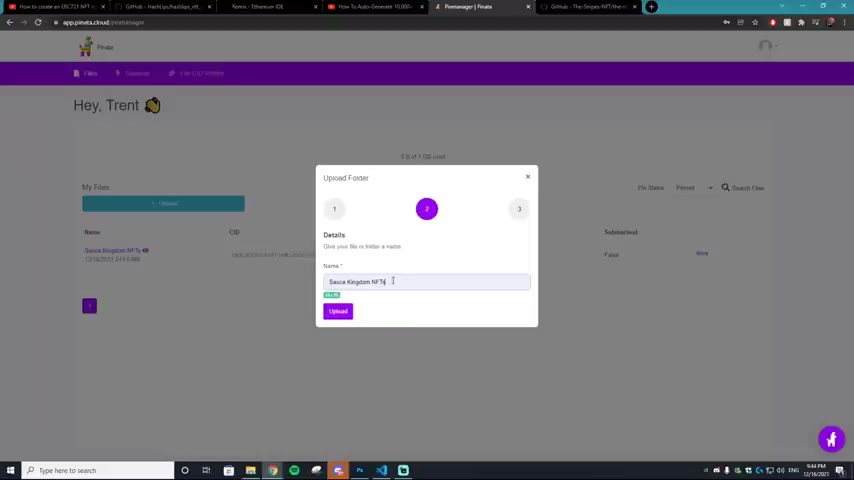
So we just want to find the JSON folder , hit upload , upload and it's going to be the same process this time .
We're going to be calling them the Sauce Kingdom Json and hit upload .
Fantastic .
All of our Json files uploaded .
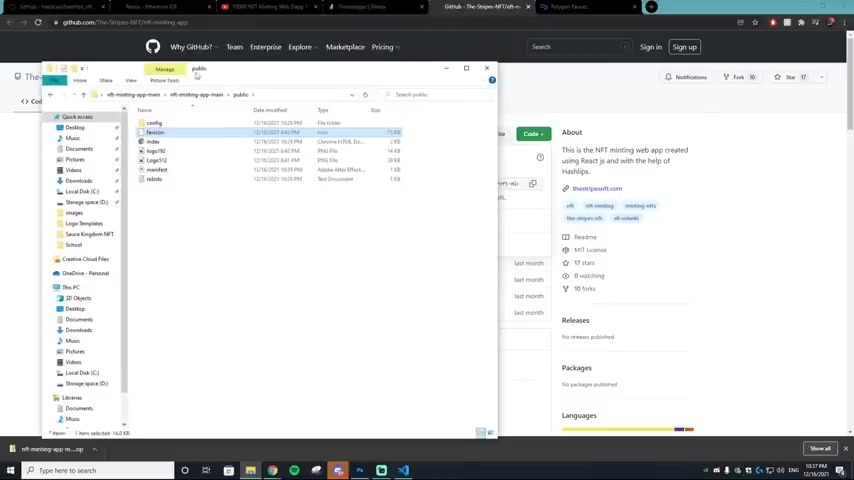
Now , the next thing you want to do is go to this github that I'll have linked down in the description .
Sorry , there are so many GI hubs , but this is a little bit more of a complicated tutor than ones I've done in the past .
So hopefully you guys are keeping up .
If you do have any questions , please leave them down in the comment section .
But you want to download this github and it will download into your downloads folder .
Then you just want to extract it .
It's going to be called the Stripes NFT contract huge .
Shout out to I believe his name is ally for creating this .
Once it's extracted , you'll get a folder like so on screen .
And if everything is here , then that is perfect .
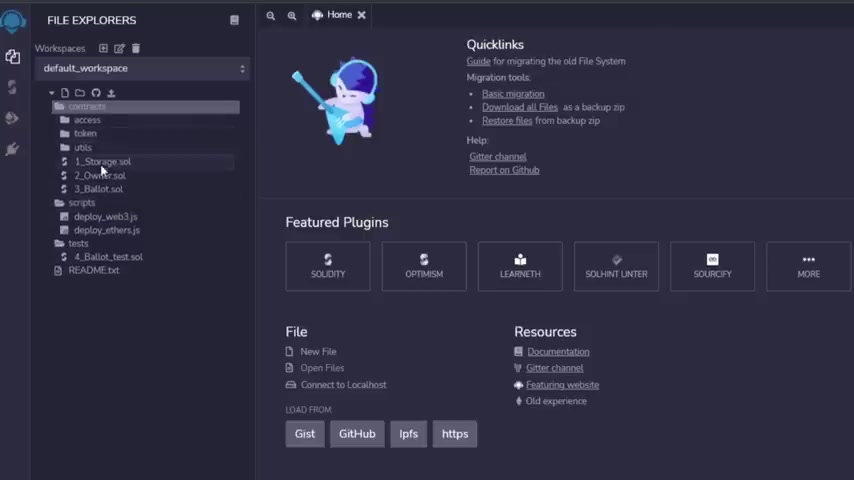
The next thing you want to do is go to this website right here called remix dot ethereum dot org .
Sign in .
And you'll be brought to a page like this .
Once you're on this website , what you want to do is click the contracts folder right here and then you want to select the create new folder and then you want to type in access .
I already created an access one .
As you guys can see in a token one and a util as you want to create all three of these folders right here .
Next thing you want to do is add the following files to these folders .
So for the access , we're going to add the ownable as you can see , I already did that , but I'll show you with the token as you can see , we don't have anything in the token folder right now , but we're actually going to create another folder in that one called er C 721 , then hit enter and then in this folder , we are going to add all of the stuff that is in the token folder right here .
Bam .
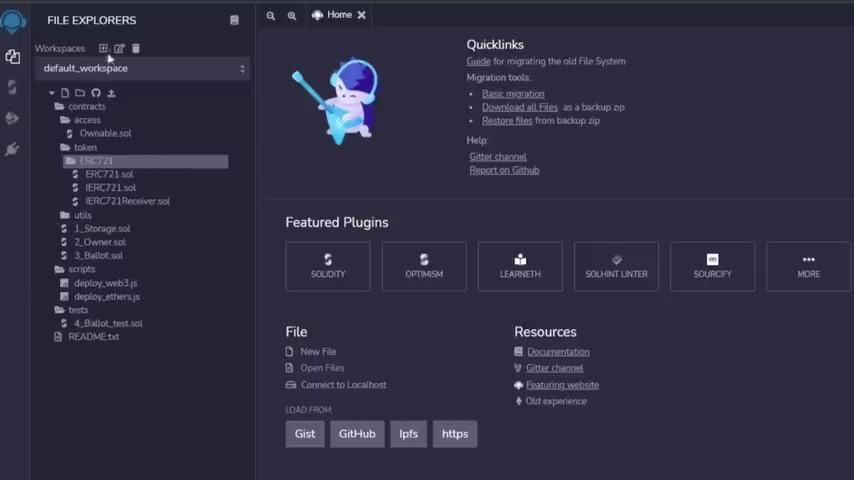
As you saw there was actually a folder inside the er C one itself .
So what we're gonna do is create another folder and call that extensions .
And then inside that folder , we are going to upload all the stuff that was in extensions .
So by now , I'm pretty sure you guys understand what I'm doing .
I'm , I'm replicating everything that was in this , the Stripes and FT folder into this remix website , ok ?
So once you're done , your folder should look like this with all of the following files in each of them , make sure you carefully do this so that nothing is messed up .
Alrighty .
So the next thing you want to do is go to this website right here called Faucet dot polygon dot technology .
This is because you won't be needing some Matic token if you don't already have some .
So all you have to do it is so simple .
You just want to put your wallet address in there .
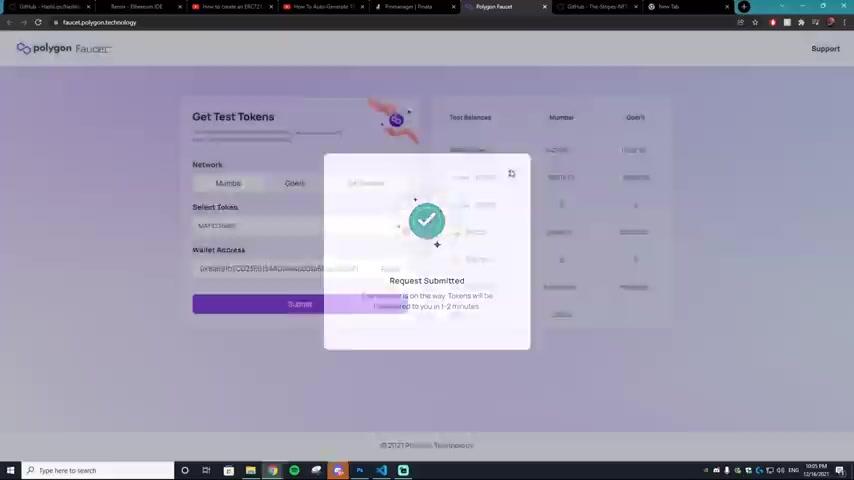
If you don't know how to do that , just go to your meta mask extension and then your wallet you can find right at the top , just copy that paste it in hit submit and your tokens will be transferred to you .
You hit submit , confirm and it will be in the Mumbai Polygon Network .
Alrighty .
So we want to go back to the remix dot m dot org website and you wanna make sure that the Stripes NFT dot Soul is uploaded .
Now , there's a few things you want to change , but they're very easy to do .
So the first thing is the public cost you want to change that to whatever price you want .
This is an E so we're going to keep it at 0.04 .
And for the pre sale , we're going to keep that at 0.03 for the Mac supply .
This is how many NFT images you have in my collection .
I made 420 .
So I'm gonna set that to 420 .
Then the maximum amount , this is the maximum amount that you want someone to mint from one wallet .
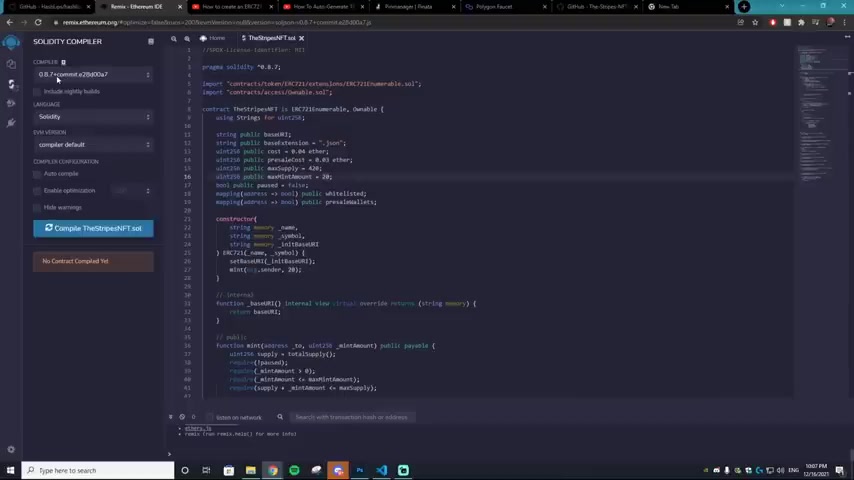
So the maximum amount that someone can mint of my collection is going to be 20 since there's 20 right here .
Once you fill that in , don't touch anything else and you are set to compile this contract .
So you just want to make sure that it is on the 0.8 0.7 compiler and then you just want to like compile the stripes NFT dot So it's very important that you have this open as well to bam your contract is compiled .
Next , you want to go down and this is where you're going to deploy .
Next thing you want to do is go to your meta mask and you'll notice that you probably only have an Ethereum main net or maybe you only have the Matic main net .
This is the case , you can actually add a network by going up to the top and hitting a network .
Then you can go to this website , it will bring you to this website and you just want to fill in all the following .
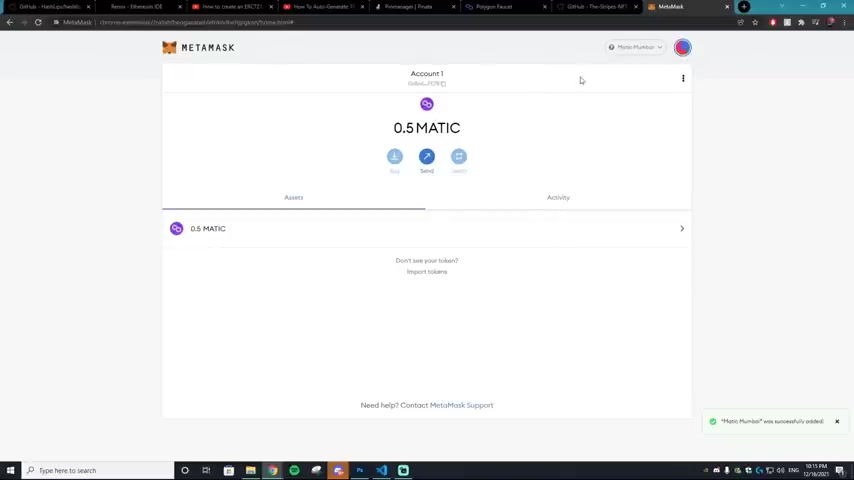
So for the network name , save it as Matic Mumba for the new R PC URL put this in right here for the currency symbol put in Matic for the chain ID , put 80001 and for the block explorer , URL put Mumbai dot polys cann dot com .
As you see , make sure to pause this video and make sure everything's copied in correctly .
So we're gonna hit save and bam as you can see that Matic from before that we got from this faucet website right here has transferred into our account for free .
So that's fantastic .
Now that we have the Matic , we can deploy the contract .
So as you can see , it went from zero to 0.5 right here .
So next , what you want to do is change the contract to the Stripes NFT and then hit the down arrow right here .
The next thing you want to do is go back to that Pinata website and copy the C ID of the JSON folder .
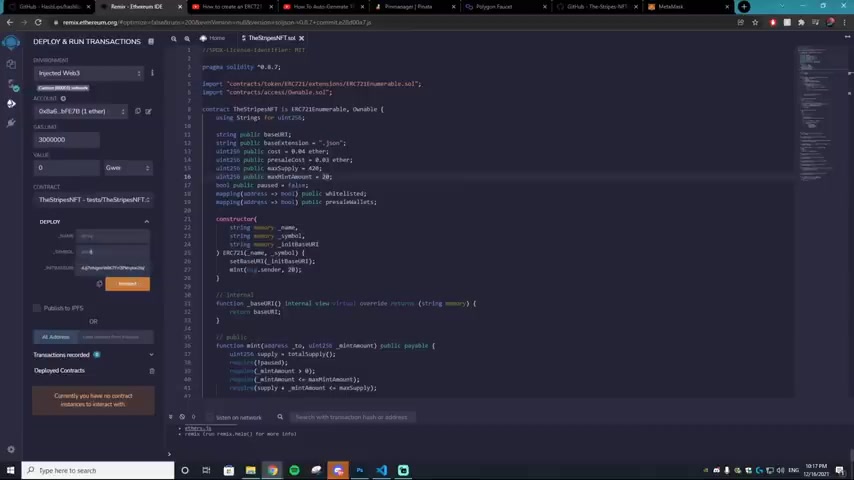
So we're gonna copy that and then bring it back over to the remix website , then paste it in right here and add a slash to the end .
Then you want to go all the way to the beginning and select IP FS on your keyboard with a colon into slashes .
Then in the name , that's where you want to name your NFT .
We're calling it the Sauce Kingdom .
And for the string , we are going to do SKNFT standing for Sauce Kingdom and FT pretty self explanatory .
Then we are going to hit Trans Act and it will take some gas fees right here .
But don't worry , this is the free Matic that we got from the polygon faucet .
Just hit confirm and perfect .
It is now deployed and we can check if the mint works correctly by going and hitting the down arrow right here and then going to the down arrow on the mint .
Then it's gonna ask where you want to mint to just go to your meta mask wallet .
Copy your address , paste that in .
How many do you want to mint ?
We're just gonna mint .
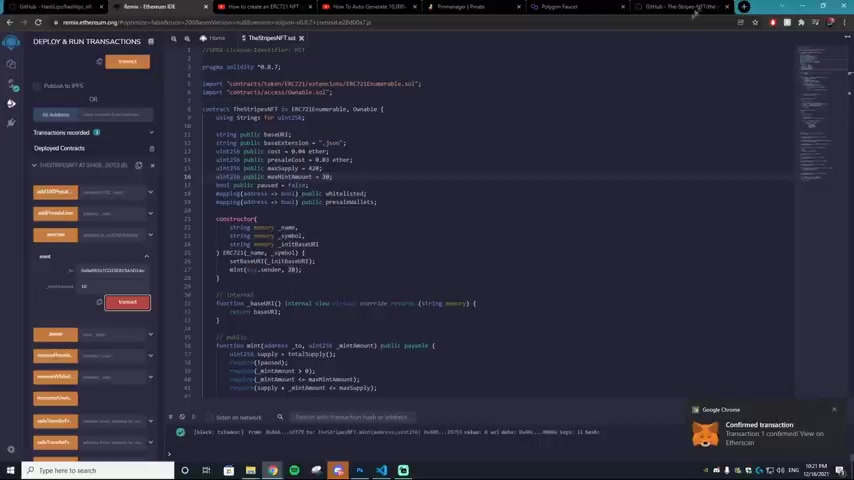
Let's go with 10 hit transact , gonna ask for some gas fees hit confirm and if everything worked , we should have 10 NFTS in our wallet .
We can check this by going to Open C and you just want to go to your profile and bam as you guys can see , we have 20 of the Sauce Kingdom sauce bottles that we close collected .
I don't know why it minted 20 of them even though I could have swore I put in 10 , but maybe I'm tripping now , if you don't see your nfts here , make sure you're actually on the Test nets dot Open C , not the original OPEN C website .
When you go to my collections , you'll see the Sauce Kingdom or whatever your collection is called and you can actually edit everything .
So you can edit the um image , you can edit the background , you just gotta sign in and sign it and you can add your logo .
So yeah , now there's just one part left and that's actually creating the website that people can click mint and it will mince A NF to you .
All right .
So the final step in all of this , you gotta go down to another github website and go to code and hit download zip .
It'll download to your downloads folder .
Once in your downloads folder , you can just extract it like all the other downloads and it'll open up this folder in this folder .
You will see a logo dash blob .
All you wanna do is put in your own logo right here .
The logo size is 12 79 by 504 .
Then you want to go into the public folder and you will notice a Facon icon .
This is the icon that appears on the top of websites as you can see it for the github .
There's a tiny little cat for the pinata .
There's a pinata .
You get the idea for the logos .
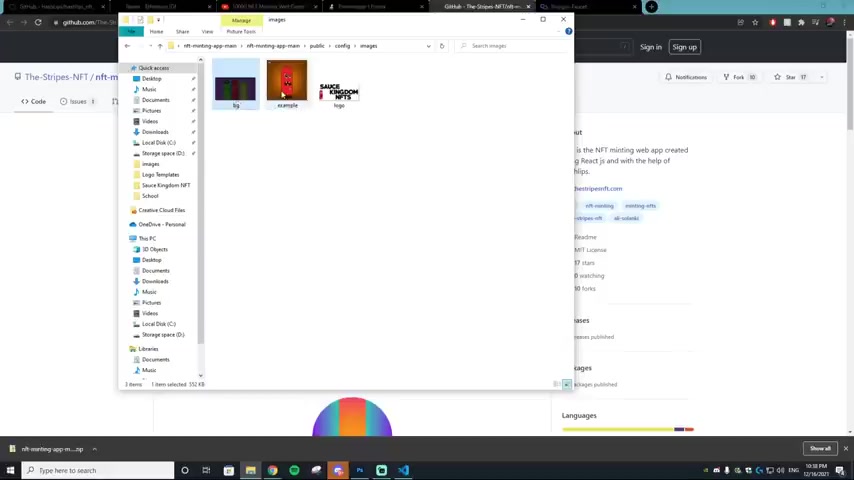
You want a 1 92 by 1 92 logo and a 5 12 by 5 12 logo .
As you can see , I have those inputted in and they're just called logo 5 12 lastly in the config and then in the images you want a background image that is called BG and the sizing of that is 1920 by 10 80 .
Then you need a gift .
If you don't know how to make a gift , they're very simple to do , but you need a gift file called example .
And then lastly , you need a horizontal logo called logo and make sure that's a PNG G .
Once you have all of those things , you are set to go to the next step .
So what you want to do is go back onto the remix dot ethereum dot org website and make sure you have the Stripes NFT checked and then go to the solidity compiler .
Make sure the compiler is on 0.8 0.7 .
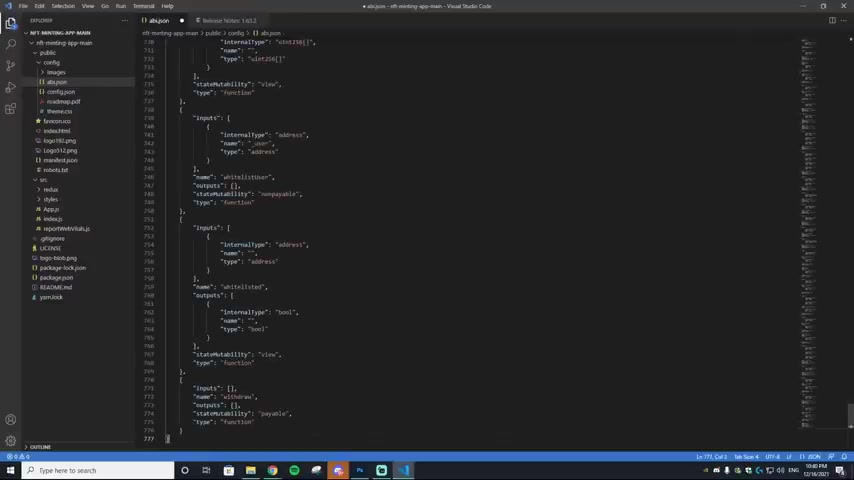
Make sure the contract is the Stripes NFT and then compile , set it back to the stripes NFT and then copy the A B I .
Then you want to go to visual studio code and you want to do open folder and then find that folder that you just downloaded , going to be called the NFT minting app main .
So we're going to open that up and then we are going to go to public on fig and then A B I dot Json , we're gonna hit control A on the computer which is gonna select everything , delete it all and then hit control V .
Then we are going to go to save and this will save this file .
Next thing you want to do is find your contract address when you made those mints .
This is very easy to find if you just go to your open C and then go to any one of the NFTS you have , go and click here and then you'll be brought to your contract address , copy that on the clipboard , go into your visual studio code and paste that in the contract address .
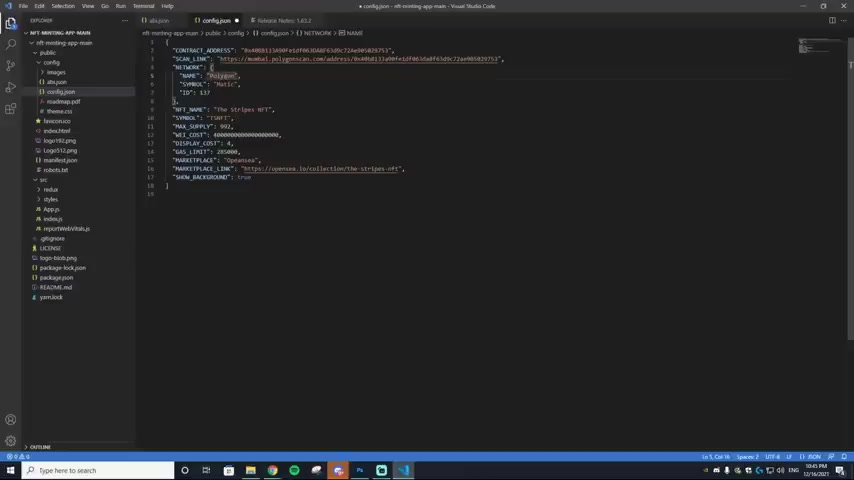
The next thing you wanna do is get the scan link , then you just want to take the address and paste that in .
next up is the name of the network .
And then the symbol we're gonna keep that at Polygon .
Keep the symbol at ma and keep the ID at 1 37 for the NFT name .
You just want to change in your name of your NFT collection .
We're calling this the Sauce Kingdom and then SKNFT for Sauce Kingdom , NFT our Mac supply .
Remember we had 420 keep the rest of the numbers the same for the marketplace link .
We just want to change that and put our marketplace in which was the Sauce Kingdom right here .
So we're just going to copy this and paste that in .
Next thing you want to do is go to index dot HT MS and you want to change the title to the Sas Kingdom or whatever your NFT is called .
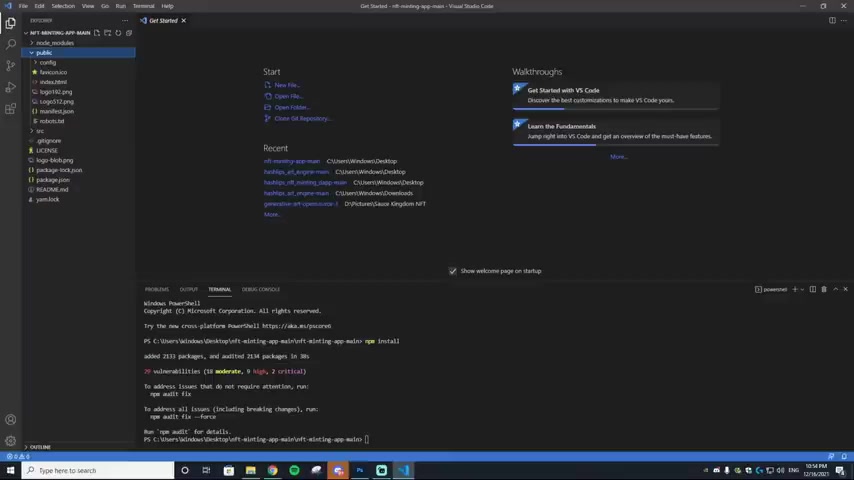
Then on the manifest dot JSON , you just want to change the name up here to your NFT collection names .
We're gonna change that to Sauce Kingdom and then sknft .
Now you are ready for the final code lines .
You just want to go into new terminal and hit an M PM in store .
Once it's done N PM , installing , there will be one more thing that you need to add in to the code at the bottom .
Alrighty , it is done installing .
Next thing you want to do is N PM , run start and hit enter .
Now , if everything worked properly , it should load up a local host .
Now , you may get an error that says something like a local host refused to connect or it might work for you .
It didn't work for me for the local host .
That's just because they had a firewall .
But that doesn't matter because the next step , we're going to be deploying it actually onto the web so anyone can visit it , not just your itself .
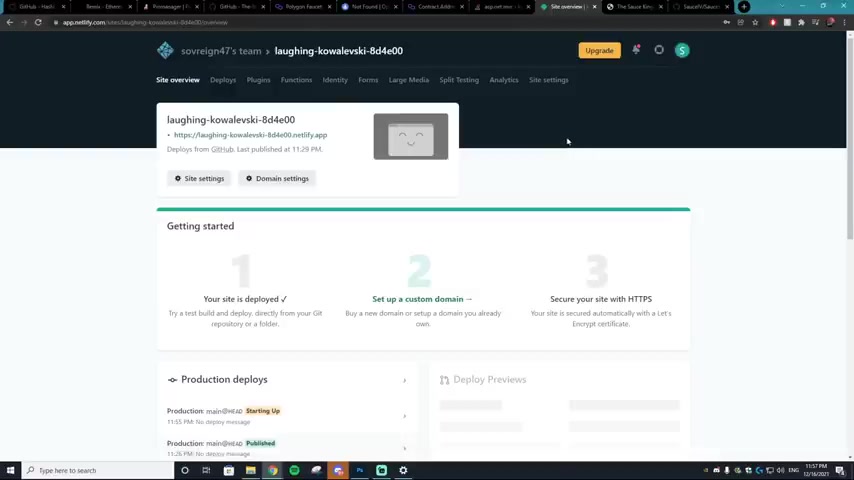
So we're gonna be doing this by going to net , you just want to go to this website net dot com and make an account .
Once you make your account , it will give you this random website domain .
You can change that later by getting a custom domain on like Go Daddy , but we aren't worried about that right now .
So what you wanna do is go to site settings when you're on this website and then go to change site name from here , you can change it to Sauce Kingdom or whatever NFT is .
But it doesn't really matter if you're going to change your URL in the future .
Uh But that just looks a lot cleaner than whatever it was before .
I think it was like laughing Kowalski or something .
So , the next thing you want to do is go to build and deploy and then hit edit settings from here .
What you want to do is link a repository .
Now to link a repository , you're gonna have to make a github account .
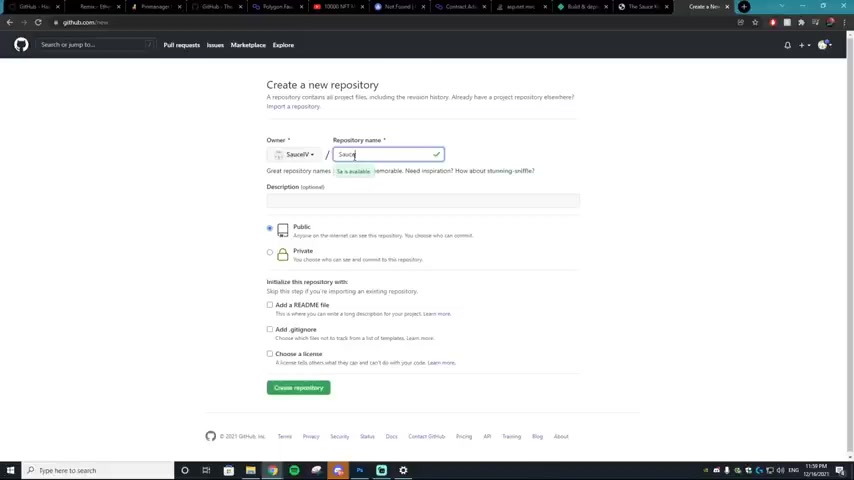
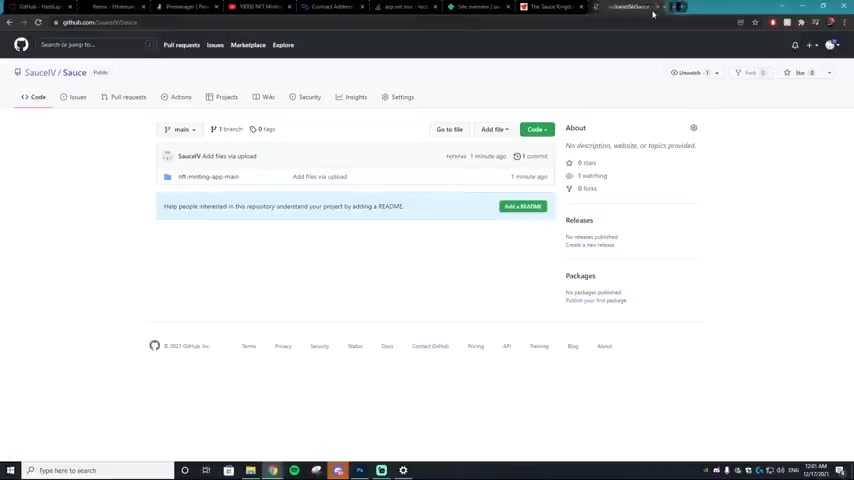
Once you make a github account , you need to go to the plus icon right here and select new repository , then you want to type in the name of your NFT collection .
So we'll just type in sauce and then hit create repository .
The next thing you wanna do is go to upload an existing file from here .
You just want to drag in your NFT minting app mean if you do have a folder in there that says like node modules , make sure to delete that because it will not let you drag in this folder if you have that in .
So it's gonna drag this in and then bam it's done uploading .
We're gonna hit commit changes and your repository is up on github once it processes .
So once it's processed , you can go over to your app dot net dot com and then you just want to link your repository .
So we're gonna select github and then I'm going to select the V 51 , but for your case , it will be whatever you named it .
Next thing I'm gonna do .
For the base directory , you want to do backslash and then for BUILD command , you want it to be N PM space , run space build and then publish directory .
You want it slash build , hit deploy site .
And then if you click here , it should load up your site and bam , there we go .
Guys .
Our fully functioning minting website is complete .
This took so long to make this video .
So if you guys wanted to go down and leave a like on it and subscribe to the channel , it would mean so much .
I already know this video is gonna take me like five hours plus to edit probably even longer .
This is going to be a pain to edit , but I hope it's worth it as you can see our backgrounds deployed .
It's connected to our open sea right here .
Everything is working amazingly , the gifts are working .
It looks fantastic .
Now , I will say you probably want to spice up your website .
You probably wanna change around the html .
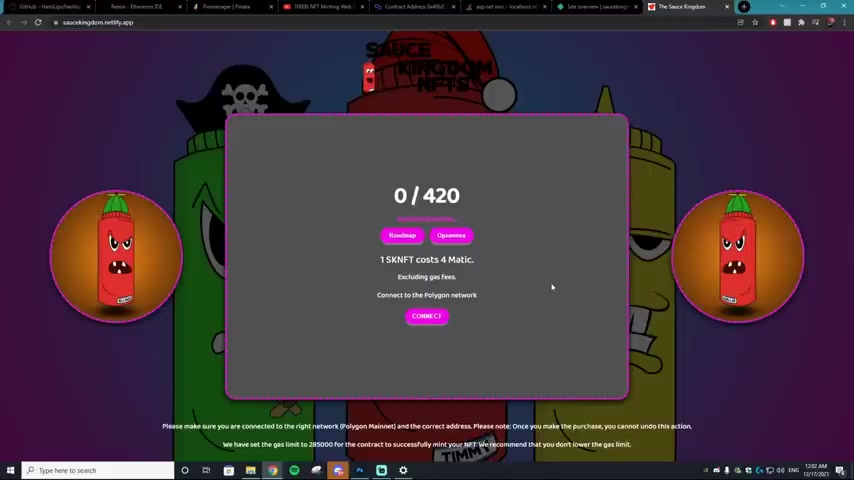
So it doesn't look exactly like this because I bet there's going to be a ton of different websites once I publish this tutorial that look identical to this already .
But I hope you guys have a fantastic rest of your day .
Peace .
See you later .
Are you looking for a way to reach a wider audience and get more views on your videos?
Our innovative video to text transcribing service can help you do just that.
We provide accurate transcriptions of your videos along with visual content that will help you attract new viewers and keep them engaged. Plus, our data analytics and ad campaign tools can help you monetize your content and maximize your revenue.
Let's partner up and take your video content to the next level!
Contact us today to learn more.