https://www.youtube.com/watch?v=7fjNi5M8cQg
Chocolate Ball _ Sphere Balloon Cake Tutorial
hi , guys .
And welcome back to my kitchen .
Now , if you're looking for a really fun effect to add onto your cakes in this week's video tutorial , I'm gonna be showing you how to make these chocolate balls that resemble balloons .
We've got plain coloured ones .
We've got shimmery gold ones and we've also got these polka dot ones .
Now , don't forget , If you want to see more videos like this , you can subscribe to the cake fan and YouTube channel .
You can also hit the notification bell and next to the subscribe button .
And this will just to alert you every time you upload a new video .
OK , let's get started .
So the main tools that I'm gonna need is first of all , I've got my silicone moulds .
Now these were bought as a set of three and all the tools that I use in today's video I will put a link to in the description below .
So each of the mould just has these semis spheres .
Now , my largest one measures seven centimetres across the next size down is 3.8 centimetre metres and my smallest one is three centimetres .
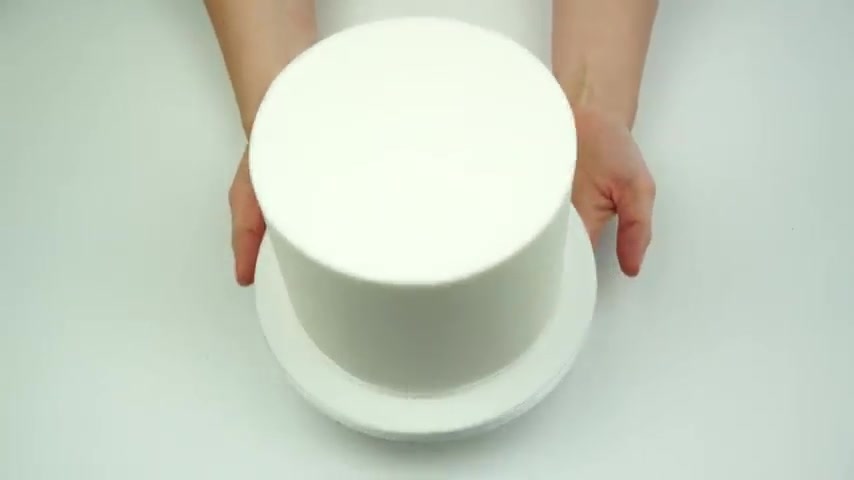
Now my balls are gonna be going on a six inch sponge cake , and this one measures around five inches in height .
Now , for the balls , you can either use chocolate or candy mills .
If you are using chocolate , you wanna make sure that the chocolate has been tempered .
Whereas candy melts , you can just use them straight out of the packet .
Now I'm gonna be using the bright white candy mills and the these ones are by fun cakes .
But you can also get bright white ones from Wilton or PM E .
Now , for my colours , I'm gonna be using oil based colours .
And these are by colour mill .
So I've got a rose of raspberry and a black .
I've also got some gold lustre dust so that we can colour some in a nice , shimmery colour .
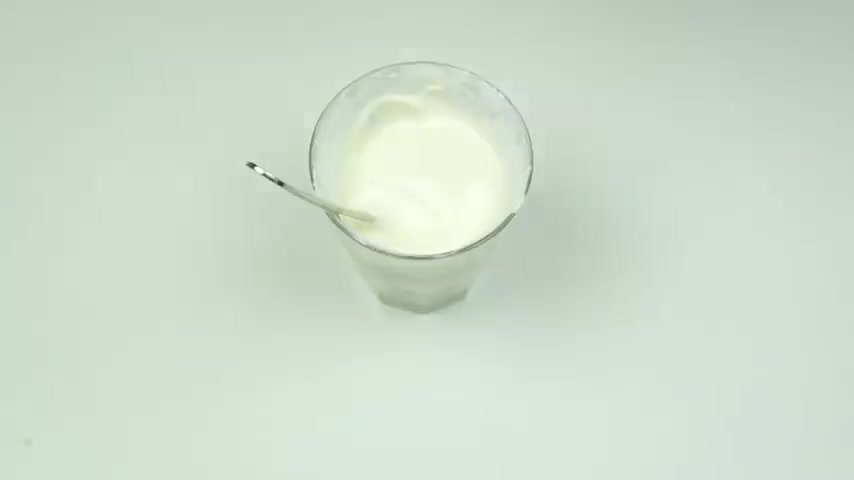
So I'm gonna get started making my first chocolate balls , and these are gonna be a light pink taking some of those white candy melts .
I'm gonna pop these in the microwave for intervals of around 10 seconds until they've melted into a nice , smooth mixture .
Now we're making the balls .
You wanna start with your biggest mould first , and the reason for this is we're gonna tip out any excess candy melts that we don't need .
We can then remelt the candy milks and use these in the smaller moulds .
So we're not gonna end up with a lot of wasted chocolate now for the light pink .
I only wanna make one of my larger balls now with these silicon moulds .
Sometimes when you are pushing them out , some of them can get broken .
So you may wanna make an extra one , just in case .
Now I'm gonna pour my candy melts in fill in .
That about a third of the way .
Most important part of these balls is the top edge is this is gonna be where they're being stuck together .
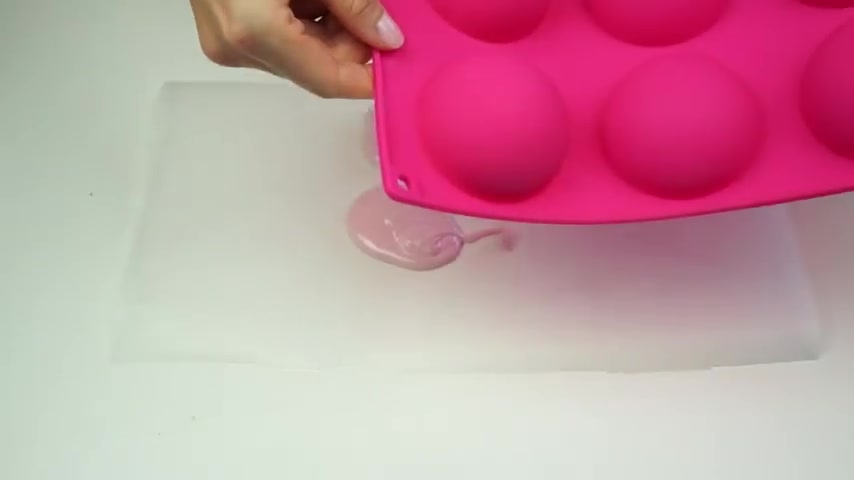
So we wanna make sure this is nice and thick .
The difference between creating these and Caicos or maybe you've seen my geometric hearts is we want quite a thin shell so that they're nice and light so that we're able to stick them to each other .
But we do want a nice , thick top edge .
So this is the reason that we've added in more of the candy melts or chocolate than we need .
Now I like to leave this for around 1 to 2 minutes just for those candy melts to cool down slight so that they're slightly thicker than when we added them in .
All this is gonna mean is that when we tip the chocolate out , it's gonna tip out slightly slower and build up a thicker edge .
I've then taken a piece of parts and paper .
Flip this upside down and tip out the excess .
Take in a knife or an offset spatula .
You then want to run it along that top edge .
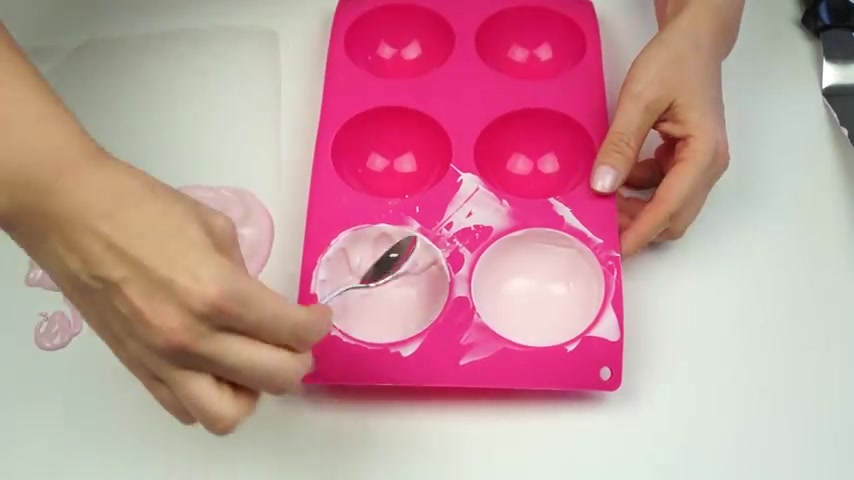
If you do see any areas that the candy melts , have mist or you think they're looking a little bit of thin , you can take some of that on the back of your spoon .
Pour that onto that edge and again just tip out any excess .
And as this runs out of the mould , thickening up that edge .
Now you want to pop these in the fridge till they've completely hardened with the excess .
Hop this into our glass and use this for the slightly smaller ones .
If the mixture has started to thicken up , pop this back in the microwaves .
Until that re Mets , I can then do exactly the same with my slightly smaller mould .
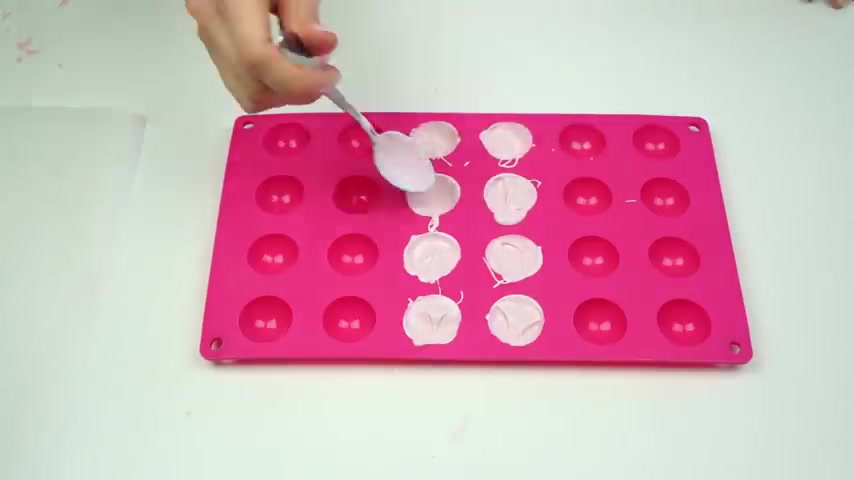
So I'm filling these up just below the top , spreading that up the side again , leaving those for a few minutes just for those candy melts to cool down and then tip out that excess and I'm gonna pop this one into the fridge and finally the really small ones , then reusing and just melting back down any excess .
Now , if you are colouring your chocolate or your candy melts , you wanna make sure that you're using an oil based colour .
Most gel colours are actually water based , and when water is mixed with chocolate , the chocolate will seize , meaning that you won't be able to use it in order to create your chocolate balls .
So with the excess candy melts , if you are making a darker shade of pink for the next lot of chocolate balls , you could use this and add more colour to it .
If not , you can allow this to dry it on your porch and paper , peel it off and just add it back into the packet that the candy buttons came in .
And this will be absolutely fine for you to use the next time .
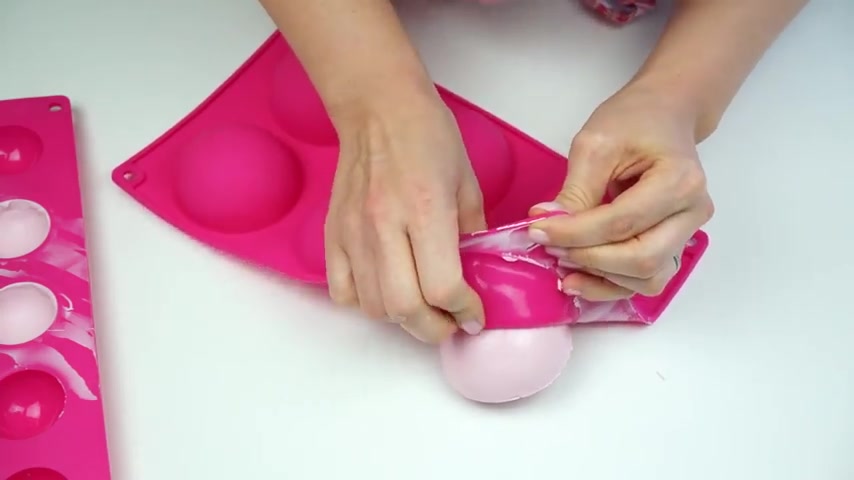
So once your moulds have come out of the fridge , you carefully gonna peel back the silicone .
I'm then gonna do the same for the slightly smaller ones .
Just pushing those out .
Now , in order to stick these together , I wanna just slightly warm up that outside edge before I attach the two sides .
Now I'm gonna take my metal scraper .
I've got my kitchen blowtorch just running it over the surface just to heat that up .
Take my first half and just sit that on top .
And as you can see , it's just melted that chocolate , joining those together now by running your finger around the edge .
Now , if you do have have any tiny gaps , you can either make that at the bottom .
So that's where you'll attach it to your cake .
Or you can take a small amount of the melted candy melts on your finger and just use that .
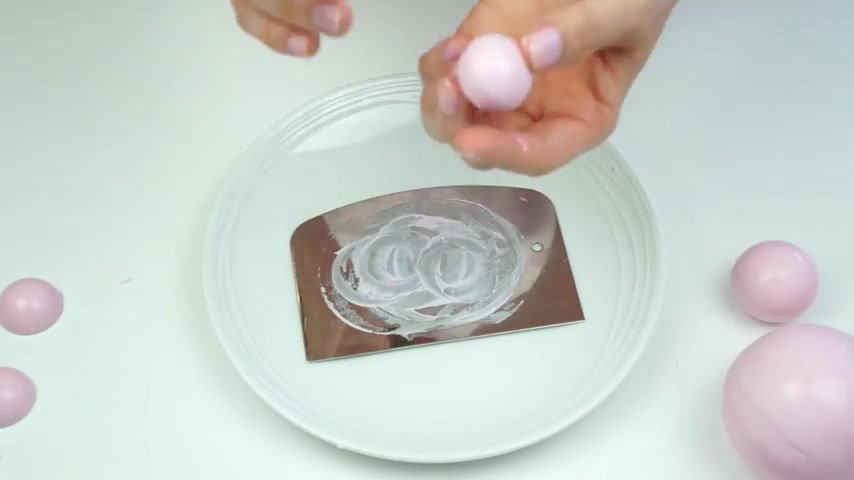
Fill that gap , and that's gonna give you this really pretty large chocolate ball .
And I'm just gonna set that to one side completely dry whilst I do the same with my slightly smaller balls .
So here we have a selection of our light pink balls .
First of all , we've got the larger one that measures seven centimetres across the 3.8 centimetre ones and the smaller three centimetre ones .
Now , I'm gonna do exactly the same process , but use the slightly darker raspberry colour mail .
Give me a deeper pink in order to add with these ones .
OK , so here we have our lighter and our darker pink balls .
Now , to add to these , I'm gonna make some with some patterns on and also some gold shimmery ones for my patterned ones .
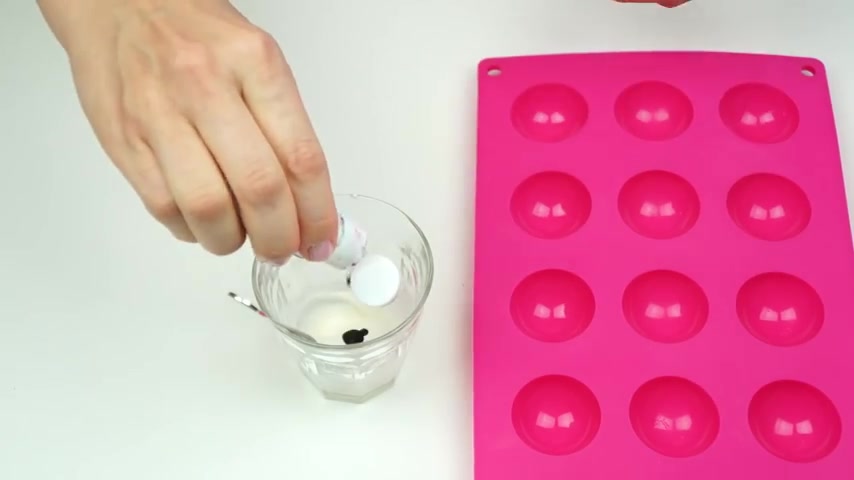
I'm gonna create some hua dot balls now you may have seen in my recent cake hearts , but I created this style along with a yet painted rose design , and you can use those exact techniques for your cake balls .
So I'm gonna take a really small amount of those candy melts once that's melted down .
I'm gonna add some of the black , take a small paint brush my mould .
I'm gonna create some polka dots .
Now , if you haven't already seen that video and you fancy adding some rose designed into your chocolate balls or you just fancy giving some do your cake hearts a try , then I will put a link in the description below you .
Then wanna pop this in the fridge for a few minutes .
For those caddy melts to dry .
OK , so my mould has come out of the fridge and those black dots have completely dried .
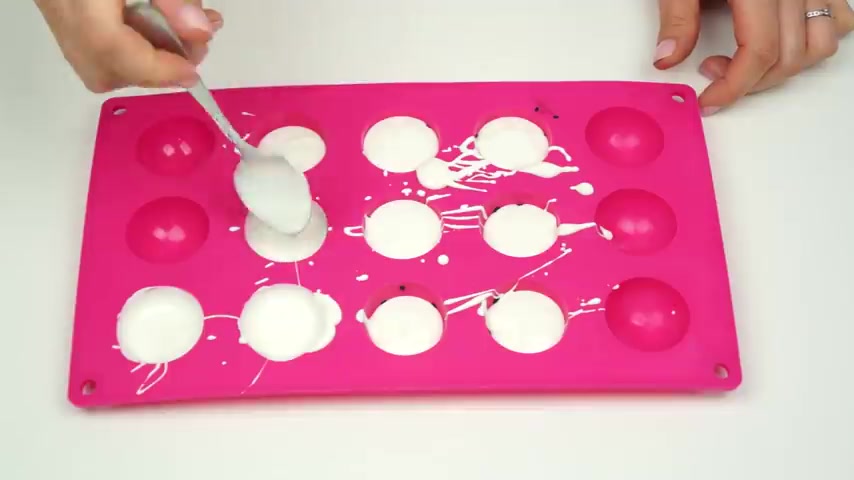
Now I've melted down some of my white candy melts , and you wanna make sure that this has cooled as much as possible before adding them on top of the dots as we don't want to melt these and ruin the pattern .
Now , I'm also gonna be making some plain white ones so that I can colour these with some gold lustre dust .
So here we have these shells with these really pretty polka dots on the outside .
So I'm gonna go ahead and stick all of these together now with the white ones .
I'm gonna colour these in gold to complement that pink out as well as these gold balls .
I'm also gonna be using these gold choco crunch balls by happy Sprinkles .
Now I've got the extra large and the medium , and this is just gonna give some smaller sizes .
Now I'm gonna be using the metallic lustre dust by sweet sticks .
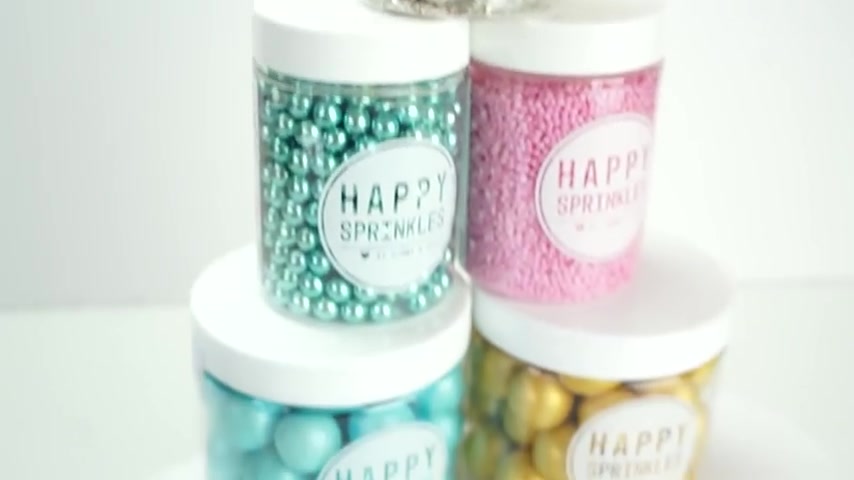
This is gonna give us quite a good match now , happy Sprinkles Do these choco balls in so many different colours , so you can match them to the theme of your chocolate ball or your chocolate balloon cake .
If you did want to get your hands on some of the happy Sprinkles , they're also giving you 10% off at the moment with the code Happy Lins 10 at the checkout of either their website or the cake decorating company , and I will put all the links and the details in the description below .
To colour these .
I'm taking some of that gold lustre dust and a big fluffy brush , and in that on the outside now you can add the lustre dust into the mould before you add in your chocolate or your candy melts .
But I have found that when you take the shells out of the mould , the lustre dust does become slightly dull .
So by doing it this way , it retains that shimmer , and we're left with this really pretty shimmery gold ball .
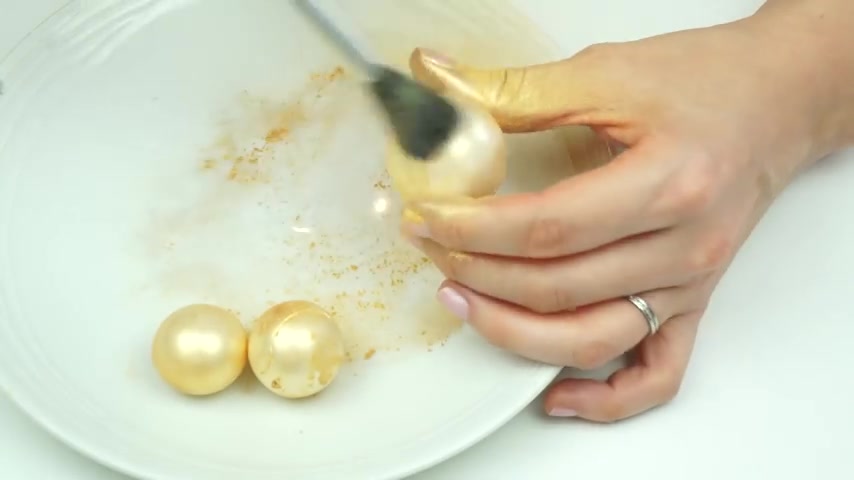
So once they've been coloured here we have our three gold balls ready to add onto our cake with the rest .
So we've got our different shades of pink , some white ones , our polka dots and some gold ones .
Now I have made a few more than I will probably need .
Just so I've got a few extra for when I work out where they're gonna go .
But to make these ones , it took about 400 grammes of candy melts .
So the next thing to do is bring back in our cake .
In order to attach my balls to my cake and to each other , I'm gonna be using some of the leftover white candy melts .
Now I'm gonna add on with a paintbrush .
Now you can add the candy melts and just hold the balls where they are until those candy melts or your chocolate has dried .
But I'm gonna be using a spray ice to speed up the process .
Now , when you spray this onto chocolate or candy mells , it makes them set straight away .
Now , this can I got from the cake decorating company and they do set or a different brand .
So you get them in different sizes .
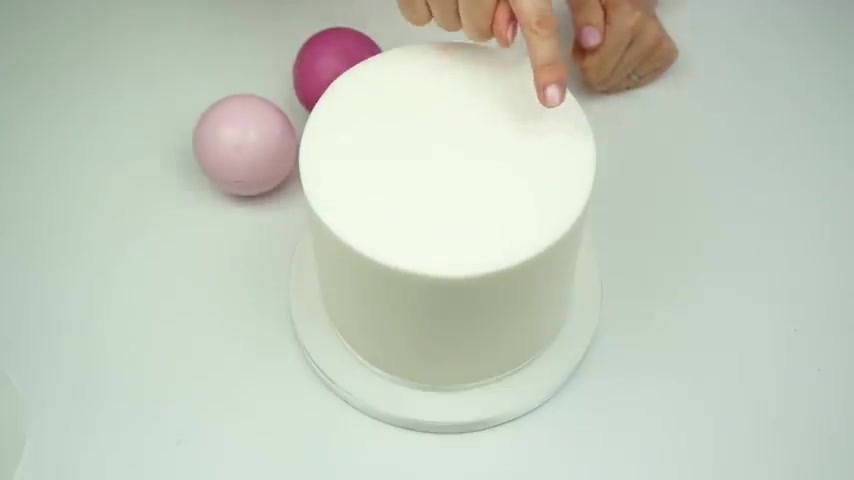
Now I want it to look like a balloon garland or a balloon arch on the top and go from the lightest colour round to the darker pink , starting with my two larger pink balls .
Now , where we've got the seam .
I'm gonna angle these back slightly .
So this way from the front , you're not gonna be able to see them .
You can then pop that into place and just using my can of spray .
I spray that on and fix solid .
I can now start working with my slightly smaller balls all the way around the side .
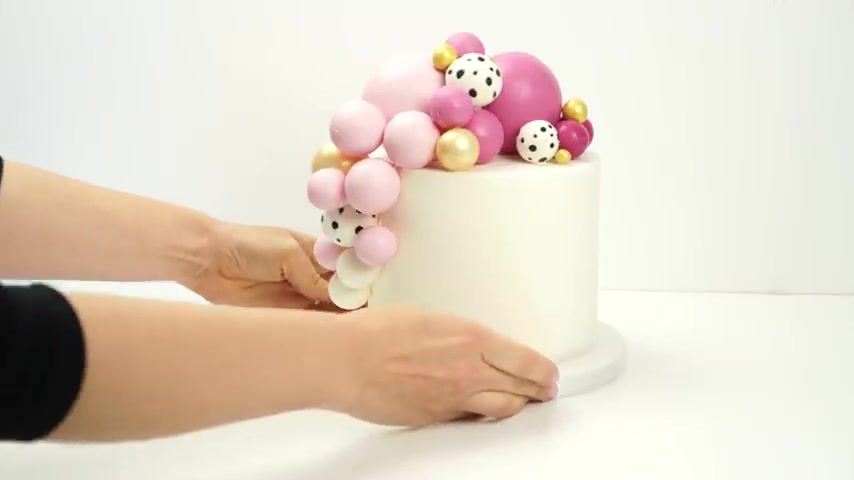
So here we have the finished cake with these different sized chocolate balls going all the way over one side resembling a balloon .
Garland , I really hope you've enjoyed this video tutorial , and we'll be able to use this technique on your own cakes .
If you have enjoyed the video , as always , don't forget to give it a like .
And if you'd like to see more videos like this , then don't forget to subscribe to the YouTube channel .
I'll also put a link in the description below to all the tools that I used throughout today's video .
So until next time bye
Are you looking for a way to reach a wider audience and get more views on your videos?
Our innovative video to text transcribing service can help you do just that.
We provide accurate transcriptions of your videos along with visual content that will help you attract new viewers and keep them engaged. Plus, our data analytics and ad campaign tools can help you monetize your content and maximize your revenue.
Let's partner up and take your video content to the next level!
Contact us today to learn more.