https://www.youtube.com/watch?v=4UuwYco8K7c
How to Make a Website - Wix Tutorial for Beginners
Hi guys today , we're going to see how you can make a website using Wix .
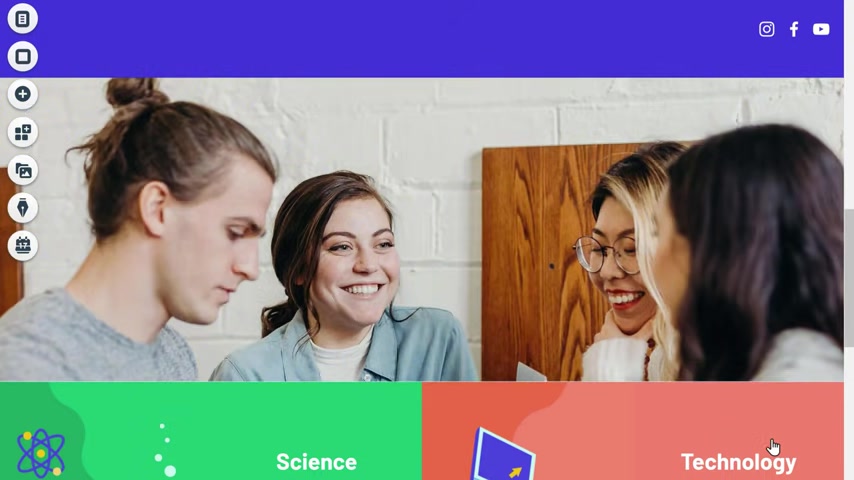
So we're going to start from a blank page and then build a website like this .
And we are going to do it just by using dragon drop .
After watching this video , you can make a website like this , which can have any paged you want and it will also have your own website address .
So make sure you watch this video till the end to learn how to do it .
I'm Brian from website learners .
So let's start creating our website using Wix .
We're going to create our website in just four steps .
The first step is to create an account on Wix .
So to create an account , just click the link below this video and it will take you to this page .
So to create your account , just click start now .
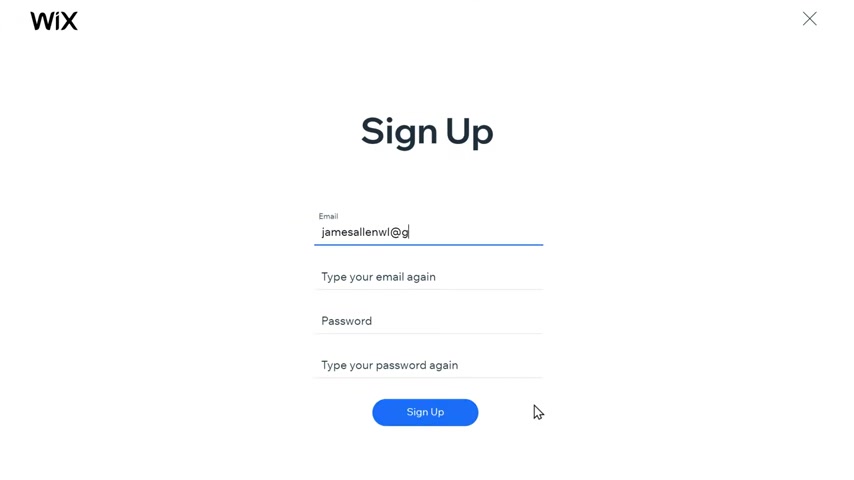
So enter your email , then enter a password for your account and click sign up .
So now we've successfully created our account .
Now , Vicks will ask you a few questions .
We can skip that once we've created our account , we can go to the next step , which is to choose a design for your website .
Now , Wix has a lot of premade designs which you can choose from .
So to choose a design for your site , just click choose a template .
And here you can see we have lots of designs which you can use on your website .
So just pick any design from here .
Let's say you like this design .
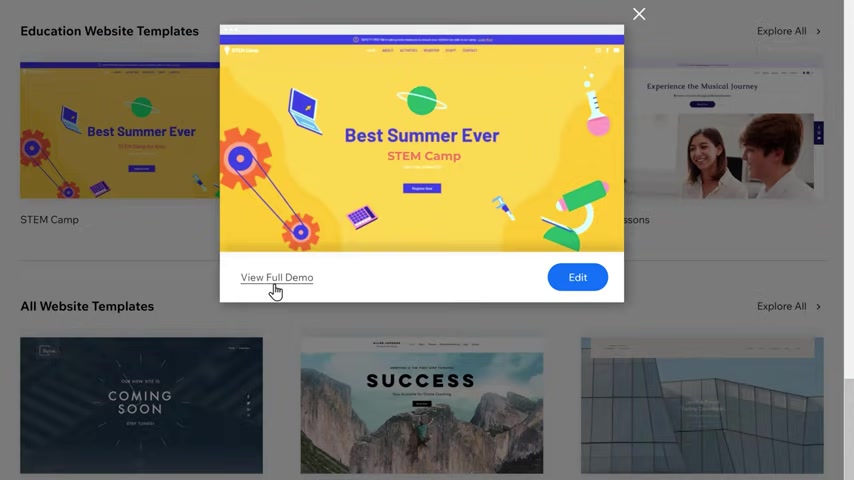
So just click it to see a preview now to see the design in full screen .
Let's click here and here you can see the entire design of the site and here you can see that it has all these pages .
Now , let's say you like this design and you want to have it for your site .
So all you have to do is just click , edit the site .
And now we have successfully selected this design for our website .
So once you've selected your design , you can go to the next step , which is to add your content to this design .
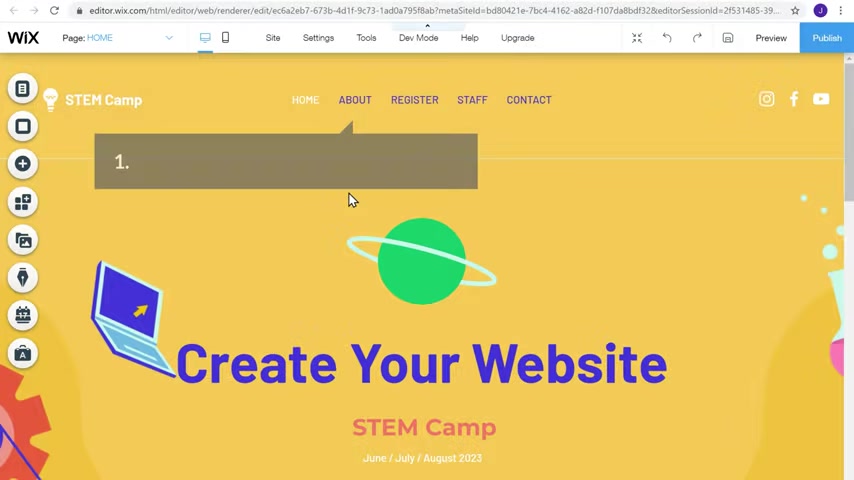
So let's say you want to change this text .
All you have to do is just double click to select the text and then enter your own text .
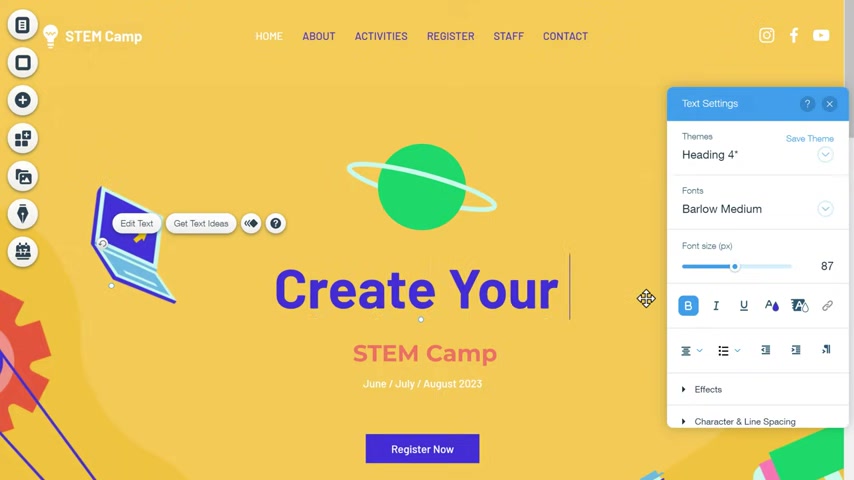
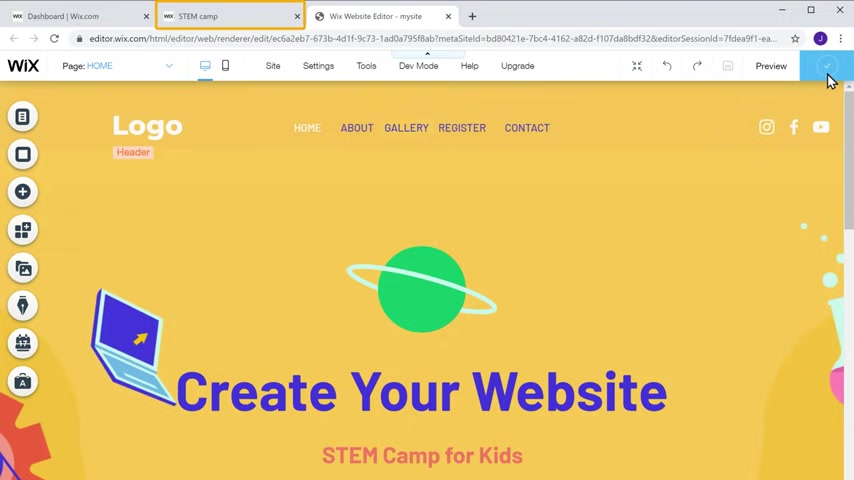
I'm going to type create your website .
Now , if you want to change the text on this button , just double click it and then enter your text .
So this is how it works .
You can change any text on this page in the same way , just select the text and then start typing .
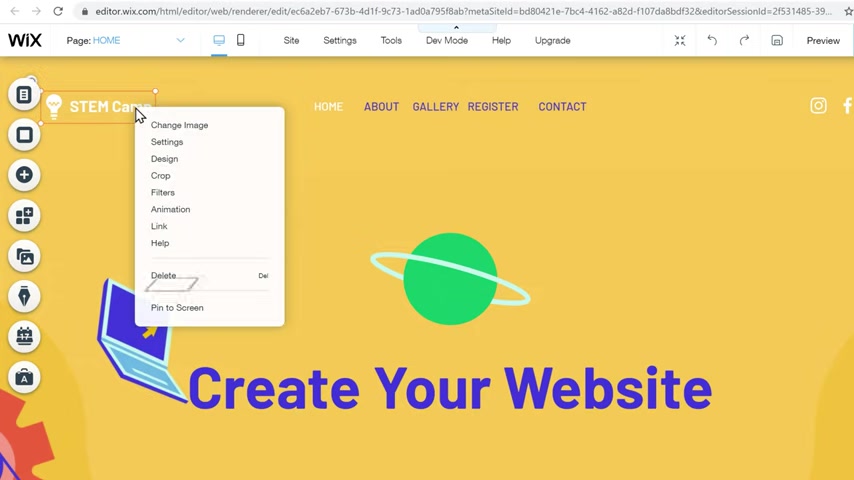
Now , if you want to change this image all you have to do is just double click on it .
Now , here you can choose any image you want and it will be changed here .
Now , if you want to add your own image , just click here and then drag and drop an image from your computer .
And now if you click change background , you can see that the image has been changed .
And in the same way you can change any image or text on this page .
So this is how you can add your content to the design which you selected .
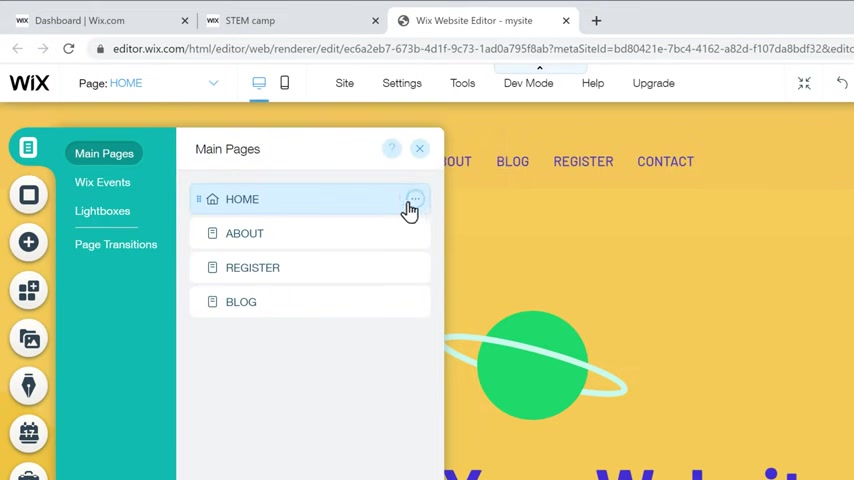
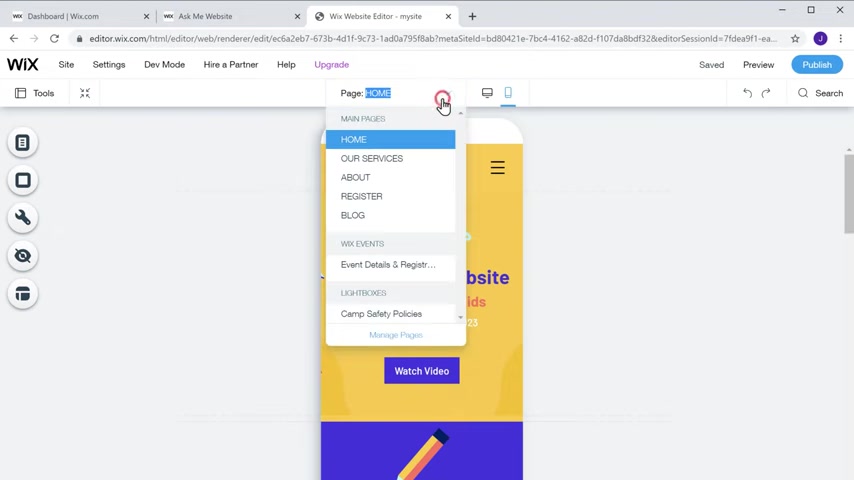
Now as we saw before this design has several other pages which are here .
Now , if you want to edit any of these pages , just click here and it will show you all the pages that are on the site .
Now to edit any page , just select that page and like we did before to edit any content on this page , just select it and then enter your text .
So this is how you can edit the content of any page on your site .

So once you've done these changes , you can go to the final step , which is to publish this site on the internet .
Once you publish your site , it can be seen by anyone on the internet .
So to publish a site , all you have to do is just click publish .
And here it will ask you to choose your website's address so you can give any name here which you want .
I'm going to enter my site .
Now , this is the address which people will visit to reach your site .
Once you've selected this address , let's click , save and continue and then click done .
And now your site will be successfully published on the internet .
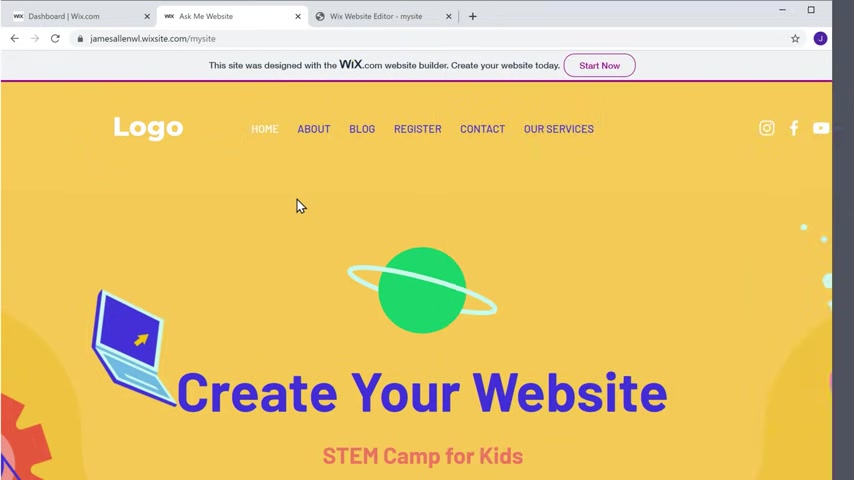
So to see how it looks , let's copy this URL and then open a new tab .
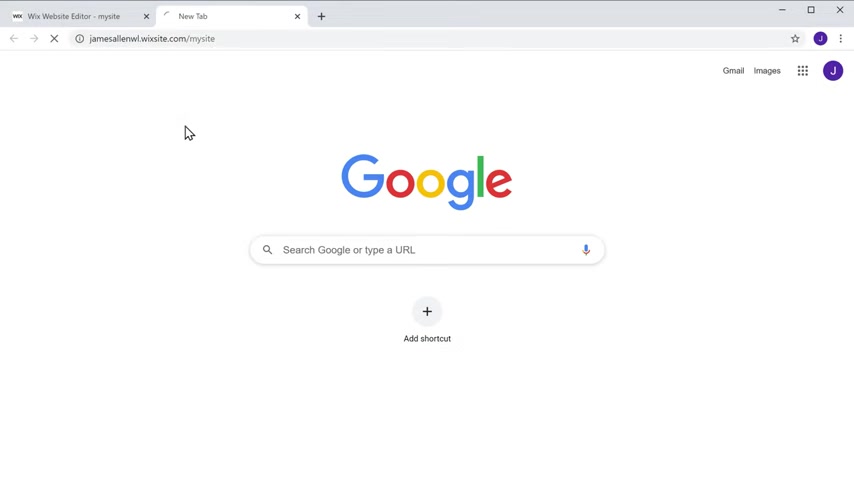
Now , if we pass this link and press enter and you can see that we've got the website with all the changes we've made and anyone can now visit the site just by going to this address .
Ok .
So now we have successfully published our site using Wix .
Once you've published your site , let's say you want to make changes to your site later .
How do you do it ?
So to make changes to your site , all you have to do is log in to Wix again .
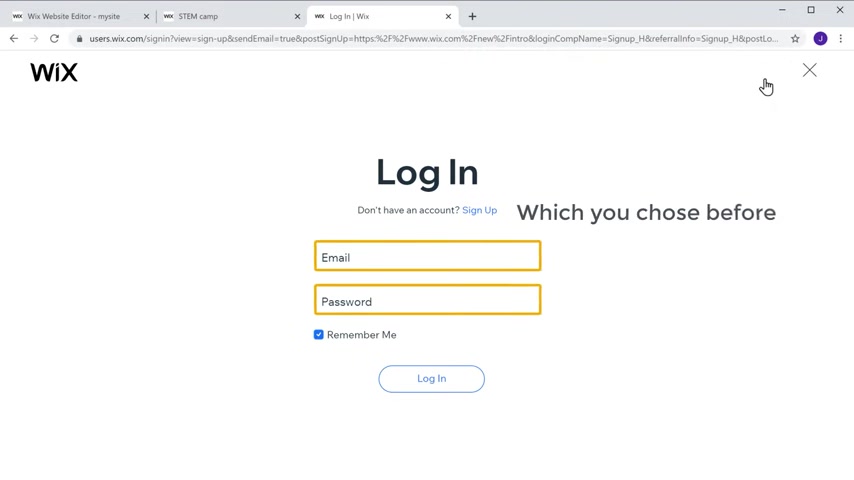
So to log in , let's open a new tab , then go to Wix dot com and click sign in here , enter your email and password which you chose before and click log in .
So now we've successfully logged into weeks and here you can see we've got a site which we created .
So to make changes to the site again , go to side actions and click edit site .
Now , as you can see , we are back on the editing page .
Ok .
So now that you know how to log in back into your site , let's go to the second part of this tutorial where we see how you can change different parts of your website .
So we are going to see how to change three different areas of your website .
First , we're going to see how you can change this menu .
So to change this menu , all you have to do is just click it and then click manage menu .
Now , here you can edit the items on your menu .
So if you want to change the order , you just have to drag and rob to change the order .
And if you want to change the name of any page , just click here and click the name page .
Now enter any name you want .
And now if you press done , you can see that the menu has been changed .
So this is how you can change your menu .
Next .
Let's see how you can change this logo .
So to change the logo first , let's remove this default logo .
So just right , click on the logo and press delete .
As you can see , the default logo has been deleted .
Now to add your own logo , just click this plus icon , then choose image and click my image , no drag and drop your logo from your computer and click , add to page .
And as you can see a loga has been added here now to place this logo here .
First , let's resize it like this , then drag your logo until you see this message and drop it here .
And as you can see Viva logo , once you're done with the changes to update your site , just click publish and your site will be updated .
So now if you go to a site and click refresh , you can see that our site is updated .
So now you know how you can change your menu and your logo .
Next , let's see how you can change your site's appearance on the Google search results .
Now , if you see here , we have a default text which came from the design we selected .
Now this text will also appear when a site appears on the Google search results .
Now , how do you change this text and add your website's name here .
Next , let's see how you can change your site's title .
So to change this title , let's go back to this tab and click pages .
Now , here you can see all the pages that we have on our site .
Now to change the title of your home page , just click here and then select seo now here you can see a preview of how the page will appear on the Google search results .
Now to change this , just select this text and then enter the text you want .
I'm going to enter my site's name and here you can see that we've now changed the title of our page .
Now , here you can also add the description which will appear on Google like this .
Now to save this change , just click publish .

And now if you go to a site and click refresh , you can see that we've got a new title here .
So this is how you can change your site's appearance on Google .
OK .
So now you know how you can edit the content of any page on your website .
Now , what if you want to create a new page on your site ?
So next , let's see how you can create a new page on your website .
So to create a new page , let's go back to this tab .
Now go here and here you can see we have the add page option .
So let's click that .
And as you can see a new page has been added to your website .
Now here , enter a name for your page .
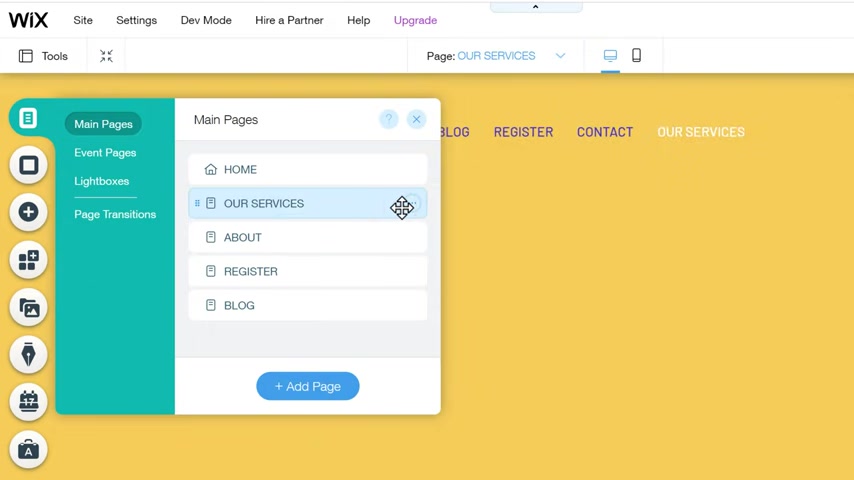
I'm going to enter our services and now if we click done , you can see that we've got the new page .
Now , as you can see this page is empty .
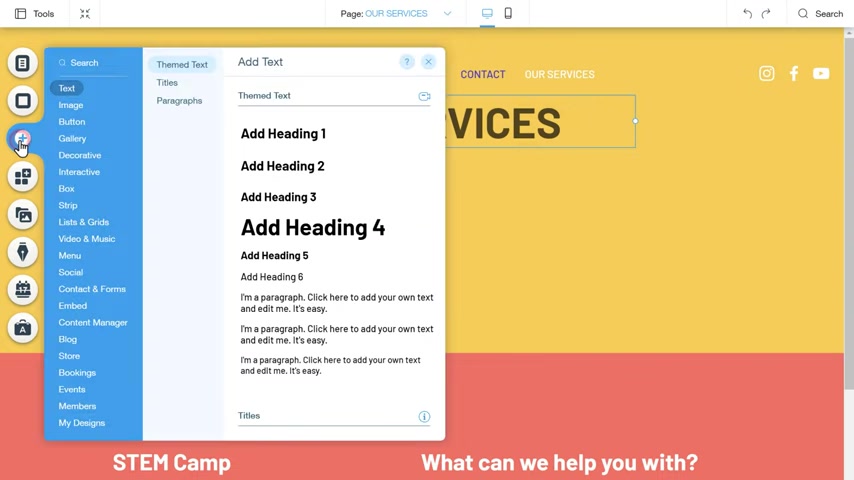
So next , let's see how you can add your content to this page to add your content , just click this plus icon and here you can see we have different elements which you can add to your page .
Let's say you want to add a heading , just drag the size you want and drop it here .
And as you can see , we now have the heading now like we did before just double click and then change this text .
OK ?
So now we've got a heading next .
Let's add another element here .
So let's click add and let's look at the different elements that we have here .
Now , let's say you want to add a section like this to your page , just drag it and then drop it here .
And as you can see it has been added to a page .
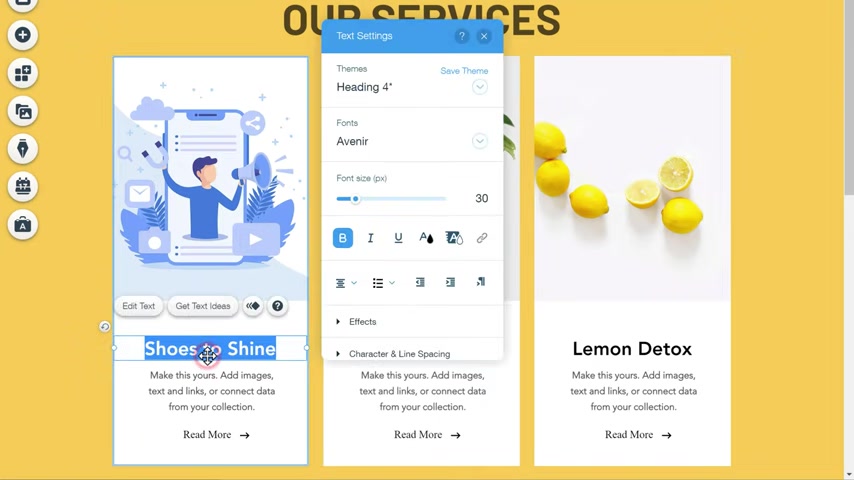
Now like we did before , we can easily edit this .
If you want to change this image , just click it to change image and then add your image .
दोस्तों स्वागत आॅक्सफर्ड मुँह आज के इस वीडियो में मैं आपसे बात करने वाला हूँ कि दोस्तों आप अपने बिजनिस के लिए गोकल के ऊपर दोस्तों ॅ कैसे बना सकते हैं ।
दोस्तों अगर आप एक बिजनिस मन है आप एक कंट्री हो रहा है इन फ्यूचर दोस्तों आप एक बिजनेस स्टार्ट करना चाहते हैं ।
आप के पास दोस्तों कोई प्रोडक्ट है , सर्विसिंग है और दोस्त आप अपने प्रोडक्ट को सर्विस ।
इसको एक फ्री वेबसाइट्स बना के दोस्तों आप ऑनलाइन सेल करना चाहते हैं ।
इस वीडियोकाॅॅॅन जरूर देखिएगा क्योंकि दोस्तों आज के इस वीडियो में मॅन कम्पलीट गाइड करने वाला हूँ कि दोस्तों आप अपने बिजनिस के लिए गूगल के ऊपर दोस्तों फ्री वेबसाइट कैसे बना सकते हैं जिसमें दोस्तों ऍम बताऊंगा कि गूगल साइट्स के ऊपर आप आपने वेब साइट को दोस्तों फ्री में कैसे स्टार्ट अप कर सकते हैं ।
आप अपने प्रोडक्ट को सर्विस इसको कैसे लिस्ट कर सकते हैं ।
आप वहाँ से दोस्तों फ्री में टॅबलेट कैसे डिजाइन कर सकते हैं ?
होस्टिंग कैसे ले सकते हैं और कम्प्लीटली दोस्तों आप अपने बिजनिस के लिए गूगल में साइट पे दोस्तों फॅस ।
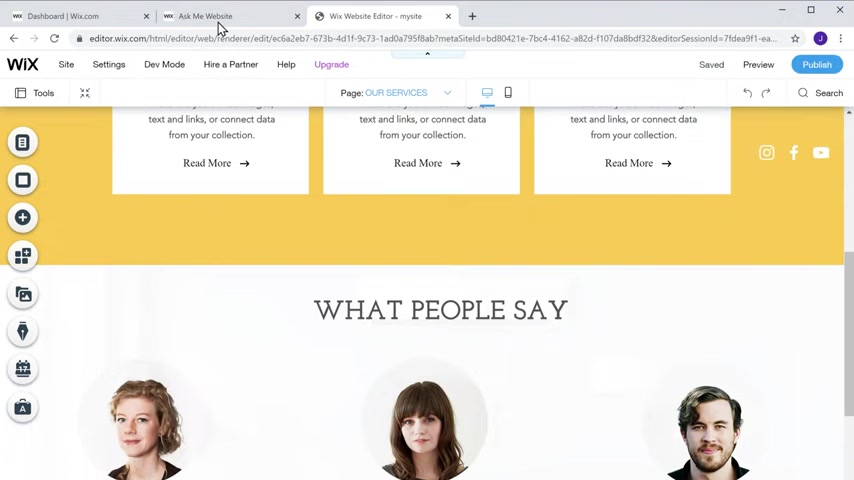
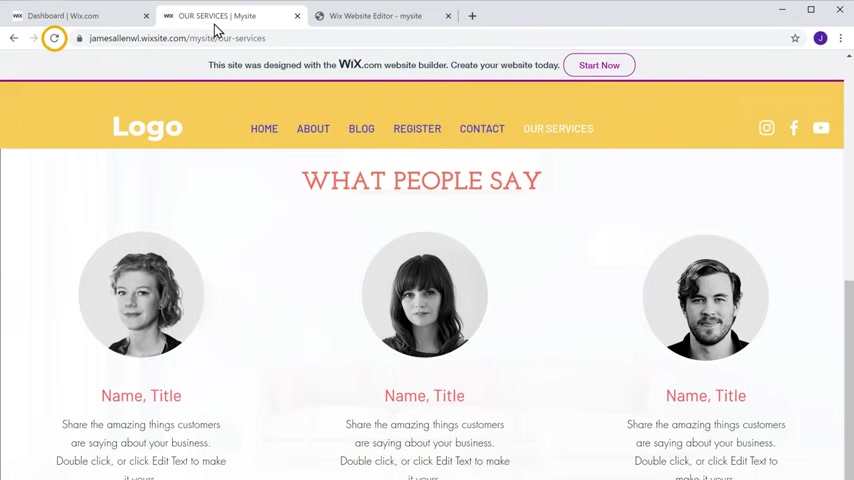
Now , we've got a testimonial section .
OK ?
Once you're done with the changes to publish this page on our site , just click publish .
And now if you go to a site and click refresh , you can see we've got a new page here and if we click it and then scroll down , we now have the contents which we just added .
OK ?
So this is how you can create a brand new page on your website .
So next , let's see how you can change the look or appearance of any element on this page .
How do you do that ?
Now , let's say you want to change the color of this text .
So to change the color of this text , let's go back to this tab .
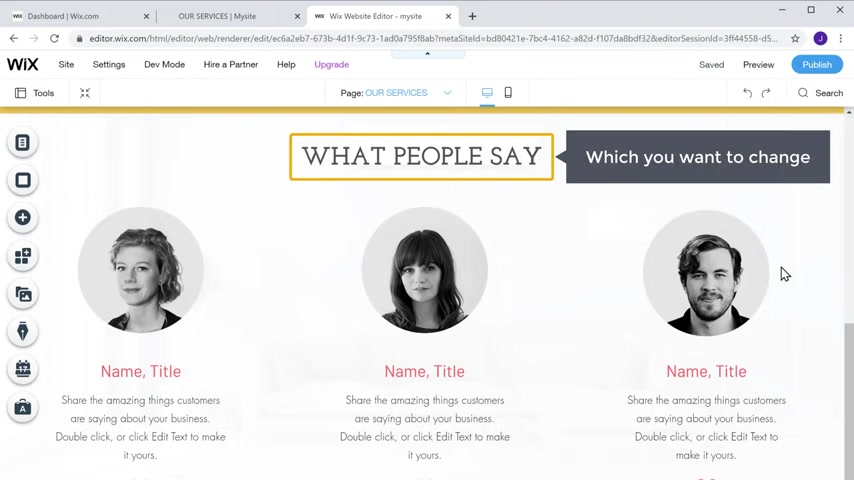
Now double click on the element which you want to change .
And here you can see all the options which lets you change the appearance of this element .
Now , if you want to change the text color , just click here and choose the color you want .
I'm going to choose this one and now we've changed the color .
Now , if you want to , you can also change the font size and style like this .
Once you're done with the changes to save it , just click publish .
आज के इस विडियो में मैं आपको स्टाॅप कम्पलीट गाइड करने वाला हूँ और साथ ही साथ दोस्तों एक फ्री में वेबसाइट् आप कैसे बना सकते हैं ?
मैं आपको एक वॅाक करके भी बताने वाला हूँ ।
तो दोस्तों अगर आप भी सीखना चाहते हैं कि आप गूगल साइट्स पे अपने लिए फ्री वेबसाइट् कैसे बना सकते है तो विडियो कल तक जरूर देखना ।
विडियो को बिलकुल बिस्किट मत करना और दोस्तों , अगर आप मेरे साथ मिलके डिजिटल मार्किटिंग सीखना चाहते हैं , मोटिवेशन विडीओ देखना चाहते हैं या पाॅड तो चैनल को अभी सब्स्क्राइब कर लीजियेगा ।
नीचे तो फॅमिली कर लीजियेगा और साथ ही साथ दोस्तों जाॅन दिख रहा है ।
उसपे भी प्रेस कर लीजिएगा ।
तो चलिए दोस्तों अगर आपको गूगल पे अपना फ्री वेबसाइट् बनाना है तो सबसे पहले दोस्तों गूगल पे आपको टाइप करना है ।
गूगल माइ साइट और उसके बाद दोस्तों आपको सर्च बटन पर क्लिक कर देना है ।
सर्च बटन पर दोस्तों जैसे क्लिक करेंगे गूगल के अंदर दोस्तों आप यहाँ पे सबसे पहला जो यू ऍम है वो आप देख सकते हैं साइट गूगल डाँट ।
अब आपको क्या करना है ?
गूगल अगर आपको एक फॅमिली है तो आपको इस वाली वेबसाइट पे क्लिक कर देना है ।
वेबसाइट पे दोस्तों जैसे क्लिक करेंगे ।
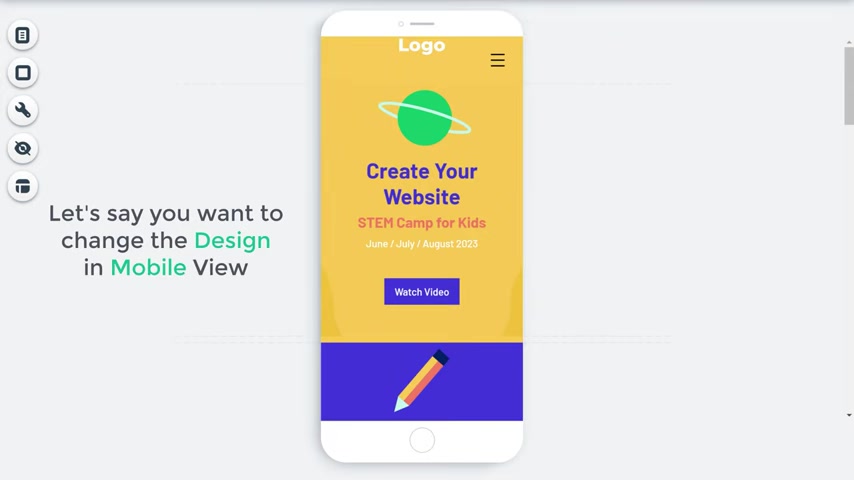
Now , let's say you want to change the design of this page in mobile view , just make your changes in this view and your site's appearance will be updated on mobiles .
Now , if you see here , this text is a bit too big .
So to reduce the size of this text on mobile phones , just select the text and then click here to change its size .
And you can see that the font size has been reduced .
So in the same way , you can edit all the text on your site .
Now , if you see here , a lo is placed on the top on our side .
So to change the position of our logo , just click here and then drag and drop it where you want .
And you can see the position has been changed .
In the same way you can change any element on your site for mobiles .
अब आप यहाँ पे देख सकते हैं दोस्तों गूगल साइट का जो ऑफिसियल वेबसाइट है वो अब आप यहाँ पे देख सकते हैं कि आपके सामने पूरा खुल गया है और यहाँ पे देखिये दोस्तों क्रेटिनिन उस साइट का बटन भी आपको दिया है और ब्लॅक वाला प्लस वाला बटन आपको दिया गया है जिस पर क्लिक करके आप अपने बिजनिस के लिए एक फ्री वेबसाइट बना सकते हैं ।
साथ ही साथ दोस्तों आप यहाँ पे देखिये कुछ फॅस भी देख सकते हैं जिनको भी आप सीधा इस्तेमाल करके अपने बिजनिस के लिए फ्री वेबसाइट बना सकते हैं ।
लेकिन दोस्तों हम इन में से किसी भी मुँह बिजनिस टॅबलेट को इस्तेमाल नहीं करेंगे ।
हम अपने लिए एक कस्टमर मुँह और एक प्राॅफिट बनाएंगे तो आपको कैसे बना सकते हैं ।
देखिए दोस्तों अब आपको क्या करना है ।
देखिये हाँ टिन्नू साइट का बटन आपको दिख रहा है जहाँ पे प्लस का बटन दिख रहा है ।
इस वाले बटन पर आपको क्लिक कर देना है ।
बट में दोस्तों आप जैसे क्लिक करेंगे ।
अब आप देख सकते हैं कि आपके सामने एक नया पेज खुल गया है और ये है दोस्तों आपके ॅ साइड बनाने का पूरा फॅस बोर्ड जिसकी मदद से आप अपना वेबसाइट बना सकते हैं ।
मैं आपका टाइम वेस्ट नहीं करूँगा ।
साॅस आपको समझा देता हूँ एक वेबसाइट आपको लाइफ बना के बता देता हूँ ।
सबसे पहले देखिए दोस्त आपको क्या करना है ये आपका हॅू है ।
ये आपका टॅबलेट है जिसको आप को पूरा करना है ।
कस्टमर ऍम प्लेट है और ये आपका साइट टूलबार है जिसकी मदद से आप अपनी वेबसाइट के अंदर कस्टमाइजेशन कर सकते हैं ।
अब आप कैसे करेंगे सबसे पहले देखिए आपको क्या करना फॅसा इट नेम आपको डाल जिसके अंदर दोस्त आप अपने बिजनिस का नेम डालेंगे तो मैं यहाँ पे दोस्त अपने बिजनिस का नाम डाल देता हूँ ।
मेरा बिजनिस का नाम है वॉक्स मीडिया सलूशन तो मैंने मैंने यहाँ पे बॉक्सिंग सलूशन डाला ।
उसके बाद दोस्तों ऍम लोगों को ऑप्शन आपको दिख रहा है तो लोगो पर क्लिक करके आप अपने साइड का लोगों भी यहाँ पे ॅ कर दीजिये ।
देखिये मैं यहाँ पे अपलोड वाले बटन पर क्लिक करता हूँ और यहाँ से मैं अपने बिजनिस का जो लोग है दोस्तों वो मैं आपको अपलोड कर के दिखा देता हूँ ।
देखिए इसमें से मेरे पास एक लोगों पडा हुआ है ये आप देख सकते ये मेरी कंपनी का लोग है तो मैंने यहाँ पे अपलोड करा और यहाँ पे देखिये क्रॉस बटन पे जैसे क्लिक किया ।
मेरा लोगो यहाँ पे अपलोड हो गया देखिये ये आपको दिखाई दे रहा है मेरे बिजनिस का लोगो है ।
अगर आप के पास और कोई अच्छी सी पढी है तो आप उसको यहाँ पे अपलोड कर दीजिएगा ।
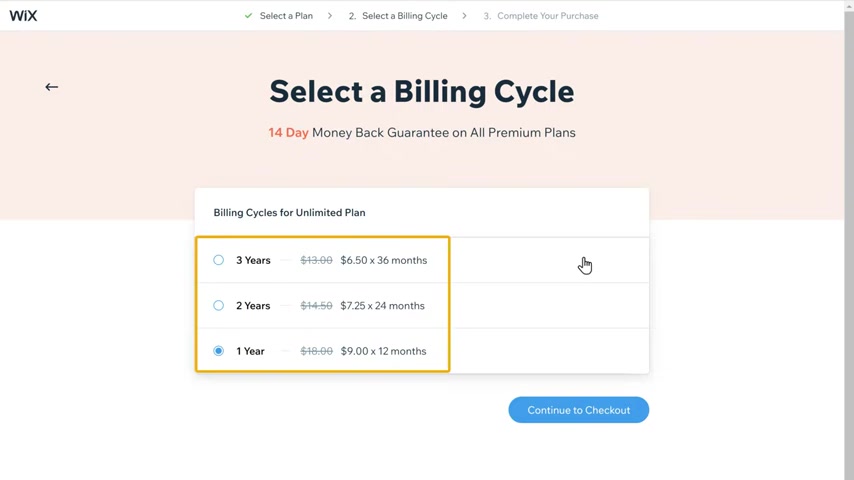
So let's click , select , choose the duration and click , continue to check out no , enter your details .
And as you can see , we're getting this plan for one year , which means we can use a site without ads and our own domain name for one year .
So to get the plan .
Let's click submit .
And as you can see , we've successfully upgraded our website plan once you've upgraded your plan .
Now , if you go to your website and click refresh , you can see that the wix had has been removed .
Ok .
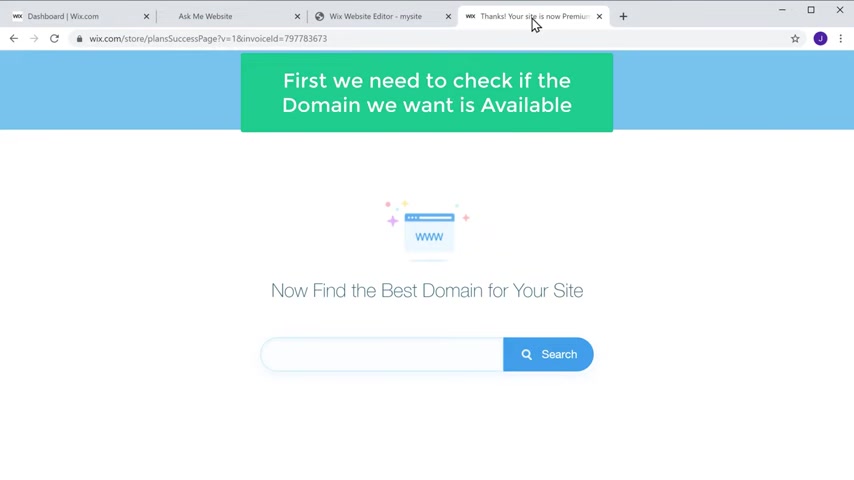
So let's go to the final step , which is to get your own domain name for your website .
So to get your domain name , let's go back to this tab .
उसके बाद दोस्तों आपको क्या करना ॅ पेस्ट टाइटल आपको ऑप्शन दिख रहा है ।
इस पेस्ट टाइटल के अंदर आपको दोस्तों ये बताना है की आपकी जो कंपनी है वो किसके लिए है तो मैं मेरी जो कंपनी है यहाँ पे दूसरे डिजिटल मार्किटिंग कंपनी है तो मैं यहाँ पे देखिये डिजिटल मार्किटिंग कंपनी डाल देता हूँ तो मैं यहाँ पे देखिये डिजिटल मार्किटिंग कंपनी मैंने डाला और इस वर्ड को आप दोस्तों छोटा कर सकते हैं ।
देखिए इस प्रकार से आप अपने अकॉर्डिंग जो भी आपको रखना है देखिये हैडलाइन अगर आपको रखना है तो आप इस तरीके से इस को हैडलाइन में कन्वर्ट कर सकते हैं ।
उसके अलावा दोस्तों अगर आप इसको बोर्ड करना चाहते हैं तो बोर्ड कर सकते हैं ।
अगर आप इसको स्टाइलिश बनाना चाहते हैं तो देखिये बोर्ड करना चाहते हैं तो बोर्ड कर सकते हैं , स्टाइलिश बनाना चाहते हैं तो स्टाइलिश भी बना सकते है ।
और भी बहुत सारे ऑप्शन आपको यहाँ पे मिल रहें उसके साथ साथ दोस्तों अगर आप चाहे तो इसके अंदर एक ब्लॅक साइड में एक कवर फोटो भी लगा सकते हैं ।
फॅमिली है देखिये चेंज इमेज का ऑप्शन आपको दिख रहा है और एक अच्छी सी ब्लॅक ग्राउंड की फोटो आप लगा सकते हैं ।
देखिये मैंने यहाँ पे क्लिक किया और मैं यहाँ पे देखिये इस वाली इमेज को यहाँ पे लगा देता हूँ ।
सर्विसिज है तो आप अपने चार सर्विस इसको पाॅइंट कर सकते हैं ।
मैं तीन सर्विस उं करूँगा तो यहाँ पे देखिये मैंने इस वाले लेआउट पे ऑप्शन पर क्लिक किया और मेरी देखिए सर्विसिस लगाने के ऑप्शन आ गए तो अब आप अपनी सर्विस कैसे लगाएँगे ।
देखिये सबसे पहले आपको यहाँ पे इमेज अपलोड करनी है तो मैं यहाँ पे देखिये इमेज अपलोड कर देता हूँ और मेरी एक सर्विस को मैं ॅ कर देता हूँ ।
तो मेरी एक सर्विस मान लीजिए यहाँ पे ऍफ का सर्विस है तो मैं यहाँ पे ऍम इज अपलोड कर देता हूँ और देखिये मैं यहाँ पे लिख देता हूँ नीचे ॅ ईओ सर्विस इस प्रकार से ॅ सर्विस लिखा दूसरी सर्विस में अभी प्रेजेंट कर देता हूँ ।
यहाँ पे अपलोड इमेज पे मैंने क्लिक किया और यहाँ से देखिये मैं दूसरी सर्विस भी प्रौं कर देता हूँ ।
देखिए मेरा ये मान लीजिये पीपीसी का सर्विस है तो मैं यहाँ पे देखिये पीपीसी अब इमेजिन दोस्तों आपको ऊपर नीचे दिखाई दे रही होगी ।
इन को आपको खुद से कस्टमाइज करना पडेगा तभी अच्छा लगेगा तो आपको इमेज सही लगानी पडेगी तो मैं यहाँ पे पीपीसी सर्विस डाल देता हूँ ।
देखिये मैंने यहाँ पे पि ऍफ सर्विस डाला तो मेरी दो सर्विस हो गई है और तीसरी सर्विस में मैं यहाँ पे डाल देता हूँ ।
मैंने अपलोड पर क्लिक किया और एक और सर्विस मैं यहाँ पे लोगों को ऑफर कर दूंगा ।
देखिये मैं यहाँ से कोई भी एक सर्विस ले लेता हूँ ।
जैसे मैं यहाँ पे फेसबुक , मार्किटिंग का सर्विस ले लेता हूँ तो मैंने यहाँ पे फेसबुक का लोगो अपलोड किया और यहाँ पे फेसबुक , मार्किटिंग इस प्रकार से मैं जो है अपनी तीनों सर्विस उं कर सकता हूँ ।
अब इसके नीचे दोस्तों अगर आपको थोडा बहुत और लिखना है तो आप यहाँ पे देखिये और अपनी सर्विस इसके बारे में लिख सकते हैं ।
जैसे वी प्रवाइड जैसे ब्लॅक ब्लॅड फेसबुक मार्किटिंग सर्विस इस प्रकार से आप यहाँ पे जो है आप अपने सर्विस के बारे में और भी थोडा बहुत एक्सप्लेन कर सकते हैं ।
तीनों जगह पे आपको यहाँ पे करना है तो आप ऍसे सर्विस सर्विस इस आप अपने अकॉर्डिंग जो भी आप चाहे वो आप कर सकते हैं उसके बाद दोस्तों अगर आप चाहे तो इसको और भी अपनी वेबसाइट को और भी अच्छा लुक दे सकते है ।
Are you looking for a way to reach a wider audience and get more views on your videos?
Our innovative video to text transcribing service can help you do just that.
We provide accurate transcriptions of your videos along with visual content that will help you attract new viewers and keep them engaged. Plus, our data analytics and ad campaign tools can help you monetize your content and maximize your revenue.
Let's partner up and take your video content to the next level!
Contact us today to learn more.