https://www.youtube.com/watch?v=SgMNYp-Ppn0
White Bread Recipe _ How to make Bread
White bread is something that you can easily bake yourself .
And in my opinion , there's nothing much better than fresh bread that fills your home with the most wonderful aroma .
Welcome to recipes by Karina where I share with you how to make classic and simply delicious recipes .
Make sure to subscribe for a new video each week .
This recipe makes one perfect loaf of white bread .
All you need is a few ingredients and some time to get started on this recipe , we're going to wake up the yeast .
This recipe uses activated dry yeast .
You could use instant yeast or fresh yeast if that is what you have on hand , look up the conversions online and it will tell you exactly how much to use .
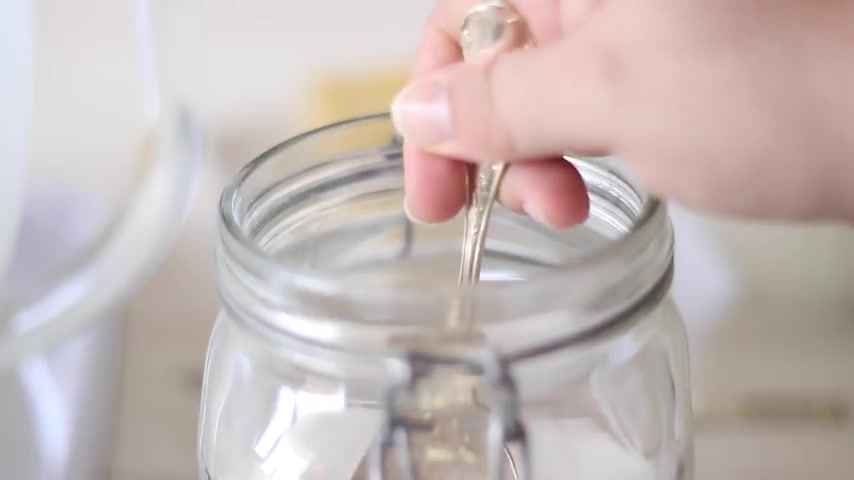
Add 1.5 teaspoons of yeast to a small bowl .
This works out to be about 5 to 6 g or three quarters of a packet of yeast to the yeast .
We're going to add three quarters of a cup or 100 and 90 mil of warm water .
Add about half a teaspoon of white sugar to the bowl and give it a good mix set to the side while the yeast activates active dry yeast is a living thing that lies dormant .
So , what we're doing here is waking it up and giving it some food .
So it starts to produce gas , which in turn will rise your bread .
You'll notice I give the recipe amounts in metric and imperial cups and grans .
So no matter where you live in the world , this recipe should be easy enough to follow .
If you would like the full recipe for this white bread , it will be on my website as well as the measurements in the description box below .
While the yeast is activating , this will take about 10 to 15 minutes , measure out the dry ingredients .
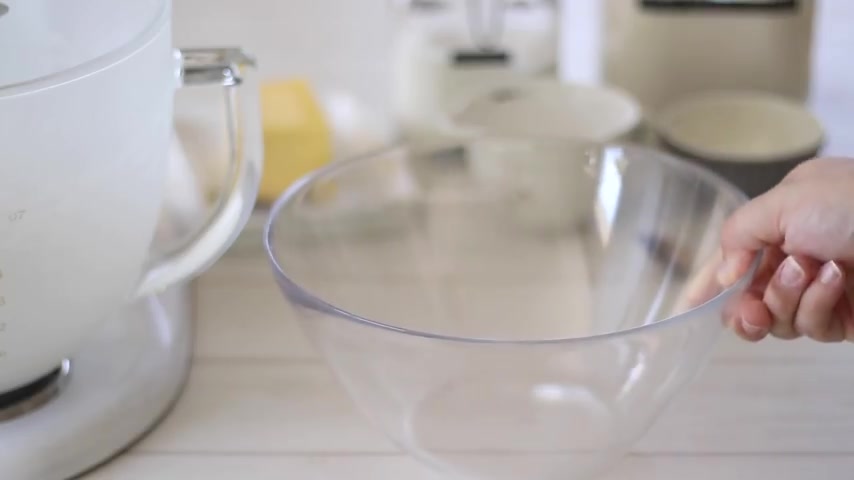
I'm going to be making this recipe in my kitchen aid .
However , I've made it countless times by hand as well as in a bread maker in every way turns out perfect .
You can easily use a machine if you've got one .
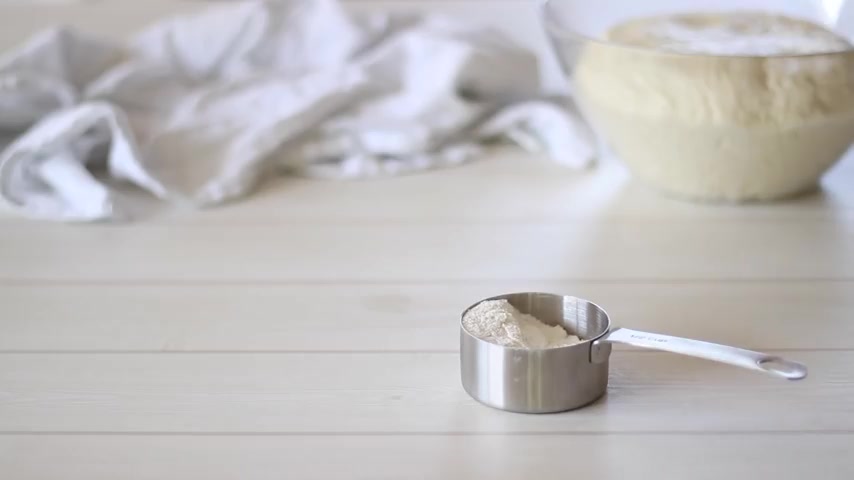
But if you don't , all you need is a large bowl , measure out 2.5 cups or 300 g of high grade strong or breed flour .
These are all the same ingredient , just different names .
We need this type of flour instead of all purpose as it contains much more protein which develops the gluten in the bread .
Gluten is very important here as it's what gives the bread structure and its unique texture .
Add a teaspoon of salt for flavor as well as the other half teaspoon of sugar , check your yeast and when it's foamed up , something like this , it's ready to be used .
If by chance it hasn't , a couple of reasons why it could be that the yeast is out of date or your water is too hot , which will kill the yeast or the water may be too cool .
Pour it into the bowl with your dry ingredients and begin to mix your dough on a low speed with the dough attachment .

If you're doing this by hand , use a wooden spoon and mix the ingredients together .
Once your dough has started to form , you can add the butter .
Some type of fat is common in a lot of breads , but it's not essential .
It adds flavor as well as in my opinion , better texture to the bread and gives it a longer shelf life .
We only need a tablespoon .
You can substitute oil or Shawn here if you would like or completely leave it out if you are licking this by hand .
Once you've formed a dough , tip it out on a clean and flowered surface and begin to knead .
There are a few different techniques when it comes to kneading .
But essentially what you are trying to do is pull the dough and fold it over itself .
Give it a try and you'll pretty quickly find your natural rhythm .
The dough needs to be needed for about 10 minutes .
That's just a guideline .
You'll pretty quickly be able to tell when it's ready as we need the dough , the proteins are kind of being wrapped around each other , creating gluten , which allows the dough to be super stretchy , smooth and strong .
You'll know your dough is ready when it becomes smooth to the touch .
And also when you press the center , it springs back .
Also a quick note on the stickiness of dough for this recipe , you want your dough to be sticky but not stick to your fingers .
It should feel tacky when you press it , but it shouldn't be making a huge mess everywhere .
As you do continue needing the dough does tend to lose its stickiness .
So if you are adding extra flour , make sure to do it in a small amount at a time .
So you don't dry it out .
Now , we should be ready to give the dough .
It's first proof .
Add a small amount of oil to a clean bowl , shape your dough into a bowl and place it in the bowl and cover with plastic wrap or a damp tea towel .
Leave your dough in a warm place for about an hour or until it has doubled in volume .
When your dough is ready , flour , your surface and turn the dough out .
Give it just a quick need to knock it back before shaping it as we want to keep most of the air in .
If you want to shape it into a ball , then kind of press the side .
So it turns into more of a log shape .
Try to make sure the top stays completely smooth as this will give you the best finish .
Once it has baked , place your dough into a grease loaf in , I'm using a seven inch or 18 centimeter loaf pan here , which I find to be the perfect size .
If you do want to use a nine inch or 23 centimeter loaf pan .
I would recommend doubling the recipe , cover your dough with a damp tea towel or place a grape and leave her proof for a second time , which should take about 45 minutes .
When your dough has domed up , it's ready to go in a 200 degree Celsius or 400 F oven for about 25 minutes .
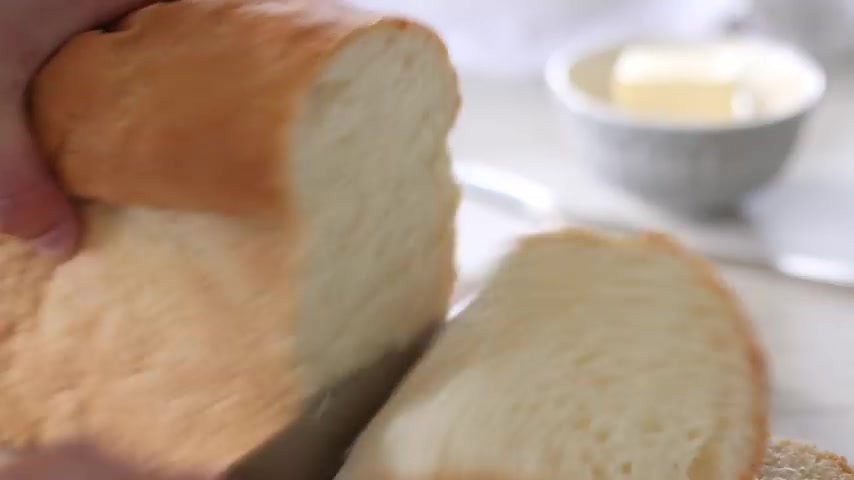
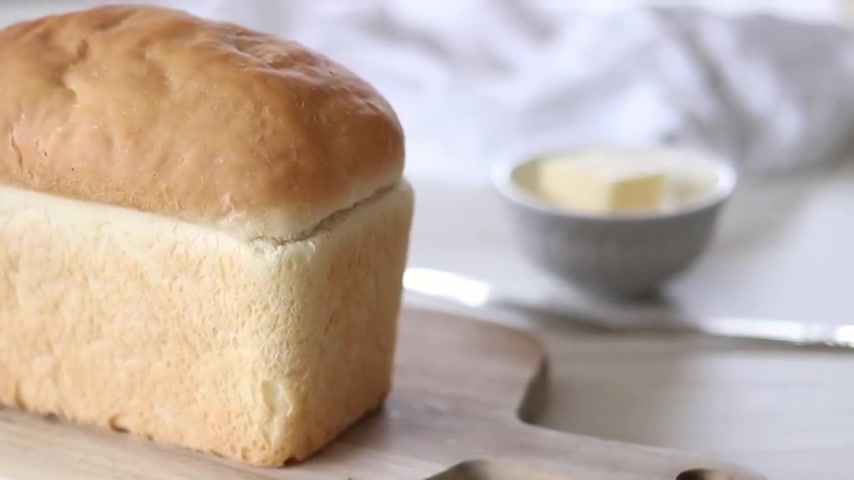
It should be golden brown and some hollow when tapped , remove your bread from the tin immediately and place it on a cooling rack to stop it .
Sweating , leave your tickle completely before slicing your loaf should stay fresh for a couple of days , but it's best enjoyed the same day you bake it .
I would love to see a picture if you try out this recipe .
Remember to subscribe to my channel and take a look at my other recipes .
Thank you for watching .
I hope you enjoyed this recipe and I will see you on my next video .
Are you looking for a way to reach a wider audience and get more views on your videos?
Our innovative video to text transcribing service can help you do just that.
We provide accurate transcriptions of your videos along with visual content that will help you attract new viewers and keep them engaged. Plus, our data analytics and ad campaign tools can help you monetize your content and maximize your revenue.
Let's partner up and take your video content to the next level!
Contact us today to learn more.