https://www.youtube.com/watch?v=Xi-OPshSzwY
2 Methods to Achieve Neat Fondant Cake
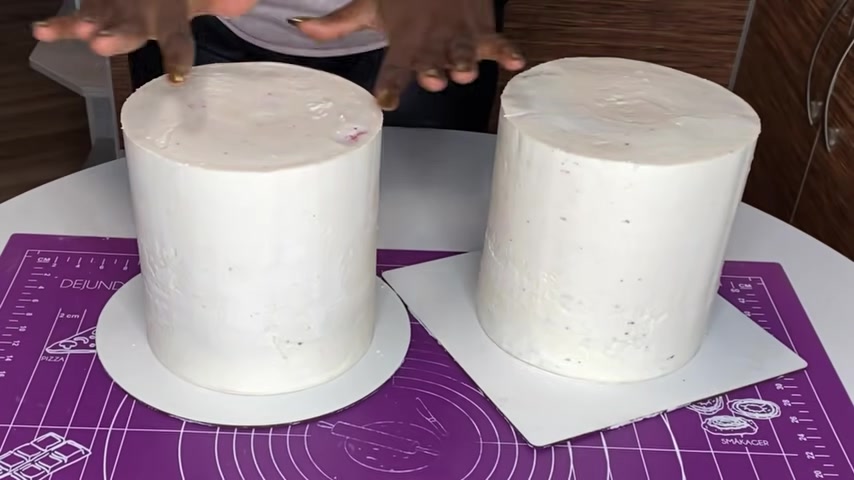
Hi guys and welcome back to my channel .
Ok .
So today I'm gonna be showing you guys two different ways to cover your cake .
And f Yes .
So it's there for you to choose whichever one is convenient for you .
Different bakers , find different methods um easier .
So the first thing I'm going to be showing you is the overhead method and this one is like the easiest to do .
But this is not my favorite though , but this was what I used to use .
It was what I learned to use and this was what I used for years , more than six years actually .
So , and this was what I used to cover this cake and even though it had years , it became perfect at the end of the day .
So I'm gonna show you guys how to do that right now .
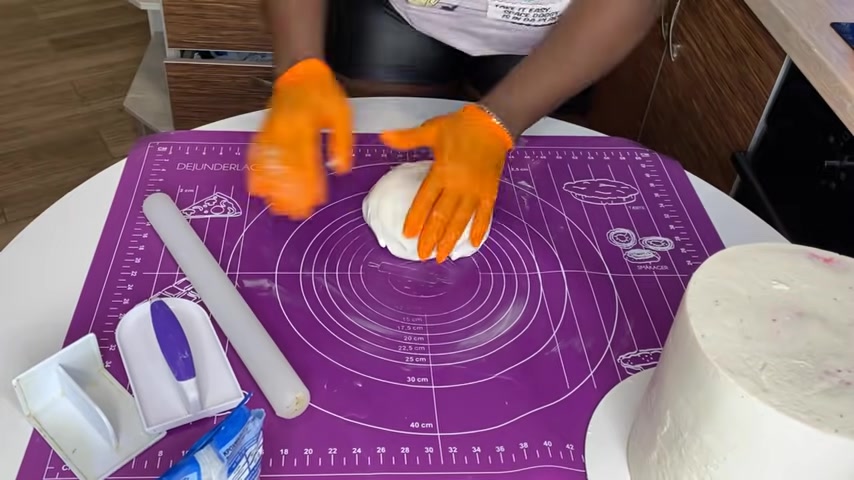
So what you want to do is you make sure you need your fondant and it is well needed and it is very pliable .
Yes , that's the kind of fund that you want to work with .
So even if it's already made Fondant , yeah , make sure you take it and need it for at least 2 to 3 minutes or 2 to 5 minutes and make sure it is pliable and soft and it is joy and easy to work with .
Yeah .
So don't just go straight to taking it out of the pack and using it .
If you want a video on how to use already made Fondant , I'm going to put the link right up here for you .
It says click on me .
Yeah , click on that .
Yes , because you can just buy Fondant and start to use it like that immediately .
Ok ?
So what you want to do in this overhead method is to put some corn starch or your potato starch on top of your mat and then spread .
So spread your um your f that .
However , it is convenient for you .
Excuse me , spread it out , right ?
It's convenient for you .
Some people say spread in whatever they like , don't spread it in one direction , don't spread in several directions .
I find cake decoration is more fun .
If you do it out , it's convenient for you .
You find a way to do it and it still look nice even though it doesn't look like someone else's own , it still look amazing based on what you want and what you do .
OK .
So spread it out you want and then spread it really big .
Make sure you spread it to um a diameter like swi the diameter of the cake you're covering .
For example , the cake I'm covering is about 18 centimeters and this , this um font that I already spread is almost 40 .
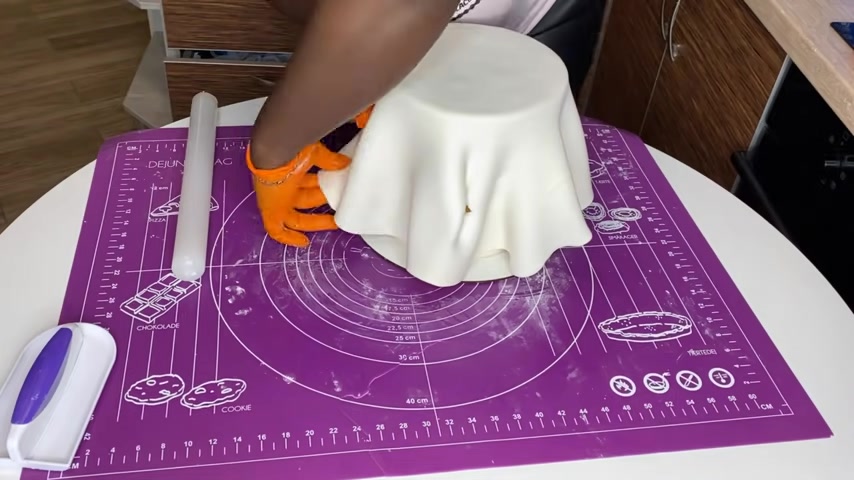
So it and lift it , lift it immediately and put on your cake .
Don't make , don't like leave it there and go and come back because it will dry out and then it won't it start breaking when you cover your cake .
So immediately you spread , lift it and place it on your cake and start to like um to , you know , spread with your hands .
So what you want to do now is start from the top .
When you start from the top , it doesn't start to tear down downward because gravity does its thing and like pulls it downward .
So you want to make sure you do this really fast .
Otherwise it should be pulling downward .
The reason why I , I like this method .
I don't really , I used to like it but this is not what I use anymore .
It's because like gravity draws it downwards .
So like there are some parts where there will be ts based on like you're pulling it downward and the content that is stretching .
I don't know if that .
I don't know if you can see that TF or yeah , there are tears in it and usually when I use this method , there are tears in it .
So , but the good thing is I know how to fix tea .
So if you want a video on how to already made a video on how to fix tea in your fondant in case you have them , so you can check that out in case you have any of those .
OK .
So this is the reason why I don't really like this method because ETS basically , when it's going downward , a Ts but when you're done , you want to make sure you smoothen it and then like take your turntable and your um smoothness and try to do the top and like the top and trying to smoothen it as much as possible .
In my case , I like to get sharp edges .
So I use two smoothness to give myself sharp edges .
So I really do like it .
OK .
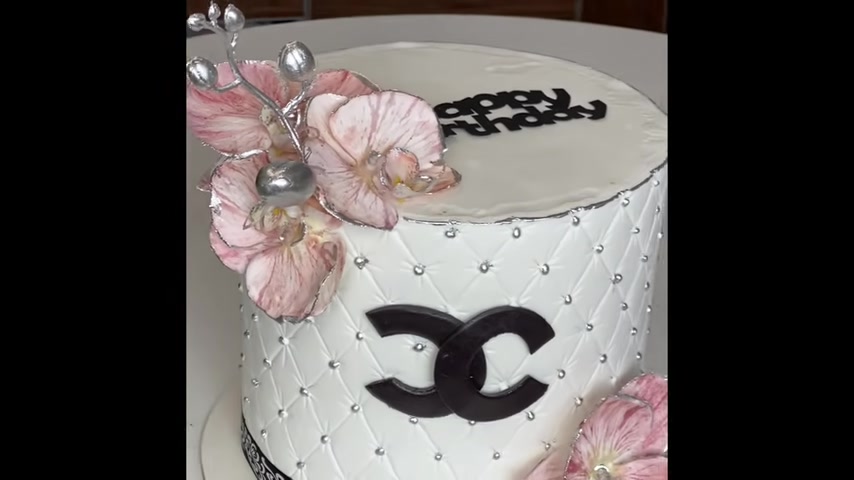
So this was me after like I already like covered up the tears and I already gave it sharp edges .
So if you want a video , if you want to see the video on how I did that , click right up here , it says click on me and see how perfect the cake came out .
This was a cake and you can't even know like he had tears .
Yeah .
So this is the first method .
It's called the overhead method .
And lots of bakers prefer this because it is easier and I think it is faster as well .
OK .
So I'm gonna show you guys the second method right now and it is called the wrapping method .
So this one , you're going to cover your cake in two batches and this is I think this is my favorite because it gives you the better , better results and it doesn't tear , ok ?
It tears if you don't do it well , but it hardly tears basically because you're going to be rolling and lifting and it gave me this white and red cake right here .
See how pretty it is .
Yeah .
And you , you can't really know the difference once you're done covering your cake , like they both look well covered .
Like there's no difference basically , but just depends on what's easier for you .
Ok .
So let's have this method .
This is the wrapping method and we need to be covering it in two parts .
So what you want to do is take a piece of your fondant and then roll it out in like in a round position and then try to cut out like a round that is as big as the co the top of your cake that can fit on top of your cake if that makes sense .
So take your cutter and then cut it out .
So and then take your , make sure your cake is close to you .
So you don't need too far and then it starts to stretch and make sure it is wet .
I like to wet it with some water and my food brush .
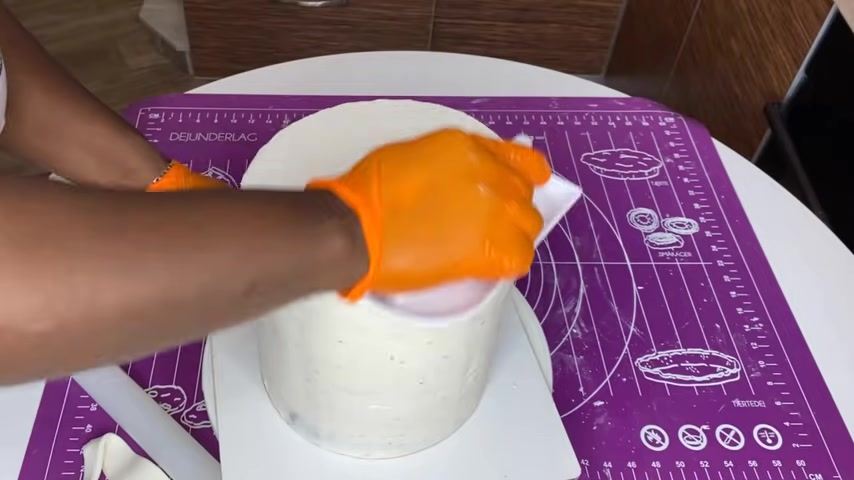
So and then place it on top and then it with your smoother .
So what you want to make sure you do right now is make sure it is well stocked to it and then take um a razor .
I have this manual razor that I use , I don't know , some , there are different brands you can buy .
So I buy it from bookshops .
You can get them in bookshops and everything and make sure it's new .
And usually when I use it , like I buy it , it's disposable like you can replace it .
So I buy the replaceable razors too .
So that when this one is dirty because washing it makes it blonde and you want it to be really sharp .
So when this one is dirty , I just throw it away and replace it with another one and they're very cheap .
They are less than 10 , 2 than $1 .
I'm sorry .
Ok .
So what you want to do at this point is to cut out the excess by the side and make sure like you're cutting it so well that like there is no dispersion between the cake and the fondant and you covered on top here , make sure it is very close and it is very neatly done .
Ok ?
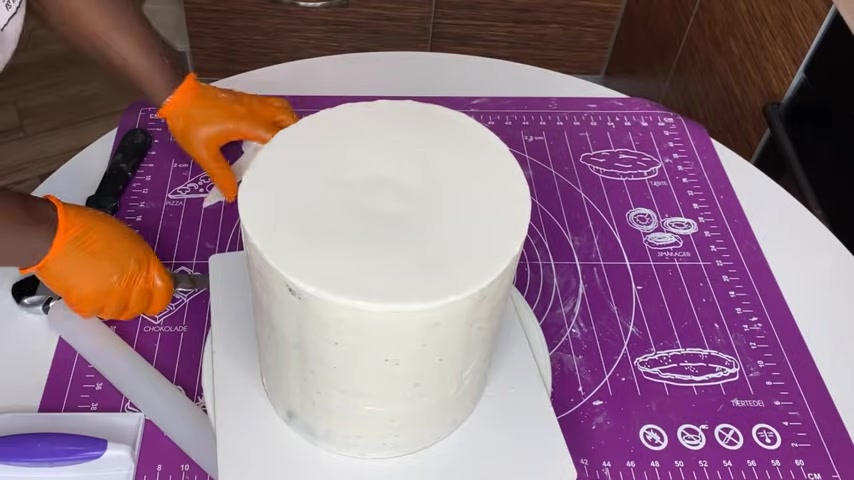
So once we are done with this , yeah , you want to like roll out another piece of fondant in order to wrap your cake .
That's why it's called the wrapping method .
OK .
So what we want to do right now is take another big piece of fondant .
Yeah , remember we divided our fondant into two parts .
Yes .
Take the other part and join it to the rim that , that you had and then roll like in a cylindrical shape here .
You want to roll like your log .
So once you are short , like your log is long enough to in case you're wrapping your cake , for example , my cake is 18 per 18 centimeters .
So you're going to have to like do some mats in this basically .
So like you know how long like wrapping your cake will be the perimeter of your cake .
How long is it ?
Yeah .
So yeah , that's how long you want your rolled for that to be .
So for this one right now , I've spread it out and I've spread it in the shape of like what I'm trying to cover .
So I'm going to take out the PC , the extra from the side .
So it can be easy to roll .
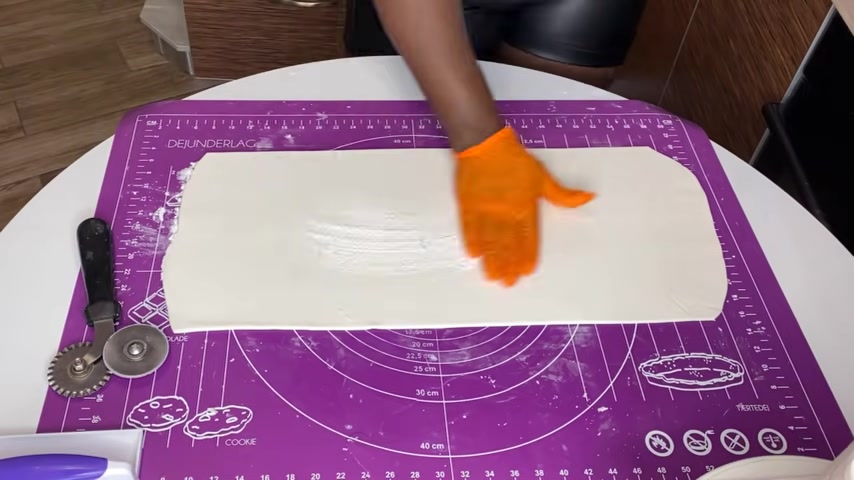
So once you are done rolling like this and your show is flat and it is long enough for what you want to cover , then you're going to take some corn starch or some potato starch in my case , like corn starch is expensive in UK .
So I use potato starch .
So take some of that and then just spread on top of the fondant .
And the reason why you're doing this is because so that when you roll it around your rolling pan , it does not stick .
I don't know if that makes sense .
So take some potato just a little and then spread it on top because we're going to roll it around our rolling .
We're going to lift it with the rolling pan itself .
So we need to roll it like a scroll basically .
So you want to roll it to lift it .
Yeah , it's easier to lift this way and make sure the side of your cake is already wet .
Any part that is not like already dry , take your brush again and go around it with water or with glue , whatever it is you're using so that your fondant can stick onto your cake easily and it won't stress you out .
OK .
So now once we are done with that , what we want to do is take the , the rolling pin and then locate the back of your cake .
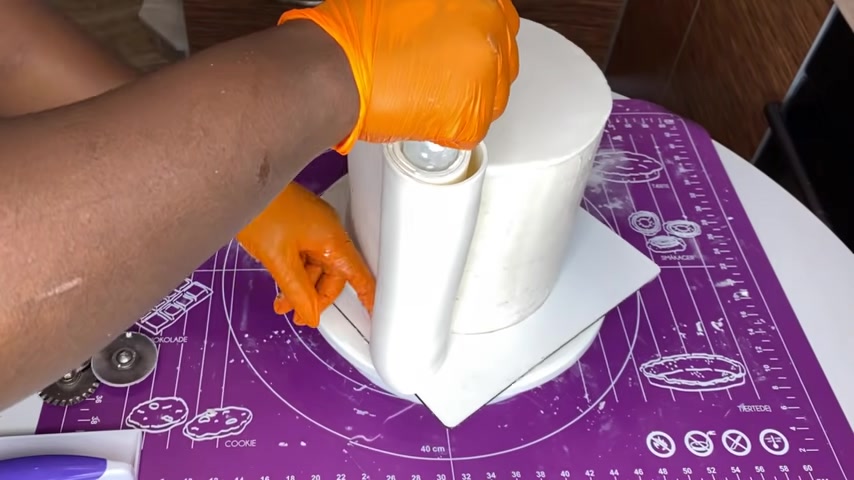
For example , this will be the back of my cake because there's going to be a sim and you don't want the sim to be in front of your cake .
Yes .
So and then roll the fondant out around to the back of the cake again .
So you need to meet where you started from if that makes sense .
Now it's time to smoothen it .
So take your smooth and then try to smoothen it as much as possible .
So I need to show you how to make that same at the back and how to make it as neat as possible .
So look at that excess at the back .
I want you to take a scissors and cut out the extra part .
Usually I use the scissors , but you can also use this like sharp razor tool So take out the extra there .
Cut out the extra .
Yes , and then take some , take your brush again in case because you need that place to be wet so that it can really stick .
So put your brush and some water around it so you can , you can really stick and then try to join the extra fondant to the one at the back and then you're going to use your razor again to cut out the excess where it meets .
You want to make sure both sides meet and if it doesn't meet very correctly , don't worry .
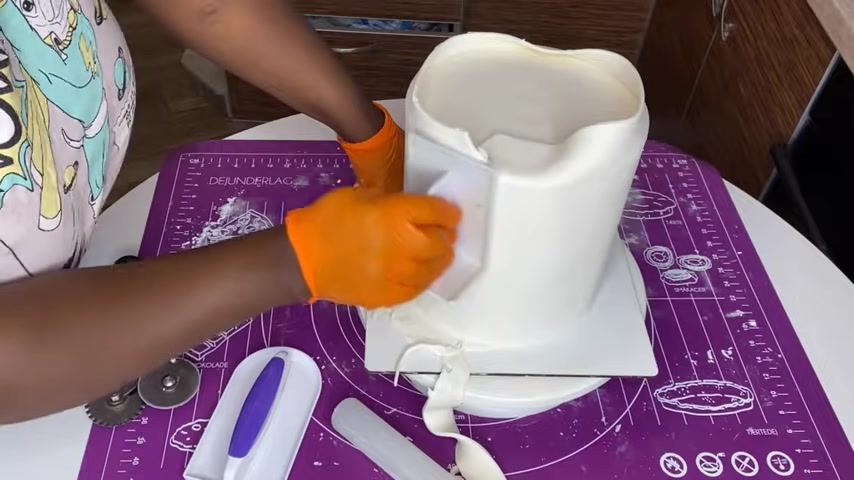
All you have to do is take your , um , your smooth and try to , like , correct it as much as you can so that you can have a meat si , it's important that even though it's at the back of your cake , it's important that the sim at the back of your f cake is very neat and almost not visible if that makes sense .
Yeah .
So I think this method is a little bit more technical but what this method does is that it's easier for you to get sharp edges with this .
And for me , I think it's easier for your cake .
It be knitter , there won't be tears , there won't be maybe gravity dragging anything down .
Like for me , I think this is just easier though .
I learned this on youtube .
Actually , I wasn't taught how to do this .
It was the , um , the overhead method I used to use before I learned how to do this .
So what you want to do at this point is smoothly as much as possible .
And you want to press your smoothness onto it so much that the top of the cake that you covered is touching the sides that you covered .
I don't think my English is making sense , but I hope you guys understand me and just to make sure that it is just in case some parts might not be .
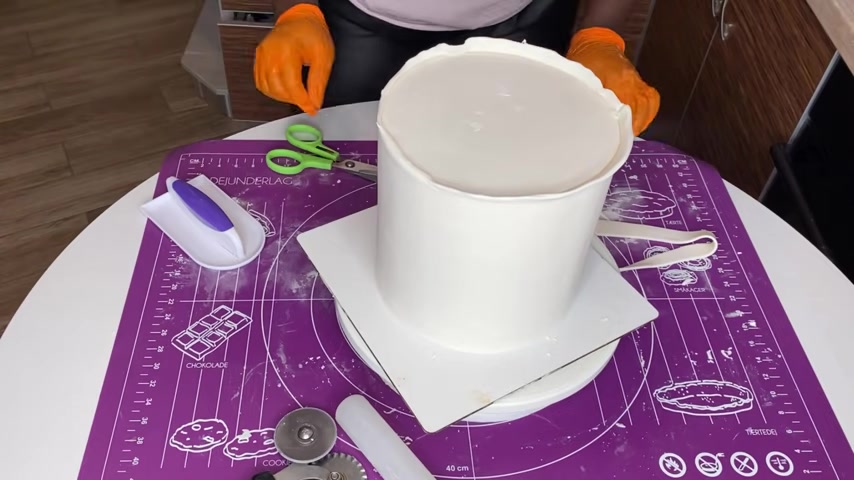
So take your smoothness and try to join it together .
So for this one , you need at least two smooth nets to be able to do this .
So take your smoothness and try to make sure the middle joins the side .
So that way and remember you added some water to it .
So it is definitely going to stick and then once it does that we are going to take our razor , the same razor that we used initially , that's why it needs to be sharp because if it's sharp , it makes your life easier and then you can like get really sharp edges if like the razor is sharp and it's not blunt .
So you're going to use really new ones .
So you're going to cut out that excess , the excess fondant on top and see how effort .
Let's see .
Sorry , I understand .
I see .
See how effortless getting like a sharp edges with this one .
It's easier for you to get like sharp edges with this one because you're literally cutting out the edges yourself with the razor .
So like it's a lot easier to smoothen .
It's a lot easier to have sharp edges and you will hardly like have tears because you lifted it .
You didn't lift it with your hands .
Like the first one , you lifted it with a rolling pin .
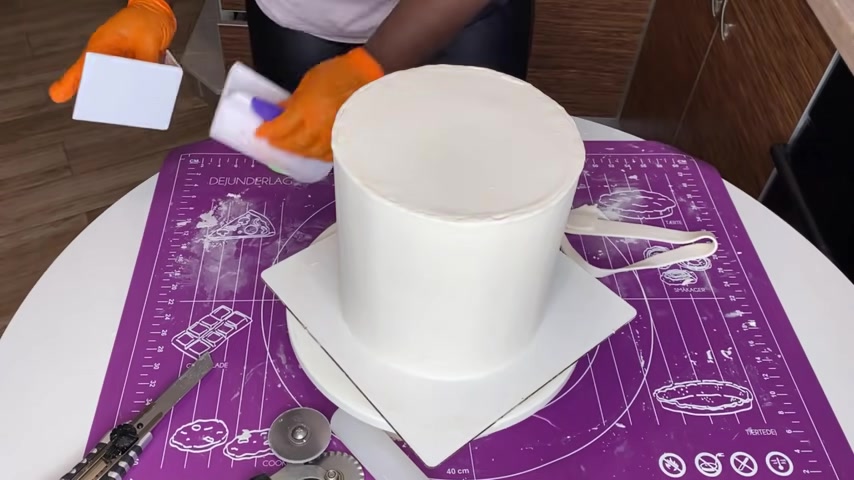
So take all the extra and try to smoothen your cake with your smooth my e in as much as you can and just knitting everything up .
And basically that's all , that's all you have to do .
You don't have to do anything extra .
And now you've covered both your cakes and this cake came out .
Perfect .
So this was the result at the end of the day .
So for both of them , you can really tell which is which they cover perfectly .
So you guys should like , look at it and watch and like practice and try to see which one you prefer .
So thank you guys and I will see you in my next tutorial .
Are you looking for a way to reach a wider audience and get more views on your videos?
Our innovative video to text transcribing service can help you do just that.
We provide accurate transcriptions of your videos along with visual content that will help you attract new viewers and keep them engaged. Plus, our data analytics and ad campaign tools can help you monetize your content and maximize your revenue.
Let's partner up and take your video content to the next level!
Contact us today to learn more.