https://www.youtube.com/watch?v=QABJUmNMJ0o
How to Draw a Rabbit - Narrated, Step-by-Step
Hey there everybody .
It's Mark .
I'm back with another how to draw video .
This is number 13 in my ongoing series of videos related to animals .
I've done videos on how to draw a dog , cat , tiger , uh all manner of different beasts .
And today we're gonna be learning how to draw a rabbit .
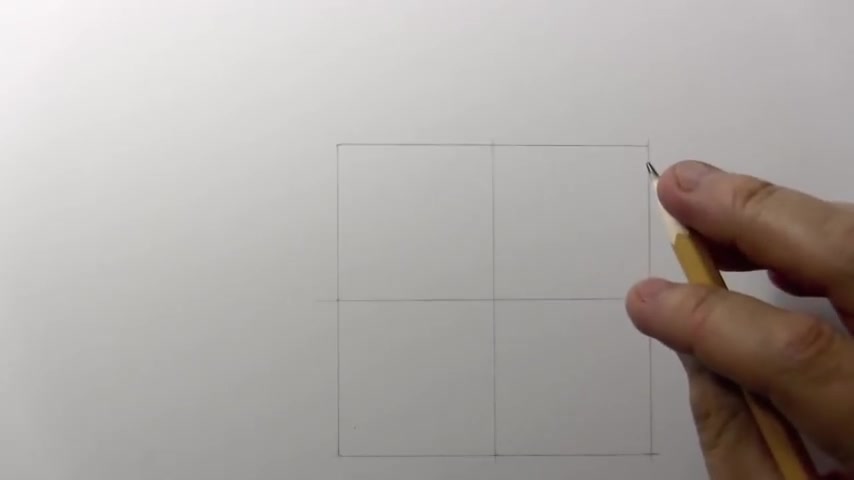
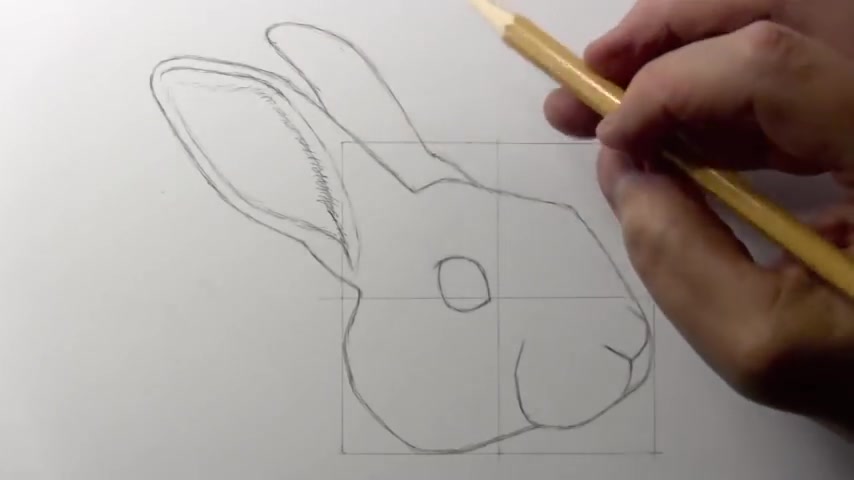
Now , people like to know the size that I'm working at .
So I've put a little square here in place to show you is three inches on all sides that works out to about 7.5 centimeters .
Let's not waste any time .
Let's get on with some basic guidelines for drawing the shape of the head .
So a a rather irregular shape here , uh vaguely circular , but notice this angle here , which would be sort of the forehead .
I guess the rabbit's forehead coming down here .
Um The tip of the nose area comes right up to that line .
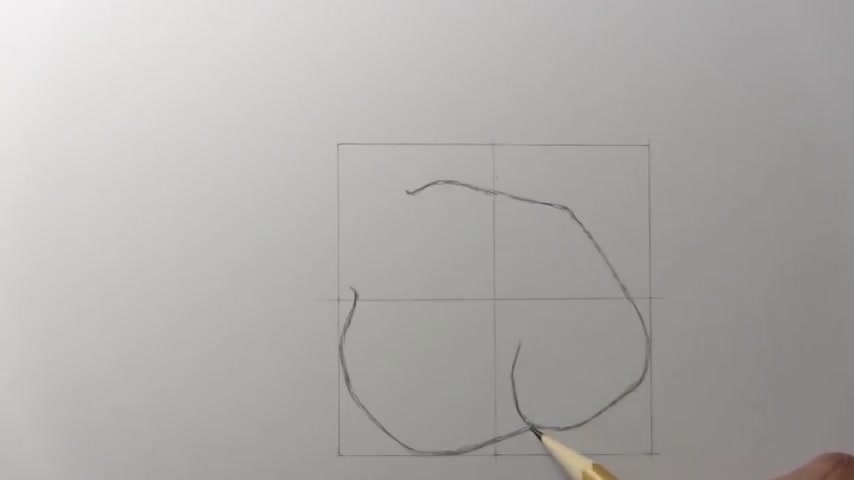
And uh then we have a curving around of what I always call the snout of the region , which is certainly not the right terminology , but I'm gonna keep using it darn it , uh curves around like that and we'll be adding considerable considerably more definition to this notice where uh the rest of the head comes off of that one .
If you get that line starting down there , touches this bottom line again , then curving around .
And this of course is where the ears , the world famous rabbit's ears uh are going to extend .
But uh we're gonna get to that later .
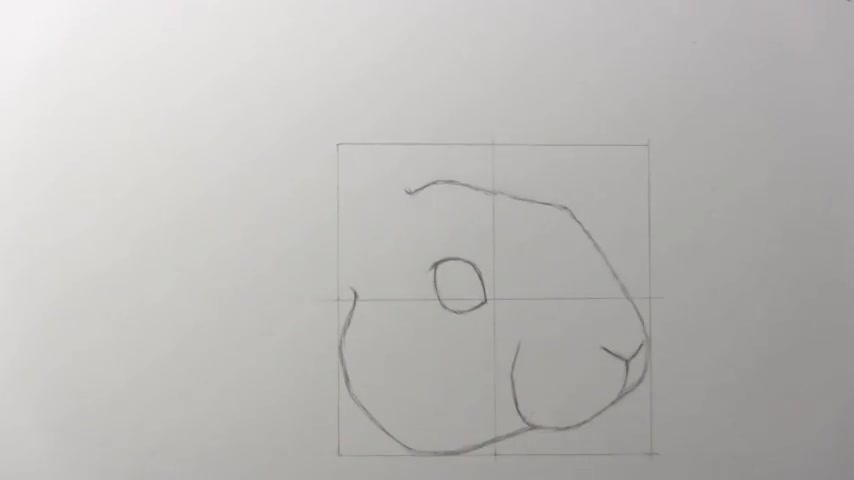
I think now what I want to do is uh draw the shape of the eye .
So the eye a little bit almond shaped , you know , kind of coming to points down here on the lower right and the upper left .
Uh I'm not sure if that's true of all the different breeds of rabbits .
I just sort of , I was studying , you know , photos , uh uh of rabbits online to sort of get an , uh , an idea of how to draw at least one type of rabbit .
And , uh , that one I noticed was , um , very much in this sort of almond type shape .
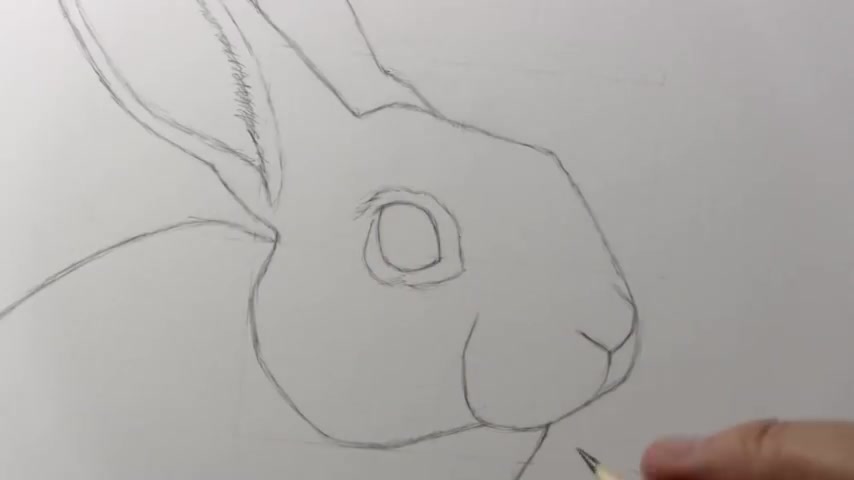
Well , let's move on to drawing the nose .
So we'll be adding more detail to this later on .
But for now , it sort of looks like a letter Y , doesn't it ?
And , uh , the only thing that I would do is maybe add a little more of a curve up here to this one side to uh indicate the rest of the , the shape of the nose one scene from this point of view , which is kind of a , a three quarter point of view .
Well , why don't , we go ahead and get on to drawing at least one of the two rabbit ears .
So , uh interestingly , it doesn't really come to a sharp point as you might imagine , a little more curved uh at the end .
And um I noticed how straight it was coming off of the head before kind of tilting just a little bit as it heads towards the tip and then notice there's a little bit of a different , different NTI a a different between this part of the ear and the base .
Here .
There's just a little bit of a , a break there .
Um And now it's time to draw the interior shape which really will finish off uh the basic structure of this one ear .
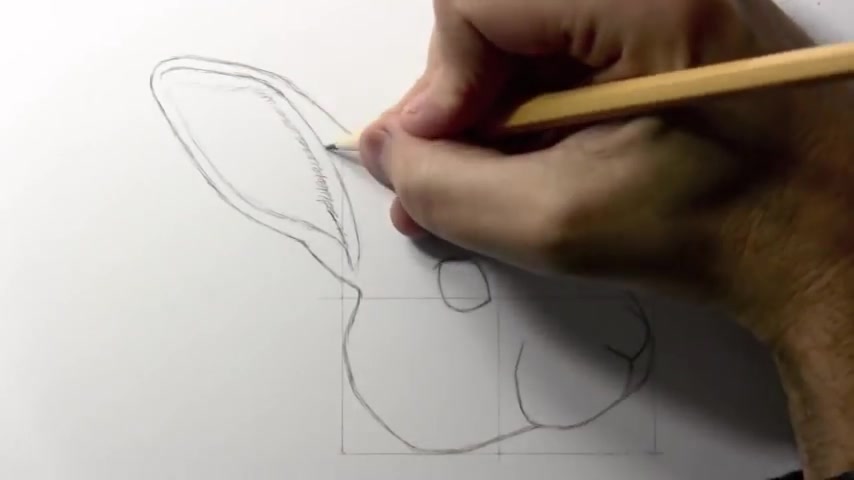
So this opening of the ear here , a little bit leaf shaped , I would say looks to me .
Um right here , this line you can consider this fairly structural as like the upper edge .
Uh But as you come down here , it becomes a little tricky and we'll get into this later when I get to the fur .
But um this uh this area here , this line is maybe more differentiating between uh a , a brown area of fur and the , the light white um hairs that line the edges of the ear .
And this as well over here is a little more just delineating a change in color rather than so much a structural thing .
But we're gonna get more into that kind of stuff later .
Um , let's go ahead and draw the other ear .
So for this year , we're not having to draw the interior .
It's sort of facing away from us .
And indeed , you know , as the ear moves , you would probably have it , um , take on different shapes , different contours in this particular , um , position .
It sort of , it has a sort of thumb , like , look to me , you know , that sort of shape comes a little more to a , a point .
Although as I said before , not to a real pointy point , it's a semi point point .
Oh boy , I usually wait till later before I started getting loopy .
My apologies .
Let's go ahead and draw just two more lines .
Uh And then I think we can sort of knock it off with , um putting in basic guidelines , get on to some real time drawing .
All right .
So the pose I've drawn here is a very relaxed pose uh with the , the line of the back uh up high here next to the head , I think if it was raising its head , you would get quite a different contour here .
Um And now I think it's time to , to quickly erase in time lapse the uh guidelines so that we can get on to doing a little bit of real time shading .

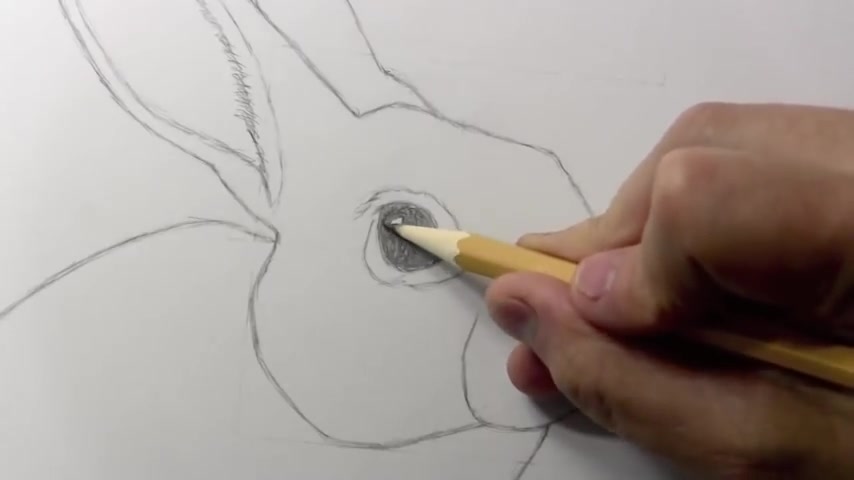
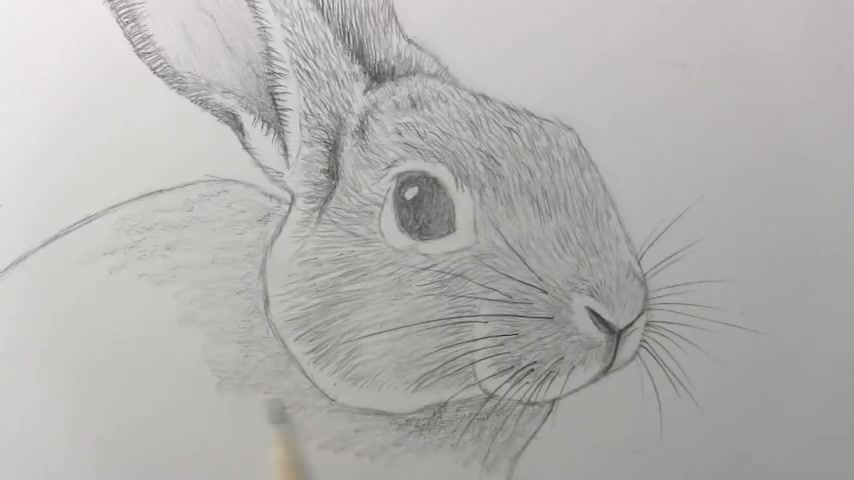
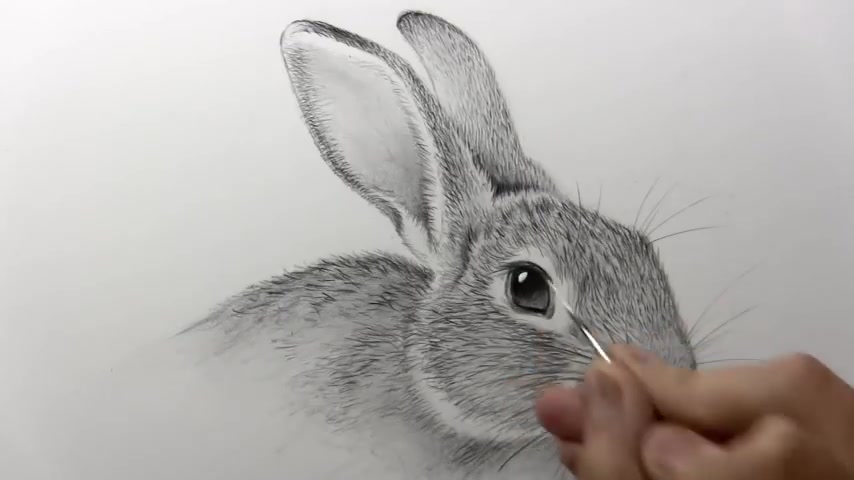
Now , the first thing I'm gonna do is come in here and sort of , um , rope off an area of white around the uh eye and um this is really helping us to differentiate between uh um a toned in area of fur in an area that re remains largely the white of the page .
Uh But notice that it's a little wider over here , at least on this uh particular breed of a rabbit , uh sort of tapering off a bit .
And then , uh again , getting kind of wide over here on this side , you have to imagine that this uh this area here is all gonna be white later on by comparison to the surrounding areas of gray or it would be brown .
You know , if you want to try to do it in full color , this video is not gonna be in full color , but I'm not gonna stop you if you wanna go make it a purple bunny , I'm not gonna stop you in any case .
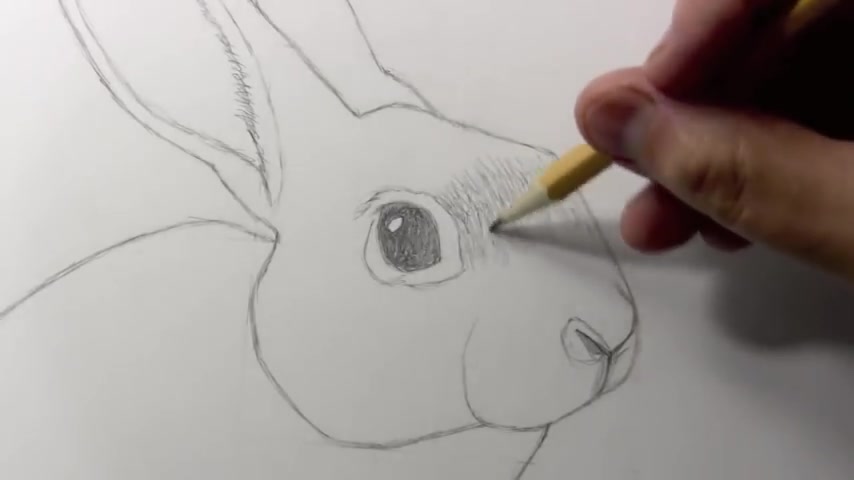
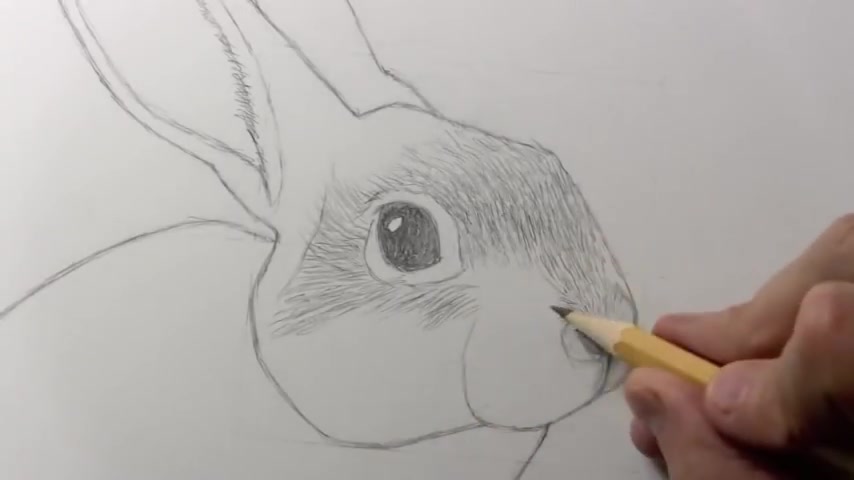
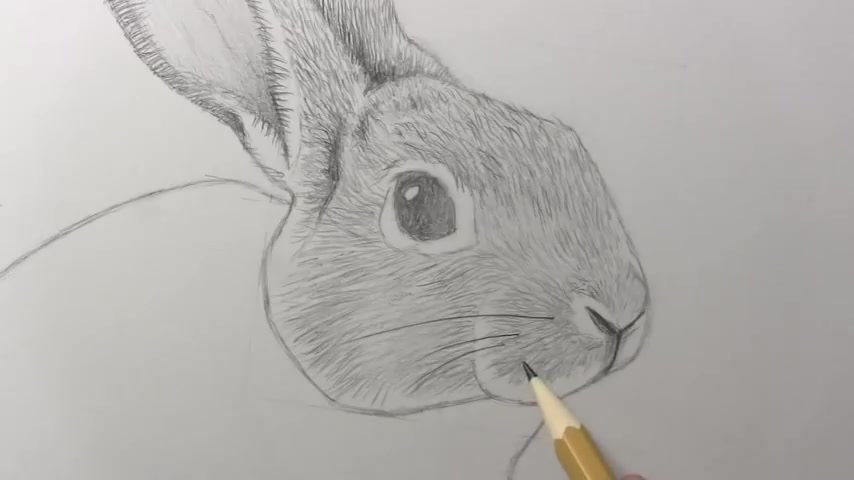
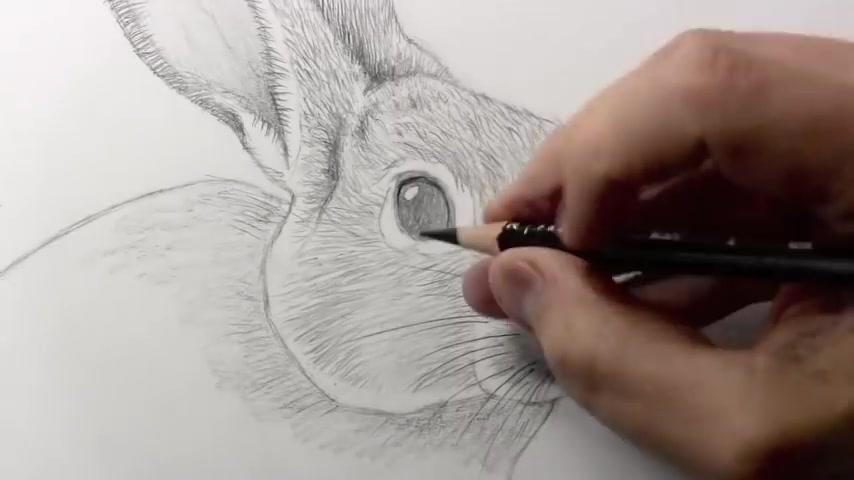
Um Having got that in place , I think what I'll do is um begin uh to add a little bit of detail to the I know I'm gonna uh put a highlight here sort of an oval shaped area of white and by shading in around it but not within that little circle .
Uh We will immediately begin to get a little more of an illusion of um shininess , glassiness to this eye .
I'm always sort of amazed um how big of a difference it makes adding just a single highlight there .
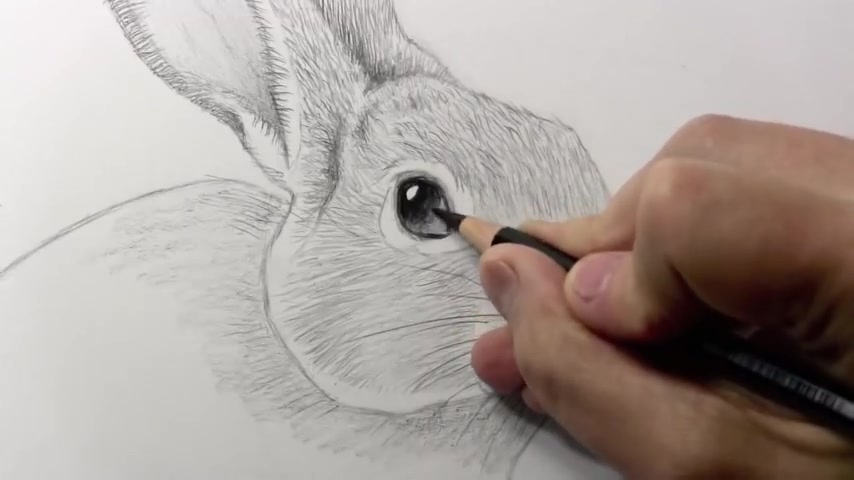
And later on , I'm gonna be darkening this in yet more with a black prisma color colored pencil .
This video is uh one of uh what I would call a classic clearly two pencil method uh drawing uh with starting with this one .
I'm using a Dixon Taco Rogo , but it could be any sort of number two pencil that you're comfortable with .
And then I'm gonna add a lot of contrast and darkness later on with this black colored pencil called the black prisma color .
Now , I think I need to actually erase away sort of tone this down a little , you're getting out of control line .
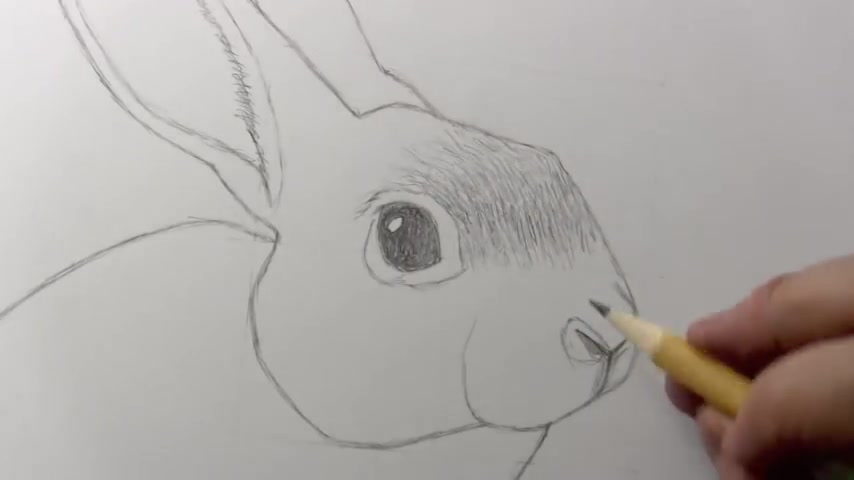
I need to tone you down and let's move on now to um beginning to work on the nose here .
Uh Again , we've got uh at least what I've seen on some breeds of rabbit , a sort of white area that surrounds the uh nostril and just a little sort of trim area of white above that line of the nostril and then a larger rounded area uh below .
And then this uh the sort of why , you know , I talked about this is like the letter Y .
Uh at least on some breeds of rabbit can get , there's gonna be dark uh a dark area on either side of this .
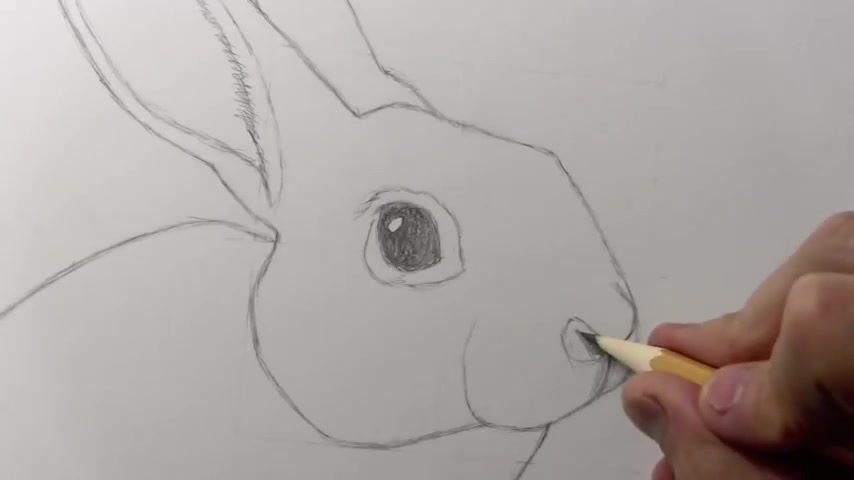
And then just below this branch of the Y started to start to darken in there as well .
And because of the , you know , the pose that I've got this rabbit and you can't really see too much of what's going on over there on the other side , but that means we don't have to draw it in any case .
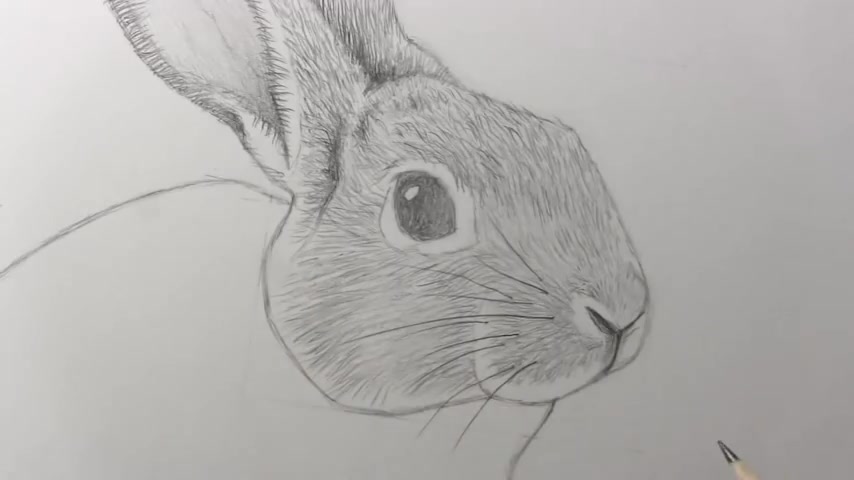
Now , it's probably time to start moving on to um getting some sense of the direction of the fur .
Now , I run into trouble with these animal videos .
Some people really do want to see the entire drawing uh real time when it comes to the fur .
Uh It is for me , essentially impossible to do because it's like AAA three hour process .
Uh And uh I sound like a broken record when I go into this explanation , but every video is somebody's first video .
Uh And so I'm just giving you a warning right here .
I'm not gonna be able to do all of the fur real time .
That would take me three hours .
I don't want to make a three hour video .
Um I mean , the uploading time alone would just drive me bonkers uh but notice the direction of the fur here and one thing that is a kind of a going to be a contrast with some of these other uh animal videos that I've done uh in doing like a drawing of a lion uh or a a wolf .
There's a lot of variation in the length of the lines that you're using to render the fur .
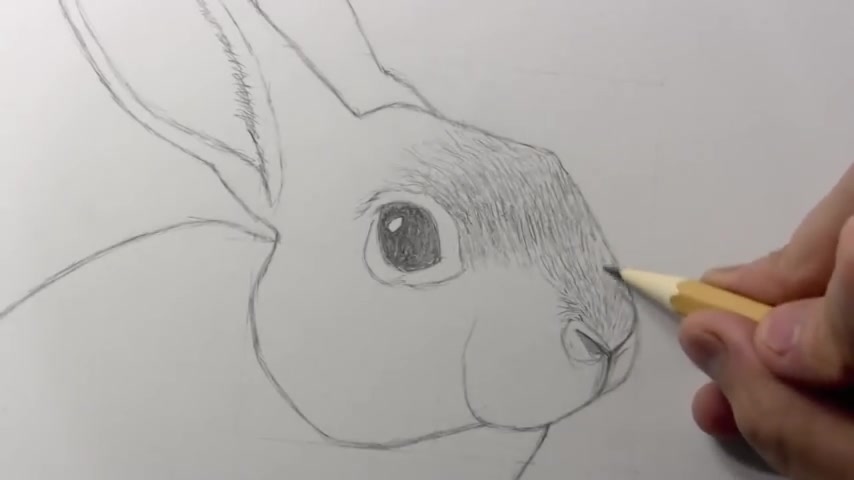
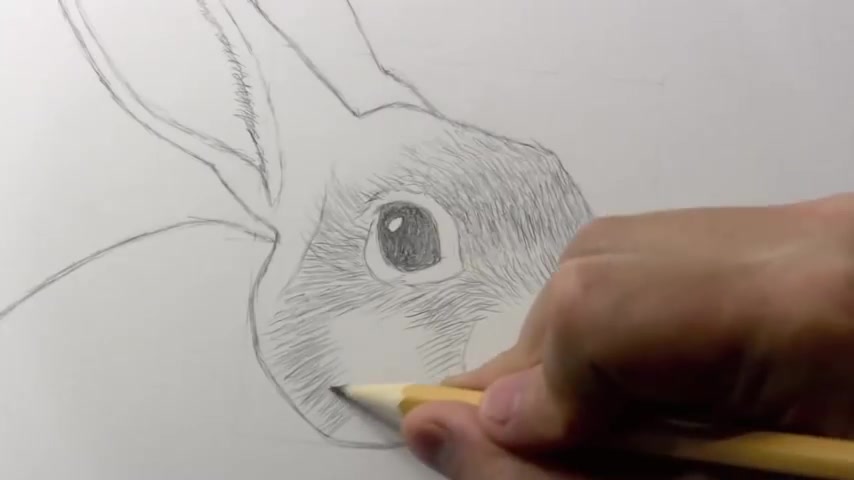
Uh When I study photos of rabbits , I'm struck by the relative uniformity of the length of the fur all around the uh area of the head with maybe the exception of coming down here to the nose and this seems to be common to a lot of furry mammals is when the closer you get to the tip of the nose , that is when the fur tends to shorten up and become very , very , um , you know , what am I trying to say ?
Smooth , less fluffy , less fluffier in orientation ?
Uh , but you can see me using shorter lines here .
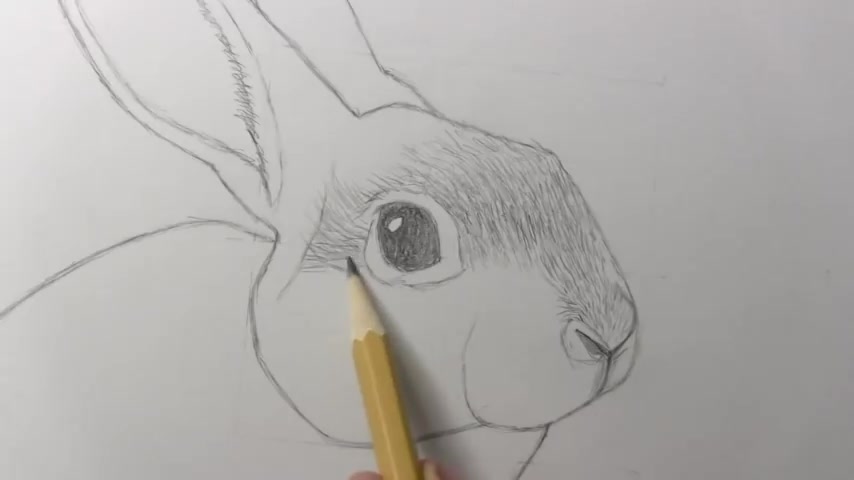
Um , and I don't know if the , if I've got the direction quite right , it probably they probably sort of radiate , radiate out in all directions from the tip of the nose .
But certainly by the time you get to what would maybe be the bridge of the nose up here , heading towards the forehead , the lines are clearly um heading in this sort of north west direction for lack of a better word .
Um all heading in the same direction and all , as I said before of a , of a similar uh length and then , uh let's uh pay attention to the length of the direction I should say , uh of the fur coming off here on this side of the eye , really kind of a little bit horizontal , uh maybe just beginning to head a little bit up toward the ear .
I would say a big part of getting the fur right is paying attention to the direction uh that the fur goes in on various parts of the face .
And , um , you know , just as a general rule , patience , you know , you gotta just slow down .
Don't try to get this all done in a half an hour or even one hour .
I would advise you to set aside two , at least two hours for the fur alone .
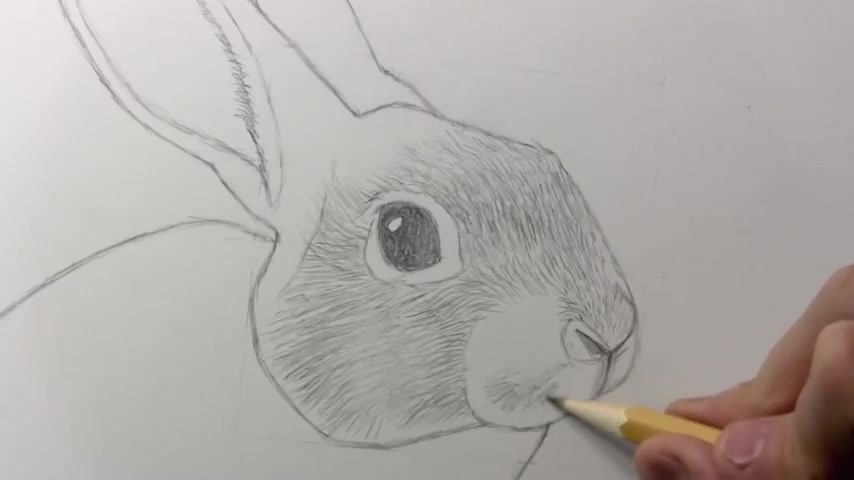
Now , as I said here , sort of horizontal as you begin to come down here below the eye , as you might expect to start , sort , sort of fan out diagonally heading .
Um Southwest .
Is that what we're gonna say ?
Why not ?
Let's stick with the directional method of describing this fur , excuse me , I must be allergic to my own bad jokes .
Um And then as we come over here , definitely um continuing this sort of uh diagonal direction .
But I suppose as it comes over here towards the nose , you're gonna have , you have these two directions kind of flowing together , almost like a river , like two rivers joining together , heading towards the nose .
But I would say compared to a lot of these other animals uh like the wolf or the lion or even the tiger , uh I think your job in terms of rendering the fur is simplified by the um similarity in length .
You don't have to pay so much attention to changing lengths of lines to um simulate the , you know , the changing length of fur , obviously with a lion , right ?
You've got the Maine and that requires very long lines .
And then a similar thing happens as it comes down towards the nose to get them very tightly packed .
And uh you know , that in itself can become the spur laborious chore of rendering all of that with lines here , you can almost kind of zone out in a relaxing way and , and assume that most of these lines are of similar length .
Now , one thing that I talked about earlier as I , I sort of erased away this uh area here .
It's a little a bit subtle what happens over here .
But it , it's like the , the front of the upper lip , the hair lip as it were , um , is differentiated , uh partly by its structure , but then partly also by the color of the fur .
And I noticed on some uh breeds of rabbit , at least that there was a dark area back here .
Uh I'm gonna sort of just very quickly uh shade in here later on , I'm gonna do this , uh in a more committed way .
I'm just sort of trying to make that uniform .
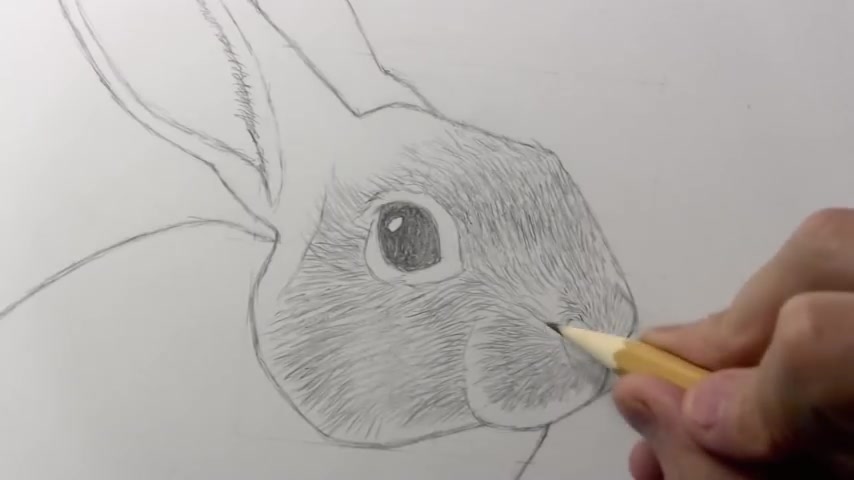
But then over here , uh as we start drawing the fur around the nose , um I saw again , at least on some breeds that there that there was a , an area of white fur below the nose , heading towards the mouth , which uh is entirely , uh by the way , the no , the mouth entirely invisible or not uh uh visible from this point of view .
And I think you'd have to get really down low to see a uh rabbit's mouth because it's sort of concealed by that upper lip structure .
Um And I'm not doing such a good job of rendering the direction of the lines .
Um come on stay focused curly .
But uh I really , what I wanted to point out to you is how the the sort of whiteness of the fur over here can help to uh differentiate these two sections , what I would call the sort of cheek section and the snout region .
I'm gonna go back to my use of the entirely bogus word snout region and people are always happy to correct me .
People who know the words better than I do , which is to say everyone on earth and that kind of gets us to that stage .
I think what I'm gonna do now is to refocus uh the camera and head over to where the ears are , that's gonna take us a certain amount of time uh for figuring out the , you know , various directions of the fur and where the dark areas and the light areas go .
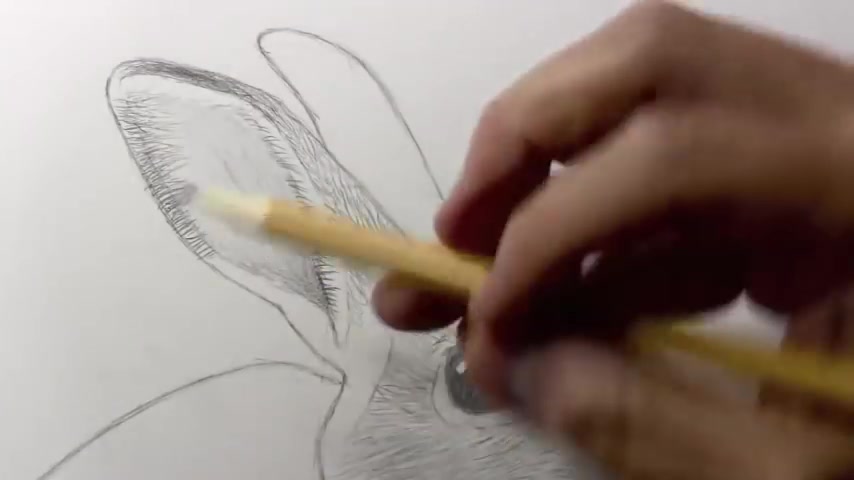
So why don't we begin by uh darkening in this uh area of the uh the interior of the ear just to sort of help us uh get a sense of the structure .
It's very dark down here uh where the very little light is getting in to illuminate it .
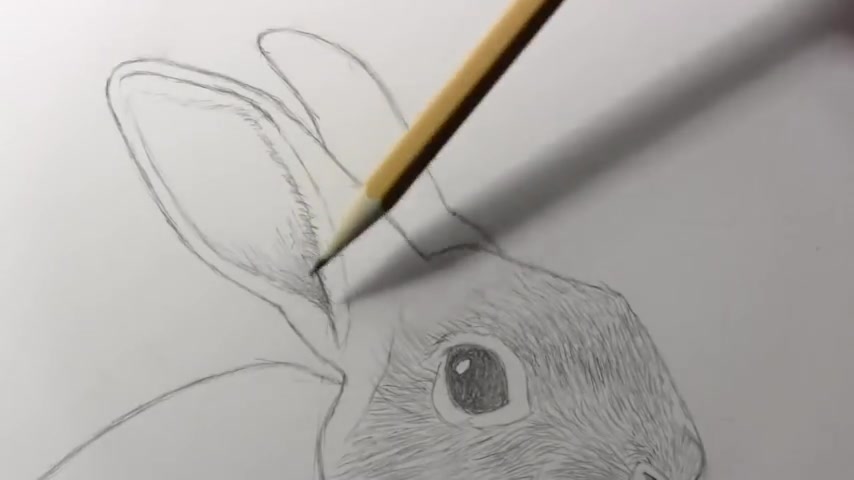
Uh If you are doing this in full color , this is the part that is going to be uh pink , the interior , I believe of most rabbits , the interior of the ear has a distinctly pinkish hue to it .
And what I'm trying to do , I'm lowering my pencil down to the uh page .
So as not to get too much directional line work in here , this area does not have visible fur on it .
It's very smooth .
You're basically looking at skin pinkish uh skin on the inside of the ear .
In fact , I might and some people don't like when I do this , but I might go in and uh smear a little with the finger just to make it super smooth , mark .
The oils of your fingers are destroying the paper .

This will not be able to be hung in a museum because it's the oils of your hand are ruining the paper .
It's probably true .
They're probably right .
I'm probably wrong .
But uh every once in a while I allow myself to sort of smooth things out a little bit just to get that effect .
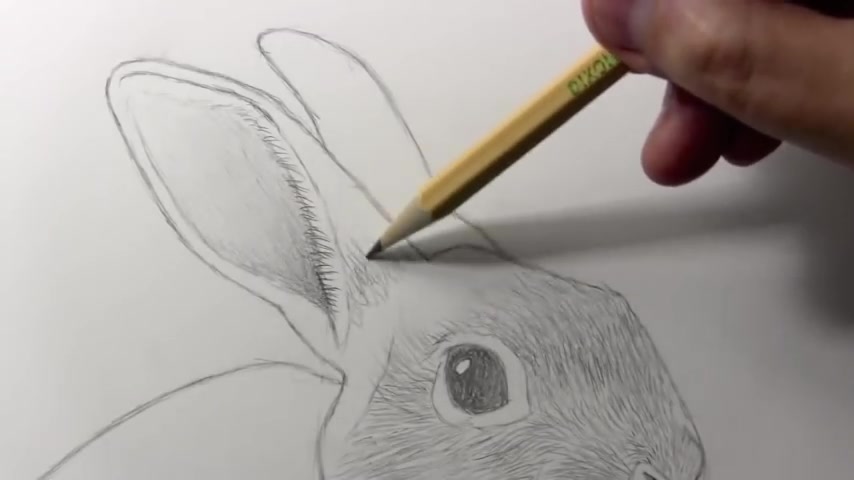
Now , here's uh an area where you can get quite um you know , detail oriented if you want .
And I'm drawing in a way , I'm drawing the the spaces between the white uh areas of fur here .
Again , very sort of horizontal in orientation all the way along here .
So you can see me sort of just am I drawing the fur or am I drawing the spaces between the individual hairs ?
History will be the judge .
Uh But you can see how drawing lines across here helps to suggest that sort of furriness .
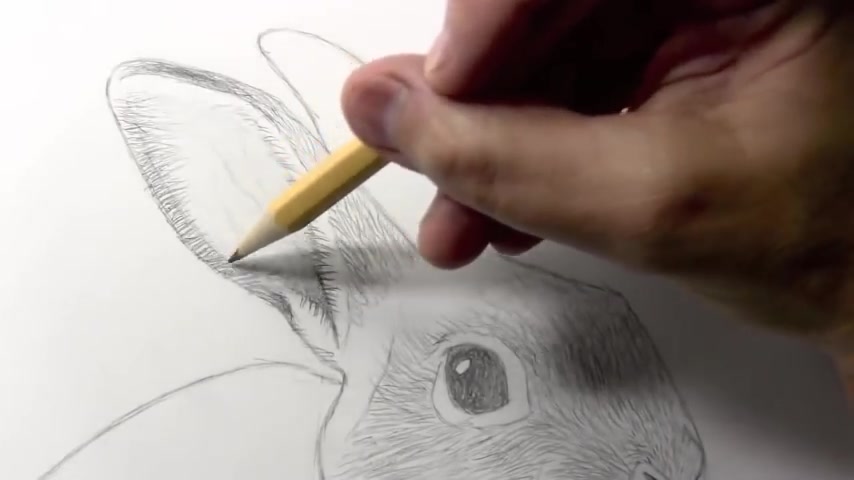
Um , why don't we do a little bit of the , uh , we'll get some of the directional of hairs that come up here .
Now , I said that the along the face , most of the hairs are pretty similar in length , I think once you get up to the ears , they do start to noticeably , uh , shorten up a little .
So I'm gonna start switching to kind of , uh , shorter lines to make the hair look a little , make the fur a little shorter , maybe a little uh rougher looking , a little less fluffy looking in this area .
And again , you know , the , the part that is going to probably enrage certain viewers is that , you know , I'm focusing on getting a base uh layer of drawing here for the fur , getting a sense of the direction , maybe paying some attention to the length .

But I haven't gone in for what I call the polishing phase where I try to deepen uh and uh the darkness of certain areas uh and just really work at it until there's great contrast throughout .
That's the thing that takes , as I say , a couple of hours and that's the thing that I don't want to subject you to in terms of a narrated video .
Uh Some people again say , well , I don't mind if you make a three hour video in which you talk about what you bought at the grocery store this morning .
Um And uh I'm sure there are some of you who would not object to a video like that .
I just , it's not my style .
I just have to own it at this stage .
Guys .
I like to , I think a , I think a 30 40 minute , uh , video is kind of ideal for me and that's why , uh , you're gonna see me going back over this all in time lapse later on to kind of polish it up .
But notice how dark , uh , my pencil work gets right here at the tip .
Again , probably not true of every breed of rabbit on earth , but certainly on , uh , some photos I saw , uh , the air , the , you know , quite a contrast between the , the darkness of this edge .
And then coming up here again , you're sort of getting an indication of white fur is what you're trying to suggest .
Now , I told you that the inside of the , the interior area here is all sort of like skin that you're looking at .
In fact , I could even see veins almost look like varicose veins on one photograph .
Uh , if you want to get into that level of detail .
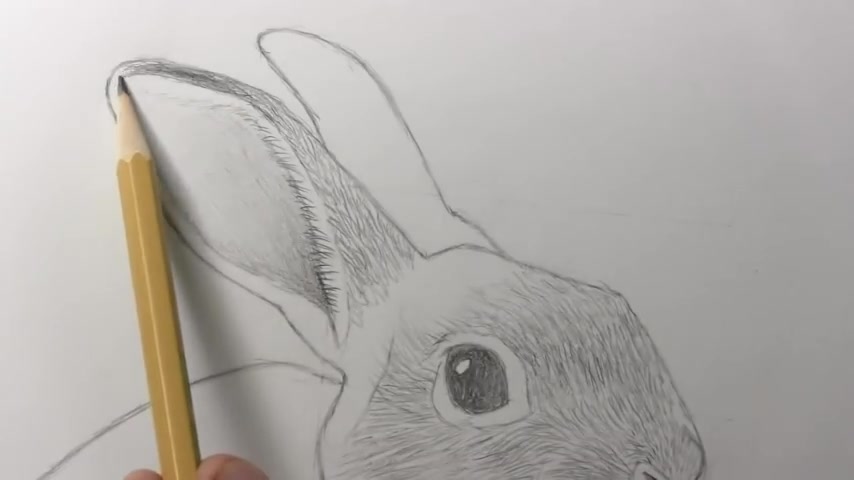
Um And it is for the most part smooth , but over here as we reach the um lower edge of the rabbit's ear , the fur does start to extend a little bit into the interior , very delicate line work you're gonna have to do if you wanna render this properly .
But notice what I'm doing in terms of the direction of these lines going toward the northeast , uh what's with this direction thing , but uh diagonal lines , um all in a very similar sort of direction quite dark here down at the edge .
And this is what you'll start to understand .
You know , when I put that initial guideline in there , it really was more about the color of the fur than it was about the structure .
But uh I'm going in here again and again with these short little diagonal lines .
And then if you have the patience for it , what you really want to do in this area is have sort of a gradual fade as the um the fur sort of gives way to the skin , the very super smooth skin .
Um and I may even go in here a little later on .
I am gonna pull out uh the white wash .
Well , I've got a different tube of white gosh , that might , some people might feel that's controversial mark .
We're used to seeing one particular uh type , but over here , I'm darkening in um uh uh probably a structural area may have something to do with the color of the fur .
But uh over here , you know , it's like this is all uh white lines of fur down here and there's almost like a little line between them between the two areas of white fur .
Um But I noticed the back behind it a little bit of darkness and that maybe brings us to the end of what I wanna say about drawing this particular ear .
Um It has been a while since we had old men .
Time lapse .
Help me out with this drawing .
I think what I'm gonna do is invite him in to help me , uh , do this other ear all in time lapse .
I think I've given you , you know , the basics of um , of how I render this stuff .
Let's go ahead and do this other year in time lapse and then I'll be back to start to get into maybe a few more final details uh on the face .
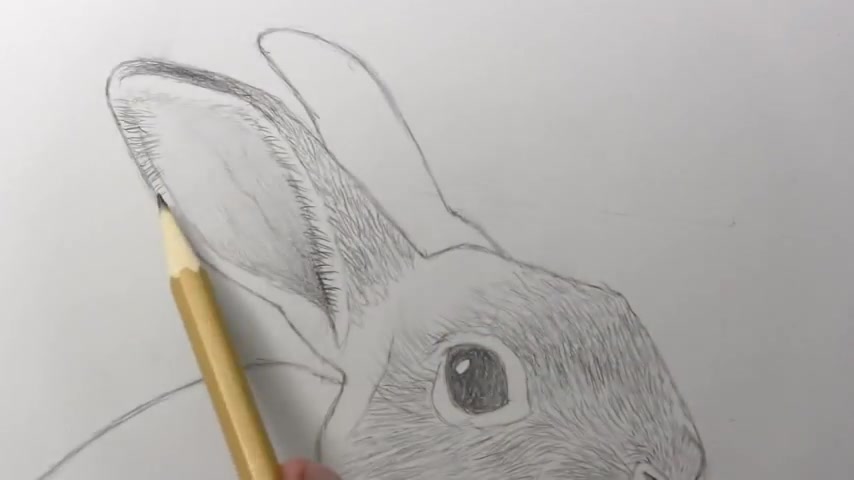
So a couple of things , I'd point out here notice how we get an extra area of darkness here at the very tip and sort of uh a gradient uh fade as it moves down towards uh the rest of the ear .
Quite a bit of darkness here , um above the forehead , kind of between the two ears , uh helps to visually separate those two , um , the two structures of the ears and then , um , sort of darkness down here that I think is formed by maybe structure beneath the fur , maybe also the color of the fur contributing to it .

But uh at the place where the ears separate uh from , from the head and you know how uh rabbits are able to sort of turn their ears very precisely in space .
This may be related to that the sort of structure of how it's able to move and uh , pivot around and so forth .
It may be , I don't know , I'm no rabbit expert then why are you doing a video on how to draw a rabbit ?
Rely ?
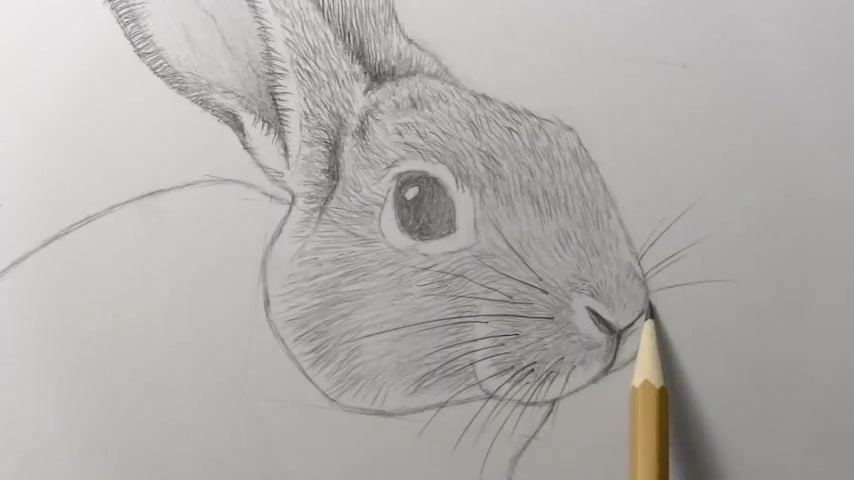
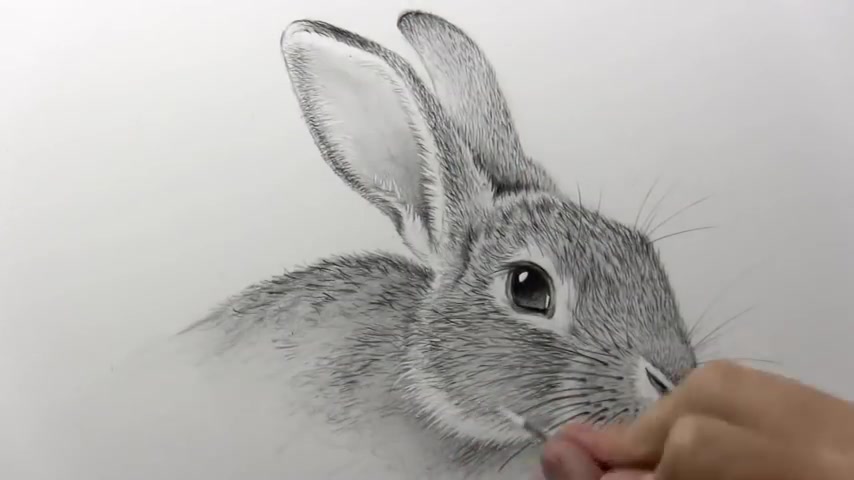
Anyway , I think it's time to move on to drawing the whiskers , uh , and maybe add a little more detail to the nose .
All right .
So maybe before I do the whiskers , I will uh um try to get a little more contrast in here around the area of the nostrils .
And then also to um go in with my eraser and make a little more clear this what I was talking about this area of white fur that is in the immediate area of the nostrils .
And I'm kind of going in and trying to um create contrast here .
So there's almost a little white uh halo of um very short fur right around the uh the nostrils themselves .
And then um I'm trying to decide if I should because there are like little dots where the um where the uh whiskers protrude from protrude , is that the right word ?
I'm going in here with a uh uh need an eraser to kind of clean up this area .
People do periodically say , how do you keep from smudging uh the drawing ?
And the truth is I do sort of periodically smudge the drawing and I have to go in with an eraser like this to clean things up .
So let's go ahead .
I think I'll start by doing the actual , um , whiskers themselves , I suppose on some , uh , rabbits , the whiskers are white I saw on at least one breed that they are black , which is helpful because it's so much easier to do , uh , with a pencil , something like that .
Uh , then to do it , uh , in white , you know , you almost have to do it with paint .
Um , and that was quite a long line there .
Uh , it , it is a little raking to know how long should I make these whiskers but pay also attention to the um the direction and it really is at this stage , I would say , kind of like um on the face of a clock , you know , with the , uh the lines kind of heading out , radiating out almost like the , like the rays of the sun .
I'm doing all these nature metaphors .
It's like two rivers .
And uh but yeah , I noticed that they do sort of go out and the full range of directions and uh not too much variety , like I wouldn't make one down here that starts curving up like that .
They do seem to be pretty tame in the sense of um as the , as the point of departure is higher on the nose .
So the direction heads more in that direction .
So the direction heads more in that direction , uh curly , you need more coffee .
So the direction goes more diagonal heads further out .
Um Not much variety in terms of one line crossing over the other , I guess is what I'm trying to say , trying and failing , trying and failing .
Curly .
And as you get down here , uh that the there probably comes a point where there are , there's no space for whiskers anymore and it kind of comes to a stop .
But I noticed quite a lot of uh little black lines in some uh photos I studied right down here , maybe thinning out a touch as you go uh further north to get back into my directional uh directions of the compass kind of thing .
And then over here you're gonna see them uh sort of firing off in these directions .
Uh and just using the contrast of the white of the page , it becomes relatively , you know , it's much easier for them to be seen over here .
But uh I would say uh the horizontal area , the point at which they become horizontal is just a little bit north of the uh nose and then as you get um south of the nose , the , then they start curving down , you go past and that um horizontal direction , I'm trying to move myself .
So as to do this a bit more gracefully , yeah , I'm gonna have to actually stand up , excuse me , change in audio here .
I'm standing up .
So as to get the natural pivot point of my wrist working in my favor .
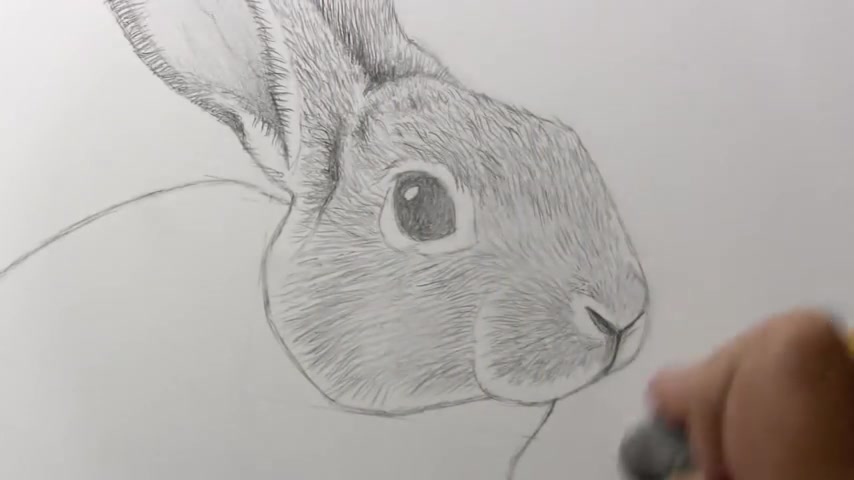
And I think we've , you know , I think we've got enough here in that uh in that way , I suppose the next thing to do as I take a seat again on my , you can hear the wheels rolling across the floor , uh , is I'm gonna come down here and really just in a , uh , a shading way , I'm not gonna go into the , uh , the fur too much at this stage .
Just wanna show how helpful it is to get some contrast between the sort of whitish fur down here at the base of the head .
And then if you darken in below , that's gonna help the head stand out .
And it also , I think just reflects the reality of many breeds of rabbit .
Um I am just shading this in at this stage , but uh I think to make it consistent , it is going to have to be rendered in a fur like way as I did throughout the rest of the drawing later on .
I suppose what I can do for those of you who want to um get some tips on the on the direction of the firm .
I think it more or less goes as you would expect , heading this way across the bank right then way over here , it's gonna be coming down sort of following the form of that initial line .
So I don't think there are any big surprises in terms of the direction of the fur coming across this way .
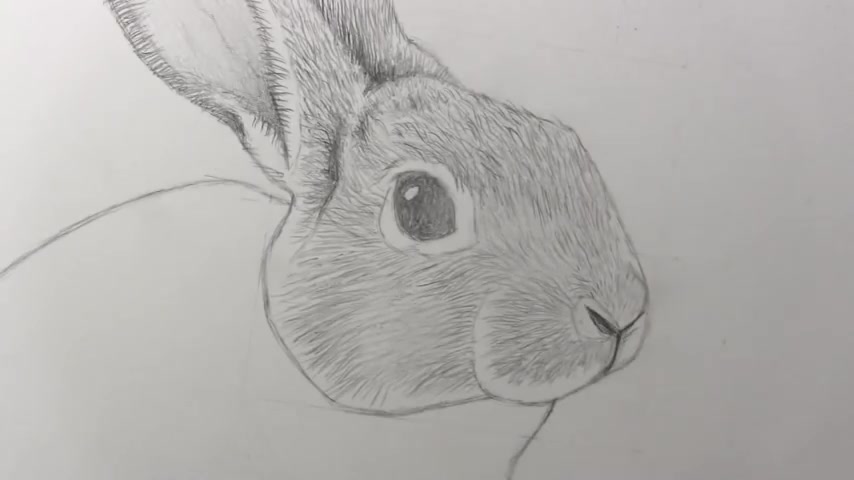
But again , you can see that this is gonna be a hugely time consuming part of it and I'm gonna get to that later , but I thought what I would do now , uh , one while I have one last moment , um , prior to the time lapse part of the video , I'm gonna go in with my black Prisma color , a black , uh , prisma color colored pencil .
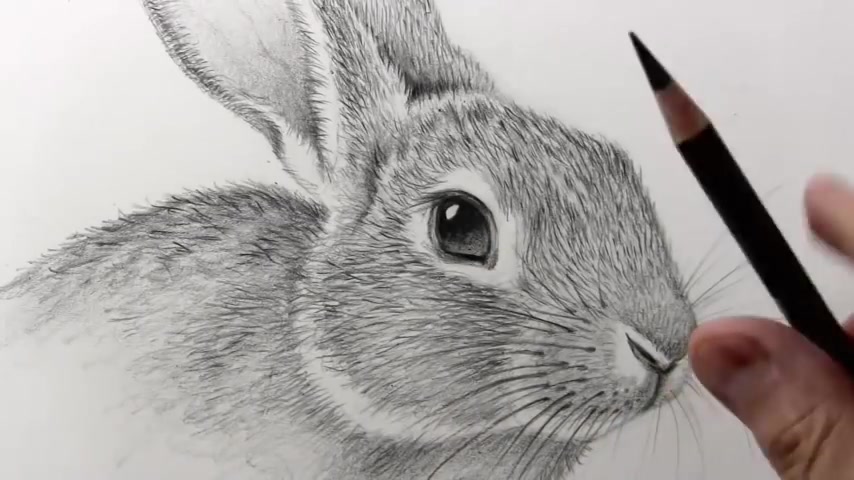
Uh , and I'm going in here and I'm actually going to delineate the eye socket just a little bit inside of that initial shape that I had drawn .
Um turning one part of it into the sort of eyelid and darkening in here to make the actual surface of the eye itself .
And as I said , that uh that single white highlight , if I can go back in and make sure that that's nice and clean the white of the page .
Uh as I go in and darken things in around that highlight that'll make it pop and that will make the eye look super , super shiny , almost like a marble or something .
Uh I always make sure that I get a lot of darkness right there and like the very greatest contrast you can manage right there around that highlight .
And sure enough uh as you move away and maybe allow yourself to lighten things up just a little bit and you really do get a nice illusion of the sort of glossiness and there's a sort of a nice contrast with the uh relatively rough looking fur uh that surrounds it .
Well , sadly , I think we have kind of reached the point where I'm gonna have to kick things into time lapse and , uh , finish things off .
But I do hope that I gave you enough pointers along the way that you can sort of see where I'm headed here .
And , um , without seeing everything in real time , understand how it is that I'm , I'm gonna get to my final results .
So bear with me folks .
It's time to bring an old man , time lapse .
I do love bunny rabbits .
My favorite kind of animal and he is going to help us to uh finish off this drawing and then I'll be back with a few final words .
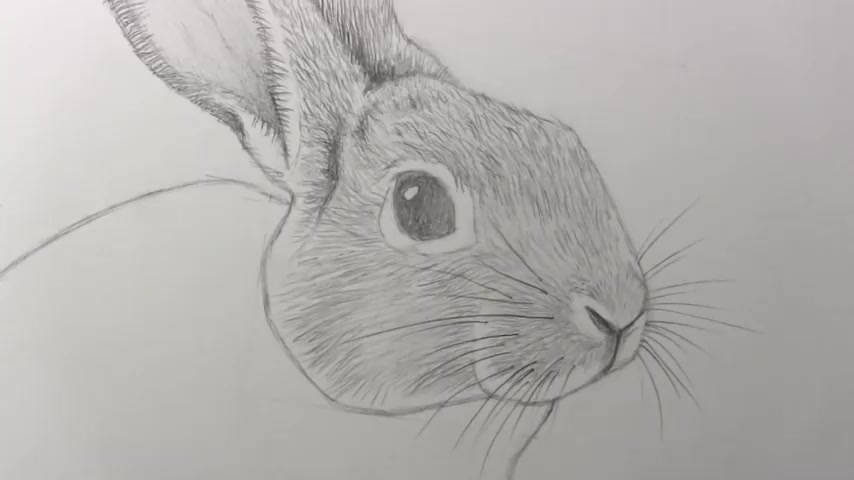
All right .
Well , you know , as I said , this uh really was like a two or even three hour process here of uh of working on the fur um to sum up as if it's possible to sum up three hours of work , I would say uh in this case , but in particular , having the black prism of color uh is an important part of , of simulating this fur .
You can see all these tiny little black lines here and there .
That contrast is very important for , for conveying the texture .
Uh If you try to do the whole thing with just ordinary pencil , I would say you really have to be pushing down very hard uh periodically to , to try to get that uh that dark black .

Now , I , I remember one thing that I really should have included here and that is uh the idea that , you know , the whiskers are mainly around the nose , but there are also uh whiskers uh almost like eyebrows uh coming out of um as you would expect the sort of forehead , the forehead region .
Uh And uh so here with the contrast of the , the um white background , very easy to see .
Uh but they should also be over here , I think they're gonna be a little harder to , uh , make visible , but I guess I can maybe throw in one or two and in a place where they , they stand out and , uh , hopefully that finishes that off .
Now , I wanted to also add , uh , a little bit of white quash .
So let me refocus the camera .
All right .
So I've got a tube of white gush here different from the usual tube , a different , um , brand I think , but it's basically the same thing and I'm gonna go in and , well , the first thing I can do , which is a safe bet is to drop in , uh , some extra white on top of that little highlight there .
I thought I might also get just , uh , a little indication of , uh , reflection right here .
Might make it look a little more like , uh , like there's , uh , uh , whiteness or what am I talking about ?
I , I'm completely losing my mind .
Sorry , my brain fell apart right there .
It is a glint of , uh , well , it's , uh , um , moistened .
Let us say that part of the eye and by putting a little bit of white there , but I really did sort of lose my complete thought on that one .
A little scary guys .
You were there to witness it anyway .

I'm going into these other areas dropping in a little white here and there , uh , anywhere where you want the individual white hairs to show up , this is your chance to do it .
And , uh , if you've got a thin enough , uh , watercolor brush , you can hopefully , you know , through practice and you could even practice on other pieces of paper .
Uh , you can get little tiny hairs , white hairs to show up against the , uh , the , the gray behind it .
You do need an area of contrast like that , uh , for it to show up .
Let's see if I can get .
Yeah , here we go .
Do you see a little of that starts to show up a little better ?
And I would say that this is , uh , not absolutely necessary .
This is sort of like an , uh , taking it to a higher level .
Uh , if you don't have whitewash , if you don't want to go to the trouble of buying whitewash , uh , it's not necessary to sort of leave the weight of the page in that area .
Well , I'm gonna go ahead and , uh , use the old man time lapse , his assistant , uh , assistant in finishing off this last bit and then I will be back with a few final words all Right .
Well , that brings us to the end of my video on how to draw a rabbit .
Let me know what you thought of it .
I hope you found it helpful .
Uh And please let me know if any other animals you would like to see me do in the future .
I know it took me a while to get to this one .
but uh I do enjoy doing these animal videos and I'm sure I will be doing more uh in the months ahead .
But for now , I want to thank anyone who has supported me by getting any of my books like Brodie's Ghost , my graphic novel now complete in one edition , we got the drawing lesson , a graphic novel that teaches you how to draw as well as the realism challenge .
My book on hyper realistic illustrations and my very latest book , mastering manga three .
I'm always super , super appreciative of anyone who decides to help me out by ordering any of those books .
But let's go ahead and lay down this pencil .
I wanna thank you all for watching this video .
I really hope you enjoyed it and I'll be back with another one real soon .
Are you looking for a way to reach a wider audience and get more views on your videos?
Our innovative video to text transcribing service can help you do just that.
We provide accurate transcriptions of your videos along with visual content that will help you attract new viewers and keep them engaged. Plus, our data analytics and ad campaign tools can help you monetize your content and maximize your revenue.
Let's partner up and take your video content to the next level!
Contact us today to learn more.