https://www.youtube.com/watch?v=J5b7o8MBosk
BIG 17'' MONSTER HIGH DOLL REPAINT _ 17 INCH _ How To Draw Face, Freckles Art Speedpaint Tutorial
Hello , everyone and welcome to my very special doll repaint video .
It was my dream already for a very long time to repaint the big 17 inch monster .
He do , but I could never find any here in Belgium and now I finally own this beauty and I just can't wait to start working on it .
So let's remove her clothes and accessories and got her original hero .
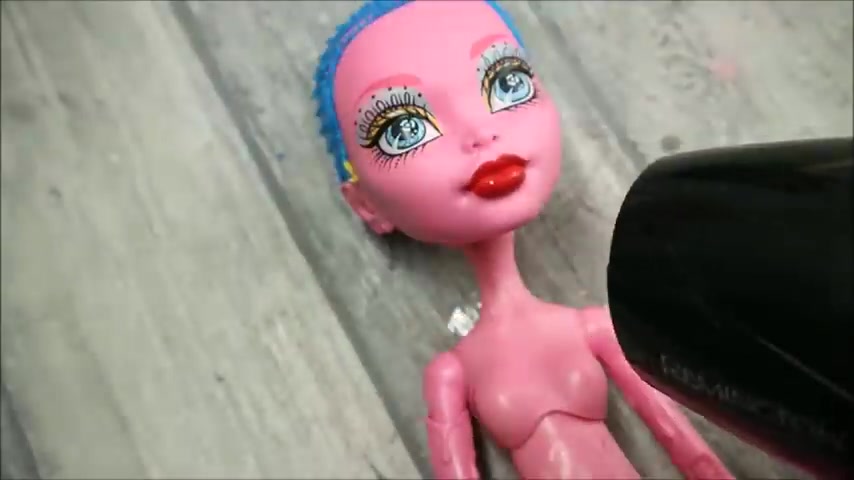
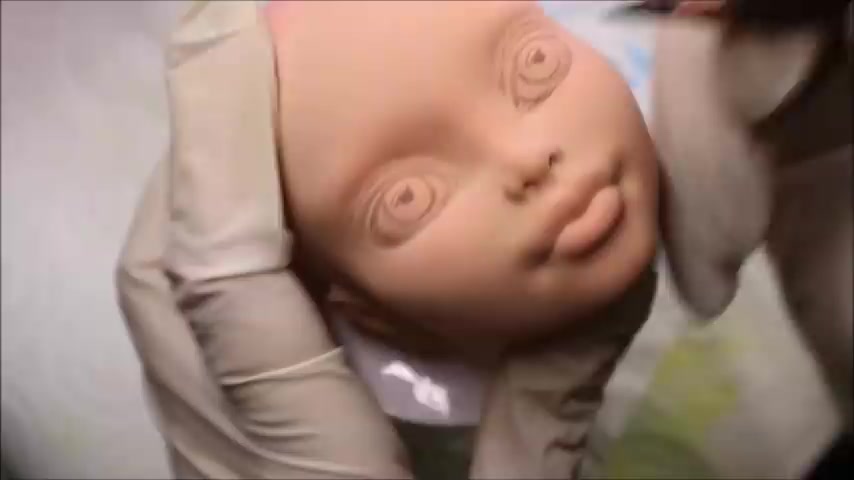
Now I need to remove your head and I can tell you honestly , I'm scared like hell to do it .
This do head is made with some kind of harder material .
It looks more like plastic and I think I might have some troubles here .
I watched a couple of videos of other artists working on such a big monster high dolls and everyone just keeps this moment in their videos .
It seems there is a lot of suffering hidden backstage .
So wish me luck .
I'm going to warm it up with the hair dryer like I usually do it and let's see how it will go .
Well , I just couldn't do it in front of the camera because I needed to have a full control over the situation .
It was pretty difficult to take it off and I needed to warm it up at least for five minutes to make it completely soft .
And even , and then the risk to break the neck was pretty high .
So now I'm very happy it worked .
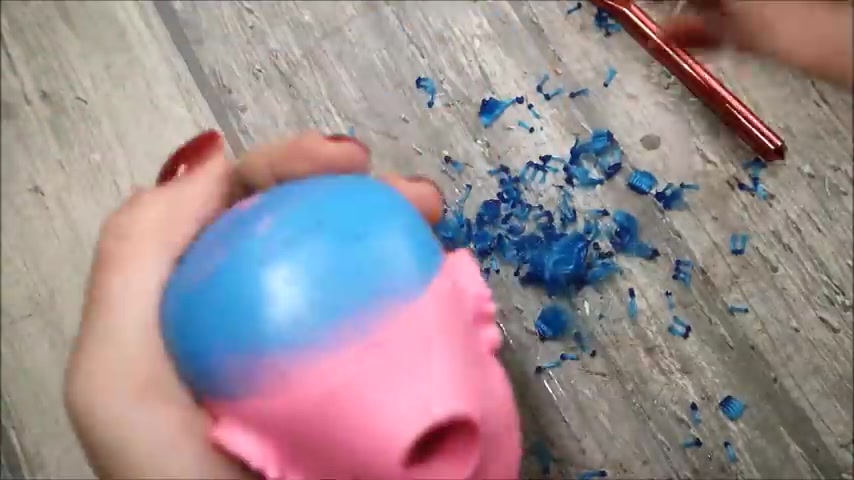
And now I need to remove the rest of her hair from the inside of her head and it goes quite easy .
There is at least no nasty , sticky glue inside .
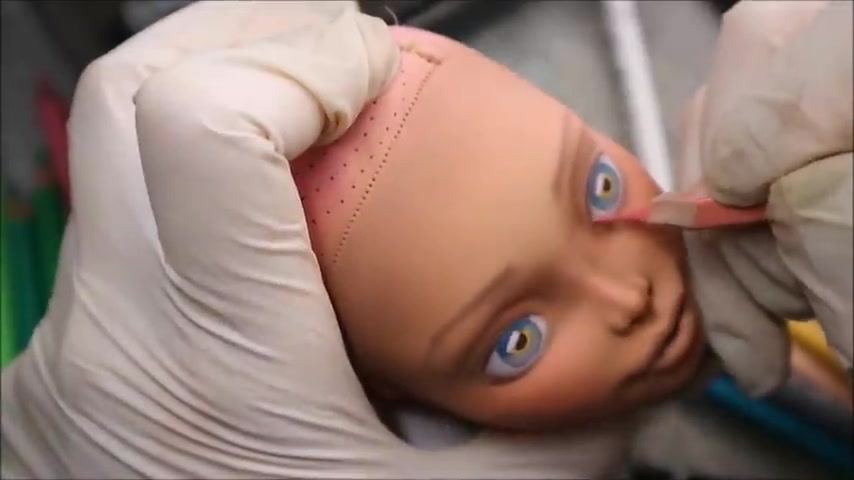
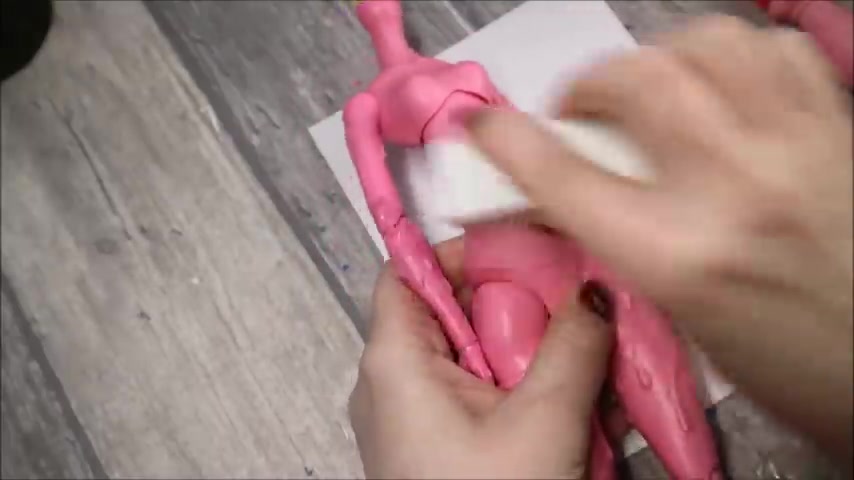
Now , I need to remove your original face and I have no idea how this sort of plastic will work with the acetone .
So I'm using an acetone free nail polish remover and it goes quite good .

And then I'm making a week for her .
I will not show the whole process here .
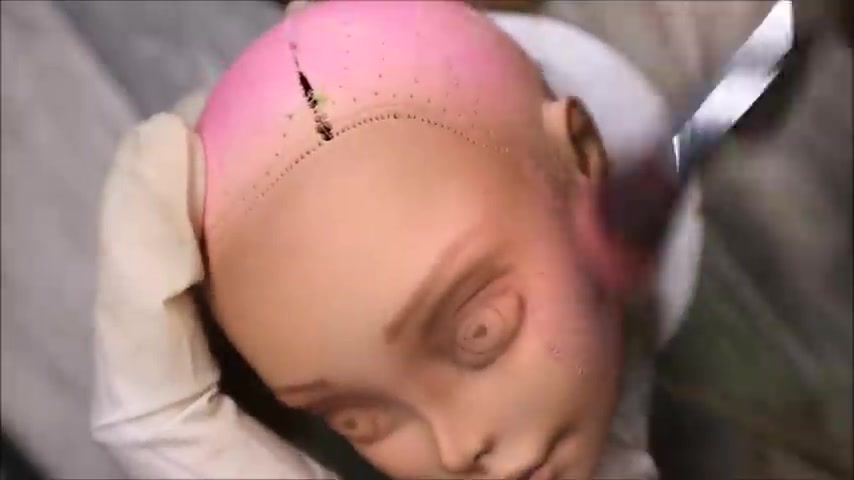
And if you want to know more about my method of making wigs , you can check the special video on my channel and now I'm going to change her pink skin color into a natural looking one .
And for this , I'm going to use such a color wheel .
I have already explained how it works in my previous videos .
Now that those skin color is somewhere here .
It's quite bright pink .
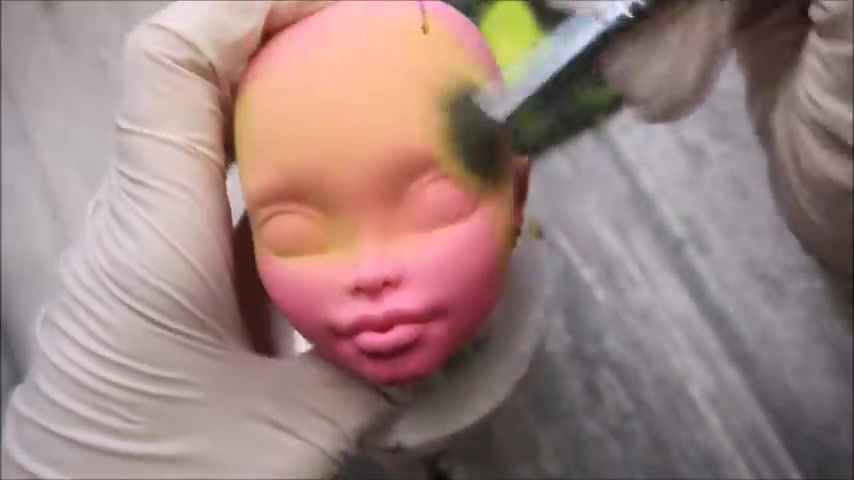
And if I want to neutralize it , I need to use the opposite color and it's going to be such a bright green .
Let's try and see what will happen .
You see how just one layer of green soft pastels has turned the pink face into a natural color one .
It's of course still quite orange .
And nowadays you just cannot leave your dough even a little bit orange .
Otherwise you'll get 300 comments from people who think that your dough looks like Donald Trump .
So let's kill the orange with the blue , following the same logic of the color wheel and to cover all the traces of green and blue pastels , I will apply a layer of such a light amber .

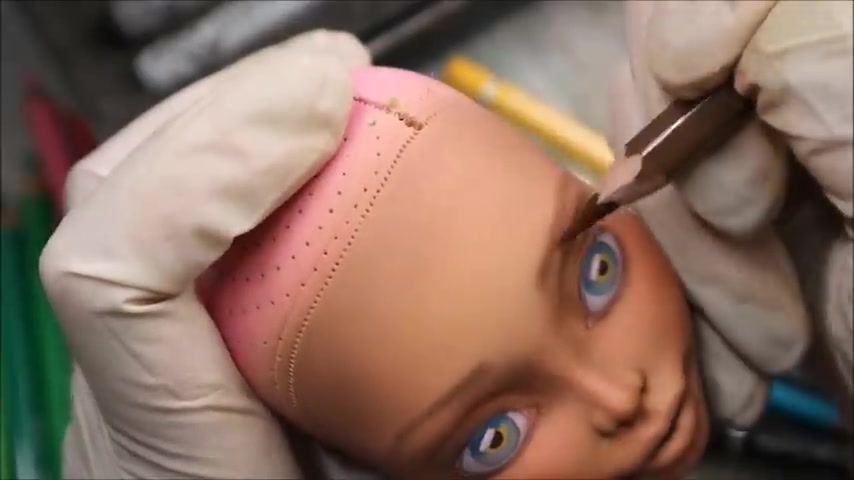
And now let's take my pencils and sketch your eyes .
I also draw the nostrils and the line between her legs and then with soft pastels .
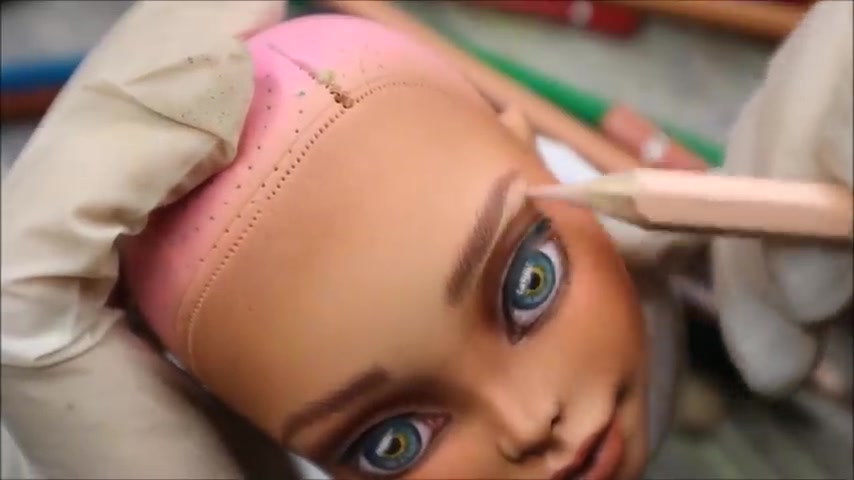
And in the razor , I sketch her eyebrows for my work .
I use fiber Castel Alri , dual water color pencils and Rembrandt and Faber castel soft pastels .

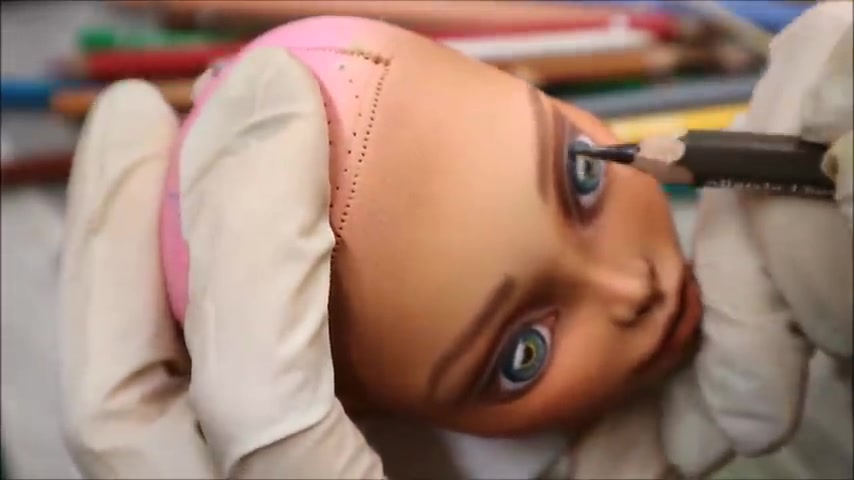
Now we have already the basic sketch of her future face and now we need to give it some extra dimension to make it look more realistic and alive for this eye .
Take so a little bit darker than her new skin tone and I contour her eye crease the sides of her nose , the mouth , the cheekbones and the hairline .
Then with darker pastels , I make all the shadows all the time a little bit deeper and darker .
Then I had pink soft pastels to make the shadow softer and then with reddish pastels , I add some blush to her cheeks .
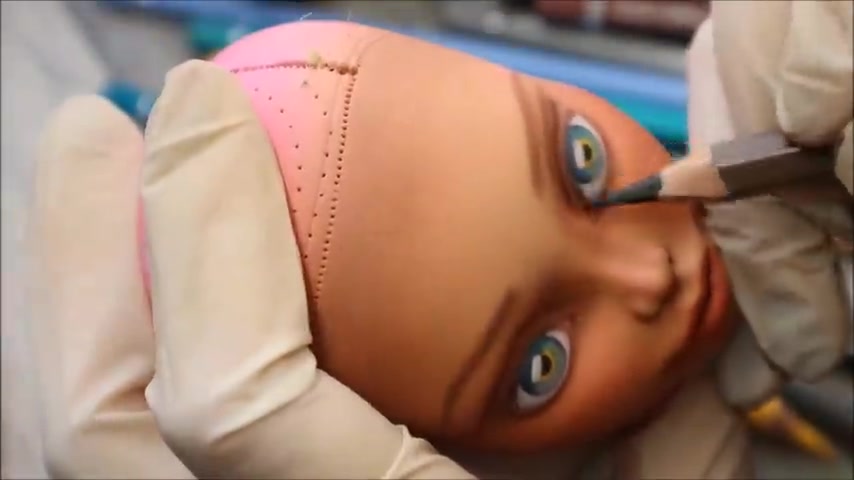
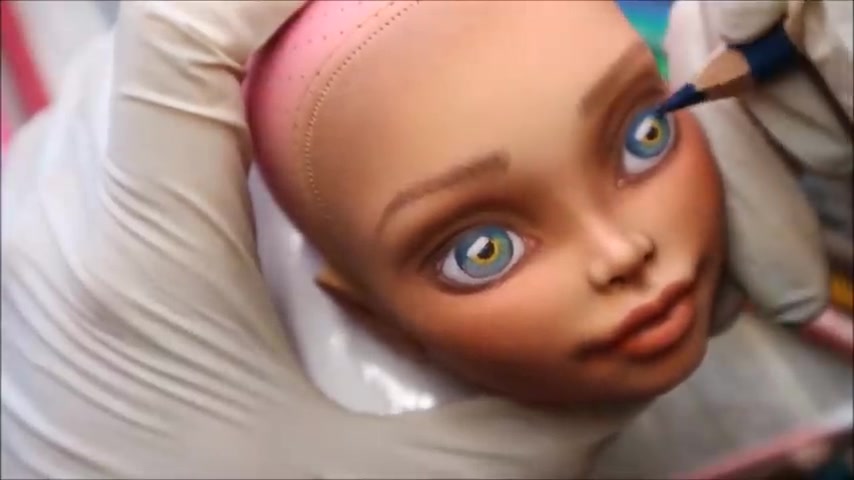
Now it's finally time to take my pencils and to start working on her eyes , eyebrows and lips .
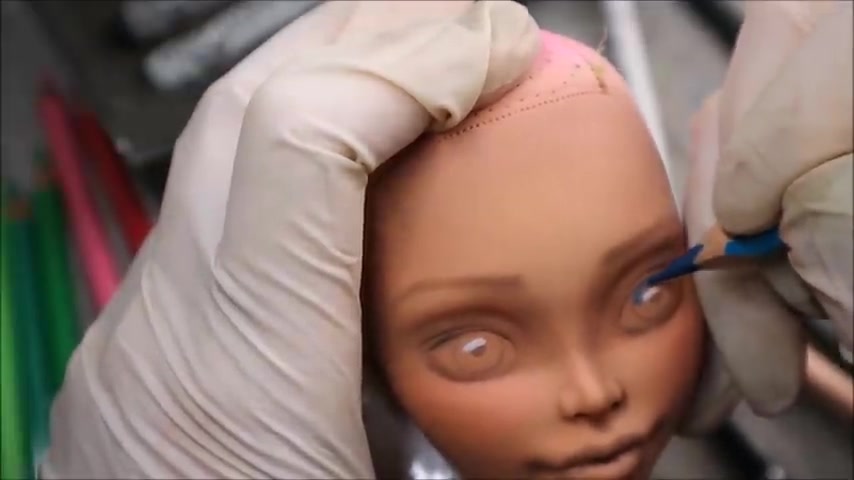
First , I draw the irises and I think she will have blue eyes .
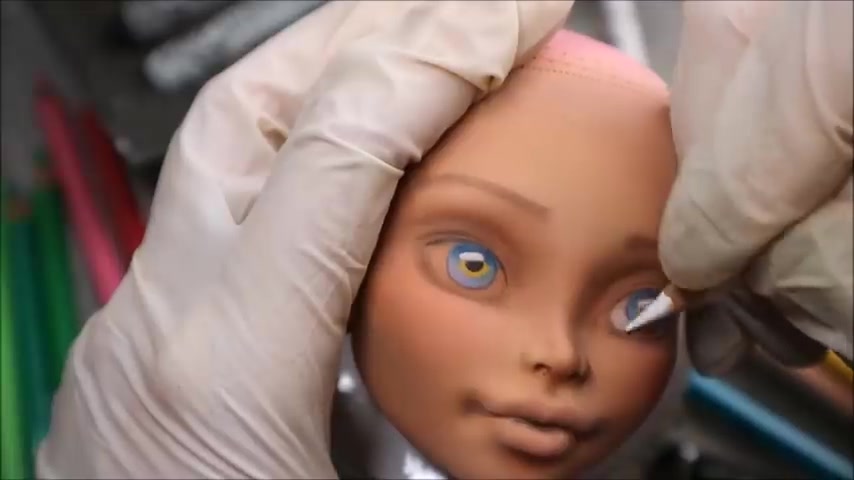
Then I draw the white of her eyes first with the white pencil and then add gray shadows to them because they shouldn't look too white .
789.19 --> 879.65
I will use mainly brown pencils in different shadows .
And sometimes I will also add a touch of red , black or almost white pencils and it's also very important to be sure that all your pencils are very sharp , her lips , eye color with red , soft past , I still want to make her eye crease a little bit deeper .
So I work on it with Caput Morto and Indian red pencils and then I blend the pencils with a blending tool or with Q tips .
940.95 --> 1019.7
It's important to understand here that our eyes are not flat and an eye is not just laying flat on the face .
It has its own shape and dimensions .
And this is what we are trying to draw here using highlights shadows and sometimes color accents .
Now with the brown pencil , I make all the shadows a little bit dark .

And now finally , I take my black pencil and draw the eye lines , the bottom eyelashes and the reflection of upper lashes in her eyes .
And then with a very light pencil , I cover the most highlighted areas on her face and then I blend the pencil very good with Q tips or with a blending tube and now your face is almost ready , but we still have the most exciting part plan .
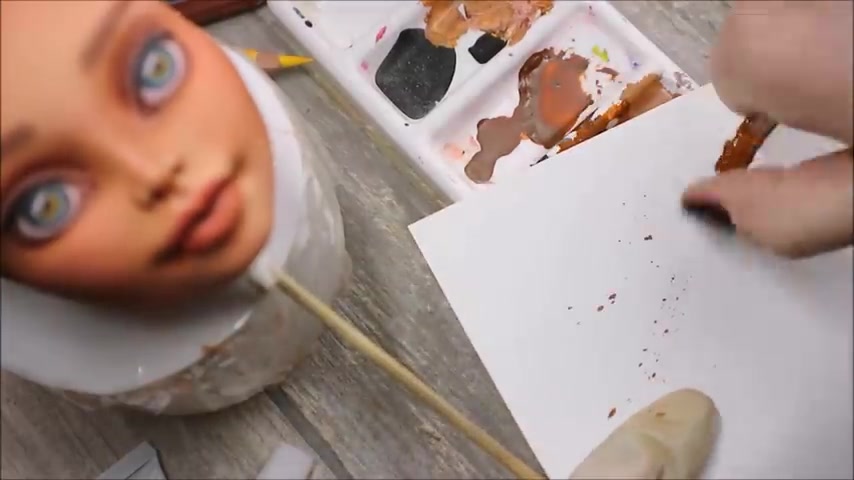
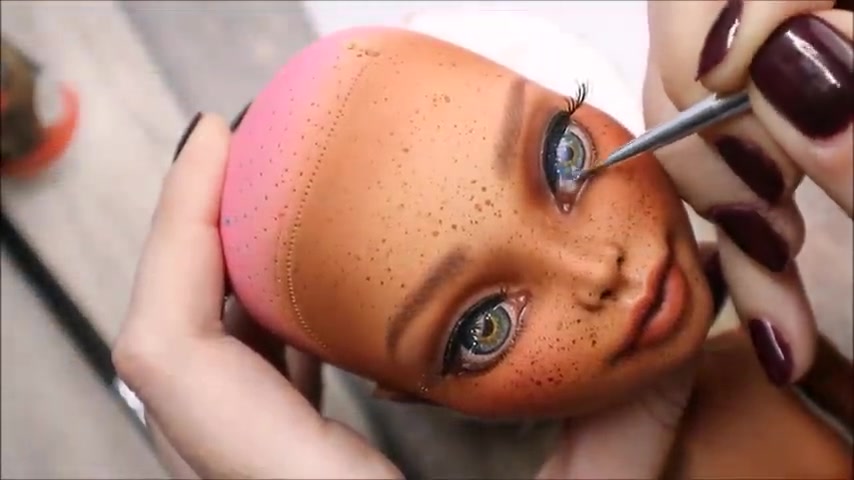
Now we're going to apply the freckles for this .
I'm mixing together orange and brown acrylic paint and the color should be just a little bit darker than the skin tone and then add some water to it .
First , I need to try it , of course , on a piece of paper .
1524.67 --> 1593.729
You can apply two or three layers of paint and then you should let it dry for a while .
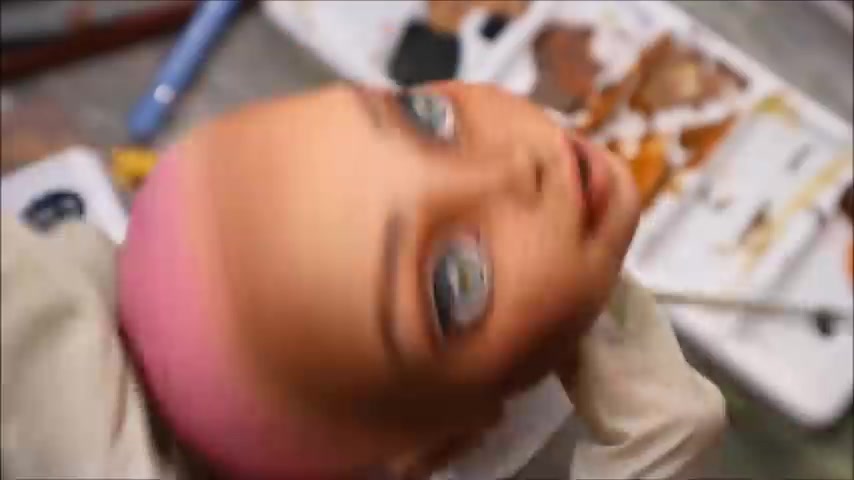
Now , her freckles are kind of laying on top of your skin and to make them look more natural , I'm applying a layer of red blushes to her cheeks on top of the freckles .
Then I take white acrylic paint and add all kinds of dots and highlights to her eyes .
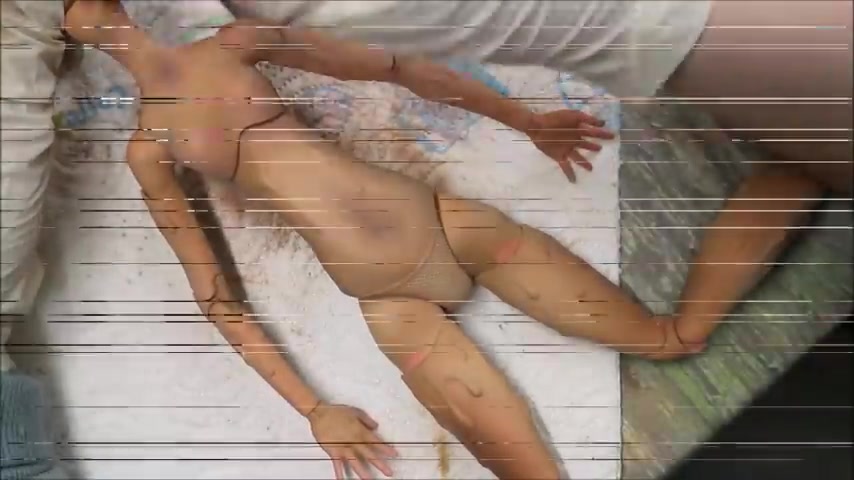
And now of course , I need to change her body color as well .
For this .
I first sent it with nail buffers to remove the Glossop from the body .
Then I clean it with an acetone free nail polish remover .
After this , I set it with three layers of mister super clear sealant .
And then I applied the same color soft pastels like I use for her face .
And now it's the moment of truth , I need to put your head back on .
I have cut the spin to make it easier .
And now I will warm up the dose again with the hair dryer and I will try to put it back on without making any damage .
I will try .
Really ?
Oh Thank God .
It all went pretty smooth .
No damage .
Everything looks good .
And now I need just attach the false lashes to put some gloss , acrylic varnish to her eyes and lips .
And of course , in the end , I still need to sign my work , especially for this doll .
I've made a skirt and a top and I've also customized your boots .
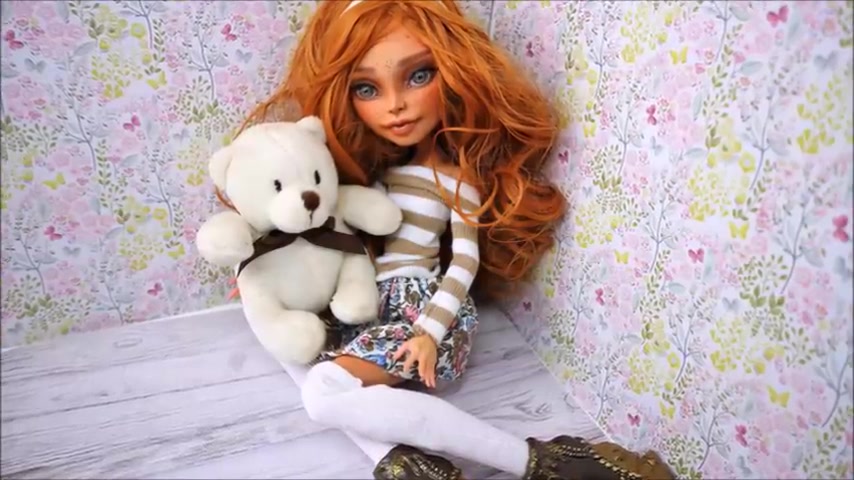
And finally I can show you the end result .
I can tell you honestly , this is one of my favorite dolls ever .
And I really , really , really loved working on a big monster high dolls .
First of all , I just like drawing on bigger faces .
It's just easier for me .
And secondly , look how good and how pretty she can sit and pose and what do you think about my 1st 17 inch experience .
Please write your thoughts here in the comments under this video and of course , don't forget to like it and subscribe my channel if you don't want to miss my new do paint videos every week .
Friday .
Also visit my Instagram .
I post there a lot of backstage processes and do pictures and life hacks and I hope you enjoy this video and see you already very soon .
Bye .
Are you looking for a way to reach a wider audience and get more views on your videos?
Our innovative video to text transcribing service can help you do just that.
We provide accurate transcriptions of your videos along with visual content that will help you attract new viewers and keep them engaged. Plus, our data analytics and ad campaign tools can help you monetize your content and maximize your revenue.
Let's partner up and take your video content to the next level!
Contact us today to learn more.