https://www.youtube.com/watch?v=Q_dpP6MyWQA
HOW TO DRAW EYES _ All styles _ Drawlikeasir
Hi guys , my name is Marcel and today I'm making a video about something all of you wanted so bad .
You asked me basically every day about this .
So today's video is going to be a tutorial on how to draw noses .
Yeah .
Um OK .
Yeah , today's video is about drawing eyes .
Of course , I'll show you how to draw basic eyes , eyes from different perspectives , stylized eyes and some tips and tricks .
You guys know my channel by now , I make all of these videos completely by myself .
These tutorials are insanely hard to make .
It takes a lot of time and effort and that's why I have a sponsor for this video .
As you might know , I have a website where you can read all about and buy my manga series and art book .

And there are probably some artists out there that maybe also want to sell their art online with an online shop or just want to have a website in general .
That's where today's sponsor comes into play because XI helps you to make professional looking websites with integrated online shops .
Even if you have no idea about coding or websites , it's super fast loading and it's easy to use .
And even if you don't know anything about , you can just use a preinstalled template and customize it yourself .
Since most of this is just drag and drop , you can import your artworks super easy .
So it's also a good idea if you're looking for a way to make a portfolio and just in case you're having any trouble , there's a 24 7 customer support ready to help you out .
And the best part if you use the code drawing like a sir , you get a home page for free for three months and from there on out , you get 86% off .
So yeah , go ahead , click the link in the description .
I'm pretty sure if you're looking to make a website or an online shop , this might be the right thing for you .
This was my very first ever sponsorship on this channel .
Many companies asked me to make sponsorships for some mobile games , but I think that's kind of dumb .
That's why I refused them all .
But I think Zara is a cool thing to tell you about .
I for myself , always wanted to have my own website as a kid .
So I see how that's something you might be interested in .
And now enough of that , let's finally start with drawing eyes .
Let's go .
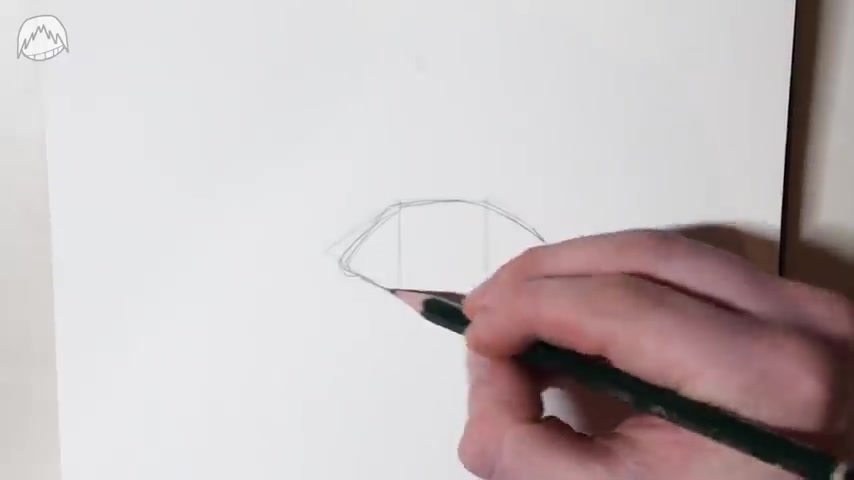
First of all , let's learn how to draw a regular eye before we learn how to draw a stylized one .
Don't worry , drawing the eye isn't as complicated as other anatomy parts because we're actually just drawing a very small part of the whole eye .
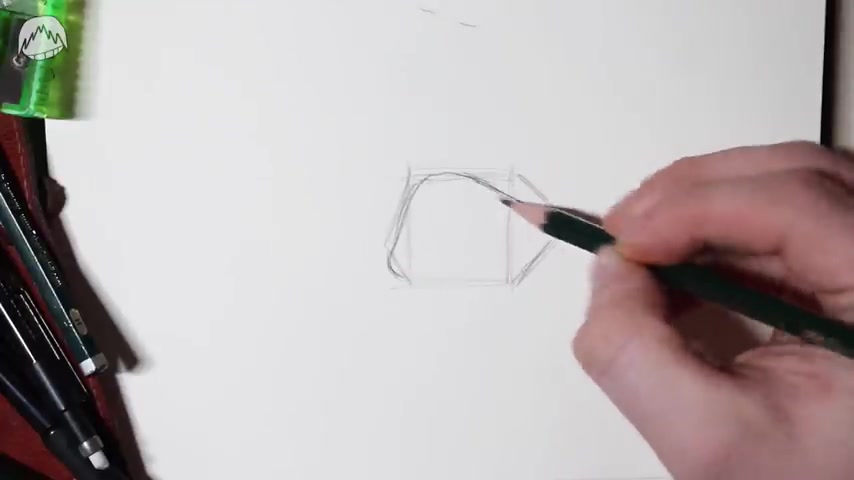
Like I'm doing it in every tutorial of mine , I'm splitting the eye part into its most basic components .
And because we're only drawing this small part of the eye and instead of the whole eyeball , the guideline is gonna be very simple as well .
And yeah , drawing the eye this way isn't something new pro artists use these guidelines for ages .
Now , of course , it's not gonna stay like this .
You first want to smoothen out the shape .
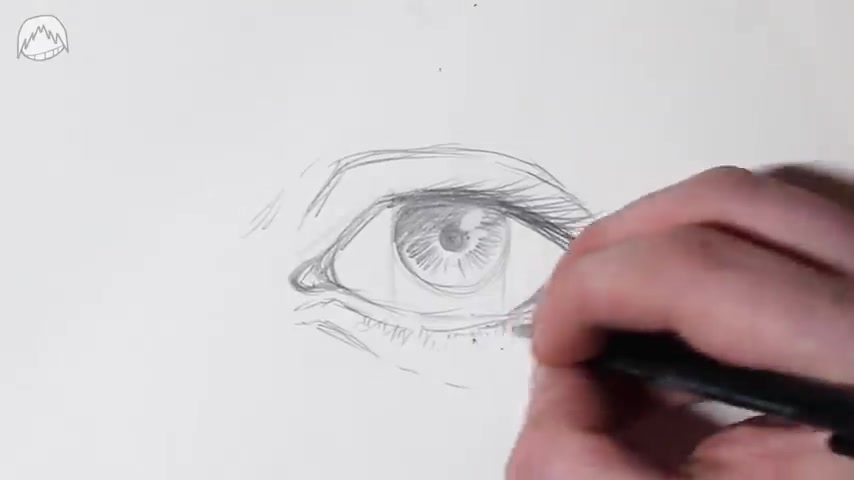
So it looks a bit more natural right after that , you want to draw this part here a bit darker because there are generally more eyelashes there .
That's why this is the overall darkest part of the eye .
It doesn't matter what side the eye is drawn .
Let's leave the details for later because what you all probably want to know most is how to draw the iris .
Because if you draw the iris wrong , your character might look like he needs an exorcism .
A rule of thumb that I have is to draw the iris .
So that just one quarter of it is covered , but just watch out when it comes to the pupil , please .
Because if you draw a pupil too small , your character might just look like a serial killer .
So always draw a pupil a bit bigger and for a good measure , shake the top half of the eye .
That way you can avoid drawing the infamous crazy eyes .
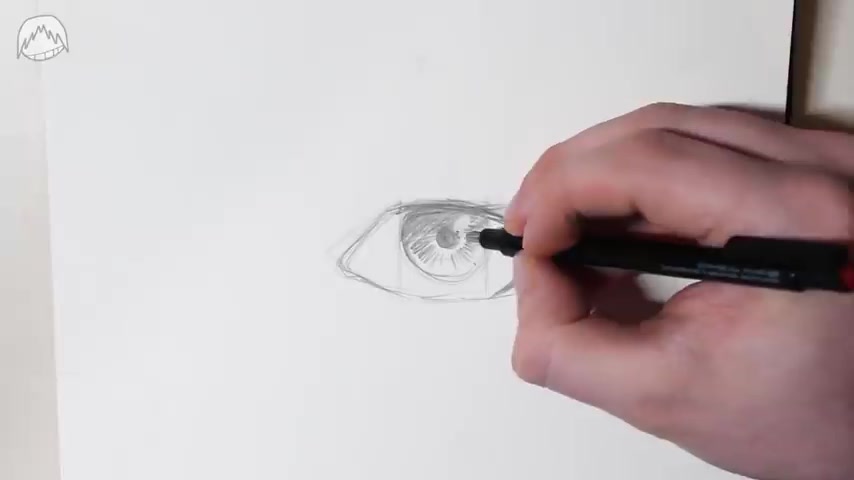
But other than that , go ahead and add some details in the IRS , for example , just like I'm doing right now .
Also , you can add some highlights .
You can use any old eraser for that you have laying around .
I'm using an eraser pen because it's more convenient if you want to know where I get my art supplies from .
There's a whole list on my website .
So check out my website if you want to read into all of my pencils and papers and stuff for of the perfectionists out there .
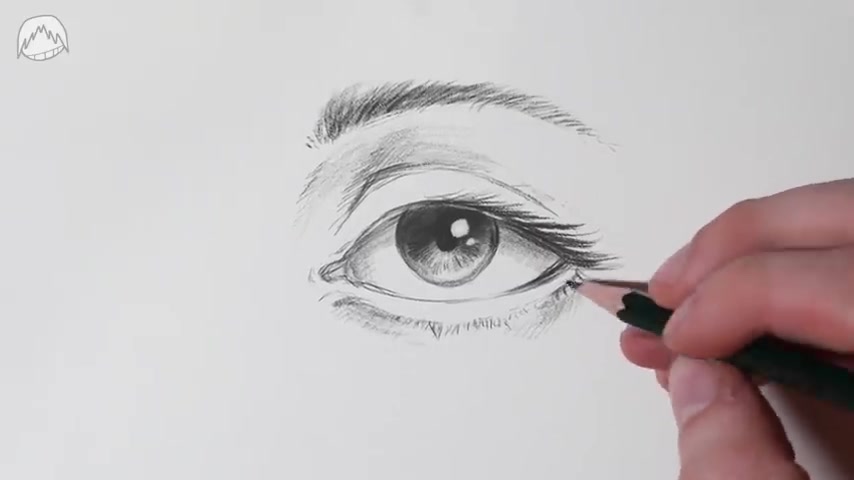
There are a couple of details you can still add , maybe you already know this , how people are always drawing in a wrinkle right above the eyelid .
That's because of the hole in your skull .
This is where your eyelid actually starts .
So , yeah , if you ever need a reminder of how this wrinkle works and how it looks , it's basically running along your skull eye hole talking about the eyeball as you might know the eyeball ends here .
So most people leave this part out , but I'll just draw the for the people that are interested in it .
If you want , you can add some more eyelashes , maybe some wrinkles here and there .
But other than that , let's stop with the details for now because we are not drawing a hyperrealistic eye here .
If you want to have a tutorial on that , you can just look it up on youtube .
The search results have more eyes than the fucking before we start drawing stylized eyes .
Let's draw eyes in perspective .
First .
As an example , we're drawing eyes in a three quarter view .
And right after that , we're drawing one from the side .
So let's start with a three quarter view .
This might not surprise you .
But in order to make this work , you kind of have to know how perspective and for shortening works , maybe you can even remember my video .
But for shortening and this video , I said that objects that are further away from you got smaller but objects that are closer to you get bigger , of course , that's kind of common sense .
But I think that people still forget this applies to pretty much everything else as well .
Yes , even when it comes to drawing ice .
So let me show you how I for shorten an eye , it's just like I said before , the part that's facing away from us gets smaller .
Now you have the correct guideline and this is where you draw in the shape of the eye just like you did before .
And from here on out , it's the exact same procedure as before does the both the part at the eyelashes .
Of course , there's the iris , the wrinkle on top of the eyelid and maybe you can see the a bit and just be careful when it comes to the IRS .
There's a big mistake .
A lot of beginners make here .
Now , pop quiz if the iris wasn't looking at us , but let's say in this direction , would you still draw it the exact same way ?
The short answer is no , and the long answer would be no , I drew the iris here .
It looks our way .
You cannot not just draw the same circle a bit further on the left and call it that , that's not how an eye works .
Let's look at this more three dimensional .
If the I were to rotate to the side , then as you can see , the IRS would look a lot slimmer .
You need to keep this in mind when it comes to drawing eyes from different perspectives .
This is incredibly important .
And while we're at the topic of different perspectives , if you want to draw ice from other angles as well , you just need to take the guideline we used .
And for shortening record , you can take a screenshot of this for reference or you just wait until the end of the video , there's gonna be a more comprehensive cheat sheet .
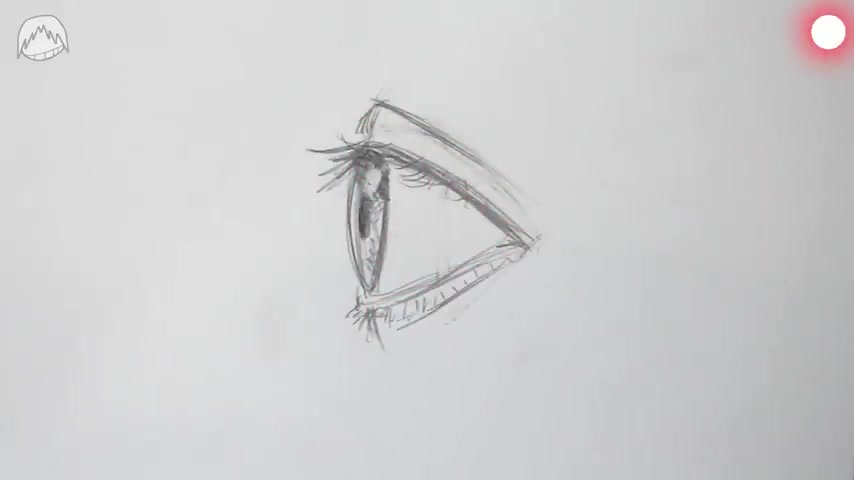
As always , let's draw another perspective from the side .
We're only drawing one half of the eye .
So we only really need one half of the guideline .
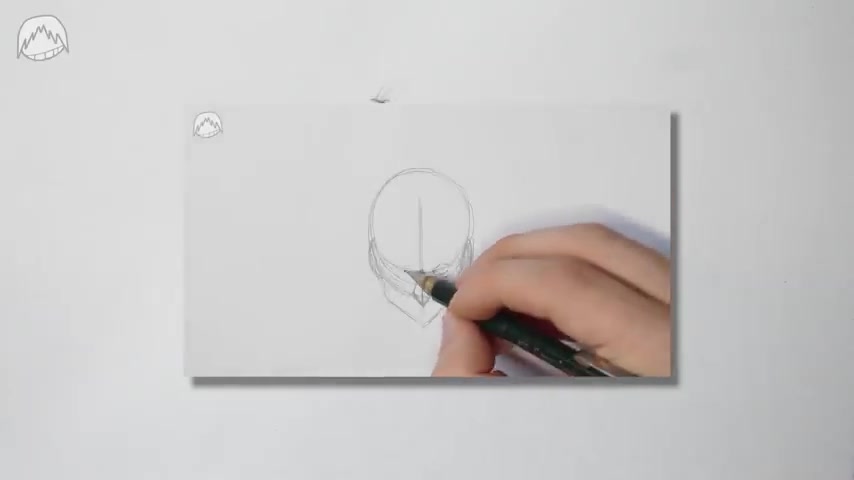
And what I showed you before with the iris comes into play here , the iris is by the very thin oval shape .
Also very important .
Your pupil is right in the middle of the iris , not on the outer side .
And the rest with the eyes and lashes and so on .
The stuff that you already know about .
I I know I know you still have dozens of questions left .
For example , how do you draw eyes in an actual face ?
How are the proportions in comparison to the nose and so on .
The bad news is I'm not gonna talk much about this since this is less about drawing eyes and more about drawing a complete face .
But the good news is I've already made a video about how to draw a face with eyes in different angles .
And this video draw eyes as oval shapes to keep things simple .
You just need to replace them with the guidelines that you've learned in this video .
If you're interested in watching the whole video , just check it out .
I've linked it on the top right corner .
So where did we leave off ?
Oh Right .
Yeah , I wanted to show how to draw stylized eyes because you definitely don't want your characters to look like that .
When we wanted to draw realistic eyes , we needed this shape .
But like you just saw these kinds of eyes don't really fit with every face .
And that's why some artists stylize their eyes and they do so with every kinds of different shapes .
For example , when you want to draw anime or cartoon eyes , it's always helpful to first base it off of a shape and this doesn't have to be the same shape from the beginning , this can also be a circle or many under different shapes .
I think the most common one though is probably a Rambus doesn't matter if you're drawing an edge , Lord or the king of games himself , especially anime eyes are often based off of this form .
But there's still a reason why we drew more natural eyes first .
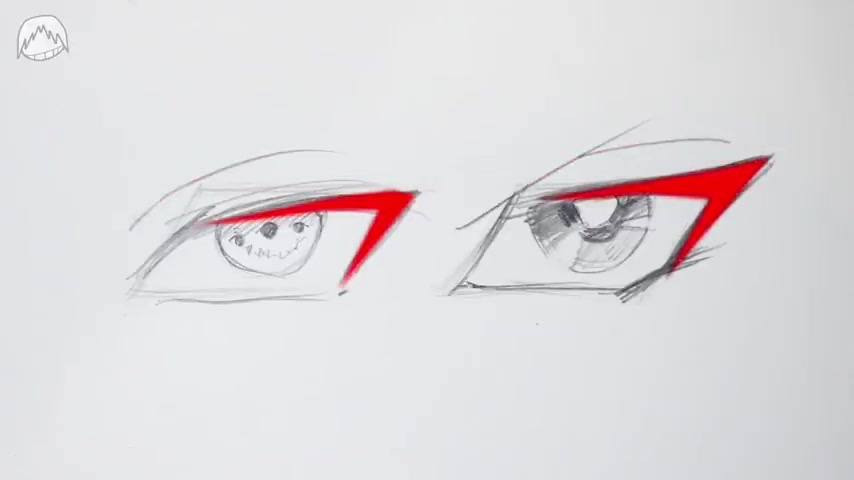
That's because all of the rules I told you before in this video still apply here .
For example , the iris is still covered by about one quarter .
And yes , the eyelid wrinkle is still at the same height .
Also as you can see the same part of the eyes are bolder at the very same parts .
So it doesn't matter what style you draw in because all the same rules still apply .
And yes , this also goes for drawing stylized eyes in different angles .
Yeah , admittedly some eyes require a bit more imagination , but it still works with the same principle .
They all work just like previously shown .
One big difference .
However , is the amount of details with ST lighter eyes .
You seldomly see a lot of wrinkles or single eyelashes , for example .
However , this is not a blanket statement .
Every artist stylizes in his or her own way and some like it more and some like it less detailed by the way , this also goes for highlights , some artists draw in regular highlights , other prefer more highlights .
And then there are artists that draw what the fuck I like how versatile , this can get , you can recognize some artists just by looking at the ice they draw and by experimenting a bit when it comes to shapes , this could be a first step in developing your very own drawing style , starting with the eyes and just like I always do , I drew a cheat sheet with all the relevant details .
And yes , you may take a screenshot of this .
If you want everything I want to have in route one would be a thumbs up and also a subscription if you would be so kind , if you're still having problems with drawing other things like drawing muscles or perspective , why not check out my other stuff ?
I've already made tutorials on a lot of different topics .
So go ahead and check them out well done .
My name is Marcel and I'll see you guys in my next video here on my channel .
Draw like so goodbye .
Are you looking for a way to reach a wider audience and get more views on your videos?
Our innovative video to text transcribing service can help you do just that.
We provide accurate transcriptions of your videos along with visual content that will help you attract new viewers and keep them engaged. Plus, our data analytics and ad campaign tools can help you monetize your content and maximize your revenue.
Let's partner up and take your video content to the next level!
Contact us today to learn more.