https://www.youtube.com/watch?v=zhllkjYYUVE
How to Make Complete Responsive Website Using Bootstrap_HTML_CSS

Hello , everyone .
Welcome back to daily tuition in this tutorial .
We are creating this complete bootstrap responsive website step by step in this website , we are using bootstrap .
We are using boost strap to glorify the website and make it responsive .
We will also add some custom style to it to make it more attractive .
So before you take this tutorial , you need to have a basic understanding of html and CSS before you're moving on .
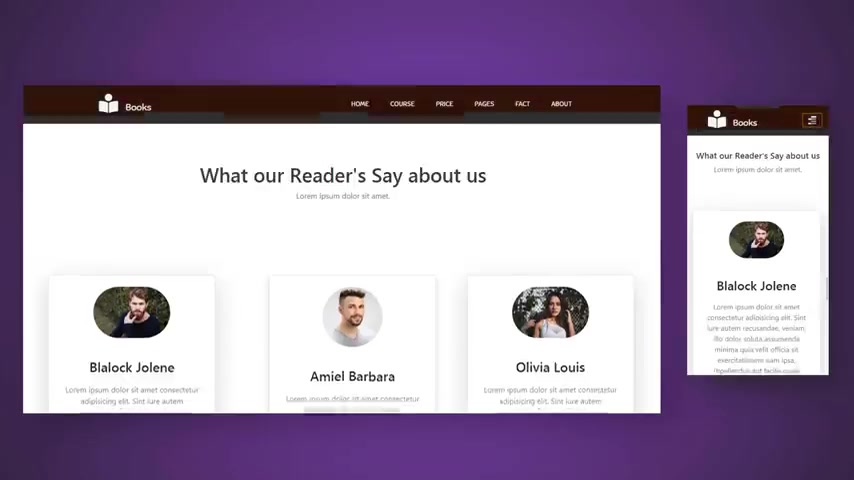
So what we are building in this tutorial in this tutorial , we're going to create this beautiful navigation menu , this website title and these different sections where we have this feature section , the pricing section , team member sections and so on .
We are using photos on website to use free icons and used images from pixel dot com .
So basically we are doing many things in only a single video .
So first we will create this website for desktop and then make it responsive for a mobile version .
You can see this website is completely responsive for mobile and tablet as well .
I hope you're excited like me to build this website .
So before we get in late , let's get started now to build this complete website I'm using VS code editor .
You are free to choose your favorite editor .
If you did not using this editor , then this is the best time to install it to install this code editor .
Open the browser and type code vision studio dot com and press enter from this website you can download VS code editor , just download this application as per your system .
VS code is most used and favorite editor .
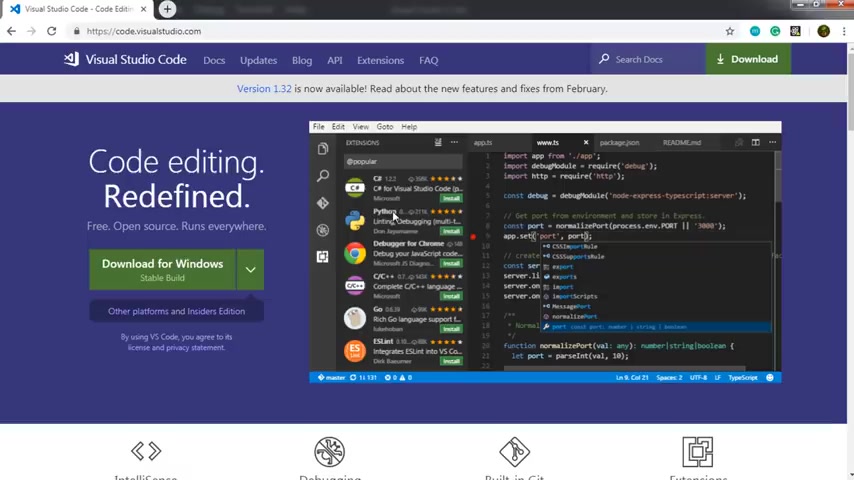
It has a syntax highlighting and autocomplete with intelligence which provides smart completion based on the variable types , function definitions and imported modules using V code editor , you can even install extensions to add new languages , themes , debuggers and connect additional services .
This editor is very fast and lightweight extension run in separate process ensuring they won't slow down your application .
You can also change your theme whatever you want .
So basically this is amazing editor so far once you install this editor open it , you can see the workspace of videos to record editor , just click on this icon to install the extension and search for live server .
So in this search box , I will say live server .
Now you just need to install this live server extension .
This extension launch a development server with the live dealer feature for static and dynamic pages .
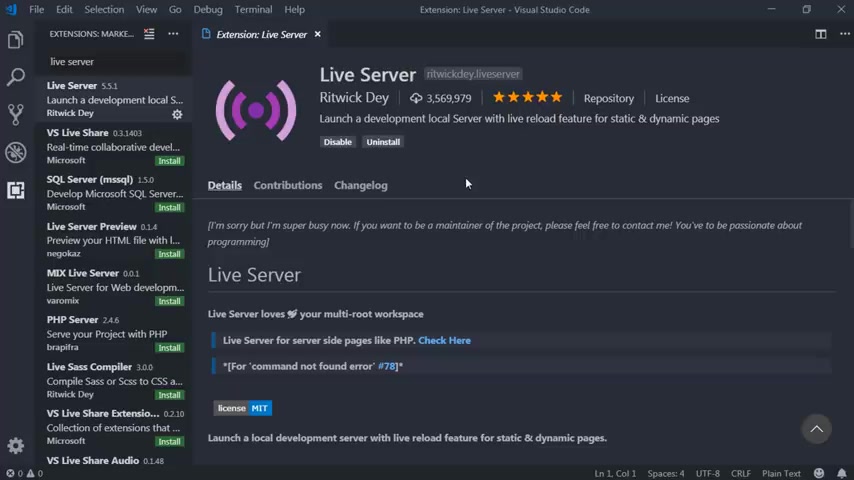
Once you install this extension , whenever you make any changes to the file and save it live server , quickly update your html file in the browser .
So you don't need to manually update the browser when you make any changes in the file , then just after that search for beautify , then install this beautify extension to format your code .
When you save a file , this will save you a lot of time and maintain your code readability .
Once you install this extension , click on this manage icon and go to settings and in this search box type format and just click on this formatting option .
Now , here you can find this option format on save , just click on this format on save checkbox to format the file .
When you save it .
Once you've done that , just close these settings and back to explorer tab to create a project .
We'll create an empty folder and open it in this Explorer tab .
So we're going to create an empty folder on desktop .
You are free to choose your own location .
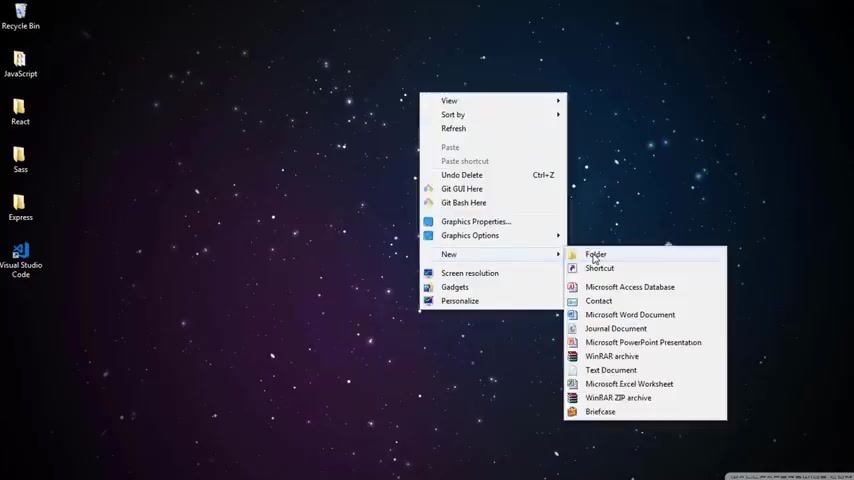
So I will right , click here and say new folder and name this folder books .
And now I want to open this folder in VS code editor .
So I will open the VS code editor and click on this open folder .
You can also open this folder by clicking on this file menu and select this open folder , right ?
But I'll choose this option and say open folder and select my book folder and say select folder .
So now you can see the empty book folder is open in this explorer tab .
I will close this welcome window .
Now just follow along with me to create this complete website .
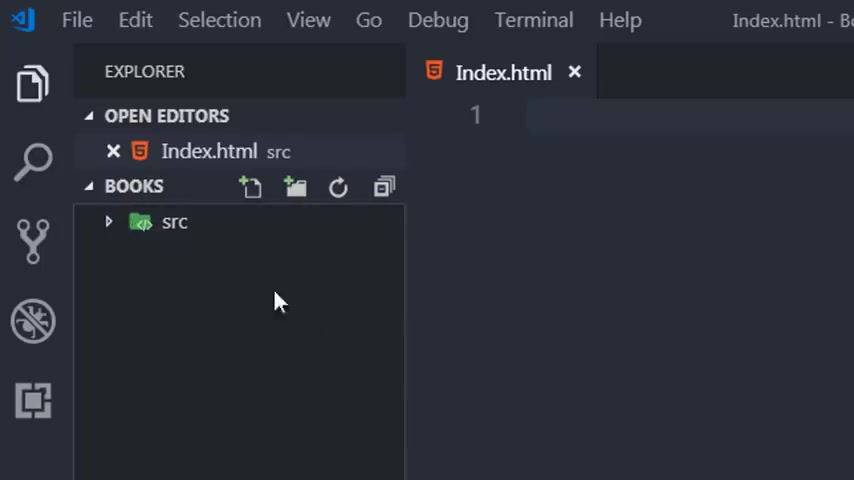
So I will create here a new folder and name this folder source .
And in this folder , I'm going to have index dot html file .
So to create this file , just click on this icon , new file and name your file index , not html .
Now , just after that , I will create another folder here .
So I will just click on this icon and create a new folder and name it CSS .
And in this folder , I will add a stylesheet for this website .
So I'm going to click on this new file icon and create style dot CS S file .
Throughout this website , you're going to see the high quality images .
So we need to import that images in this application .
So we'll create another folder here and name this folder asset .
And just after that , I wanted to import that images in this folder .
So I will copy these images .
You can download these images from pixel dot com or from un flash dot com .
I had downloaded these images from pixel dot com .
So I will just copy these images and paste it in the books asset folder right here .
Right now .
You can see when you expand this folder .
We have a few images right now .
I will first complete the HTML file and then move on to style dot CS S file .
So it will help us to understand what we are doing , right ?
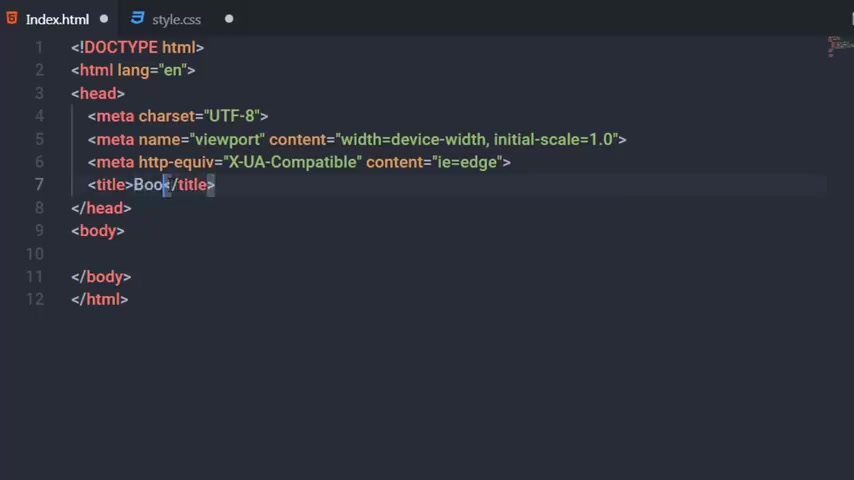
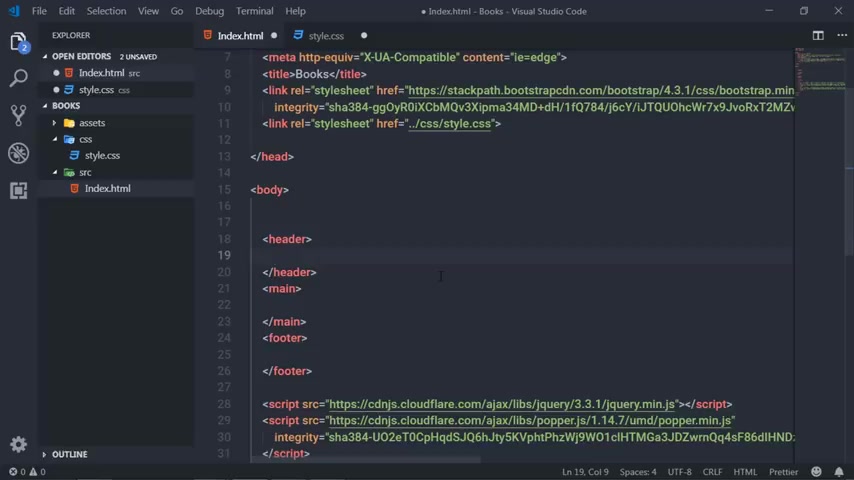
So I will just back to index dot html file and here to create a simple html five boilerplate .
I will use exclamation mark here and press tab .
So the image of VS code editor gives us a simple STL five snippet with the doc type STL the html tag , the heading section and the meta section where we have the character set UTF eight and the view code is equal to the width of your device .
Now I'm going to rename this title and say here box .
Before we get started , I will open the finish website in the browser .
And now in the body here , I will create three sections .
The first section is going to be header .
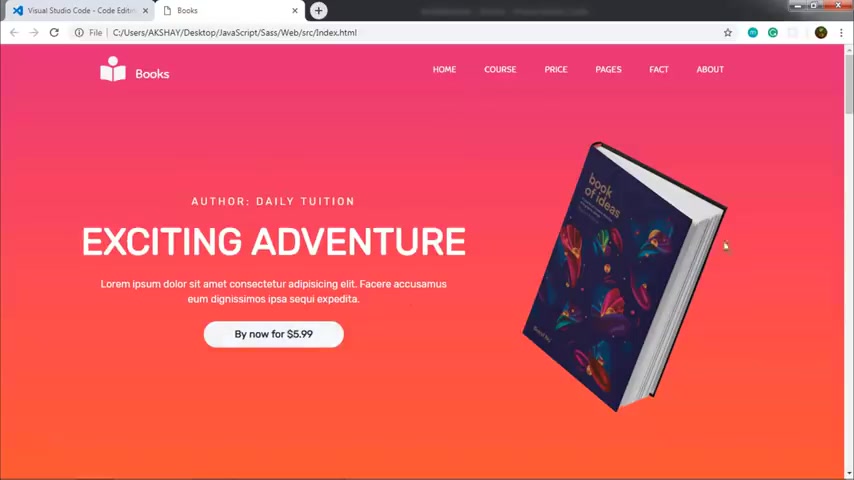
Now in this section , I will add this navigation menu with navigation items and this title with the button and this image just after this header , I'm going to have here a main section .
And in this main section , I will add these few sections , right ?
And just after that , I'm going to add here just after this main section .
I will add here footer in the photo section .
I will add this photo right now .
Let's start with the header .
But before we get started , we need to link the boot strap CS S file to this html .
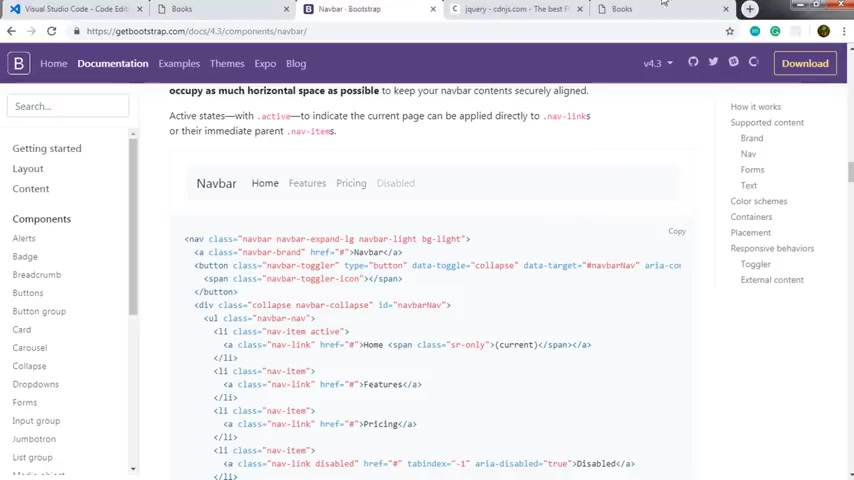
So just open the browser and in the add address bar , just type bootstrap and from this gate bootstrap website , I will link this boot strap framework to my application .
So I will click on this get started button and use this CD N to use bootstrap classes .
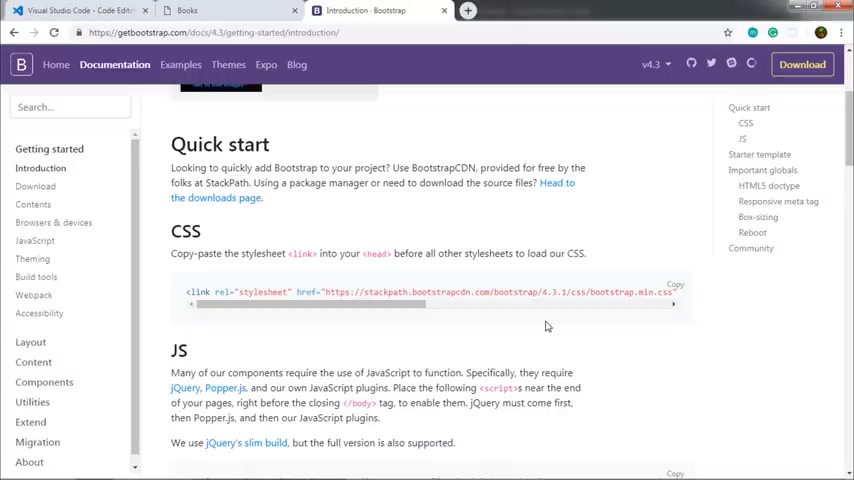
You can download the bootstrap , primal and link bootstrap dot CSS file to your application , but I will choose the simple way .
So I will use the CD N .
So I will copy this CD N and paste this in the hair section of my application .
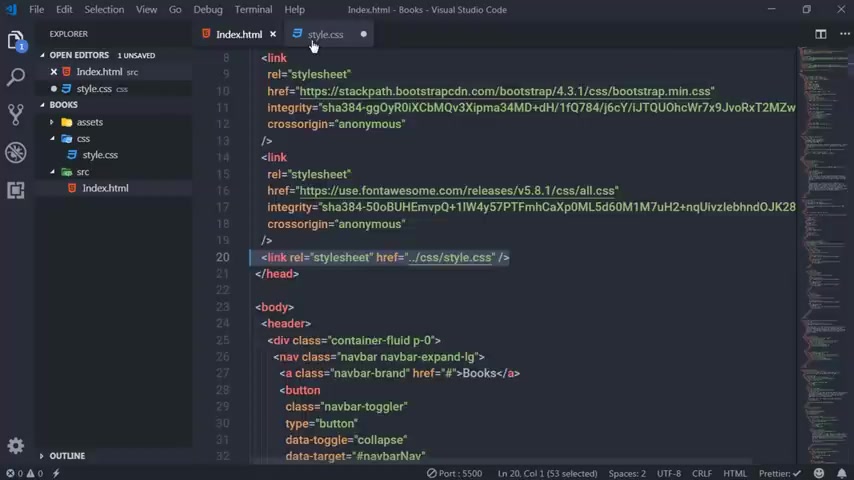
So in the hair section right here , paste this link now , just after that , I want to link this style dot CSS file as well .
So I will create here a link tag and in the H ray attribute , I will say double dot and the forward slash .
So this expression refers to the root path , right ?
So I will select here a CSS folder and link my style dot CSS file , save the document .
And now just after that here , just before this closing body section , I want to link bootstrap JV files to perform events .
So I'm going to copy these three links and paste it before this closing body tag right here .
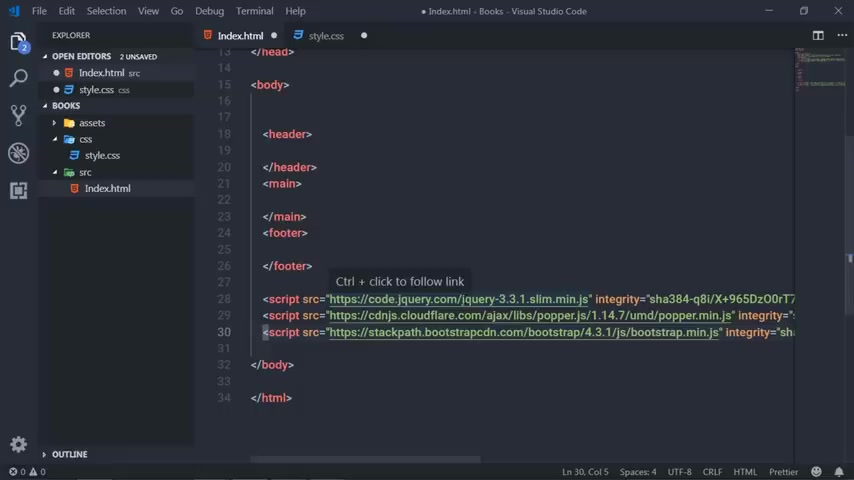
Now , just after that , I wanted to change this Jquery slim file because I'm using animation in this website .
I want to link the complete Jquery library .
So I'm going to open the browser and search here Jaque Cian and from any of these websites , you can copy this A .
So I will just click on this website .
And from here , I want to find Jquery dot Mean dot Js file .
This one just click on this icon and say copy script tag and then just replace this script with this script tag , right ?
We need to replace this Jquery because we are using animate function in the sling file of Jquery , we can't use the animate function .
So to use the animate function , we replace this sling file to this Jquery main dot Js , right .
Save the changes and just after that back to your header section right here .
Now let's get started and create a menu for this website .
Now let's create a simple division tag here to create a simple division tag .
You don't need to add a bracket and specify ad and close it instead just say D and press tab .
So the image will give you an opening and the closing division tag right now to specify a class to this division tag , just type dot and specify class names .
So I will say element here and press tab .
So this will create a division tag with the class name , element right now , just after that , if you want to create an ID , then you just need to type opening hash and specify an id .
So I will say my id and press tab , right ?
So this will create a division tag with the id , my id right .
Now , if you want to create a different html tag with the class , then you need to specify that tag name before the class name like this .
Let's say if I want to create H one heading tag , then I will say here H one and to specify a class , I will say here dot And then specify my class name .
So I will say element here and press tab .
So this will create H one heading tag with the class name , element , right ?
And if you want to create an id , just get rid of this dot And just specify here opening hash and specify your ID .
So I will say my ID , right ?
You can see me doing this throughout this website .
Now let's create a simple division tag .
So I will just specify a dot here and specify a class name , container fluid .
Right now , this bootstrap plus will specify 100% width for this division act , right ?
And I also want to remove panning from this division time .
So I will say here P iphone zero .
So this will remove padding from this division tag right now in this division tag , I will create this navigation menu , right ?
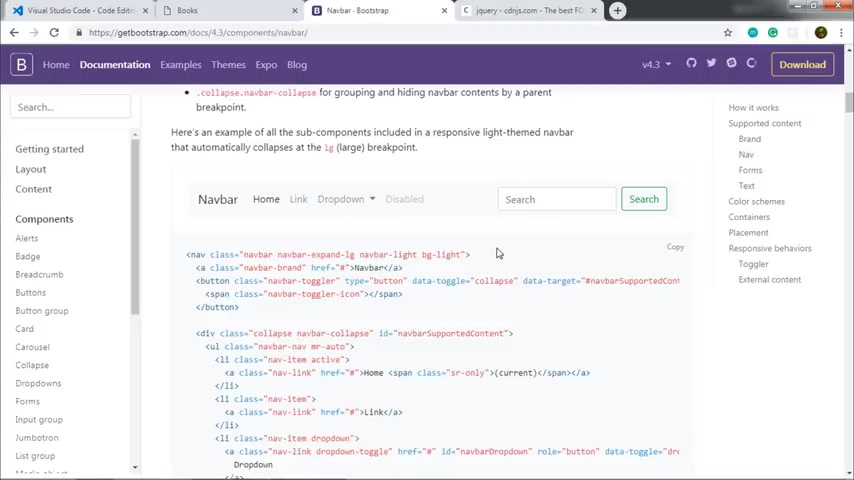
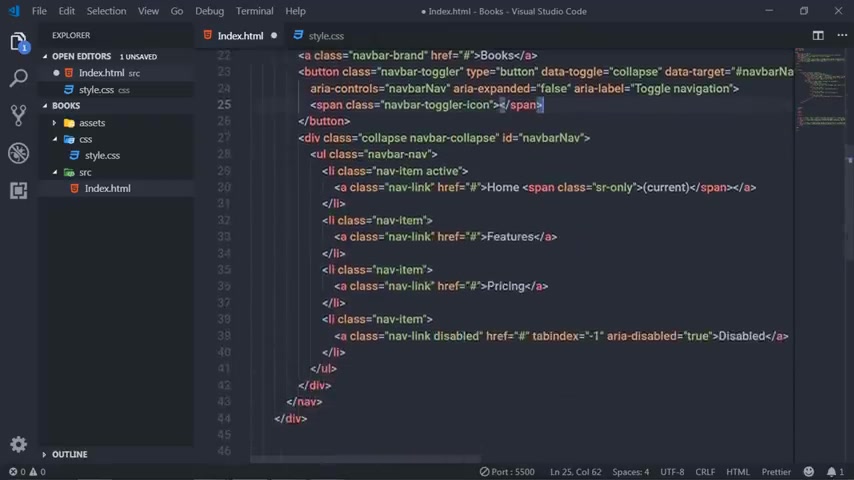
So I will open the boos website and here in this component section , you can find the now bar right here , just click on it .
And from here , you can choose your own navigation menu right here .
You can find different type of navigation menus .
So just choose your own navigation menu .
So I'm going to choose here this navigation menu , right ?
So I'm going to copy this code .
So I will click on this copy button and paste this code here in this division tag , right , save the changes .
And if you open this file in the live server , so I will just right , click here and say open with live server .
Then you can see here we have a navigation menu with home features , pricing and disabled navigation item .
Right now , I want to customize this navigation menu .
So I'm going to just remove this class NAAR light and BG light class .
And just after that , I want to change this NAAR brand text to books , right ?
And then I want to change this navigation item .
So my first navigation item is whole .
Second is course , third is price , fourth is pages which has a nested navigation links .
Then we have a fact and the about section .
So we're gonna replace these features with course , this pricing become price .
And then I want to replace this disable butter with the enable button .
So I'm going to get rid of this disabled button and just copy this and paste it here .
And then I will say here pages and just after that and just name this navigation item fact .
And the last is going to be about save the changes .
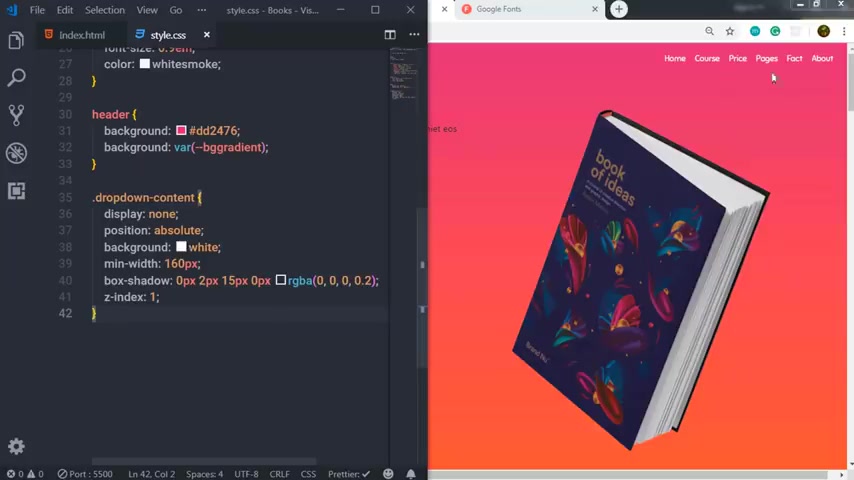
Now , when you open this file in the browser , then you can see here you have your website logo and this is your navigation items .
Now , I want to align these navigation items on the right side like this , right ?
And also I want to specify these nested navigation items to these pages .
So I will open the html file and right here just after this deal and just before this tag , I will put a division tag and create a class and name it margin , right , auto and leave this division tag as it is .
Save the document .
And if you open this file , you can see your navigation menu is aligned to the right side .
Now , I want to add some nested navigation items to these pages .
So I will just create it off this pages section .
I'm gonna add a custom CS S class .
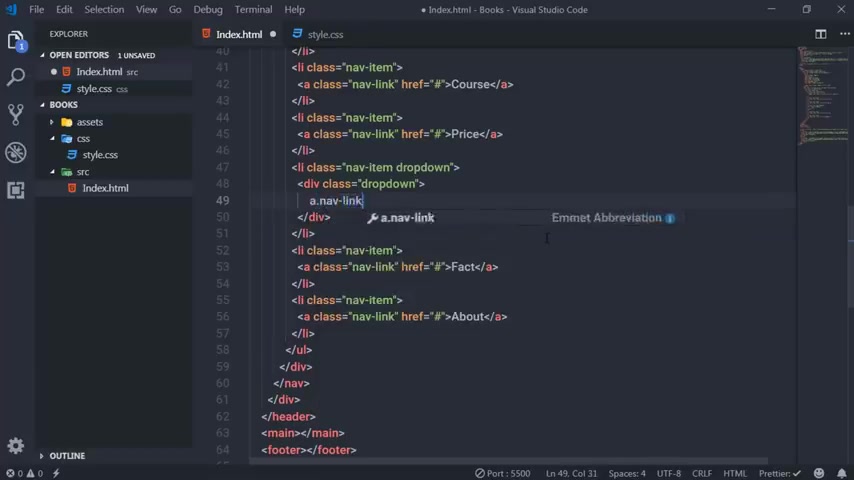
So I'm gonna say here drop down , right , which we create in the style dot CS S file right now , in this , I I , I'm gonna create ad and specify drop down class .
And in this division tag , I'm going to create anchor tag with the class .
Now , link and for the H attribute , I will , I will specify hasher , right ?
And in the text , I will say pages just after that .
Now , just after that , I want to specify nested navigation items .
So I'm going to create here ad and specify a class , drop down content , right ?
And in this division tag , I'm going to create two nested items .
You can create multiple navigation items , but I'm just creating only two .
So I will add an anchor tag here and , and specify a text generic and create another listed items .
So I will add anchor tag here and just specify text element right .
Save the changes .
And you can see here you have a TED NAV items .
When we specify style to this html , this will look like this , right ?
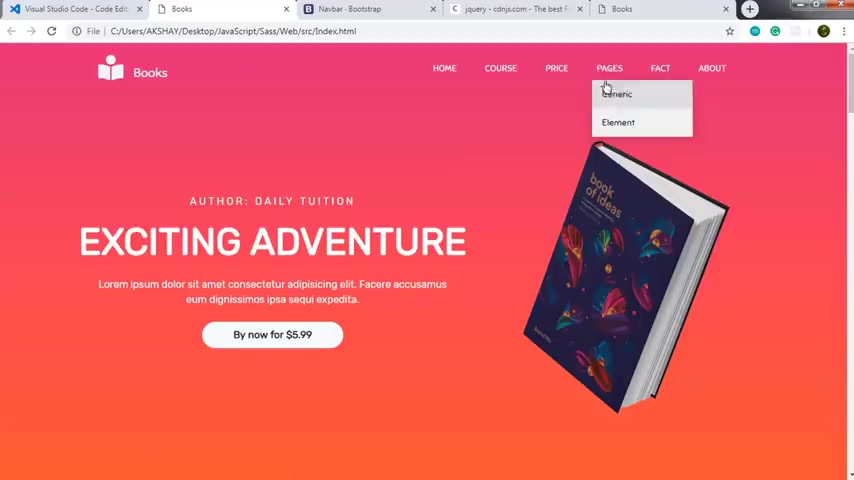
So when you hover on these pages , you can see your nested navigation items .
Now that is all for this navigation menu .
Now , let's create this author , this exciting adventure text and the paragraph with this button .
And along with that , I'm going to add here a PNG image .
So I'm going to open the html file .
And right after this division ta here just before this header , I will add here a division tag with the class container .
All right .
So what is this with the glass container ?
Now , the containers are the most basic layout element in the boot strap .
I'm using this container because I want to create a gray system .
The container class is a fixed width container , meaning its max width changes at each break point and this container has a width , 100% wide all the time .
Right now here I will add another bootstrap class which is text center .
So this class will center all the text .
Now in this day , I'm going to create a row .
So I'm going to add just here row .
This class will simply create a row .
Now here , I'm going to add a bootstrap grade system .
So bootstrap has a 12 column grade system and each column has equal width .
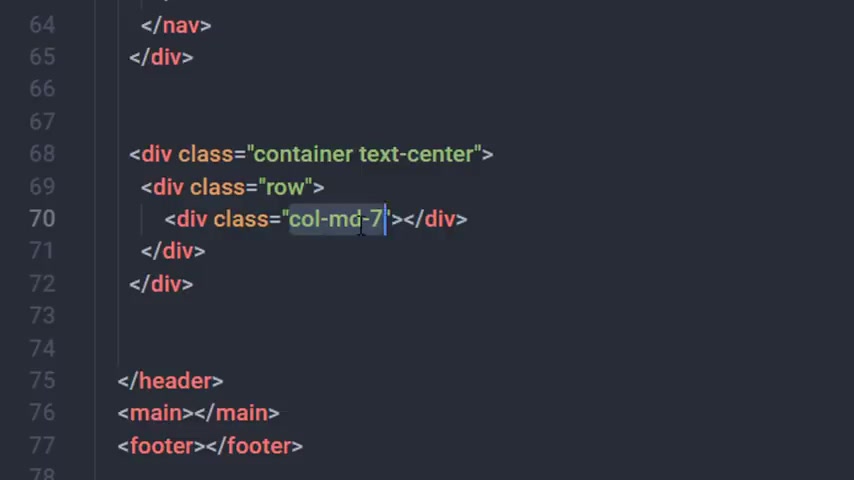
So here I will create ad with the class called MD seven .
So this class will not create seven columns on the HTL page .
Instead , this class will utilize the space of seven columns and create a single column with the space of seven columns , right .
So this class will take the seven column space for this division .
Di Now here you can see if we specify MD here .
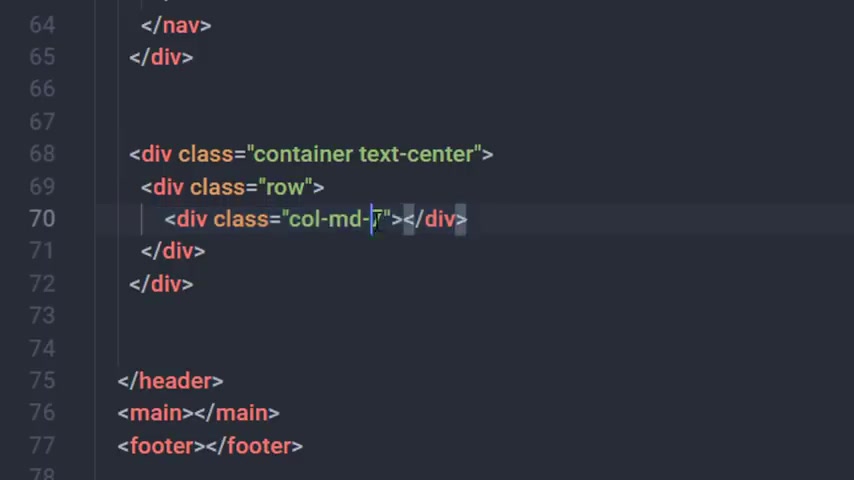
So for the medium size of devices , I want seven column space for this division type and for the small size of devices .
So I will say here call SM 12 for the small size of devices , I will specify 12 column width for this division tag , right ?
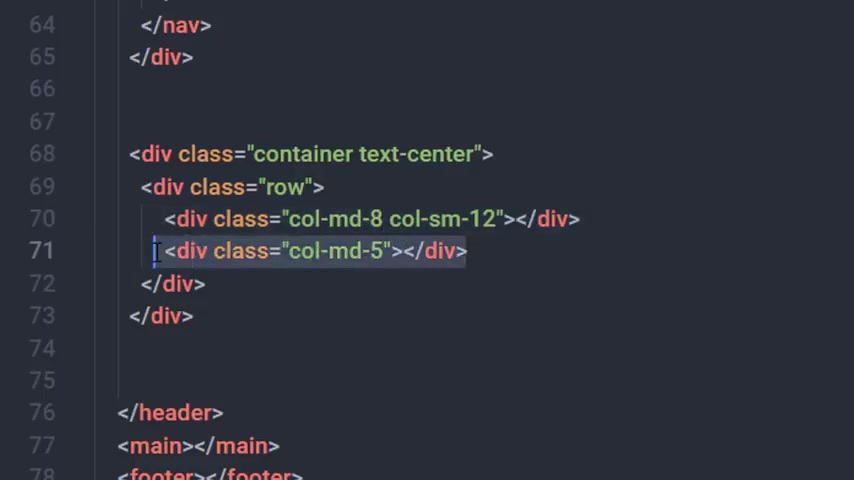
Just after that , I'm going to create another division tag and specify class call MD five .
So you can see here we have a seven and the five here .
Now let me explain why we choose seven and five columns to this day .
As I said earlier , Boos has 12 column grade system .
So we specify seven column space to this day and five column space to this day .
So if you calculate , if you add seven and five , then the equal of these two numbers is 12 in this row , we have 12 column grid system .
So you can see these two division tag in the single row .
If you specify it here instead of seven , then this division tag will fall down to the next line .
I don't want it to fall down this division tag on the next line .
So I'm going to just specify seven here .
So the width of these two division tag is equal to 12 columns , right ?
You can specify any width to your D between 1 to 12 column .
Now , just after that here , I'm going to create call SM 12 .
Now I want to specify 12 column space to this division tag on small type of devices , right ?
So I specify here call SM 12 .
And in this tuition tag , I'm gonna create a six setting tag and specify a text .
So I'm going to specify a text in capital letters .
So I'm going to own the caps log and say here , author and just specify a daily tuition name .
All right .
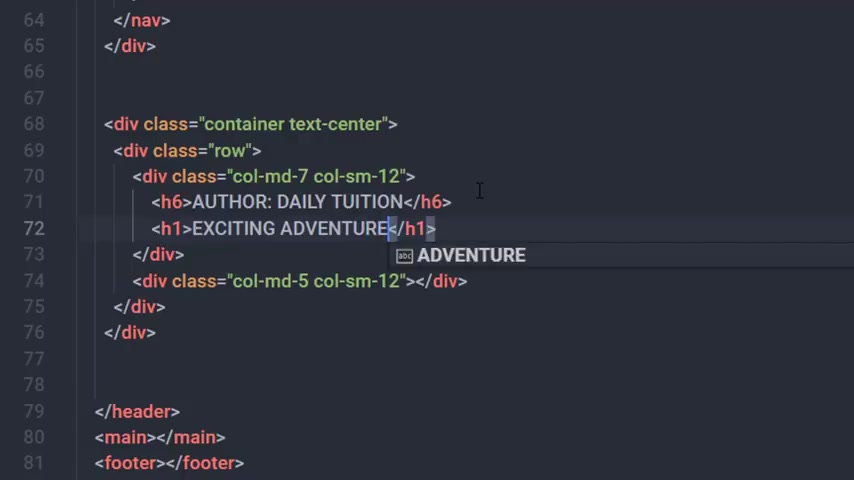
And just after that here , I'm going to create H one heading tag and here I will say exciting adventure right now , just after that , I will create a paragraph and add some demo text .
So I will say Lauren 20 .
So this will bring up 20 Demotte word here .
Save the document .
If you open this HTL file , you can see here we have , we have this author , this title and the paragraph .
Now I want to create a button here .
So I'm going to just create just after this paragraph .
I'm going to create here a button and I want to specify class .
So I will specify class , I will add a bootstrap class BT N and I will specify a light color to this BDN .
So I will say BT and light and just specify text by now for dollar 5.99 right , save the changes .
And if you open here , you can see you have a button here .
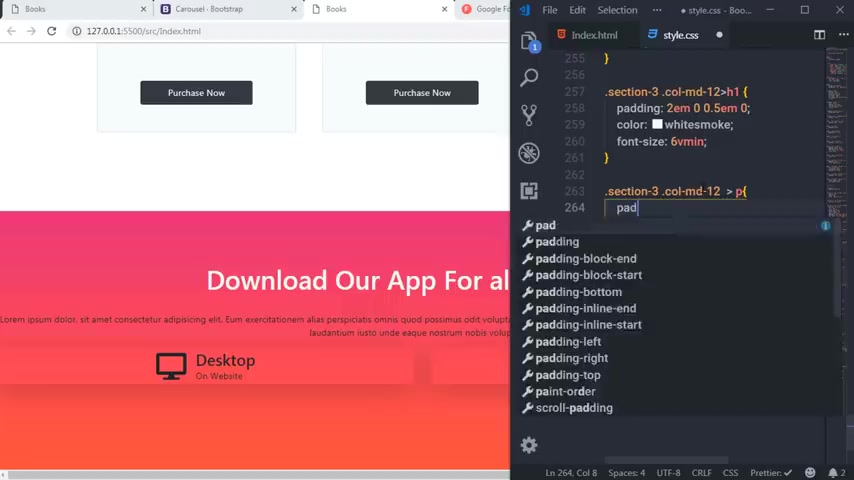
Now , I want to add some padding to this button .
So I will add here padding X so this will add left and right padding .
So I will add padding X five and padding , Y .
So the padding , Y will add top and bottom padding .
So I will say padding Y two , save the changes .
And you can see we have a button here .
Now , I want to add image in this division time , right ?
So I will expand this there .
And right here , I'm going to add an image and here I will specify double dot and the forward slash .
So this will refer to the root directory and then I will select my asset folder and then select my PNG image .
And for the old attribute , I will say in box , save the changes .
And you can see here you have a book here right now , I will add some height to this image .
So I will say H 25 .
So this will add 25% height to this tape right now .
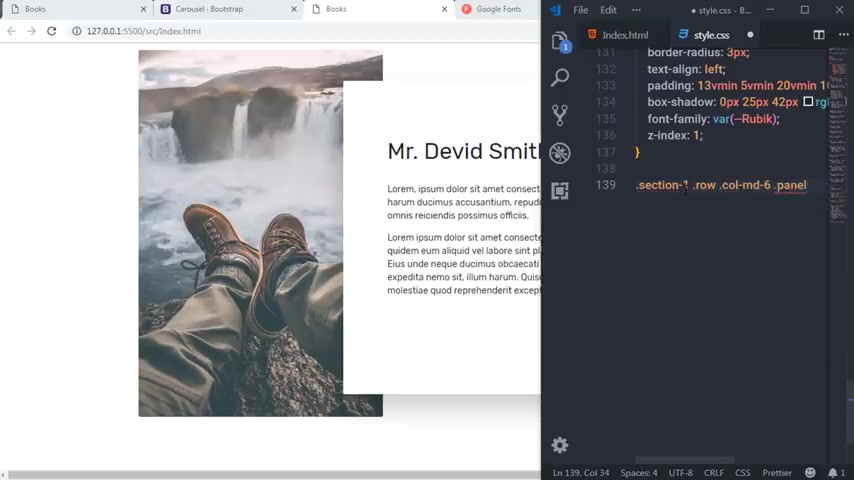
Let's move on to the next section where we add this beautiful image and this panel with the heading and the paragraph , right ?
So I will create here in the main section in the main tag .
I'm gonna create , I'm gonna create a section tag and just specify a class .
So I will say section one in the fourth section right here , I will create a division tag and specify container clause .
Along with that I want to center all the text .
So I will say text center .
Now in this deal , I will add a row to create a great column , right ?
Just after that , I want to create here two columns .
The first column will take six column width and the second will take six column width .
So I will say here , call MD six and I will do the same here and say call MD six .
So here we have two columns with the space of six columns .
Now , just after that in this column , I'm going to create here a division tag with the class bray .
And in this table , I will add an image .
So I will add an image tag here .
And in the source attribute , I will say double dot forward slash asset and then I will select my image here .
So I will select this image here , right ?
And just out that for the old attribute , I will say pray you are free to leave this attribute as it is , but I will say here great .
And just after that in the second column right here , I'm gonna add a division tag and just specify a glass panel .
So this is a custom class .
And along with that , I will say text left using this class , I will align all the text to the left side right .
Now , in this division tag , I will add H one heading tag and say here Mr David Smith , right ?
You can specify your own name as well , but I will just take here a domain name .
Now , just after that , I will create a paragraph and specify padding , talk four , right ?
And in this paragraph , I'm gonna add a text so I will just copy this text and post it in this paragraph and just talk that I will create another paragraph right here just after this background .
And in this paragraph , I will copy and paste this text .
All right , save the changes .
And if you open this file , if you open this html file in the browser , you can see here .
This is very horrible without a CS S , isn't it ?
We'll start this when we complete the html file right now .
The first section is completed just after this fourth section .
I'm gonna create here my second section .
So I will just name this section section and specify a class .
So I will say section two .
Now I just want to specify here , container fluid class , I will say container fluid and I want to remove padding .
So I will say padding zero .
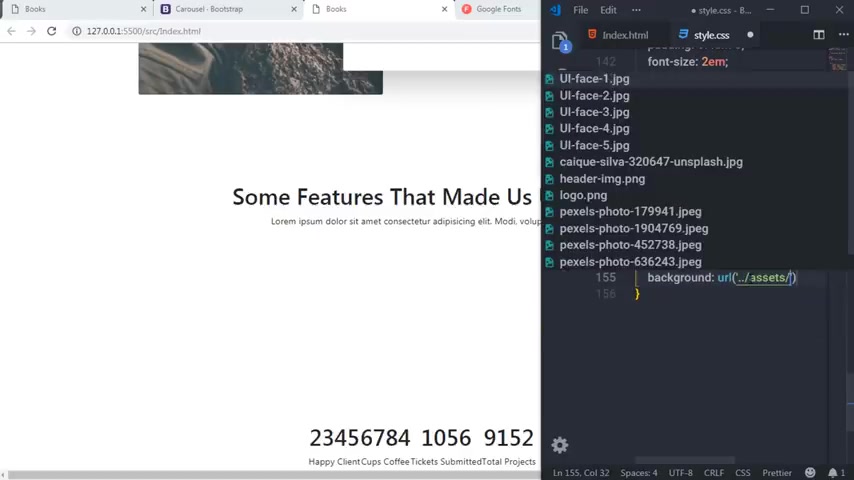
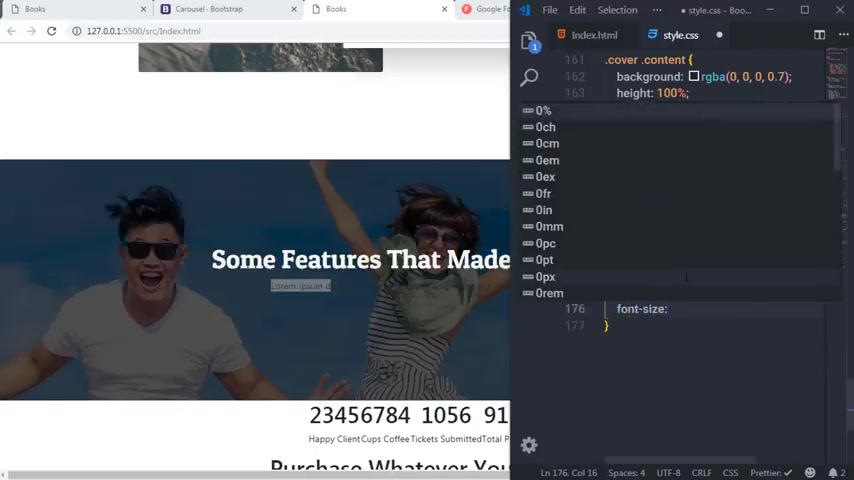
Now , in this section , I will create a tag with the class cover .
Now this division tag represents this background section , right ?
And in this de I'm gonna add this H one heading tag and the paragraph , I will put this in the division tag .
So I'm gonna add here a division tag and specify a class content .
Along with that .
I will say text center .
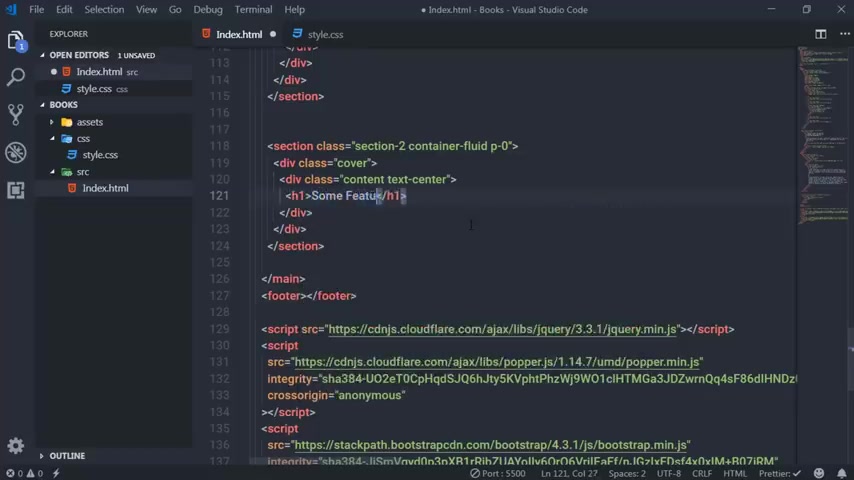
Now in this , I will add one heading tack and say some features that made us unique .
Hi .
And here I will add a paragraph and in this paragraph , I will add some demo text .
So I will say Lauren 10 .
So this will give us a 10 demo words , right ?
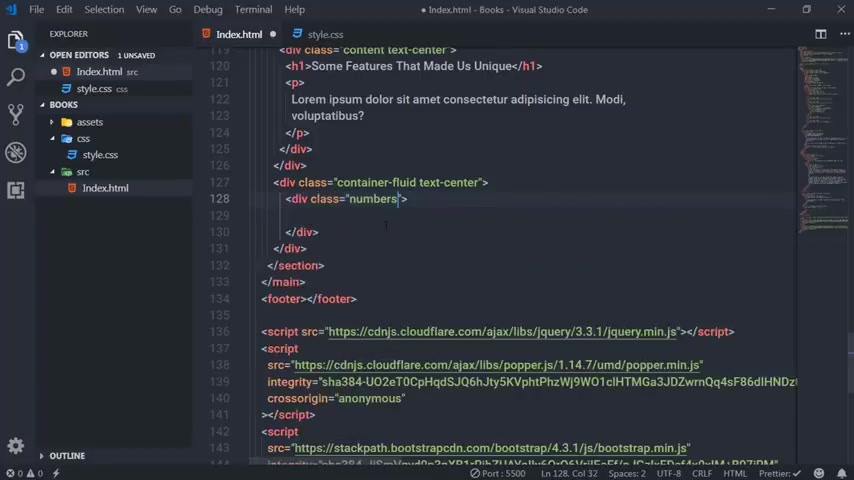
So the changes and just after that , just after this right here , I'm gonna add a container fluid class .
And along with that , I will say text center .
Now in this container fluid class , I want to create these four deeps .
So I want to create here four rectangles .
So I will create a flex box to create these four rectangles in the single row one .
So I'm going to create here a division time .
I will first specify a custom class here .
So I will say numbers .
Now , just after that , I will define this to you as a flex container .
So I'm gonna add here the flex .
I want all these rectangles in the single row .
So I'm gonna say Flex MD right now , I will add another class which is flakes wrap and , and just after that , I will say flex wrap .
So I want to wrap these items .
So I'll just place it on here flax box and just after that , I want to center all the content .
So I will say here justify content center .
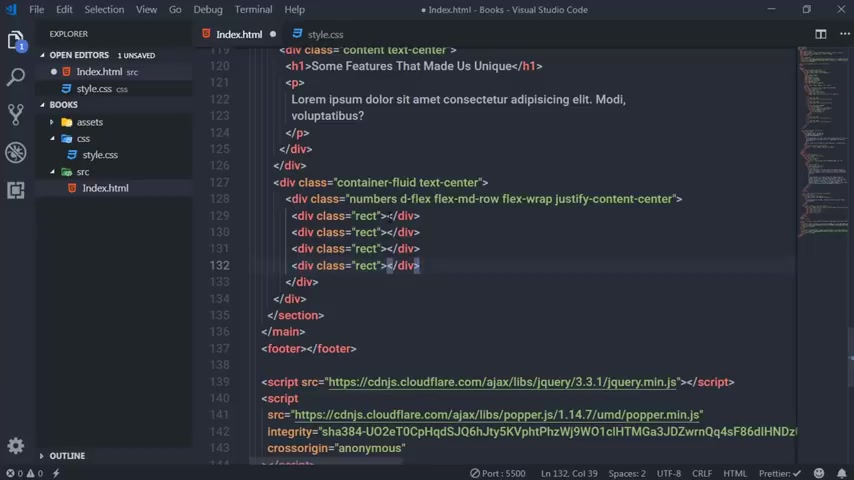
And in this day , I'm going to create four rectangles .
So I'm gonna create here ad with rectangle class .
So this is a custom class .
So I will style this later .
I will copy this deal , paste it here , paste it here and paste it here one more time because I want four rectangles in the first rectangle right here .
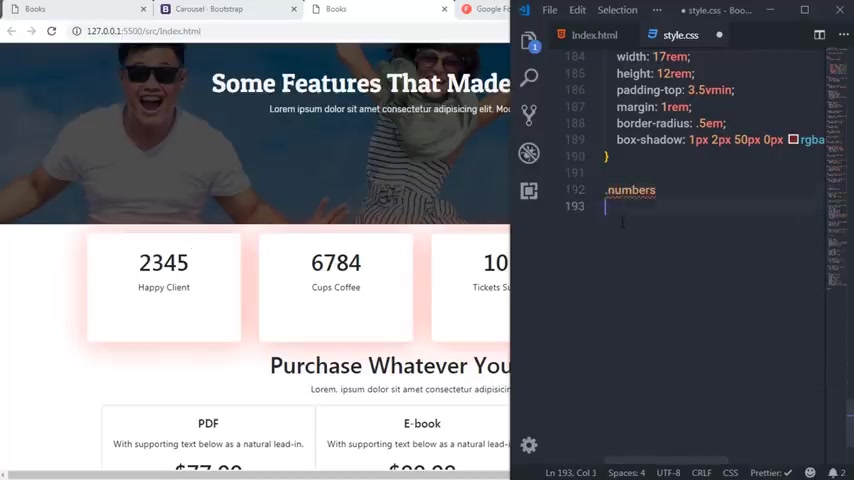
I will add a number .
So I'm gonna add here H one heading tag and specify number .
So I will say 2345 .
And just after that , I will add a paragraph and say here happy Grand , save the changes .
And you can see here we have here 235 and the happy client text .
And then I will just specify here in the second rectangle .
I will create one heading tag and specify some demo number .
So I'm gonna say here 67 84 .
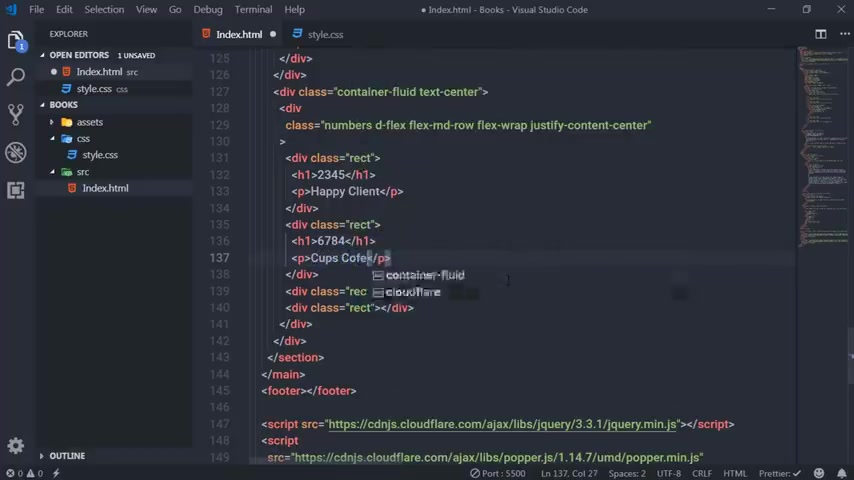
And in the paragraph , I'm gonna add here cups coffee and in the third rectangle , I will say one heading tang and specify a number 1056 .
And the paragraph text is going to be tickets submitted , right ?
And at the last in the fourth rectangle , I would say one heading tag and specify a number .
So the number is going to be 91 52 .
You are free to specify your own number .
Then we're gonna add a paragraph here and specify a text total projects , save the changes .
And you can see here we have four rectangles in a row , right ?
We will start this later in the series as well .
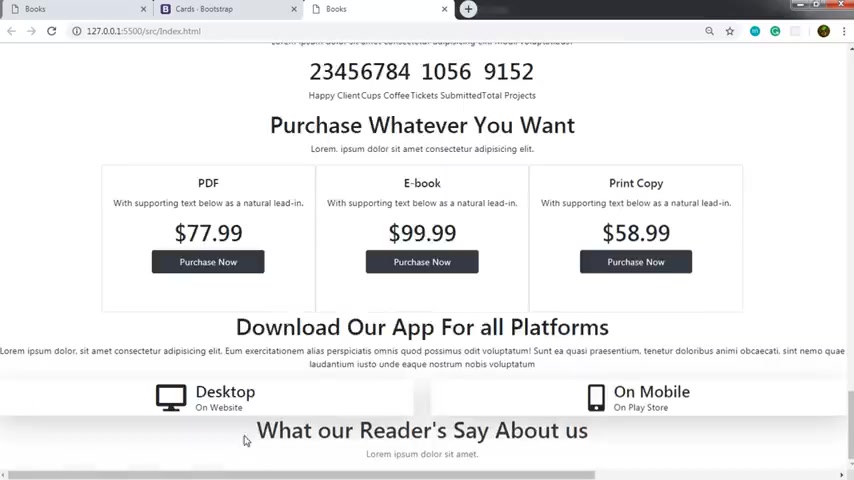
Right now , let's move on to the next section where we add the purchase heading with the paragraph and three cards , right ?
So I'm going to create here just after this closing day right here .
So I'm not going to create a new section for that .
So I will create here ad and specify a custom class .
So I will say purchase and also add text , center class to center all the text .
Right .
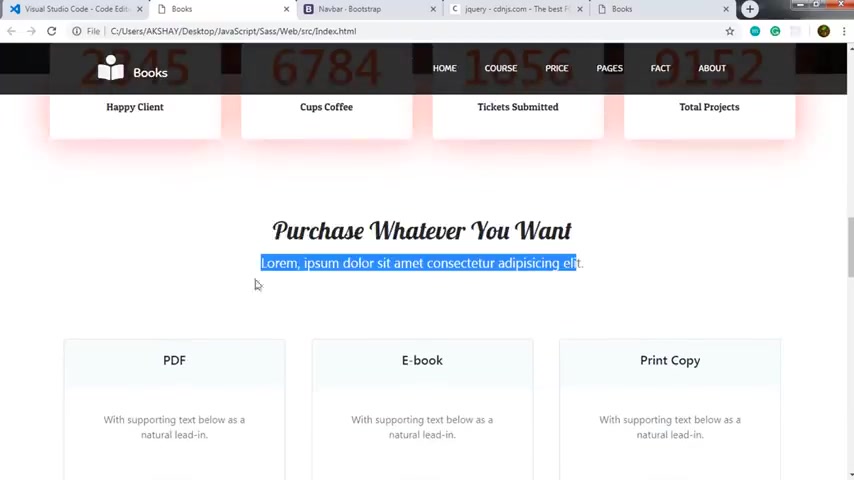
Now in this day , I'm gonna add here H one heading tag and specify a text .
I will say purchase whatever you won't .
All right .
And just after that , I'm gonna add a paragraph and add some demo text .
So I'm gonna open this and copy this text and paste it here .
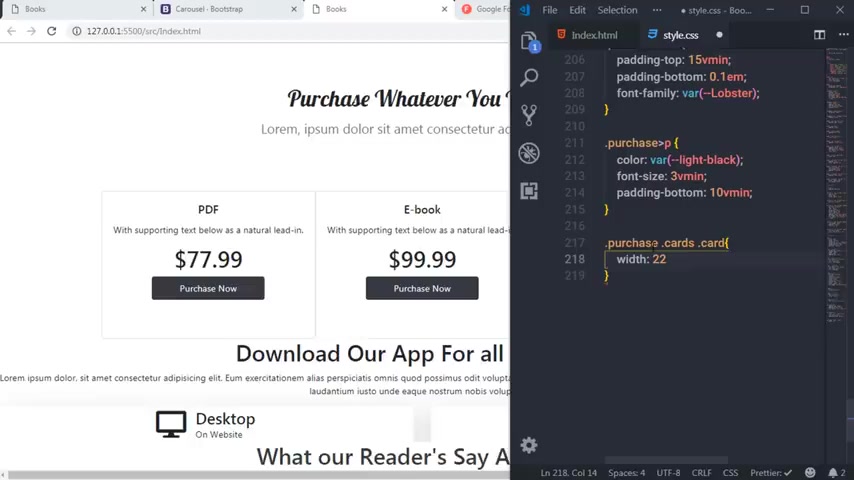
Now , just after that , I'm going to create here a television tag and specify class cards .
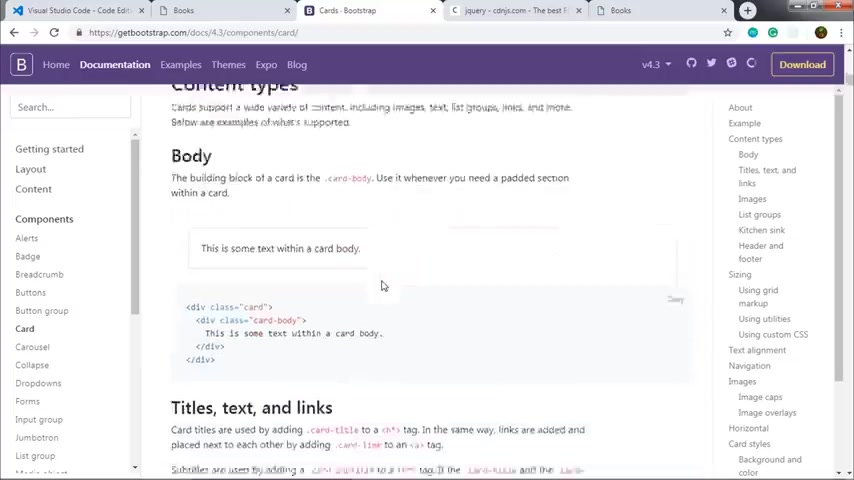
If you open the bootstrap website and click on this card , then you can see here you have different type of cards here .
Now , I want to use this card here , right ?
So I will just use this code .
I'm not going to copy this code .
I will write it manually and specify these classes .
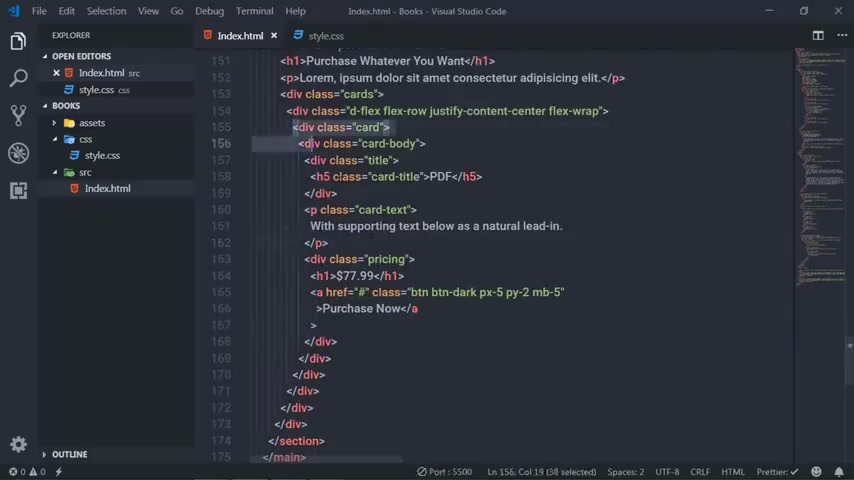
So I will just create a card here .
And just after that , I'm going to add here a division tag with the Flex box .
So I will say dele and just say flex and in this Dave , I'm going to add this card , right ?
This card plus .
So I will say here D card .
So don't confuse with this card and these cards .
So this card is a custom class and this is a booster plus .
Now for this Dave , I want to align all these cards center .
So I will say here justify content center .
And along with that , I want to wrap this card .
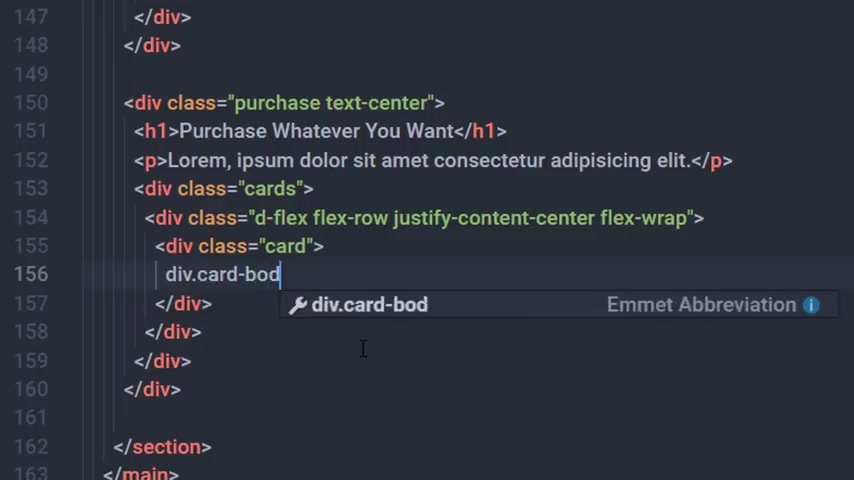
So I will say flex wrap .
Now in this class , I will create a division tag and specify a class called body and in the body of this class , I will create a title deal .
And in this day , I'm going to add five heading tag with the class card title , right ?
And just specify here PDF text .
And just after this day here , I will add a paragraph and I want to specify class to this paragraph .
So I will say card text .
Now just after that , I will add some demo text here .
So I will copy this text from this website .
So I will copy this text and paste it here .
And now just after this paragraph , I'm gonna create this prising section .
So I will add here a division tag and specify a class prising .
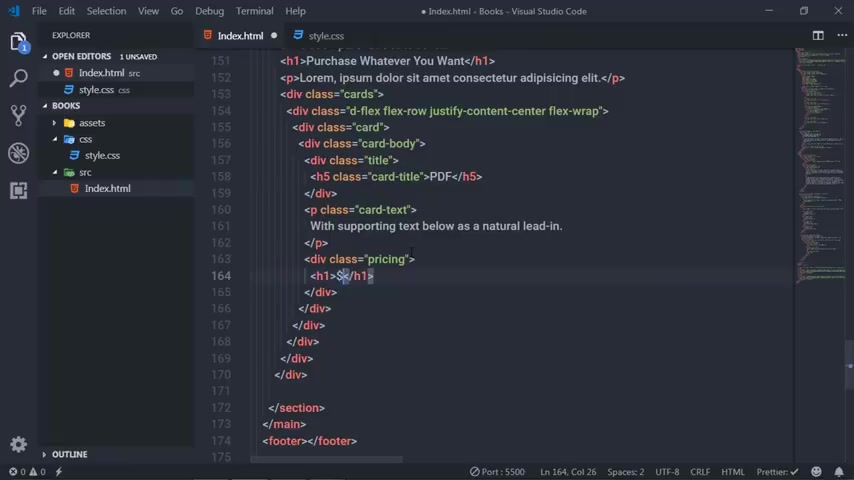
And just here , I will add each one hitting tag and specify my price .
So I will just add a dollar sign and say 77.99 .
And just after that here , I'm gonna add this button .
So here you can see a button .
This is not actually a button .
This is an anchor tag , just look like a button .
So I will add here an anchor tag and specify here a text .
So I will say purchase .
Now .
Now I want to specify boost our classes to this anchor attack .
So it looks like a button .
So I would say class and say here BT N be and do save the changes .
And if you open this file , you can see you have here a button , right ?
I want to add some patting to this button .
So I'm gonna add here padding X five .
So this will add left and right padding .
And I will say padding by this will add the vertical padding .
And I will say here do .
Now , I also want to specify maging bottom to this button .
So I will say merging bottom five , right , save the changes .
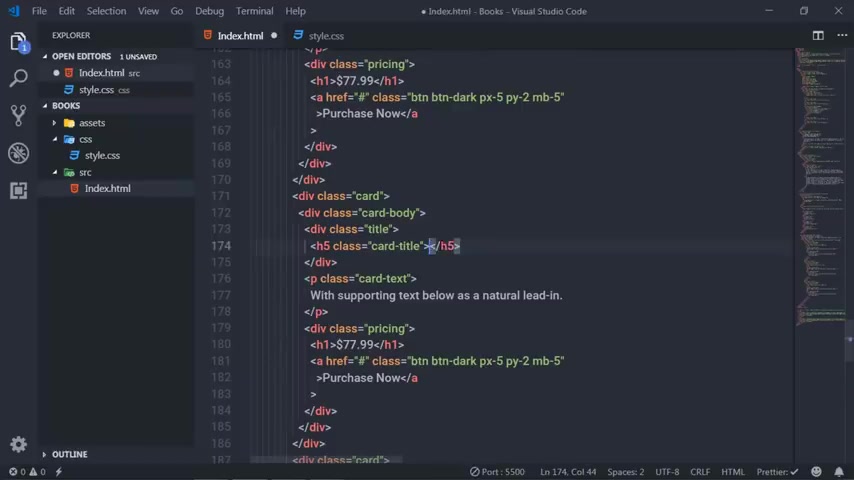
And you can see here this button right now , I want to add two more cards in the row .
So just copy this card .
So I'll just click on this there and you can see here the closing deal .
So I will copy this card and paste it just after this closing date .
And I will do the same for the third card also .
So I will test this again .
Save the changes .
And right here you can see we have three cards .
Now , I want to change this text and this price , right ?
So I'm gonna change this text .
So I will say here a book and the price is going to be 99.99 .
And for the third card right here , I'm gonna add print copy text and I will specify a price $58.99 save the changes .
And you can see here we have three cars right now .
If you look at this code , this might be confusing for you .
For that reason , I will add some comment here to understand this code clearly .
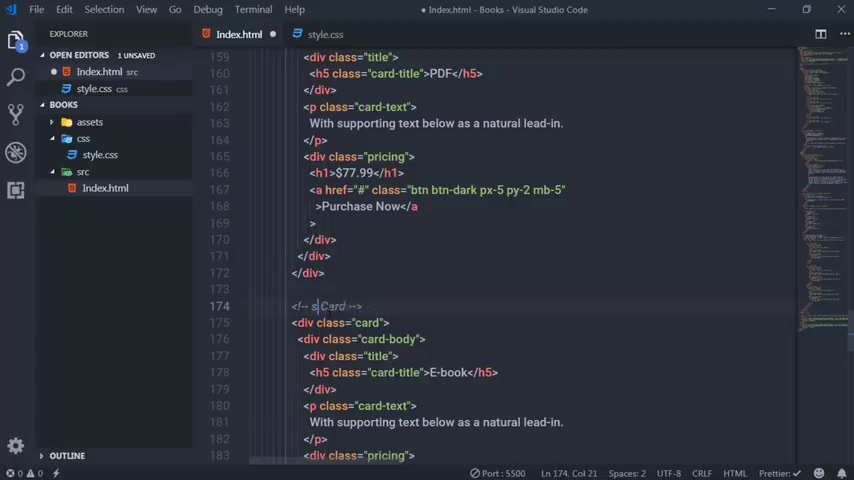
So I'm going to add here a comment and specify here first cut right then copy this command , rest it here and just say second God and then just put this comment here and say third car right now .
I want to create the next section .
This one where we have the heading , the paragraph and two panels .
So let's create this section .
So just after the section , the second section , I will add a third section here .
So I'm gonna say here section and I'm going to create a class .
So I will say section three .
And for this section , I will specify container fluid class with pairing zero and I want to center all the text .
So I will say text center .
Now in this section , I will create a row .
So I will say V here .
Now in this row , I want to specify full column width for this hitting tag and this paragraph .
So I'm gonna add here in this D I would say D and create a column called MD 12 .
Along with that , I will say call SM 12 , I will add 12 column space for a small size of devices , right ?
And in this , I'm gonna add a join heading Dick and say download our app four oh platforms .
And just after that , I'm going to add a paragraph here and copy and paste some text .
So I will copy this text and paste it here .
And now I want to create here a deal with the class platform .
So I will say platform and along with that , I will add class row , right , just after that here in this Dave .
Now in this row , I'm gonna add two columns .
So I'm gonna add ad here with the class , call MD six , right ?
I will create another column .
And just after that , for the first column , I will say call SM 12 and I want to align this text to the right side .
So I will say right and for the second column right here , I will say call SM 12 and specified text to the left side right now in the first column right here , I will create a division time and specify a class which is a custom class .
So I will say desktop .
And along with that , I want to specify some shadow to this day .
So I will say shadow LG .

So this is a booster class to specify shadow to the html element .
Right now , this will add some shadow to this 1st 11 right now .
To create this type of design , I will use Flex box .
So I will add here the flex and along with that , I will say flex row and I will justify all the content center .
Now here in this Flex box , I want to add this icon .
So to add this icon , I'm using font awesome website .
So I will just open a new tab and search for font .
Awesome .
And from this want awesome dot com website .
And from this website , you can find different type of icons .
I'm going to just click on the start using free .
So I'm going to just copy the CD N I just pressed it in this hair time , right ?
Just before this CS S style .
So I will pass this link here , save the changes and now you can use any free icon from this website .
So I will click on these icons and search for desktop .
So here you can see the icon .
Next stop .
I will just click on it .
And now here you can download this icon or just use this code .
So I'll just grab this code .
So I'll click on it and just press this code right here in this first column , save the changes .
And if you open the website , you can see you have this icon here .
But the size of this icon is too small .
So I want to increase the size of this icon .
So we have a class called FA three X .
So this class will increase the size of the icon .
So you can see here .
All right .
And along with that , I want to add some padding to this icon .
So I will say padding Y two and void three .
All right .
Just after that , I will create here a tuition tag and specify text plus .
And I want to align all the text left .
So I will say text left here .
And just after that , I will add H three hitting tag .
And I want to specify a class to this H three heading tag .
So I will say class planning top one and I want to add margin zero .
And here in this H three heading tag , I will say the stock and just off that I will add a paragraph and specify plus adding zero and I want to add margin zero , oops zero .
And I want to specify a text here .
So I will say on website .
So the gingers , right ?
So you can see this layout here .
Just after that , I want to add the second this column where we have the icon of mobile and on mobile text .
So I will select this there by clicking on this there .
You can find the closing there , right ?
Just copy it and paste it in the second column right here and here I want to change this icon .
So I'm gonna change this icon plus .
So I will say here mobile and just after that , I will change this text to on mobile and this is going to be huh play store , save the changes .
And you can see here you have this on mobile text with this icon .
So you can see here we have this mobile icon , but I want to change this icon .
I think I specify a different icon here .
I want to change that .
So I will say here mobile out .
So here you can see the mobile icon and the text .
Now this section is completed .
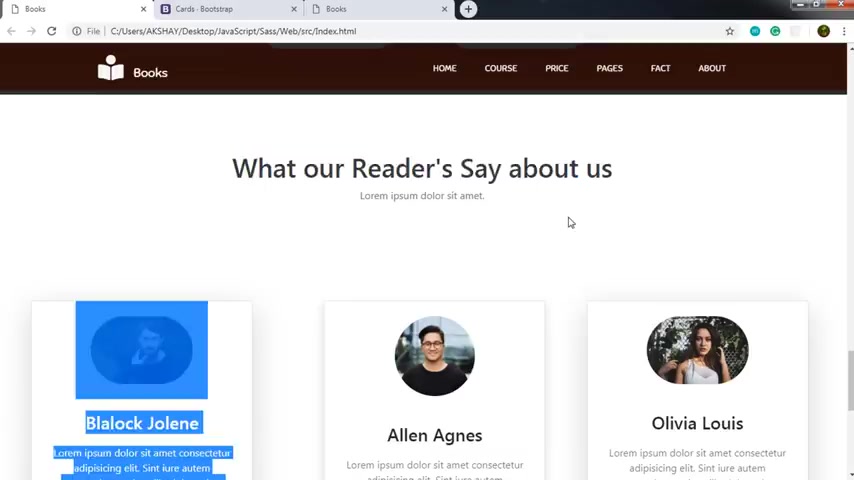
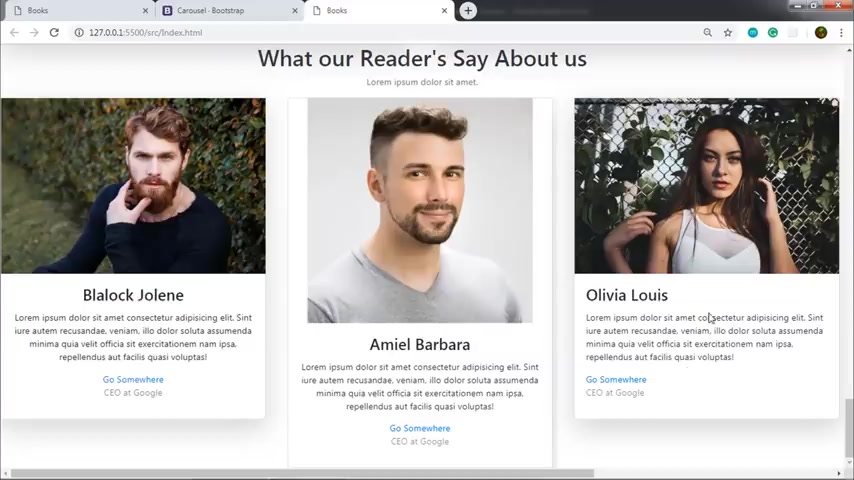
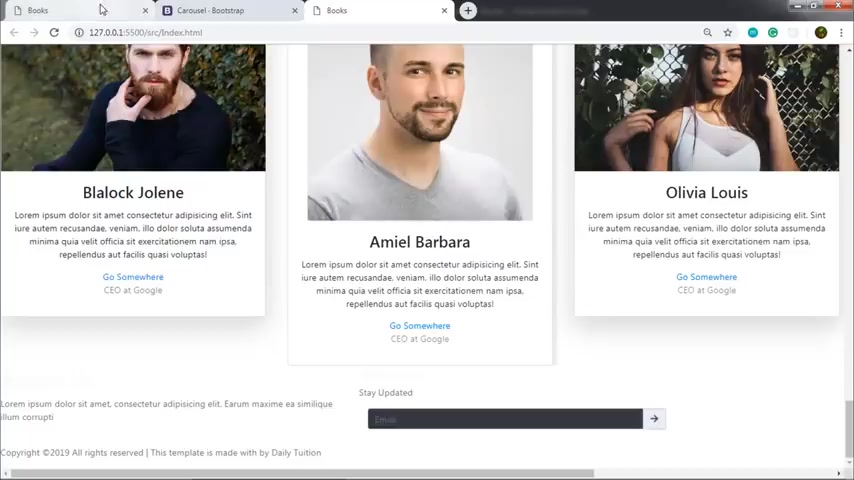
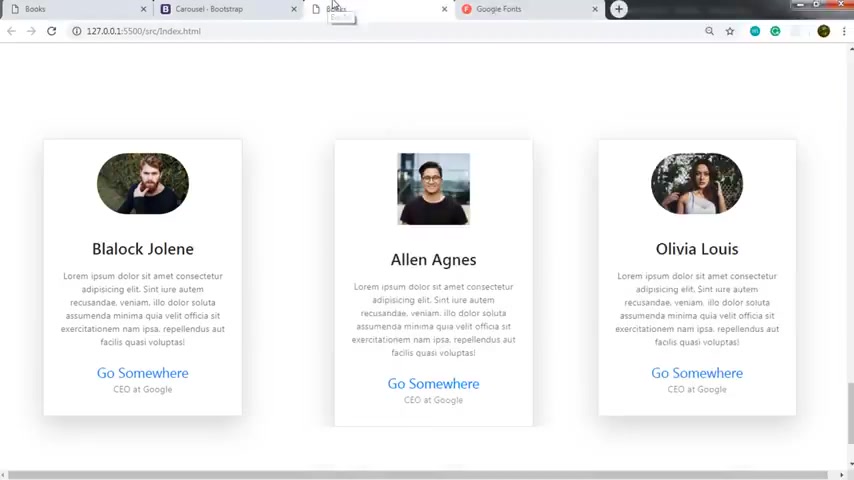
Let move on to the next section where we create this team member section and the carousel .
I will first close this unwanted task .
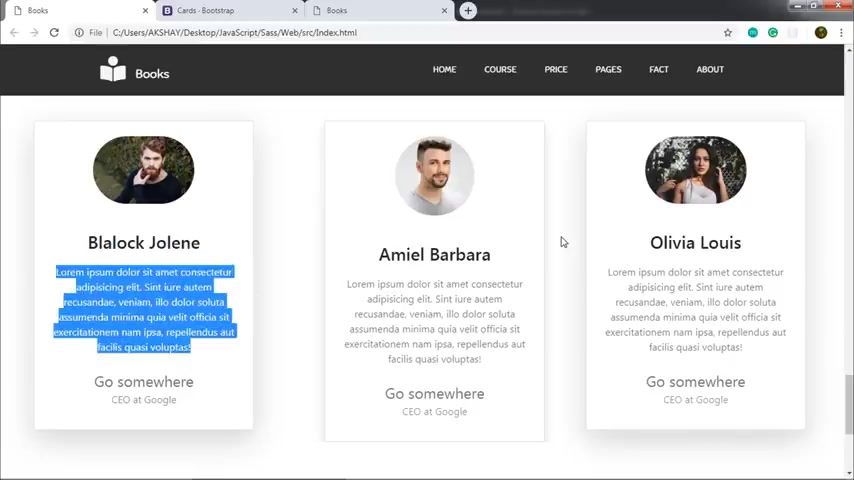
Now , the next section comes in where we add this heading and the paragraph .
And you can see here we have three cards , but actually we have four cards here .
We use two cards inside this carousel .
So we're going to learn how to create this D member section with this carousel .
So let's see how to do that .
So to create a team member , I'm going to create a new section here .
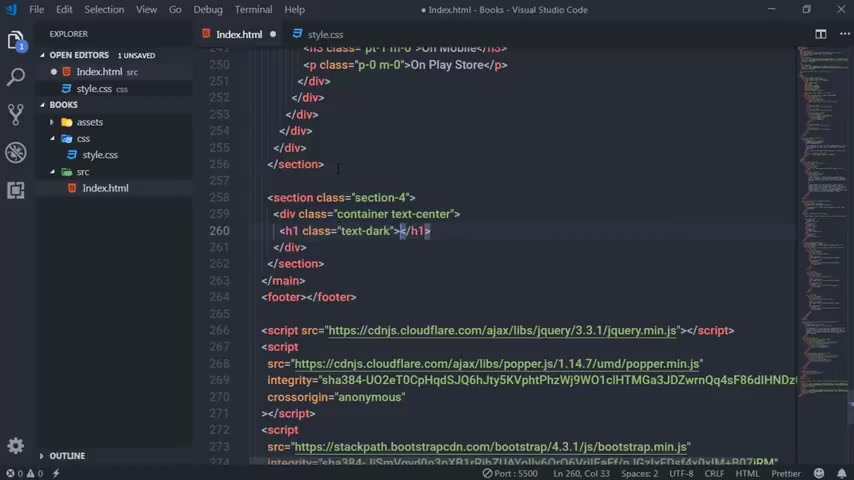
So I will just say here section and specify class section four in this section .
I'm going to first create a container .
So I will say container and along with that , I will say text center to center all the text .
Then just after that , I will add the H one heading tag and I'm gonna add text dark class , right ?
So this will change the color of the text .
And here I want to specify a text .
So I will say what our readers says about us , right ?
And just after that , I'm gonna add a simple paragraph with the text .
So I'm gonna say here M five and I also wanted to specify a class here .
So I'm gonna say class text secondary , right ?
So this will change the text color of this paragraph , save the changes .
And if you open this , you can see here you have this title and this paragraph right now , just after that , just after this day , I'm going to create here another day .
So I will specify a custom class here .
So I will say team and along with that , I will specify a row here , right ?
And in this row , I want to add three columns , right ?
So I will say here , call MD four , right ?
And I will copy this D and just paste it here and paste it here .
So this class will specify four column space to this D , to this D and to this day , right ?
And just after that , I want to specify column 12 , four extra small devices .
And just after that in this video , I'm gonna first center all the text .
So I will say text center and then in this day , I'm going to create a card , right ?
So to create a card , I will call the card class .
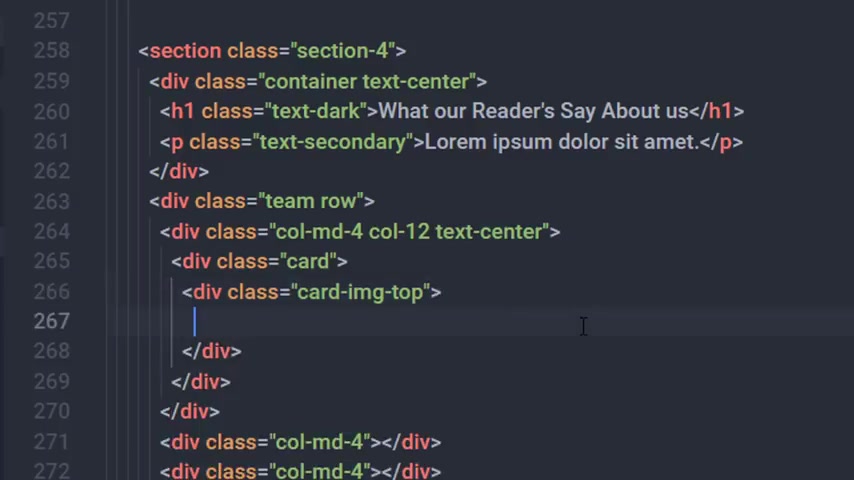
And just after that in this card , I'm going to create another day with card img top right ?
And in this card image top class , I'm gonna add an image .
So I will add here image check and in the source attribute , I will just specify my asset folder .
And here I will select my first member phase , right ?
So I will select this one .
And here in the alta attribute , I would just say member , right ?
And I also want to specify a class here to this image .
So I'm gonna say here img fluid , right ?
Just after this card image of D right ?
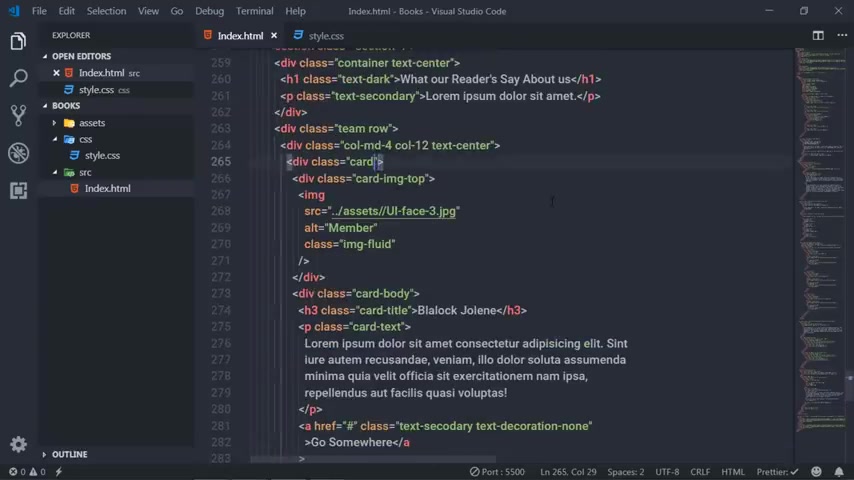
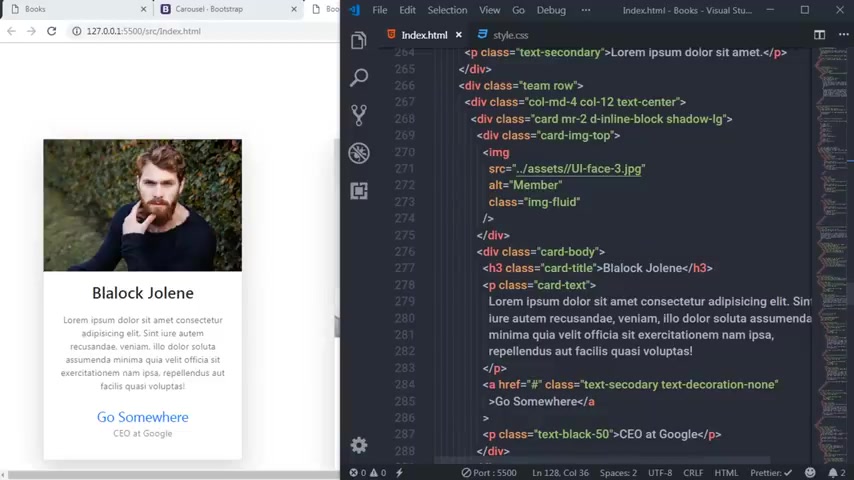
Here , I'm gonna create here a division tag and specify a class card body and in the body of this card , I'm gonna add H three heading tag and specify class card title .
And then I will add the first number name .
So I will say here you are free to specify any name here just after this H three hiding tag .
I'm going to create a paragraph with the with the class card text , right ?
You can see here , I'm just following the structure of the bootstrap card , right ?
And in this paragraph , I want to add some demo text .
So I will post back to my website and just copy this text .
I'm using the same text for all these cards .
You are free to specify different text , right ?
Then here , I'm gonna paste this text , save the changes and right .
And at the last , just after this paragraph , I will add an anchor tag .
And here I'm going to specify a text here .
So I will say go somewhere , right ?
I also want to specify a class here .

So I will say class , so I will say text secondary and along with that , I will say text decoration .
No .
So this class will remove the default border from this anchor , right ?
Save the changes .
If you open this file , you can see here you have a card , right ?
When we add CS S this card look like this right now .
I want to add here one more text .
So I'm gonna add just after this anchor , I'm gonna add a paragraph and in this paragraph , I will specify a position of the member in the company .
So I'm gonna say here CEO at Google , right ?
And I will say here class , I want to specify light gray color to this text .
So I will say text black 50 .
So this will boost our plus to specify a light break alert to this text , save the changes .
And here you can see we have this text here right now .
Just after that , I want to specify margin to this card .
So I'm gonna add here , margin .
So I will say margin , right ?
Two , I want to specify in line block property of CS S to this card .
So I'm gonna say here D in line lock , right ?
And then I want to add shadow .
So I will say shadow LG , right ?
Save the gingers .
And you can see you have this card with shadow in the second column right here .
I want to add a carousel to add a carousel .
I will back to Booras side and here you can find the carousel right here just after this card , just click on it and you can find here a different kind of car cells .
So I'm gonna just use this simple slide only car cell , right ?
So I'm gonna just copy this text and use it in this second column right here .
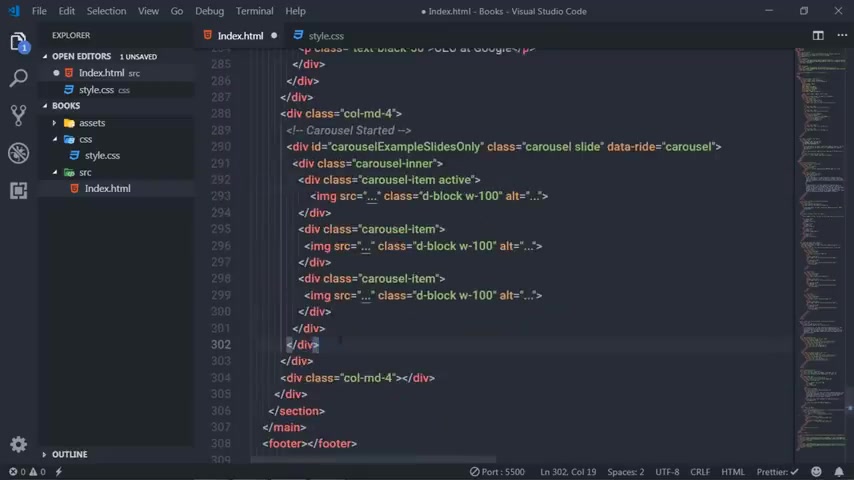
But before I paste it , I want to spec over here a comment and in this comment , I will say started , right ?
And now I will paste it here .
Now , in this car zero , you can see we have three items I won't only choose .
So I will remove this car zero item right now in the first carousel item , I want to display my card , right ?
So I will get rid of this image and clear to comment here and just see here called right ?
So I'm gonna just copy this card from here .
So just copy this card from this card class right from here to this closing date , copy this and paste it here in the first carousel item right now .
You just need to change this image and the text , right ?
So I'm going to just change this image to this and then I'm gonna change this text .
So I'm going to specify here and then , all right .
And just after that , save the changes and here you can see you have a set right here .
Now , I want to add one more carousel item here .
But before I specify any carousel item , I need to specify this text to the center of this card .
So I'm gonna add here , text center class , save the changes .
And you can see here we have a center text right now .
Just after that for the second character item , I will say text center and get rid of this image .
And I will copy this card right here and paste it here in the second carousel item .
But before I paste it , I will specify a comment here and say card three , paste it here and just change this image .
And I'm gonna say here and I will select this U I phase two image here and the text is going to be this right , save the changes .
And you can see here we have a sliding carousel , right ?
And just after that in the third column , I will first specify called 12 class to this column .
I also wanted to specify this class to this second column also .
So I would say here called 12 right now in the third column right here , I'm gonna copy and paste the card again .
So I'm going to paste the card again .
So I will create a comment here and say card four and paste the card here .
So I will copy the first card right from here and just paste it in the third column right here .
And just after that , just change this image .
So I'm gonna specify here U I phase four , you have phase four and these states is something like this .
Olivia Louis , right ?
Save the changes and you can see you have your third card right now .
I want to send you this text .
So I'm going to space it right here , text center .
This will send this text right now .
The team member section is completed when we style this section .
This section looks like this right now .
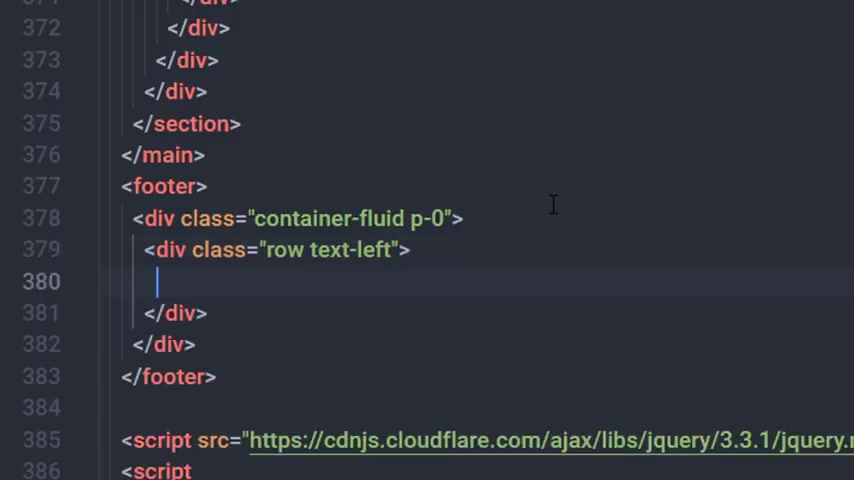
Just after that , the last section we wanted to create is a footer section in this footer .
We're gonna add this about section where we have this paragraph .
Then we have this new little section , this text box and this follows section .
So let's get started and create this beautiful footer now to create this beautiful footer .
I will just create here a container fluid class .
And along with that , I will say patting zero just top of that .
Oops , I want to specify zero here .
And in this Dave , I'm gonna add a row .
So I will say here a row and I want to specify all the text to the left side .
So I'm gonna say text left , right .
And in this day , I will create three columns .
So I'm gonna say call MD five .
So I will specify five column space for this day .
Then I will create the same D here .
So I'm going to copy and paste this D here .
And just after that , I will create a column MD two .
All right .
So you can see here we have two division in attack with five column space and one divita has two column space .
So you can see here we are following the structure of boos because if you calculate and add these columns , you can see you have 12 column space , right ?
And here I'm going to say call MD five for a small size of devices .
And also just after that , I will first create this about section and this paragraph , right ?
So just create this about section to create this about section .
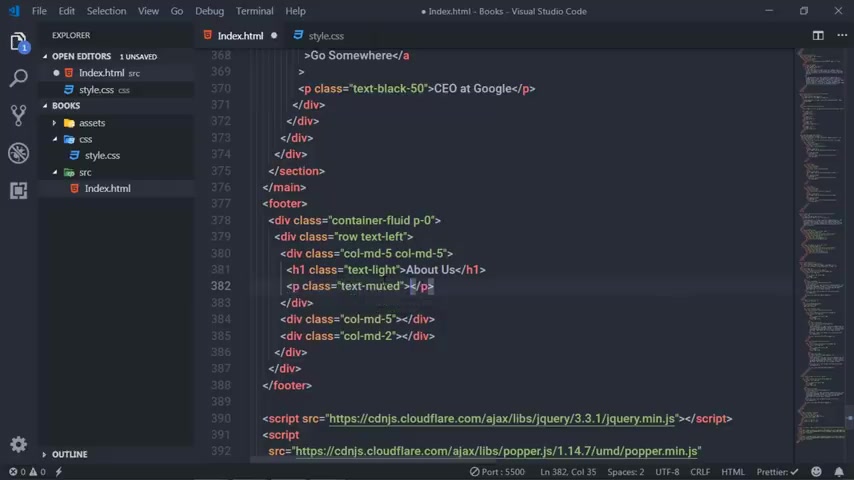
Just create here H four heading tag and I'm going to specify here a class and just say here text flight , right ?
And just hear about us .
Now , just after that , I will create a paragraph and specify a text color .
So I will say text muted .
So this will add light gray color to this paragraph .
And here I'm gonna add some text .
So to specify a text , I will just copy this text and paste it in this paragraph right here .
Just after that , I'm going to create another paragraph and I will specify glass penning top four and just after that specify text muted , right ?
And in this paragraph , I will use this text , right ?
So I will copy this text and paste it here .
Now , I want to change the color of this deletion name .
So I'm gonna wrap this deletion name in this contact .
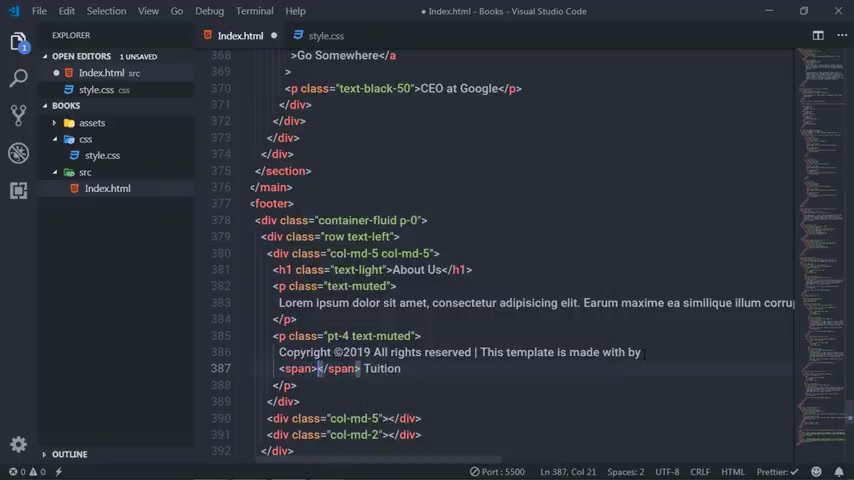
So I'm gonna create here spon and what his name in this context .
So I'm gonna say here daily tuition , right ?
Save the changes .
And when we create a style sheet , I will specify this color to this deletion text right now .
Just after that in the second column right here , I'm gonna create here this section where we have this newsletter , this paragraph text and this beautiful text blast with this gradient button .
So I'm going to just add H four heading tag and specify class text light and just to hear news later .
And just after that , I will add a paragraph and specify a text muted glass .
And I will say here stay updated , right ?
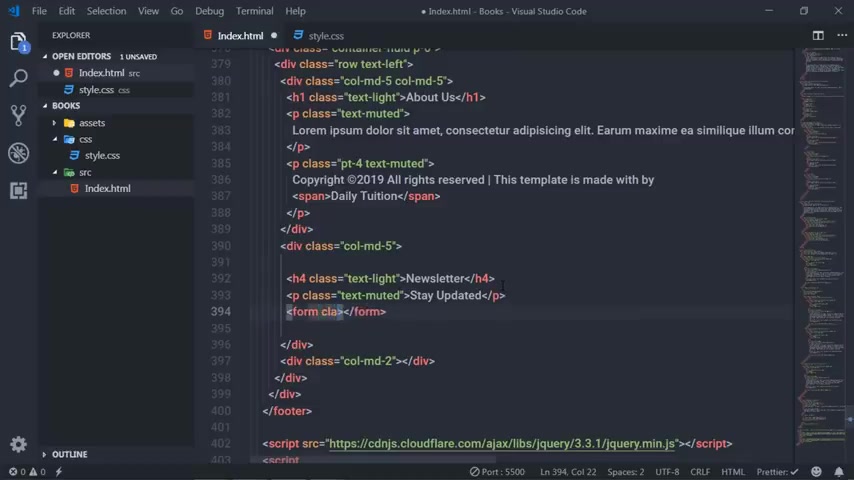
Then I will just add this text box .
So I will say here form , I will get rid of this action attribute and just please by class .
So I'm gonna say here form in line and in this form , I will add a division tag with the class call and padding left zero .
And just after that in this divita , I will create here a division and specify a class in per group .
And just basically by adding right five .
Now , in this day , in this input group , I will add text box and an icon .
So I'm gonna say here , input type text and then specify a class which is form control .
Along with that I will specify a background color to this class .
So I will say be dark , this will add black background color to this text box .
And then I will specify a white text color to this input text box .
I will say text white .
Now , just after that , I will specify a placeholder here and then specify here a placeholder name .
Email .
Now in this tape , I'm gonna create here another division there and specified class input group prepared , right ?
So this division tag is for this button right now , let's create this button .
So I'm gonna add here another to you with the glass input group text .
And in this class , I'm gonna simply add here this icon , right ?
To add this icon , I will use I tag and I will specify glass .
So I will say fast FAA right ?
Save changes .
And you can see here if you open this file , you can see if we have this out here .
In the standard C file .
We specify gradient color to this button right now .
Just after that in this last column , right here to this column D two .
In this column , I will add , this follows text , this simple paragraph and these icons .
So I'm gonna just add here a forwarding tag and specify text like class and see here .
Follow us just after that , add a paragraph and specify text muted class .
And just here , let us be .
So you can specify any text if you want right here .
I'm going to create here a division tag with the column class .
And just after that , I'm going to add text night class .
And in this two , I'm gonna add these icons .
So I'm gonna first add I tag and specify class fam fa Facebook .
All right .
So this will add a Facebook icon .
If you open this file , you can see we have here Facebook icon .
Oops , where is my Facebook icon ?
Just get rid of this text light class because we will specify color for these icons when we create a right ?
So I will just get rid of this class .
So I'll just get it up this glass and save the changes .
And here you can see you have this Facebook icon now just add a few more icons here .
So I'll just copy this stack , test it here and just and here I want Instagram .
So I would say Instagram and just talk of that here .
I want Twitter .
So I will say Twitter here at the last I want my youtube icon .

So I will say youtube here , save the changes and you can see here you have your Facebook , Instagram , Twitter and youtube icon , right ?
When we specify style to this icon , these icons look like this .
At the last I was here to this column , I would say call SM 12 , right .
Save the changes .
And you can see here the STML file is completed .
If you look at this html file , then it's horrible , right ?
Because we didn't specify any style sheet to this html document .
We specify stylesheet to glorify this html file .
So let's get started and create a stylesheet code for this html file .
So now the time is to style this html file using style dot CS S file .
All right .
So I'm going to open my style dot CS S file , which is in my CS S folder , which we had already created and a link to the html file already , right ?
So I will open this file .
So the first thing we will do is I will just add some font family from the Google font which we are using in this website .
So I'm going to add your comment and say Google font , open the new tab and search here Google font right here .
Just click on this Google font website and just select your favorite fonts .
So I'm going to just quickly select my favorite fonts .
Once you've done that , just open your font which you have selected and just click on this import and just copy this import statement and paste it in the ST dot Chases file .
There is another way to import this font family in your website using this standard way just copy this link and paste it in the style dot CS S file in the head section .
Both are equal , right ?
So I will open my style dot CS S file and here I have my font families which we are using in this website .
Just after that , I will just toggle this window right here , right ?
So now I'll just open your website and start with the global selector .
So I'm going to first select all the html tags and specify box sizing border box , right ?
So the border box property allows you to include padding and border in an elements , total width and height in an element's total width and height , right ?
Just after that , I'm going to select header and section and just specify overflow X property .
He don't .
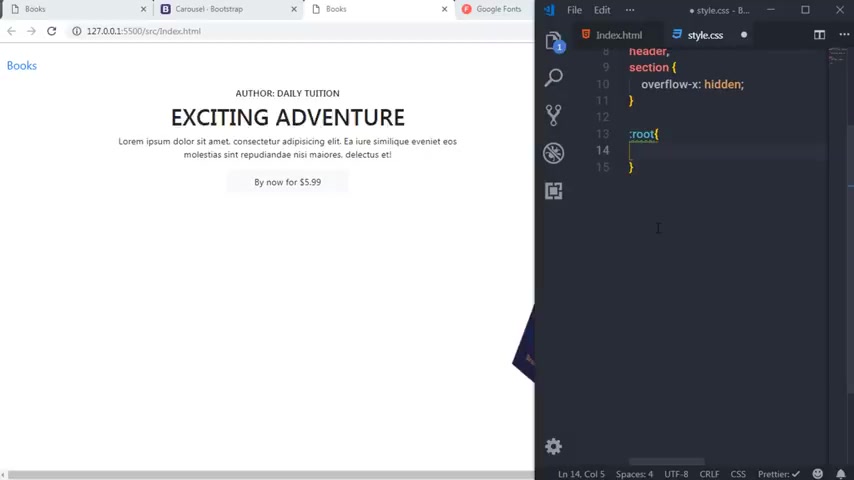
So this property will hide all the left and right , extra space from this header and dissection , right ?
Just after that here , I will just say root and in this route , I'm going to create a few variables in this variable .
We'll specify corn family and the color .
So to simply create a variable , I will just specify double dash and specify my variable , right ?
And just specify value to this variable .
So whenever we want to access this value , you just need to call this variable name , right .
So I'm going to just specify here my font family .
So I'm going to just specify here my font name and default back value right now , I will just quickly create here a few variables .
So here you can see we just created a few variables in this variable , we just specified the font family .
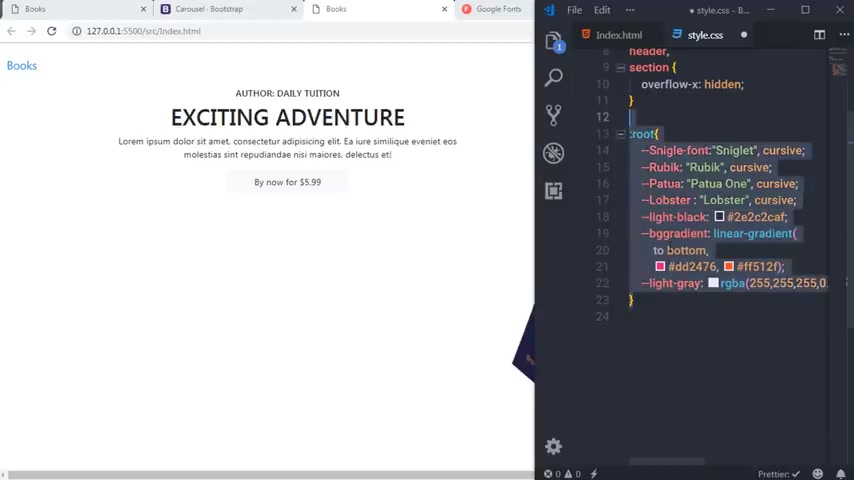
And in these variables , we just specified a color which we are using throughout this website .
So you can see me to use this variable in this file .
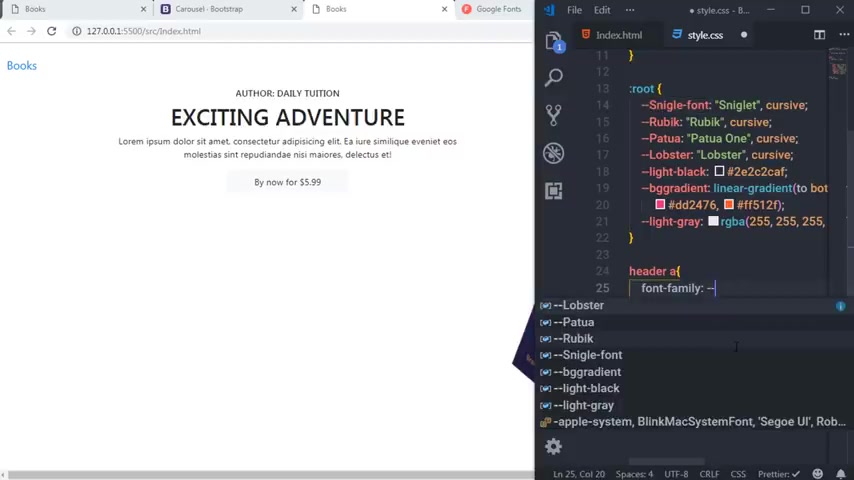
So to use this variable , just specify your class , whatever you want .
So I'm going to just see here , let's say I will just select here header and I want to specify here a lobster font family to this variable .
Then I will just say here , font family and to specify Fond family .
I'm not going to specify the font family name instead , I will just , I will just call this variable .
So I'm going to just specify here double dash and specify my variable name , right ?
This font family is applied to this property , right ?
You can see me doing this throughout this course .
Just after that , I will just save the changes .
And now I will just select the header and the anchor attack .
And I want to specify f family to all the anchor attacks .
So I will say Fond family and I want to specify Fond family .
So I will specify this fond family to this anchor attack and select my fond family , right ?
And just after that , I will switch to my font size 0.9 em , right ?
And then I will specify a color white smoke just after that .
Now I want to specify this background gradient color to this header background .
So I'm going to just say here header and just specify background .
So I will first specify default back value for the old browser .
So I'm going to just specify here a color and then I will specify background and just call the gradient color .
We already created a variable here you can see we will just call this variable to specify a gradient background color .
Here , I will just call dash dash BG gradient right ?
When we say this , you can see this gradient color here .
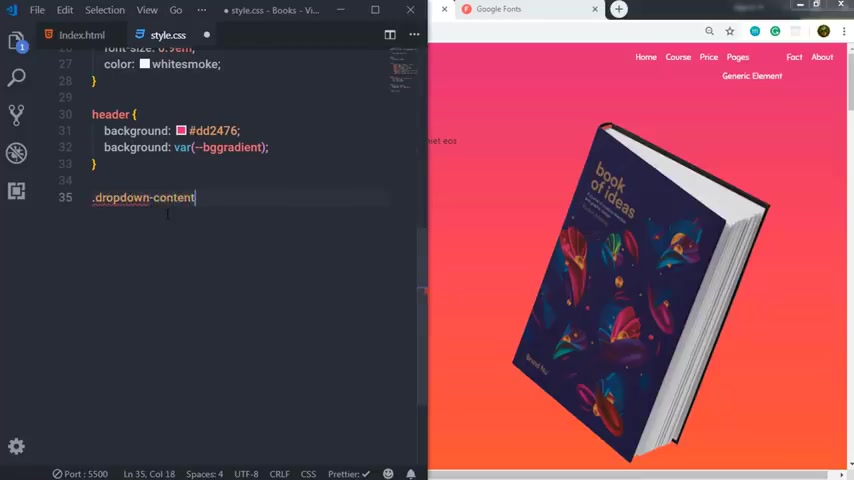
Now , just after that , I'm going to just select the drop down content this one .
So I will just say here drop down content .
And I want to specify hear a display now and I will say position absolute background color .
And here I'm going to specify a color .
So I will say a white color here , right ?
And then I will specify the minimum width .
So I will say M wit and here I will say 1 60 pixel , then I will specify box shadow and the box shadow property .
So I'm going to just specify values two pixel , 15 pixel and zero pixel and then specify RGB color .
So the first value is going to be zero , second zero , third zero and the alpha is going to be 0.2 all right .
And then the Z index is going to be one .
Now you can see there is no nested item here .
Right .
Now , when we hover on these pages , I want to display these nested items .
So to do that , I will first select the dropdown content and select the anchor ta .
And I'm going to specify here , color black .
Then padding is going to be 12 pixel and 16 pixel and the text decoration it's going to be no .
And the display is block .
When we hover on these pages , I want to display nested items .
So I'm going to just hear , drop down content and select the anchor tack .
And when we hold on it , I'm going to just specify background color .
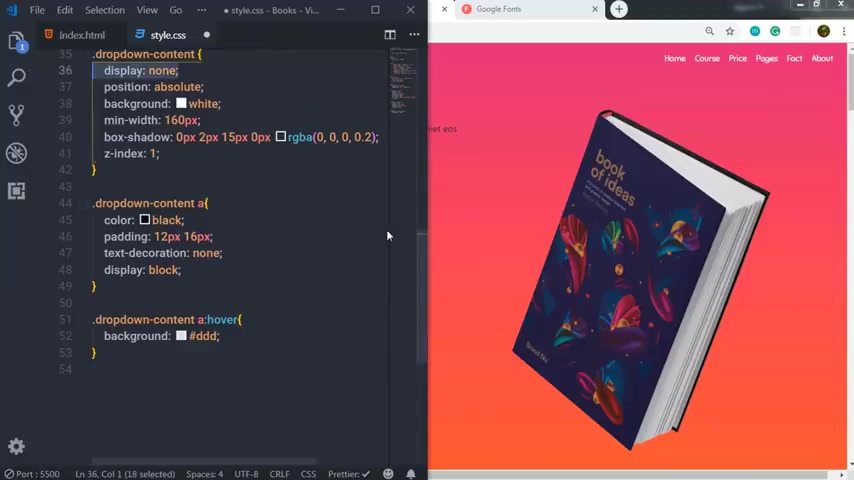
So I will just say background and just specify Higgs value here .
And then I want to change this display property to block when we hover on these pages .
So you can see these nested items when we hover on these pages .
So we'll just see here , drop down however and select the drop down content .
And when we hold on the pages , I want to display these nested items .
So I will say display block here , save the changes .
And here you can see when we hold on these pages , you can see your nested items .
All right , just after that , I'm going to select the header and select the now item class .
And I want to select the last child of this now item class , I will say last child and I want to add a pad , invite 10.5 .

Em , I'm using relative unit here , which is em , you can see me using relative unit throughout this website , just like em rem and women .
These are the relative unit in CS S just after that , I'm going to select the header again and select the now item plus .
And I want to specify adding 0.9 em to these NA items , right ?
So we just added padding to these new items right now .
Just after that , I'm going to select this Nava brand .
So I will just select the header first and then say Nava brand .
And I want to specify padding left eight R , right .
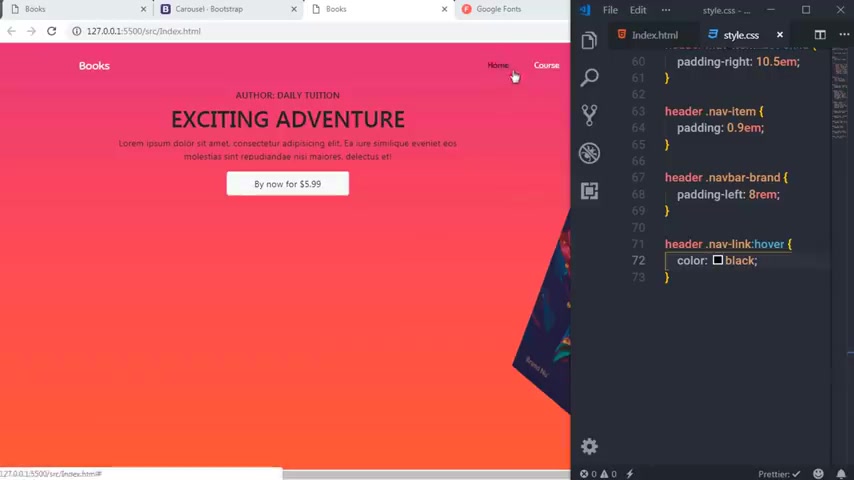
So here you can see we just specified a ra unit just after that , I will just say here header now link and I want to specify how it effect .
So I will just say here however , and I will just change the color to black when we hover on these links , right ?
Just after that , I will select this title .
So I'm going to just say here header and until I call MD five and see here 4.2 women .
So you can see we specify Viewport mean unit for this pairing , right ?
I used to specify different unit for different properties because I think your website will be more responsive when you specify different unit for different properties .
That's my opinion .
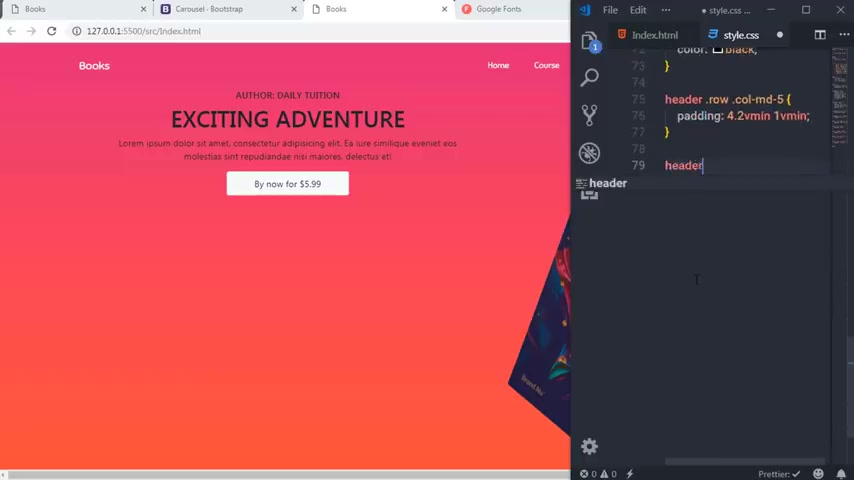
Just after that here , I will just select the header , select it all and select call MD seven , this title section , right ?
And just piece of padding , 22 women and one woman .
And just after that , I will add adding Bono which is 35 women .
All right .
Save the changes .
Just after that , I will select the header data and call MD five and select this image , right ?
This image and I will specify width to this image .
90% .
Save the changes just after that just after this image .
Now , just after that , I want to change this font family .
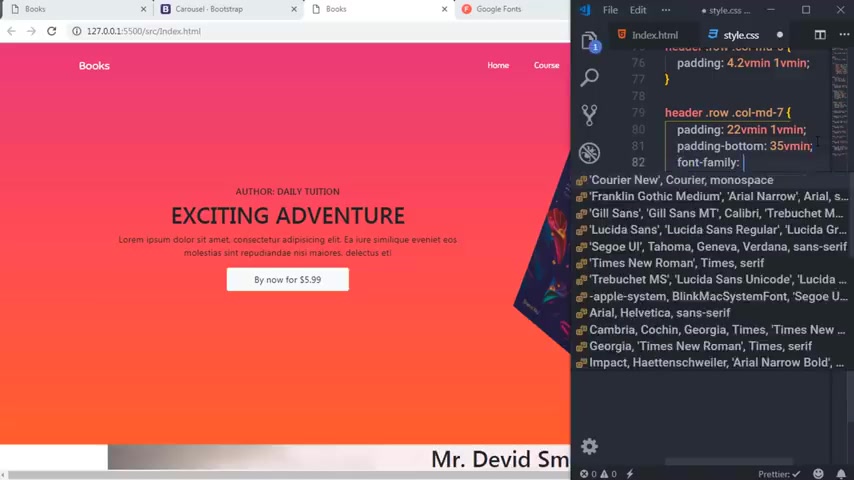
So I'm going to select this column D seven and here I will say upon family and just call these variable , right .
And right here I would select the hitter , select the continue class and then so they call MD seven H six adding time .
And I want to specify here adding women and layer spacing for pizza .
When I save it , you can see this type of result , right , right .
Just off of that , I will just select the hitter the container and then call MD seven and just select this H one heading tag .
So I will say here H one and specify point size 8.5 could mean .
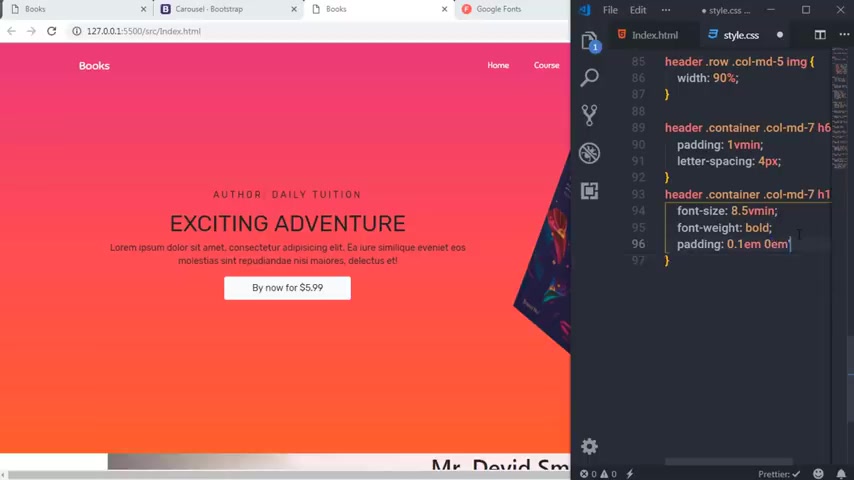
And then here I will say font width is going to be bold and then the last property is going to be padding which is 0.1 AM and zero AM , right .
Save the changes .
And you can see this type of result .
I want to decrease the size of this fond .
So I would say eight here right now , just after that here , I will select the paragraph this one .
So I will select first the header , then the container and then they call MD seven plus and then select the paragraph .
Just after that , I will specify patting one viewing and five women , right ?
Say the changes .
Now , I will just style this button .
So I'm going to just select the header , the container and the call MD seven plus and just select this button .
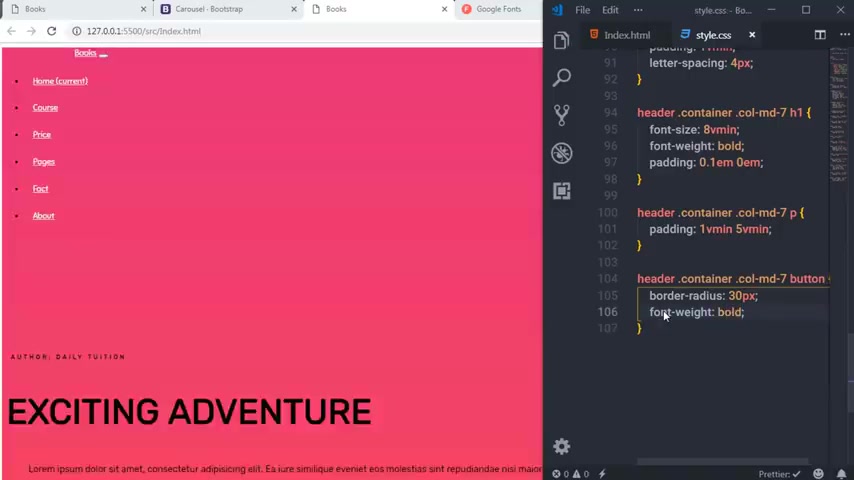
So I will say here button , right ?
And then specify about the radius 30 pixel and fond width is going to be bold .
All right .
So your button look like this .
Now , I want to change this text color .
So I'm going to just select this column MD seven class , this one and space by color , right ?
Right .
So this will change this color , right ?
So this looks pretty much good .
Oops , I think I forgot to specify here an icon , this one .
So I will just specify this icon in the html file .
So I will open my HTMM file here just here in the Nava brand right here .
Just before these books .
I'm going to add an icon .
So I will add here , I tag and specify a class fast Happy book leader .
And then I will increase the size of this icon using fa and I will add margin X three , right .
Save the changes .
And here you can see you have this icon here , right ?
Just back to style of CS file .
And so now you can see your header section is completed in this section , we will style this image and this panel .
So , so I'm gonna create here a command and just specify here .
Section one .
Now in the first section right here , I'm gonna first select the section one class and specify padding and specify padding for top and bottom .
So I'm gonna say here 20 women and say here zero , save the changes .
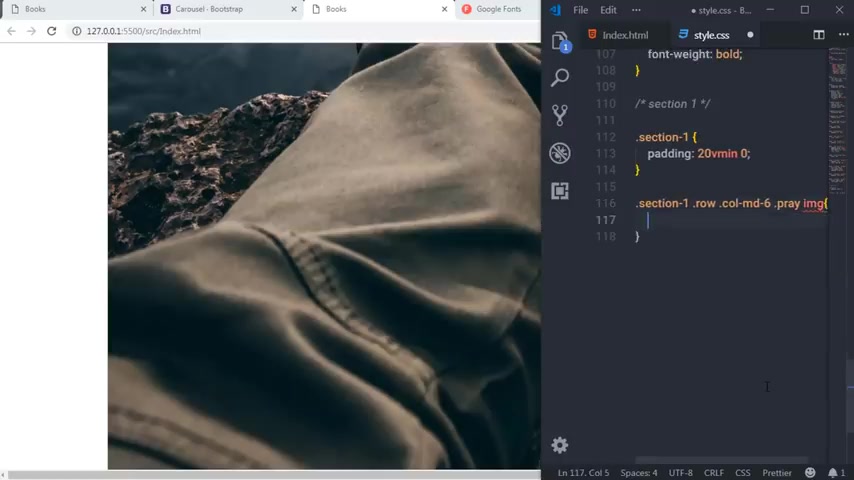
Now , just after that , I'm gonna select section one row and the call MD sixth class .
And I want to select this break glass and this image , right , this image .
So I'm going to specify here opacity for this image .
So I'm gonna say opacity 0.8 and width is going to be 80% .
And I also want to specify border radius to this image .
So I will say border radius 0.2 em save the changes and you can see this image here right now .
First style this panel .
I'm gonna say here section one , select zero and they call MD sixth class .
And now I want to select the last child of this class .
So I'm gonna say here last child , right ?
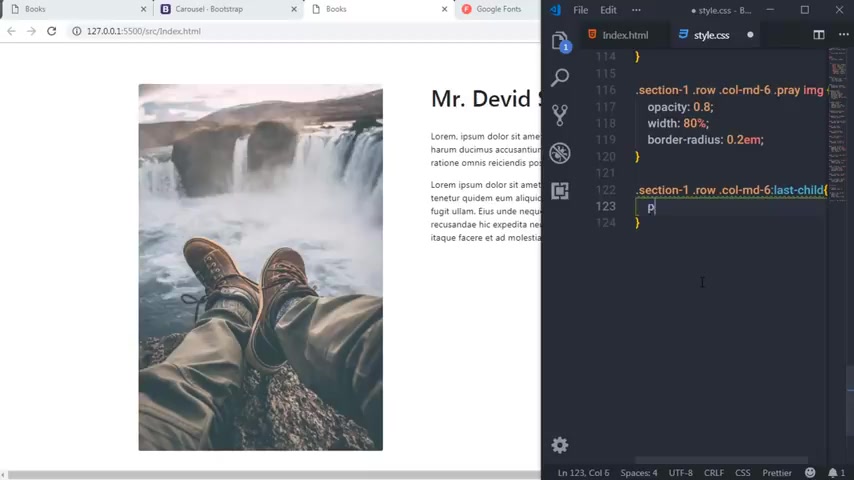
And in this class , I will say position relative because I want to float this panel .
So I'm gonna say position relative for this class .
And then I'm gonna select section one row and select this call MD six class and select this panel .
So here we specified position relative to the parent of this panel .
And then I'm going to specify here , position absolute .
Then I'm gonna say seven and left is minus 18 wing , right .
Just talk that I'm gonna specify background , right , border radius .
I'm gonna say three pixel and next line , I want to align all the text to the left side .
So I will say left and then I will specify some padding .
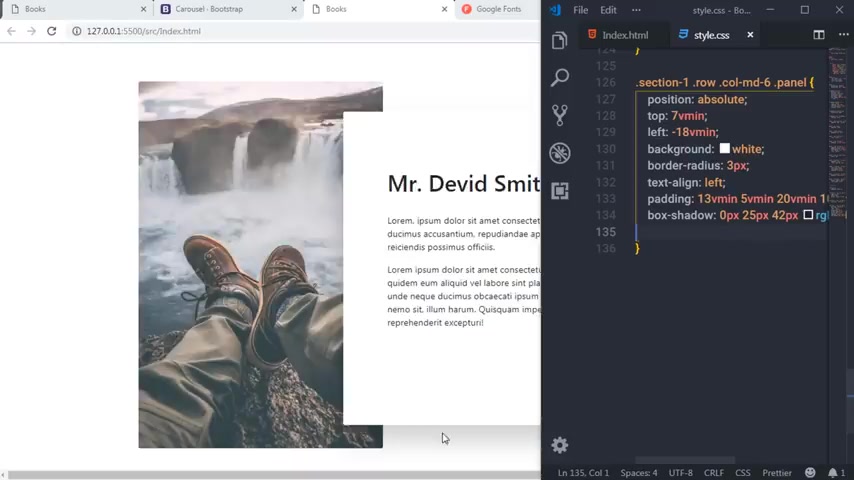
So I will say padding here and then I will specify top padding .
13 women in the right padding is going to be five women .
The bottom padding is 20 women and the left padding is 10 women , right ?
Then I'm going to specify box shadow property and specify a shadow .
So I'm gonna say zero pixel 25 pixel 42 pixel .
And then I will specify R GB a color , right ?
So I'm gonna say here 000 and here for the alpha , I will say 0.2 right ?
Save the changes .
And you can see the style is applied to this panel .
Now I want to speak with font family .
So I will say font family and just call ruby variable here , right ?
Then I will say Z index what save the changes and you can see this type of result just after that , I'm gonna specify some style to this text .
So I'm gonna first select this section one then video and the call MD sixth class , then I will select the panel and the H one heading tag , right ?
This one .
And for this heading tag , I will say font width bolt , adding 0.4 Y and zero here .
Then I'm gonna save on size two em , right .
Save the changes .
Just after that , I'm going to select this paragraph .
So I'm gonna first say section one row , call in the sixth class , then select the panel and then select the paragraph right ?
And in this paragraph , I'm gonna first specify for size 0.9 AM and the color .
And here I will specify R GB A color .
So I will say R GB A 000 .
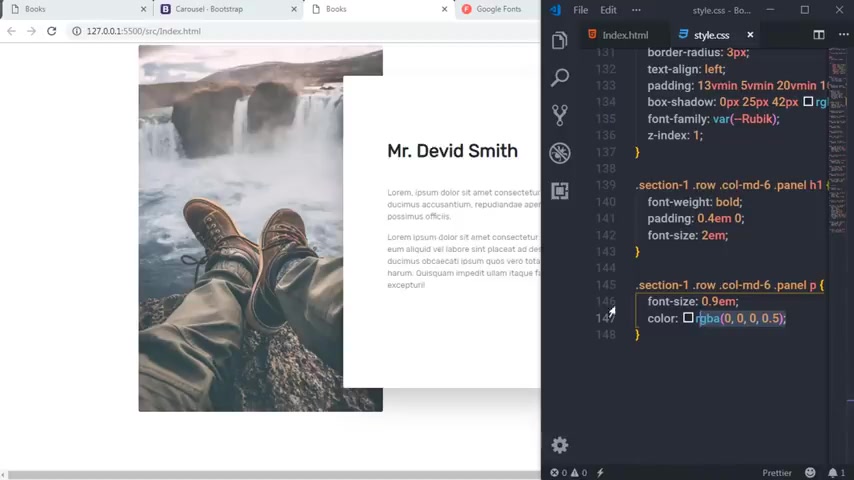
And here I'm gonna say 0.5 save the changes .
So this color will specify a light gray color to this paragraph .
Now , just after that .
So now the section one is completed .
Now , you can see it looks better than the previous one .
Now let's move on to the next section .
So I'm gonna style this section .
So I will open this up and just create a comment and see here section two .
Now , in this section , I'm gonna first select the cover class .
So I'm gonna say cover and just specify width , 100% .
Then I will say height 55 we mean save the changes .
So this will add height and width for this cover class .
And then I'm gonna say background URL .
So I'm gonna say background URL .
And here I want to specify an image .
So I'm gonna just specify a path for my image , right .
That's it .
Then I will select my image here .
So I'm gonna select this image right now .
I want to specify position for this image .
So I'm gonna say here , background position and say here minus 25 where and minus 90 right ?
Then I will say background size 1 50% .
And just after that , I want to specify position relative to this cover .
So I'm gonna say position relative , right ?
Save the changes .
Now , just after that , I want to specify here over lay color for this image .
So I'm gonna say here I will select this content class .
So I will say first tier cover and select this content class .
And then I will say background and I want to specify here R GB A color .
I'm gonna say R GB A color , right ?
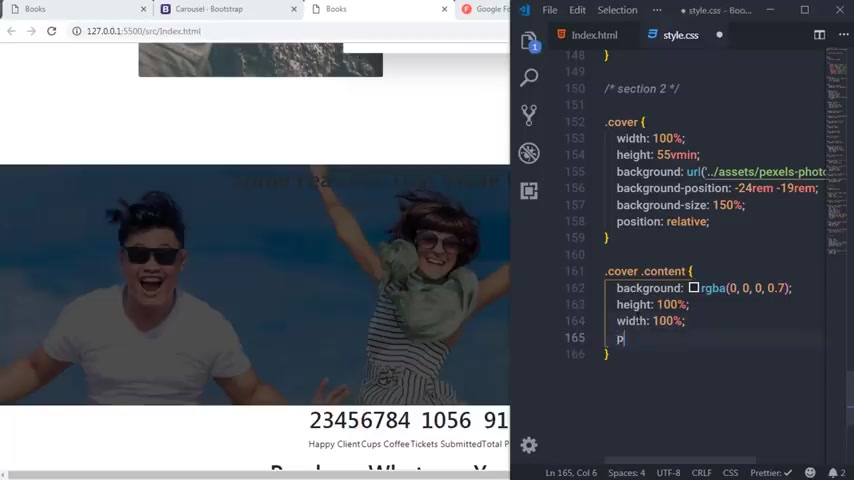
And here I'm going to specify values 000 and 0.7 save the changes .
And then I want to specify height and width for this content .
So I'm going to say height 100% and with 100% right ?
Just after that , I'm gonna specify padding top for this text .
So I'm gonna say here 19 .
So this will add padding top to this text .
Now , just after that , I'm going to select this heading .
So I'm gonna say cover content and then select this H one heading tag this one and specify pro family .
But do I , then the font size is going to be six women .
I want to make this f responsive .
That is why we specify women here .
Just after that , I'm gonna say here , color white smoke , save the changes .
And then I'm gonna say select this paragraph .
So I'm gonna say here cover dot content and then I want to select the descendant paragraphs .
I will say P here and I will say F family and I will specify here a rubric .
Then I will specify upon size to women .
And the last specify a color .
So I'm gonna specify here Higgs value .
So I will say E five E five E five and then I want to create these rectangles , these rectangles .
So I'm gonna create here .
I'm gonna post select this number and just select this red class .
And in this class , I will specify position rel then I will say Z index one and then I want to specify backgrounds .
So I will say background white with 17 rem and height is going to be 12 ram .
I will specify here adding top 3.5 and margin is going to be one ram .
Just after that , I will specify border radius 0.5 PM and box shadow .
It's something like this 50 pixel and zero pixel .
I want to specify color here .
So I will say ru va and here I would say 255 00 and 0.349 .
So the gingers and you can see this type of result here .
All right .
Now , just after that , I want to specify these rectangles here .
So what I'm going to do is I will select these numbers and specify margin , top property minus 15 women .
So this will bring these rectangles here , right ?
And now just after that , I will select these headings .
So I will select these numbers , this red glass and one heading tag and specify F of size five RM and color is going to be tomato .
And then I'm going to select this paragraph .
So I'm going to select numbers then direct class and the paragraph .
And for this paragraph , I will say font family and just specify this font family here .
All right .
All right .
So these rectangles look like this .
Now let's style this section .

So I'm gonna first select this H one heading tag .
So I'm gonna open this style of CS S file .
So here , I'm gonna first select this purchase class , then select this H one heading tag .
And now I want to space for here .
Padding top 15 women .
So this will add padding here .
And then I will specify here , padding bottom 0.1 em and then specify upon family and I will specify a lobster here .
So this will look like this , right ?
I will style this paragraph .
I'm gonna just select these paragraphs .
I will say purchase and select this paragraph .
And I want to specify style and then I will specify a color and I want to specify a variable here .
So I will say light black and then specify font size three women .
And the last I will say adding bottom 10 women right now , let's try these cards .
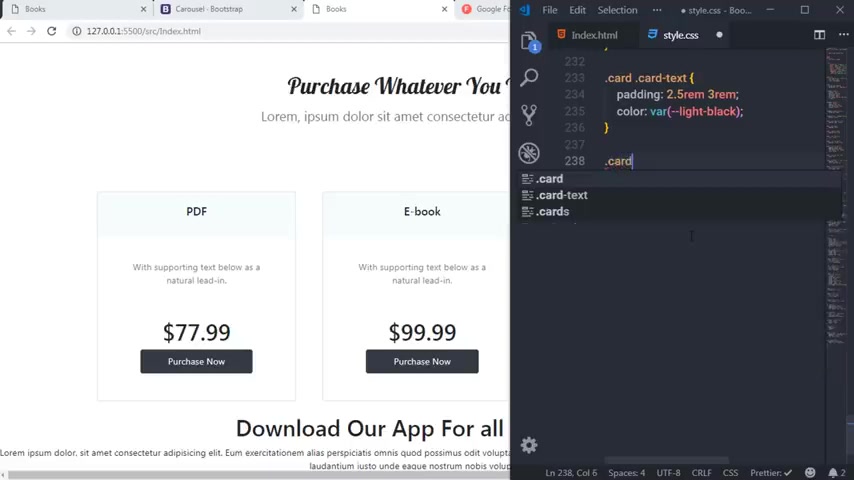
So I'm going to just style this card .
So I will open this up .
So to select this card , I'm going to first select this purchase class and then I will select the parent D .
So I will say cards and select this card .
So I'm gonna say card here , right ?
And first , I will say here with 22 and margin .
I will specify three women just after that .
And just after that , I'm gonna select the cards and select all the Daves .
So I will say Daves here and I will remove all the padding and margin , right ?
And then I'm gonna say cards and , and select the title , right ?
This one and for this title , I'm gonna first specify background .
So I will say background here and call the R GB A color here and here .
I will specify different values .
So I will say 208241241 .
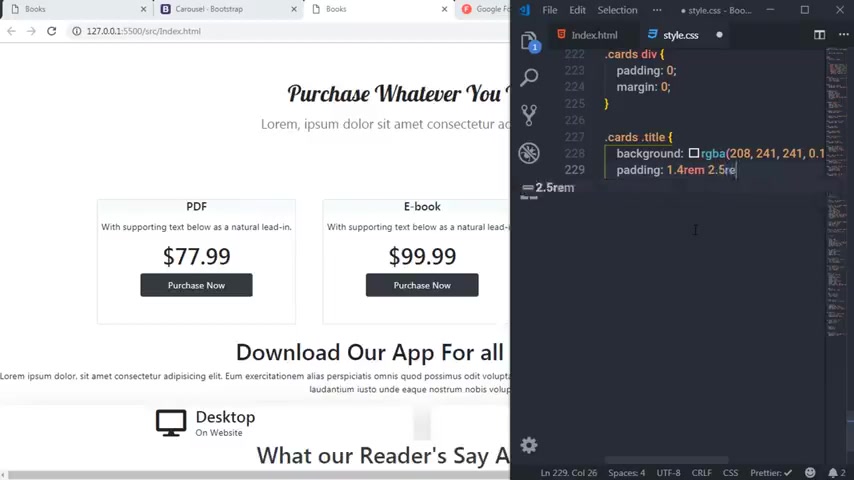
And I want to specify alpha value 0.199 .
All right .
So this will specify this background color to this title , right ?
So I will say padding 1.4 ram at 2.5 .
Mm .
So you can see this light blue color here .
Now , just after that , I'm going to switch to a font size which is two women .
And just after that , I will select this card and I want to select this paragraph .
So I will say card text and I will be adding to this text .
So I will say 2.5 M all right through them .
And just after that , I will specify color to it .
So I will say light black color to it .
So I will say light black here .
Just after that , I'm gonna just select this pricing section right here .
This one and just select this card body and select this pricing section right ?
And I will specify background R GPA color and I will specify here this this background color , right ?
So I'm gonna copy this and paste it here .
And I also want to specify here the border , the top right areas 1 70 pixel and then I will say border top left radius is going to be 1 70 pixel .
So this will create a circle here .
So you're gonna see here a circle right now .
Just after that , I will select this price .
So I will select this card body and then the pricing and then select this H one heading tag for this H one heading tag .
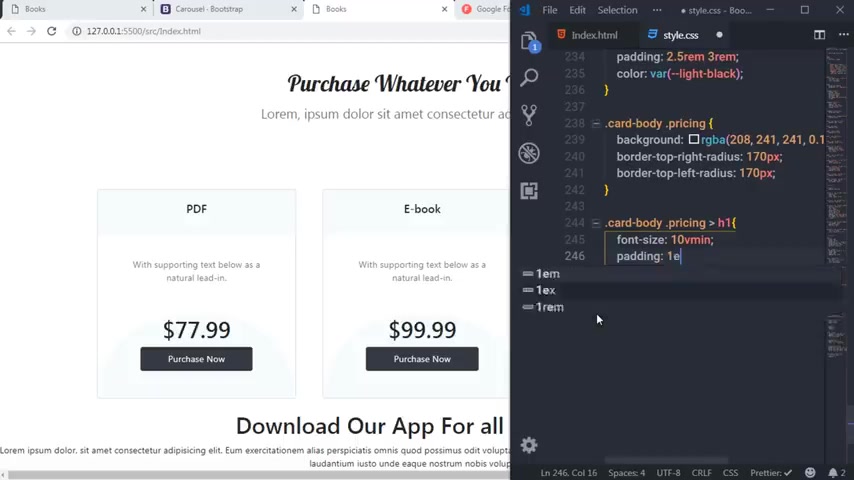
I will post specify point size 10 women and batting is something 1 a.m. and 0.5 VM .
So you can see the card is ready .
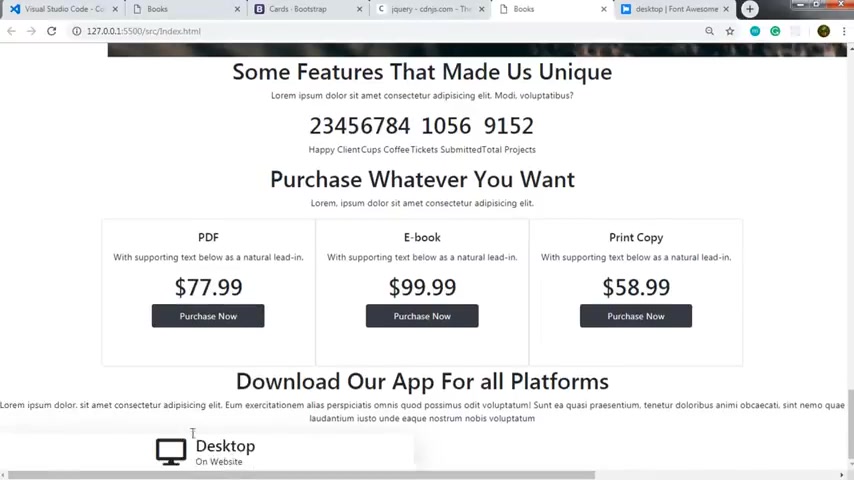
Now , let's move on and create this , download our app for all platform section .
So now let's start this third section .
So I'm going to open this title dot CS S file and create here a comment and say section three , right ?
So to start this third section , I'm gonna first select this class .
So I will say section three and I want to specify height to it .
So I will say height 70 women .
And just after that , I will specify marching top , I'm gonna say here 15 women .
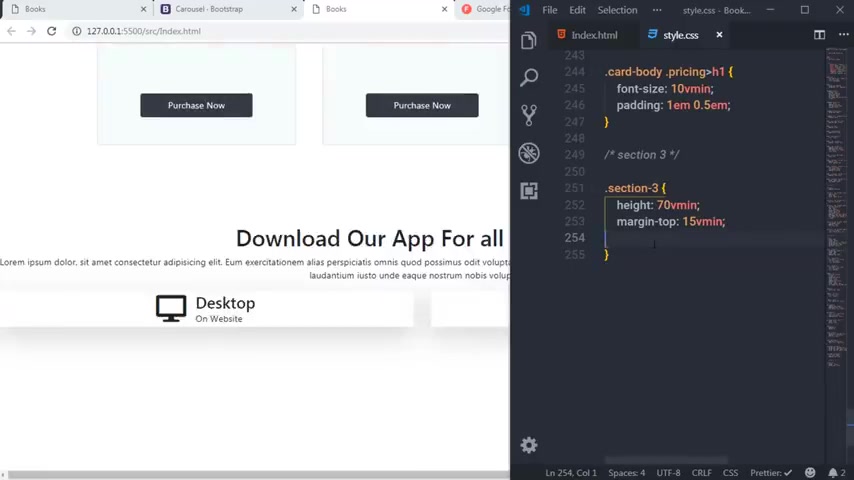
And now I want to specify a background gradient to this section .
So I'm gonna say here background .
And now I will specify a variable which has a gradient color .
So I'm gonna say BG gradient , right .
So this will add gradient color here .
Now , just after that , I will select this H one heading tank .
So I'm gonna post select section three , then I will select the call and the 12 class .
And I want to select this heading tag .
So I will say H one here .
Right .
Right .
And then I will say padding here .
I want to specify padding to the top .
So I will say two em and for the right side , I will say zero for the bottom .
I'm gonna specify 0.5 VM .
And for the left , I will say zero here right .
Then I will say color here and specify a white , small color to this heading with on size six women , save the changes .
And then I'm gonna select this para .
So I'm gonna select the section three colon the 12 class and the descendant paragraph .
And for this paragraph , I will first specify planning zero and four em .
All right .
And the panning bottom is something different .
So I'm gonna say adding bottom two em , right .
Just after that , I will say here , color and I want to call a variable here .
So I will say light gray .
So I will call this variable , right ?
Light gray , variable and font size and font size is going to be three women .
So this paragraph looks like this just after that , I'm gonna select the top .
So I will say section three and select this index top plus and specify first background .
And I want white background color to it .
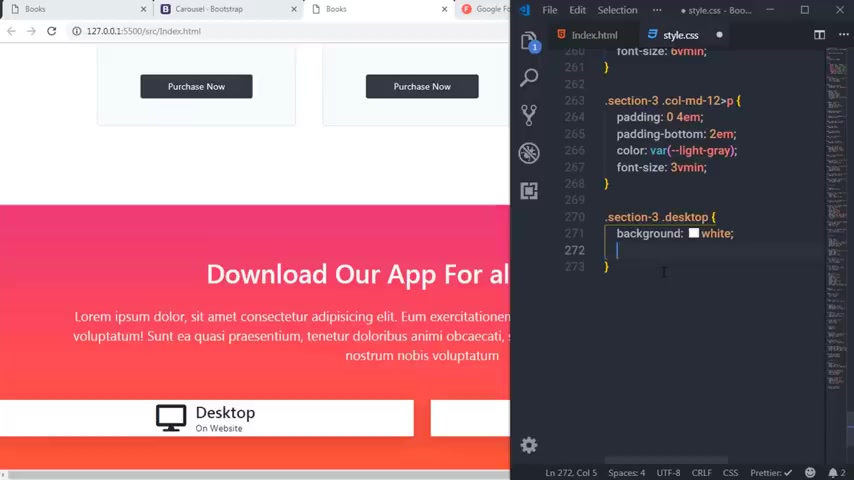
So I will say white and then I want to specify in line block here and then I want to specify display properly in line block .
So I will say in lane block here , then the border radius is 3 a.m. And just after that , I want to specify padding .
So I will say padding two women and 4.5 women .
And the last I will say margin one em .
So this panel look like this , right ?
Just after that , I'm gonna select the section three , then the next stop and I'm gonna say like this heading tag .
So I will say H three heading tag here and I want to specify pa size to it .
So I will say pawn size four remain along with that .
I want to change this pad size of this paragraph .
So I'm gonna say here section three , they stop P right ?
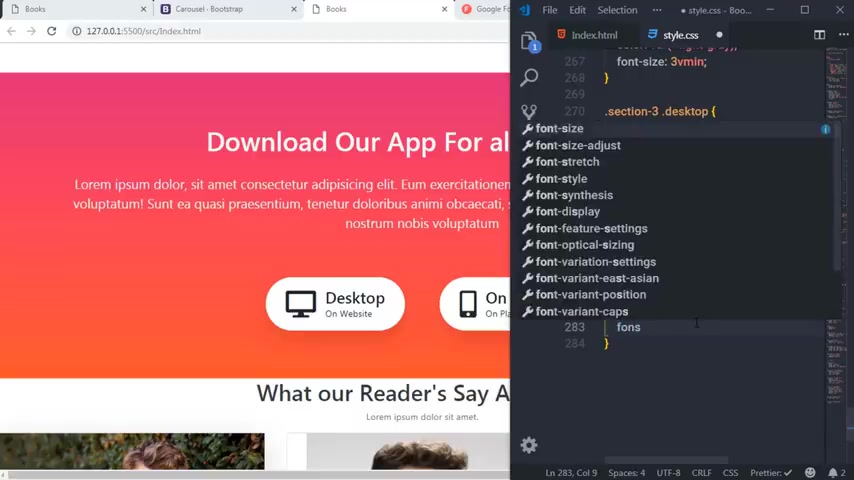
To select the paragraph on size is going to be two women .
So you can see the third section is completed .
Now let's move on to the next section .
In the fourth section , we will style these cards .
So I'm gonna just create here a comment and the section four , right ?
So to style this section , I'm gonna first select this section four .
So I'm gonna say here section four class and I want to select the container first , I'm gonna say container and I want to select this H one heading .
Tag this one .
All right .
So I will say here each one and here I was supposed specify upon the size of six women and padding .
Top 14 women .
Just after that , I will select section four , the , the class .
And for this class , I will add padding , 10 women and four women .
So this property will add some padding to the top and the bottom right ?
Then I'm gonna just select these cards .
So , so I'm gonna select these cards and style it .
So I will just specify here section four and to select this card , we have card class and I want to specify first year with .
So I will say with 22 Ram and Marching top is going to be than remain .
Right .
Right .
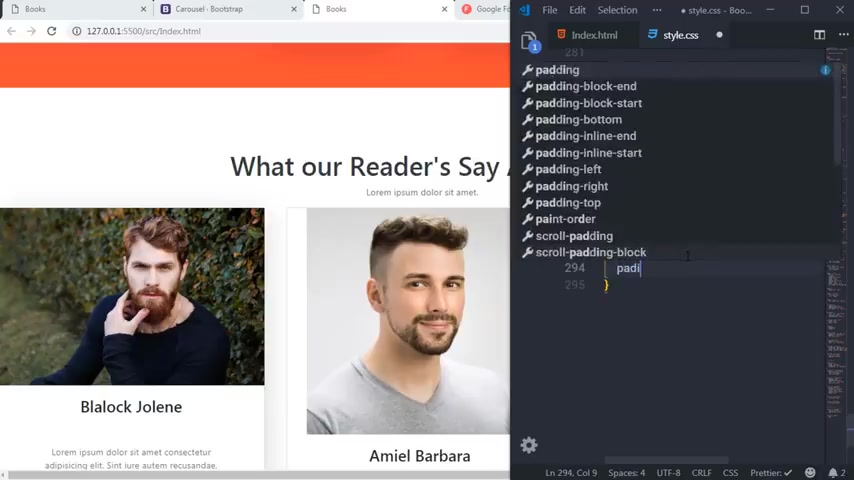
Here , I'm gonna select this card text .
So I'm gonna say section four card and select this card text and I want to space for padding to it .
So I will say padding to 0.5 em , right .
Just after that , I'm going to select this anchor tag .
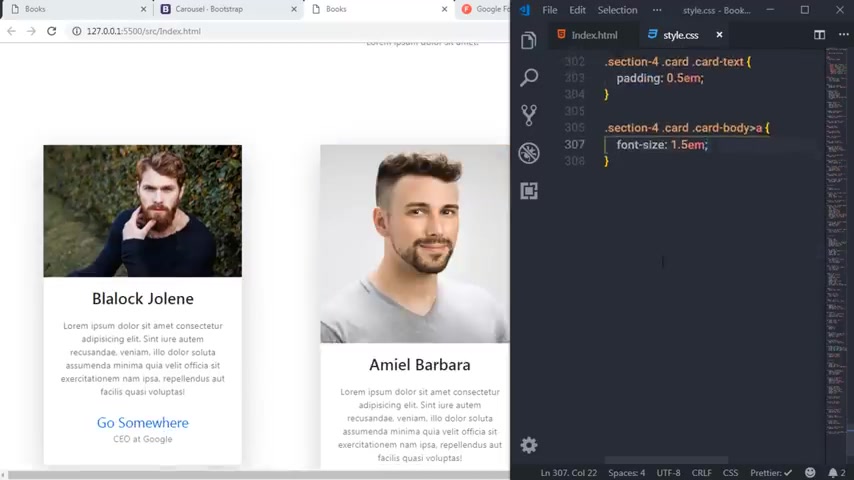
So I will say here section four card and then I'm going to select the pattern class .
So I will say card body and then I will select this anchor tack , right ?
I want to specify font size to it .
So I will say font size 1.5 em so I will say 1.5 AM and save this .
So this will increase the size of this anchor tack just after that , I'm going to select this card item .
So I will say section four can choose the item .
And I want to specify here adding left three ram .
We specify this property to center this carousel right .
Now , I want to specify border radius to this image and to this image for that , I'm going to create a class here , a new class .
So I would say border radius and I want to specify border radius 3 40 pixel and with 60% .
Now I want to apply this class to these images , right ?
This and for this image .
So I'm gonna open html file and in this file , I will search for these images .
So here you can see these images .
Now I want to specify this class to it , right ?
So I'm gonna add this class here , save the changes .
And you can see this class is applied to this image .
Now I want to add some padding to this image .
So I'm gonna say here padding four .
So I will do the same for this image as well .
So I'm gonna open this up , copy these classes and use this for this image as well .
So the changes and you can see these classes is applied to this image as well .
Right now here I want to create a circle image .
So I'm gonna add a booster plus here .
So I will say around it circle and I will specify a width 50% .
And along with that , I will add padding for save the changes .
And you can see oops , I think I will specify it wrong spell here , save the changes and you can see this circle image here , right ?
I will do the same for the second car item as well .
So I will just specify all these classes to this image as well .
So I'm gonna copy these classes and specify these glasses to this image right now .
Just after that back to style dot CS s file , that's it .
Now you can see the card section is ready .
And now the last section we want to do style is the footer this section .
Now let's style this footer .
So I'm going to open this style dot CS S file .
And I'm going to create here a command and specify footer command here .
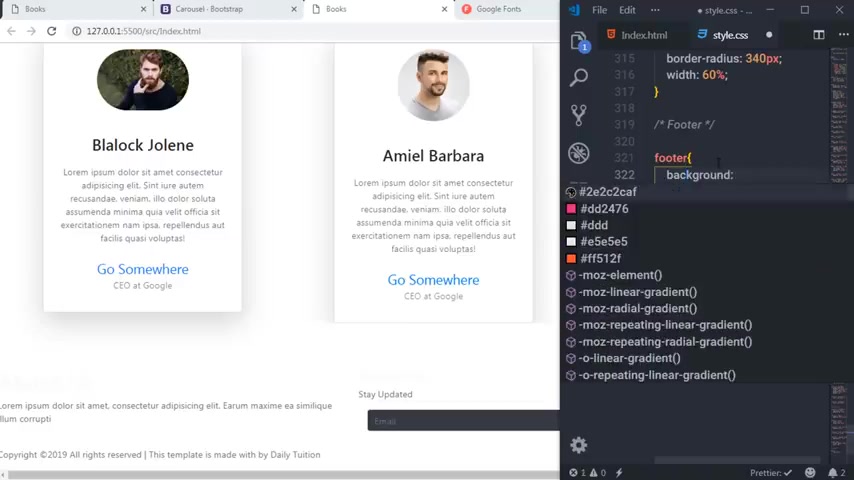
So I'm gonna first select this foot attack .
So I will say here footer and I want to specify a background color to it .
So I'm gonna say background and I will specify R GB A color and say here 000 and 0.815 .
Now , I want to remove this horizontal scroll bar .
So to remove that , I'm gonna say here overflow X he does , right ?
So this will remove this horizontal scroll bar right ?
Then I'm gonna add here padding and I want to add here 14 women and 18 women pairing .
Just after that , I will select the footer the paragraph .
I want to select this deletion name .
So I had specify this name in the span tag .
So I will say here span , right and specify a Higgs color here .
So I'm going to specify here this color just after that , I will select the photo again and select this input box .
And I want to specify here , border border , none and save it .
Now , you can see the border is not removed yet to overwrite the default property .
I'm gonna use important keyword here , right ?
So this will remove the border from this input tag just after that , I'm gonna say Futter and I want to start the placeholder of this input tag .
I'm gonna say input and select the placeholder .
So I will say placeholder here and I want to change the color for this placeholder .
So I'm gonna say color white and specify important keyword here .
Now , just after that , I will select this deal .
So I'm gonna select here footer input group and select this input group text , right ?
And I will specify background here .
And I want to specify gradient color to this button .
So I'm gonna say here BG gradient right ?
So this will add this gradient color here and I will just remove this .
But so I'm gonna say here , border no , right now , let's tell this follow section .
I'm gonna just move this window here and now and here I will first select the photo , then the column and I will select the eye tag , right ?
And I want to specify color for this icon .
So I'm gonna say here color .
I'm gonna specify hex color here .
So I'm gonna select this X color for these icons right now .
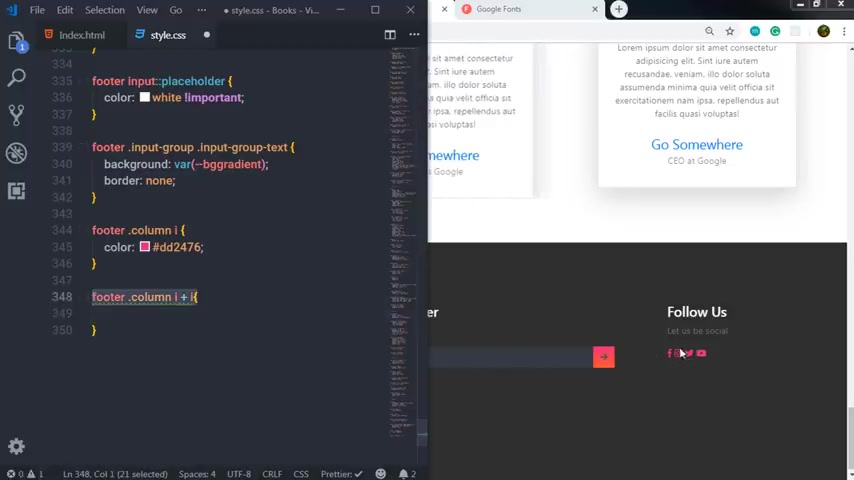
Just after that , I will say Hooter select the column class and I will add a CS S A sibling selector .
So I will say here I and specify close sign and select the I again .
So this CS S selector will select the 2nd , 3rd and 4th icon , right ?
And leave the first one .
So I'm gonna say here adding zero and 0.5 em , right ?
And you can see your website is ready right now .
I want to add some right .
So now I want to add some sticky .
Now , the time is to add , right ?
So your website is ready .
Now .
Now let's see , this website is responsive or not .
So I'm gonna right click here and say , inspect and select this mobile icon and select this tablet view right .
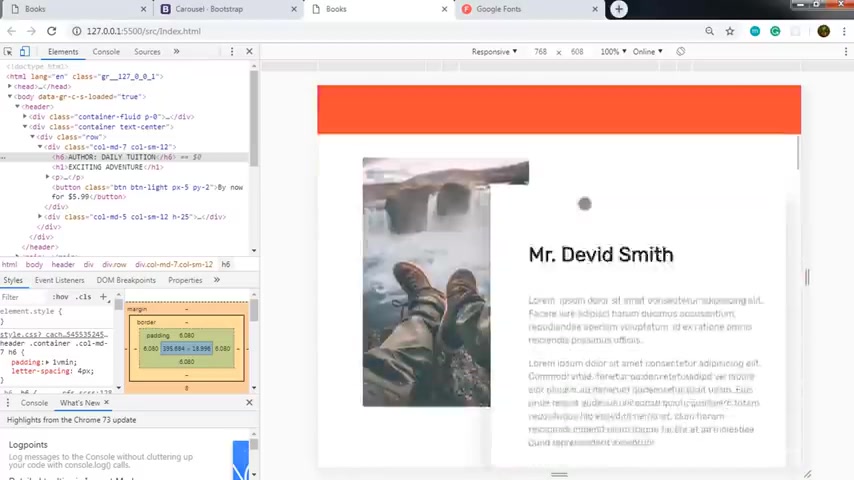
Now , let's see this website is completely responsive or not .
Then you can see this website is not actually completely responsive for a tablet device .
So we need to make this website responsive for our tablet devices for that .
I'm going to create a new style sheet and change some style .
So I'm going to open my editor and from here , I'm going to create a new file here in this CSS folder .
I will create a new file and name this file , mobile style dot CS S and I want to link this file to html file .
So I'm going to just open my html and in the hair section right here just after this style dot CS si will link this file .
So I'm going to say here CS S and I will link this mobile style dot CSS file right now .
Just open this file .
Now in this file , I'm going to add a media query .
So I'm going to specify a style for a specific viewport .
I'm going to first add a media query .
So I will say add media and I want to only select the screen .
So I will say screen and I will specify here max with 7 68 pixel .
So I'm going to first select the header and select the right class .
And I want to specify paring left to it .
So I would say padding left one .
So I want to align this now brand right ?
This one , save the changes .
Now you can see this brand is aligned .
Now , just after that , I want to select this panel this one .
So I'm gonna just say here section one row and select call MD six class .
I want to select the panel and here I will specify a position for this panel which is initial , right ?
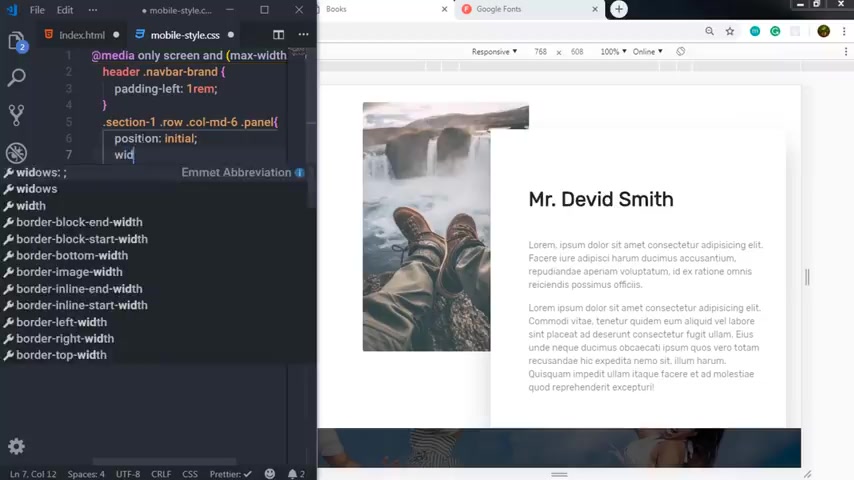
And the width is going to be initial and height is also initial .
So here is a specified default position , default width and default height , right ?
Just after that , I'm going to select this section two , select the cover .
And I want to just specify here , background position and change the position of this image .
So I'm going to say here minus 25 we mean and minus 10 women minus 10 with me , right ?
And then I want to resize these rectangles .
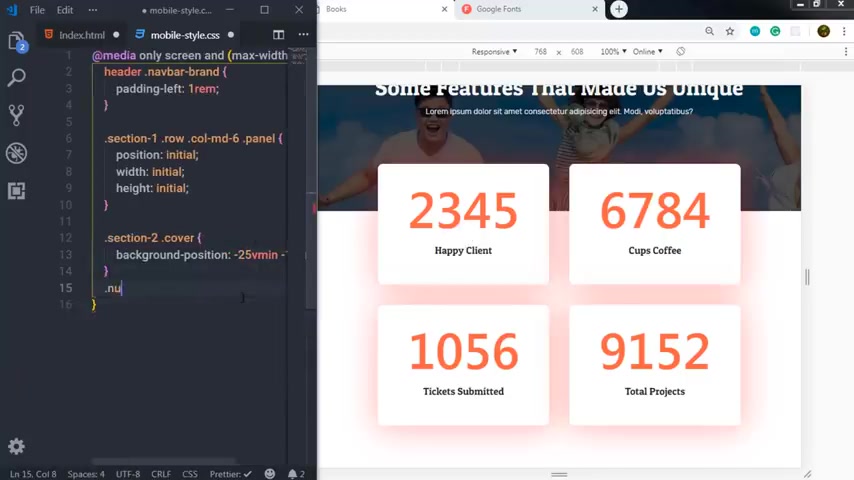
So I'm gonna say numbers , then I will select direct class and here I'm going to say with then ma'am and hide at right ?
Just after that , I will change this font .
So I'm gonna say numbers correct .
And I will select the H one heading tack and say here font size to right .
Now .
Just after that , I will select the section three and here in this section , this one and just specify height inherit , then I will specify padding to it .
I was a padding 10 women and specify important keyword , right ?
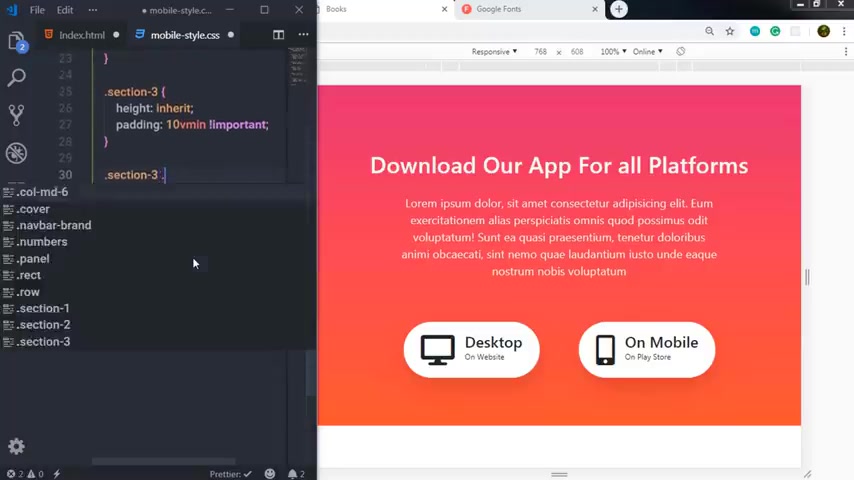
Just after that , I'm going to select the section three again , I want to select a row and the H one heading tag , right ?
This one , I want to specify paring to it .
So I will say pairing six women and four women .
All right .
So this will add some adding to this heading .
Then I will just select this section three again , select the and select this call MD six class .
So I'm gonna say here call MD six and just specify text the line center and to over at the property , I will say here important , right ?
So this will center these two panels , right ?
Just after that , I'm going to just select this section three again , select the next , do I want to select this icon ?
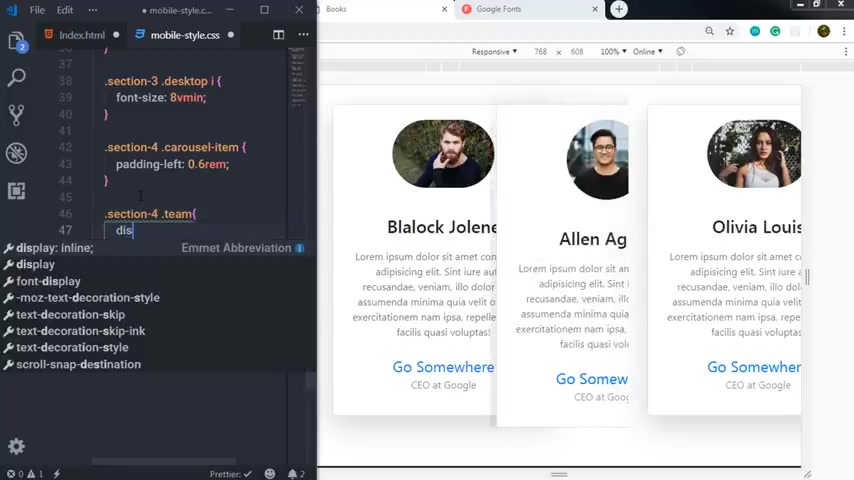
So I will say I here and just specify for size eight women just after that , just select this section four .
Now , just after that , I want to style this card .
So I'm going to just say here , I'm going to select for section four .
Then I will select team class and I want to specify here , display property flex and the flex direction is going to be column , right ?
And just after that , I want to center this column .
So I will say align content center , right .
And just after that , I want to add some width to this inner carousel .
So I'm going to say here section four and see here in our right .
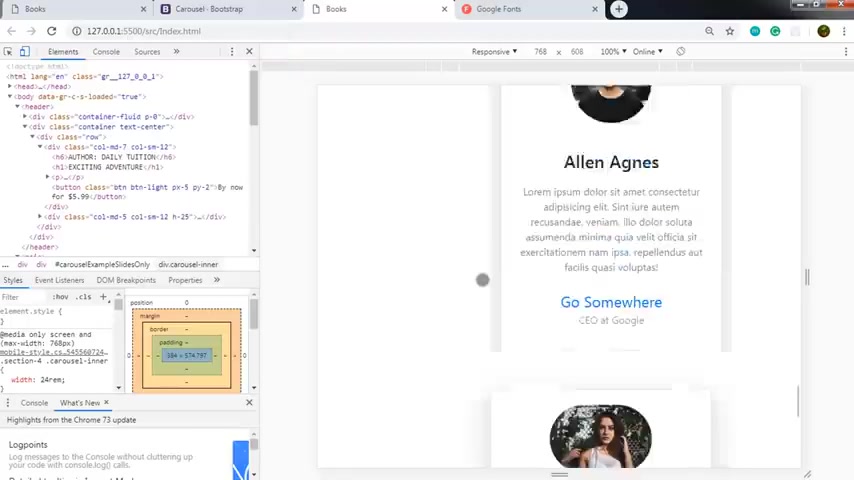
And I want to add a bit 24 rem right now , let's check this website for medium size of devices .
So I'm going to click on this medium size of mobile device .
So you can see here , this website is actually sponsor for the mobile version as well , right ?
I want to add some padding here .
So I'm going to just create here a new creating .
So I will say here , media only screen and I'm going to sit here and and now I want to select this wid .
So I'm going to say here , Max wid 4 25 pixel and right here I will select this class .
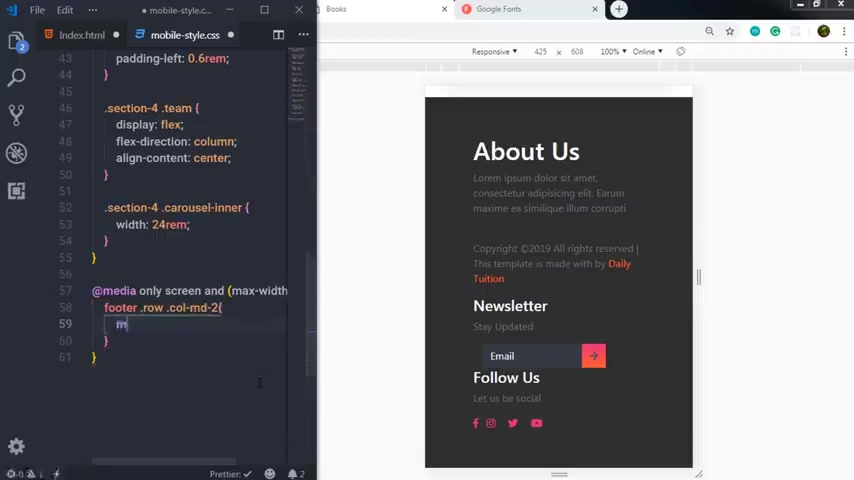
So I'm going to say here , Putter , select the row and select call MD two class and here I will add some margin .
So I will say margin top , it will be me .
So this will add some margin here .
Now , just after that , I want to check this website for the medium size of devices .
So I will click on this 375 pixel viewport .
So you can see this website is responsive for this viewport as well , right ?
And if you click on this mobile device , then you can see this website is responsible for mobile device as well .
But now I want to add some bit for this card for this card .
And , and also I want to add a toggle button here for that .
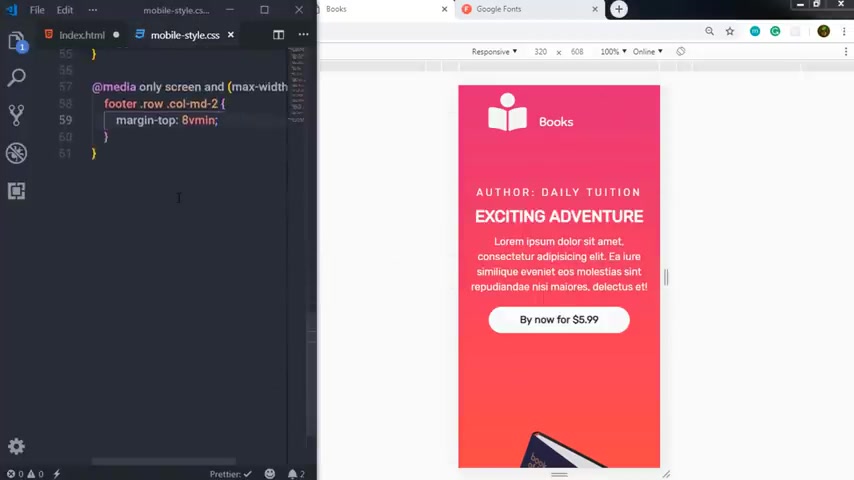
I'm gonna open this style sheet and just after that here , I will say media only and I will say screen and max with 3 20 .
So I will select this with 3 20 pixel .
And here I want to specify with for these cards , right ?
So I'm going to select these cards , I will say section four card and I want to specify with to it 80 ram , right ?
So this card look like this .
And now I want to center this car .
So I'm going to say here section four and select the car zero , inner class .
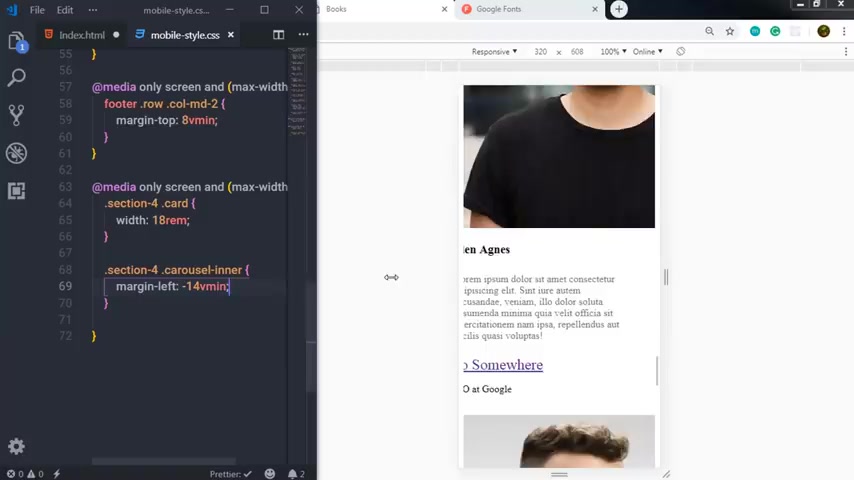
And I'm going to say here , margin left minus 14 wing , right .
So this will center this carousel .
So now you can see this website is completely responsive for mobile device as well .
Right now , I want to just add this toggle button .
So I'm going back to index dot html file right here .
And from here , I want to change this toggle button this one , right ?
So I'm gonna get rid of this bootstrap toggle button .
And here I want to speak for my own toggle button .
So I'm gonna add I tag and specify class and just here fast fa a line , right ?
And just specify text color .
So I'm going to say text light save changes , right ?
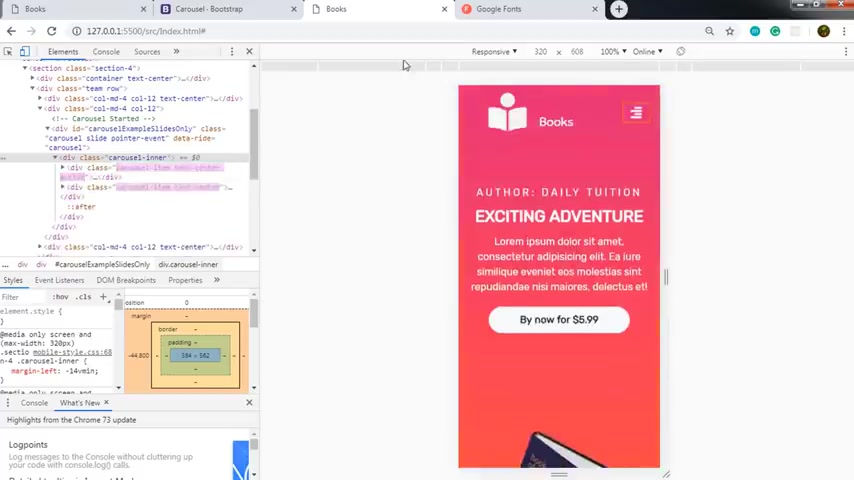
So now you can see this talk button here .
So when you click on it , you can see your navigation list .
So now you can see this website is completed .
So now we just need to add two more things in this website .
So I'm going to add this sticky navigation menu and this counter animation , right .
So now once your website is ready , I'm going to create a sticky navigation menu .
So when you scroll down and reach to a certain position right here , you can see this sticky navigation menu .
And when you scroll up , this navigation menu is automatically disappeared .
So I want to create this navigation menu for my website .
So I go back to my main dot Js file and here I will first create a command and in this command , I will say sticky navigation , right ?
And now let's create a variable .
So I will say that Nava and I want to store NAV D here .
So I'm gonna call the Jquery object .
So I will say here a dollar and in the parenthesis of this object , I will call a class .
So I'm going to space by double code and say dot Nava , right ?
So this will store the Nava D in this Nava variable just after that here , I will create an event on window .
So I'm going to call the Jquery object and in the parenthesis of this object , I will say window and I want to create a scroll event on this window .
So I'm going to say dot here and say scroll right ?
And just specify parenthesis .
Now , in this parenthesis , I will specify hand function to handle this event .
So I'm gonna say here on parenthesis and just start the function using card basis right .
In this function , I'm gonna first get the complete height of window and just get the certain position like this .
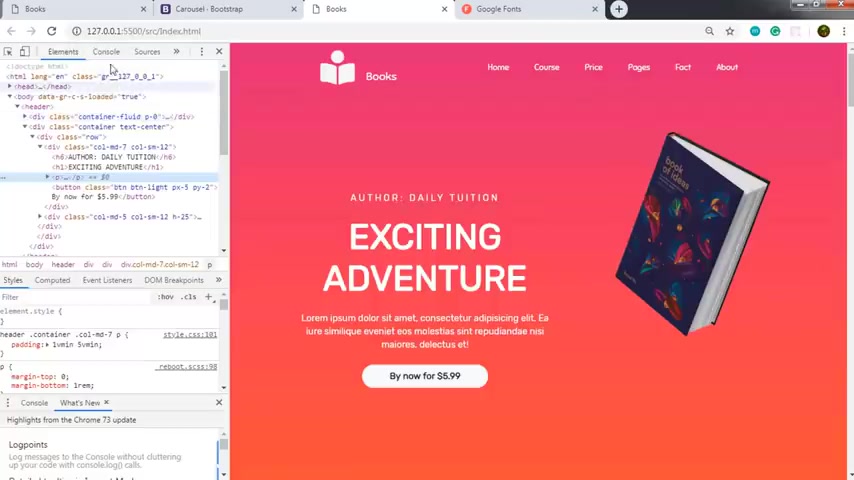
So when you reach to the certain position right here , I want to display this navigation menu .
So I'm going to just get that .
So I will get the window height first .
So I will say console dot log and a post print window dot inner head , right ?
So when you save it and go to inspect on the console , you can see you have your inner height of your window , right ?
So this is your inner height just like that .
I want to get this certain position .
So when we reach here , so when we reach to section two right here , I want to get the position of this scroll bar , I want to get this position .
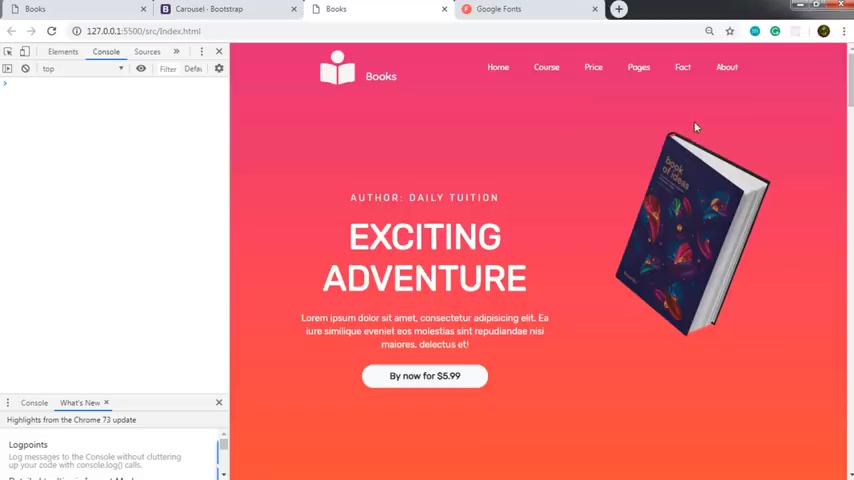
So I'm gonna say here console dot now and here I will call J object and I want to say here section two dot offset and get the top position , right ?
Save the changes and when you open your console .
So when you scroll down , you can see you have this position right right here .
So when you reach here , I want this position , so you have this position here .
So I'm gonna use this position .
So I'm gonna get rid of this dead man and just see here photo .
So I'm going to store this value in this variable and just here section two dot So the offset method allows us to retract the current position of an element relative to the document .
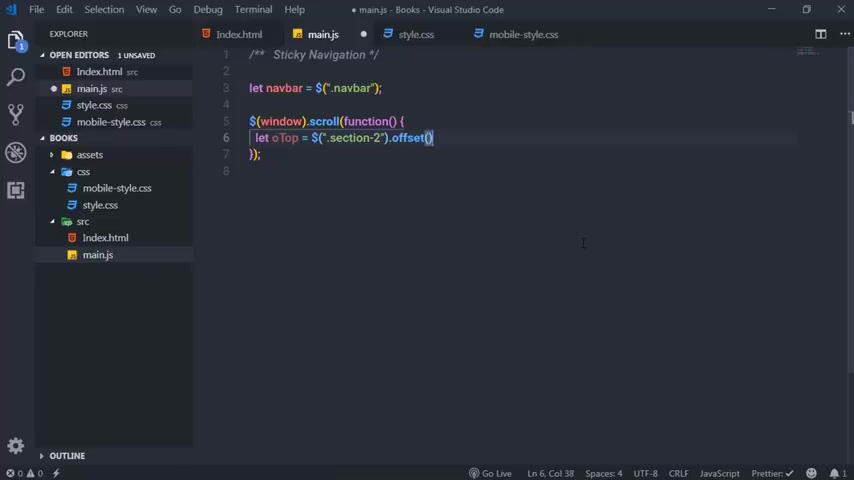
So when you have the relative position , I'm gonna get the property of offset which is top right .
And I will minus window dot inner height , right ?
So when you've done that , I would just print this on the console and show you the value .
So I will just sit here , talk right and here you can see you have this position .
So just after that , when you have this position , then I'm gonna say if window dot scroll top is greater than so I'm gonna call the variable here , then I will say NAAR dot add a class .
I'm gonna add a class to the NAB bar .
So I'm gonna specify a class name .
So I will say here sticky , right ?
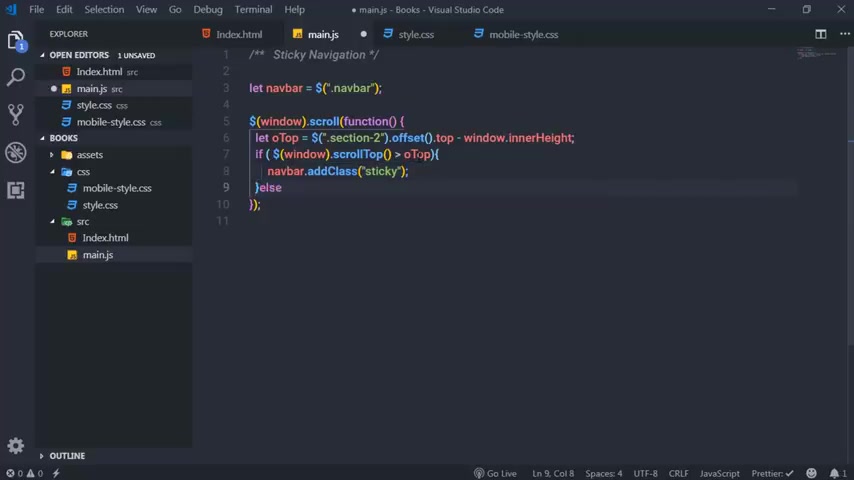
And just after that , in the statement , I'm going to remove this class , I'm gonna say remove class , right ?
And to remove this glass , I will say here sticky , right ?
If the scroll top is greater than o then I'm gonna add this sticky navigation class or I will just remove it .
I need to create this class .
I'm gonna open this style dot CS S file and right here , I'm gonna create a command and say here sticky class and to create a class , I will say dot sticky and specify some properties .
And in this class , I'm going to say position , I will specify position fix .
Then I will say top property zero specify it .
It is going to be 100% and background color .
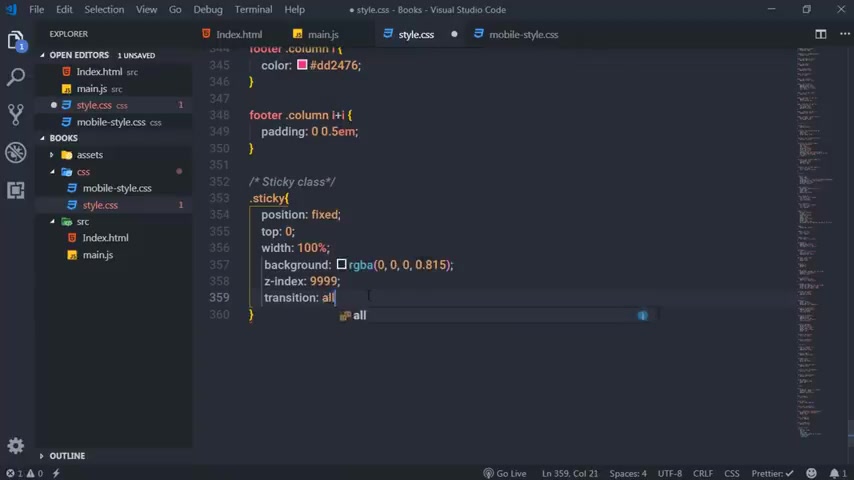
I will specify R GB a color .
So I'm gonna say R GPA and specify a background color here .
And just after that , I'm going to specify Z index 9999 transition 01.5 2nd , he right , save the changes .
And now when you open your website , you can see your sticky navigation menu right here , right ?
So it's working fine now , you know that how to create this stick navigation menu .
Now let's jump on to the next section where we create this counter animation like this .
Let's see how to create this counter animation using javascript to create this animation .
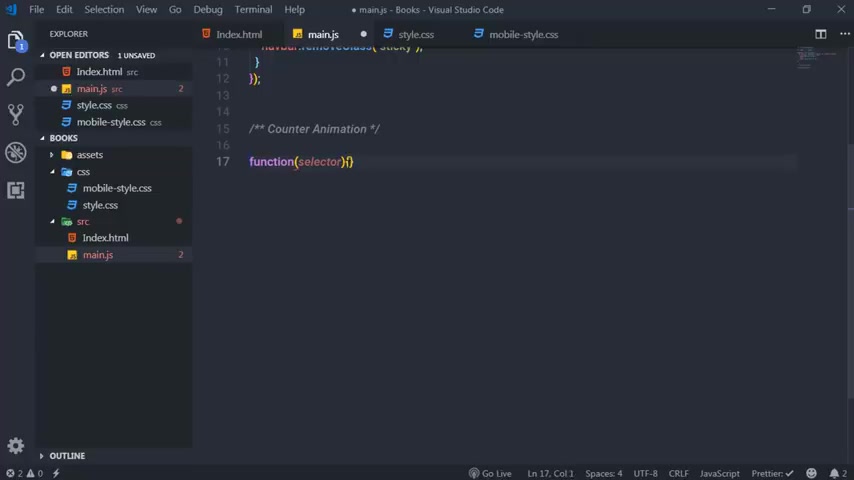
I will just open main dot Js file and right here , I'm going to create a command and just a counter animation , right ?
To create this counter animation .
I'm going to first create here function and specify parameters .
So I'm going to say here selector and I want to start this function in the variable .
So I'm going to say that and count right , just after that in this function , I will call jquery object .
So I'm going to call this dollar symbol and in the parenthesis , I will say selector , right ?
I will specify this parameter .
And now I will call each method of J query .
So I'm gonna call here each and the parent of each method I will say function .
And in the body of this function , I will call jquery object and just say here this .
So this giver is referred to the current object .
And now I will call animate method here .
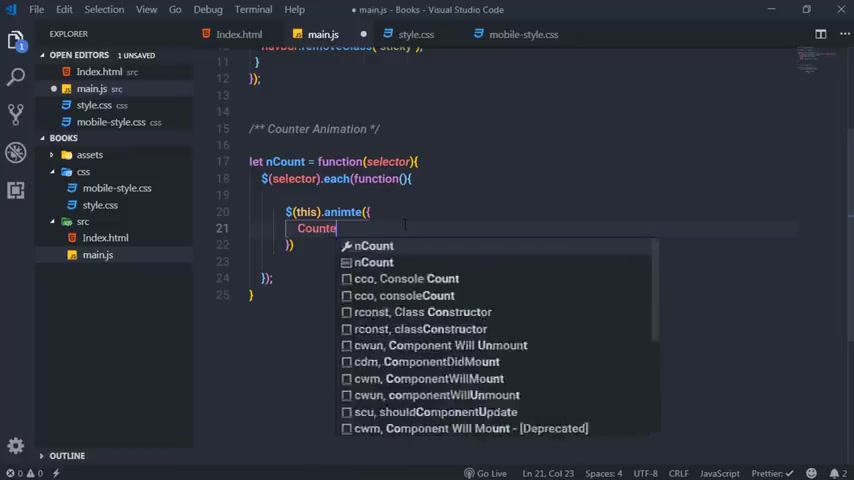
So I'm gonna call here dot animate , right ?
And the parenthesis of this method right here , I'm gonna call an object and create a property .
So I will say counter and to specify a value , I will say dollar this and I want to store the text of the current object .
So I'm gonna say this dot text .
So this will store the current object text in this property .
Just after that here , I will specify comma and specify second argument .
And in this argument , I'm gonna specify first a duration .
So I'm gonna say duration 4000 .
So here we specify a number determining how long the animation will run .
So this 4000 refers to four second , right ?
Just specify comma here and specify the next argument .
So I'm gonna say here in string , this string indicating which is in function to use for the transaction .
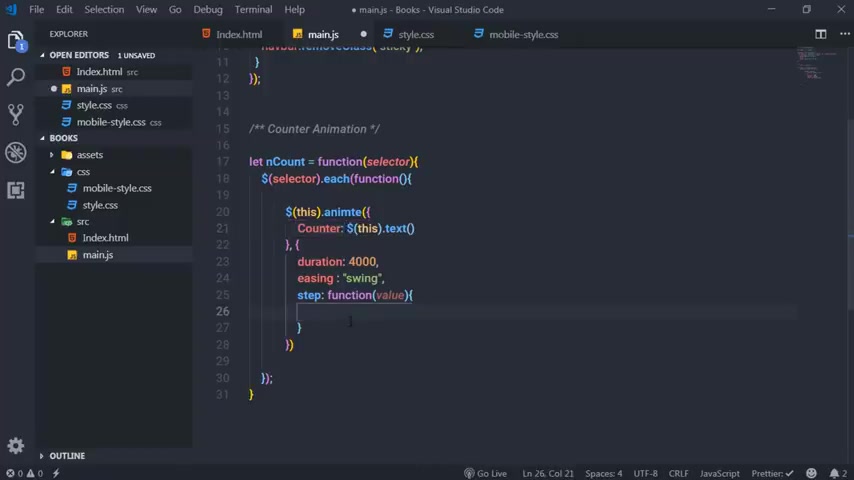
So I'm gonna use in here string is in function , all right , just after that specify common here and create a state function .
So I'm gonna say here , step and specify a function here .
And for this function , I'm going to specify a parameter .
So I will say value and the body of this function .
So what is this state function ?
So this function to be called for each animated property of each animated element .
This function provide an opportunity to modify the object to change the value of property before it's set .
So in this function , what we are doing before we specify any value to this property , I'm gonna change this value here and count from zero to this text .
So here I will call the J equity object and call this dot text .
So I'm gonna call math object here math dot seal .
So the math dot se method return the smallest integer greater than or equal to a given number .
So I'm gonna just specify here value .

I'm gonna just specify this parameter in this method , right ?
Save the changes .
And just after that , I will create a scroll event .
So I'm gonna just call the J object and say window here .
And for this window , I will say scroll and specify event handler here .
And I will say function .
And in this function , I'm going to first get the position of an element .
So when you scroll down and reach to this position , I want to get this position .
So I'm gonna just copy this statement right from here and use it here in this school event , right ?
And just change this section .
And I'm gonna specify here numbers .
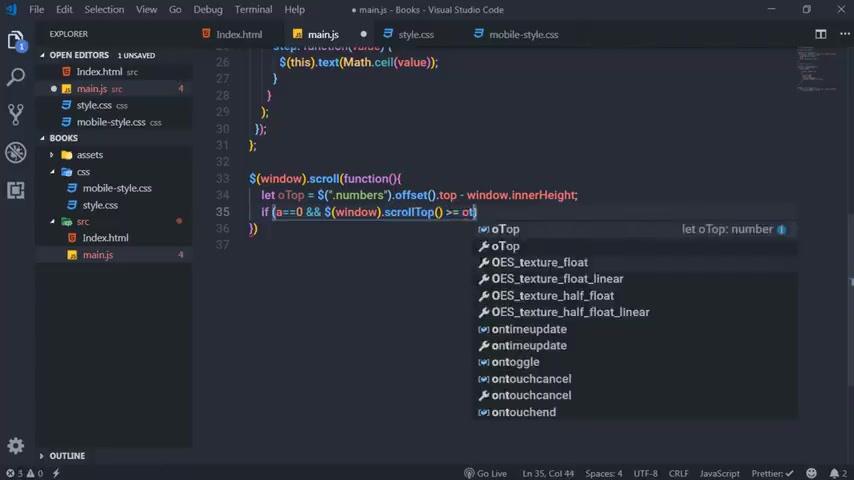
And just after that , I will say here if A is equal to zero and window dot scroll talk is greater than , or equal to or talk greater than , or equal to this variable , then I'm gonna increase the value of A and just count this function , right ?
So I'm gonna say here and count and in the parenthesis of this function , I will specify an argument , right ?
And here I'm gonna say doc direct and just select each one heading tag here .
So here we just select , add this heading tag right now .
Don't forget to create this a variable .
So I'm gonna say here that A is equal to see .
All right , save the changes .

And now when you scroll down , oops something is going wrong .
So I'm going to open the console and the error is un catch type error , which is animate function .
I think I misspell the animate , sure , animate , right .
I used to do this type of mistake .
So you can see your counter animation is completed , right ?
So you can see your site is complete .
You have your navigation menu , your title .
This is your homepage , image , the first section , this ticket , navigation menu , this come through animation , this pricing section and you have your team members , your car and this footer , right ?
So I think I have covered everything in this tutorial .
So that's it .
If you have any questions you can ask me any time .
If you find anything useful in this tutorial , then don't forget to like this video and share it .

Subscribe for more latest programming videos that is all for now .
I will see you in the next tutorial .
Are you looking for a way to reach a wider audience and get more views on your videos?
Our innovative video to text transcribing service can help you do just that.
We provide accurate transcriptions of your videos along with visual content that will help you attract new viewers and keep them engaged. Plus, our data analytics and ad campaign tools can help you monetize your content and maximize your revenue.
Let's partner up and take your video content to the next level!
Contact us today to learn more.