https://www.youtube.com/watch?v=IgNKJjDJBt0
♡ How to Draw a Face -Side View! ♡

Hello , my loves .
Welcome back to my channel today .
I'm super excited because I have a new video for you all .
A new tutorial at that that has been highly requested and I will be teaching you all how to do the side profile .
This has been highly requested .
And I know you guys really , really want to know how I do this .
So I really hope that these techniques will be able to help you guys .
And yeah , let's get started with the video .
OK ?
My loves .
Before we start , we're gonna start with the tools that I'll be using .
First and foremost .
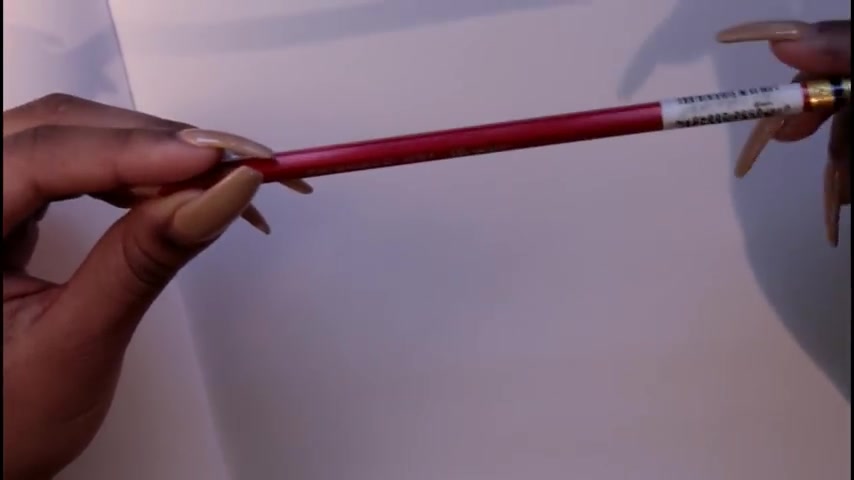
Of course , I'm using my prisma color color .
You guys , if you have already been on this channel for a really long time , you already know what this pencil is .
I use this pencil for sketching .
It's perfect .
So you can just get your sketch out and you know , not worry about making any mistakes .
And then afterwards you can just , you know , go over with your graphite pencil um because you know , you've already got all of your base of your sketch down .
So , you know , it just kind of helps you like get to know , like where you're going and everything .
So I definitely recommend this pencil .
Um If you are interested in a check out in my links below , I have this um the link to this pencil .
I love it so much y'all , y'all know that's my favorite sketching pencil .
So , um before we start , um that's what I'll be using and I'll also be using , you can use any graphite pencil , any mechanical pencil , any pencil that you want , anything that you're comfortable with .
But I'm going to start out with this sketching pencil .
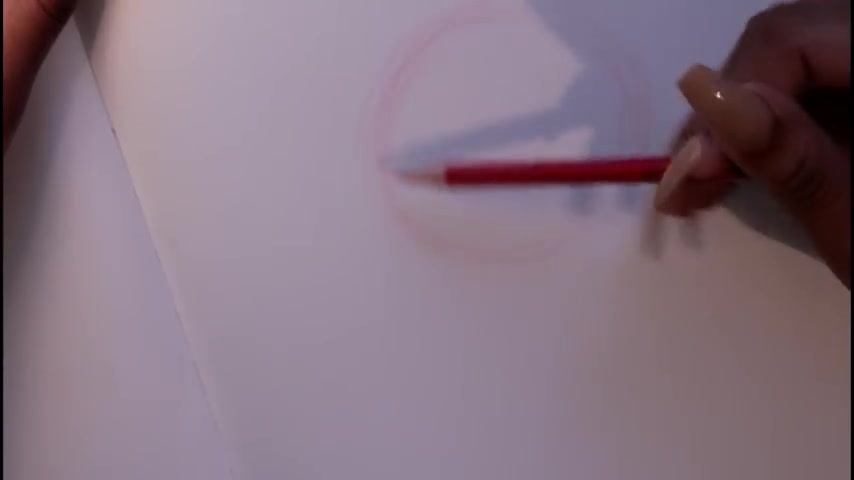
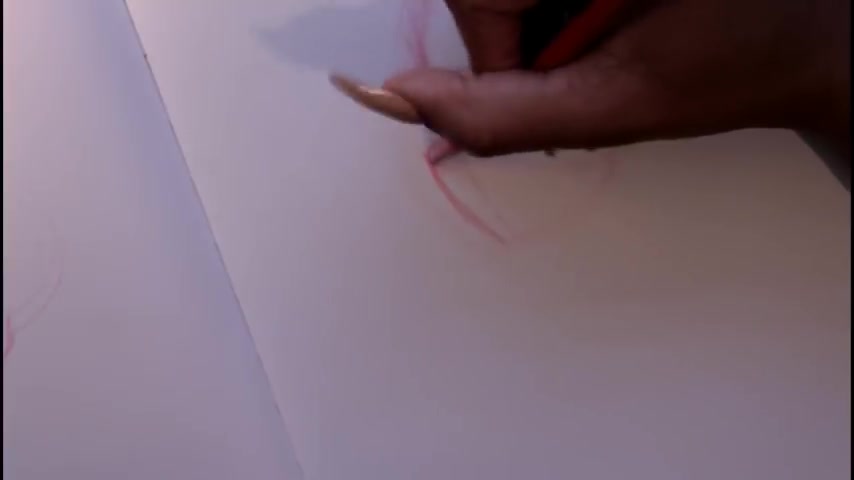
So the first thing that we wanna do you guys is we wanna start out with our , our basic circle for the head .
OK ?
And we're gonna be doing the face this way .
Um So she's going to be facing towards the left .
So we're just gonna start out with that basic circle .
I'm using just very light strokes .
OK ?
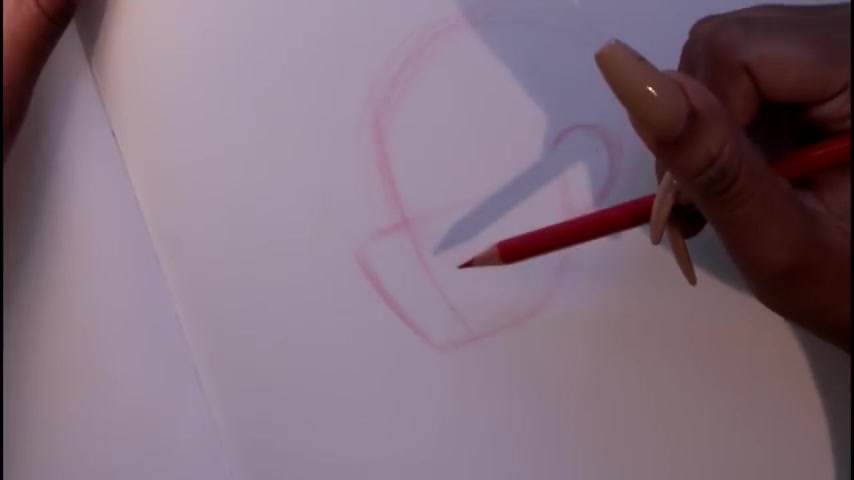
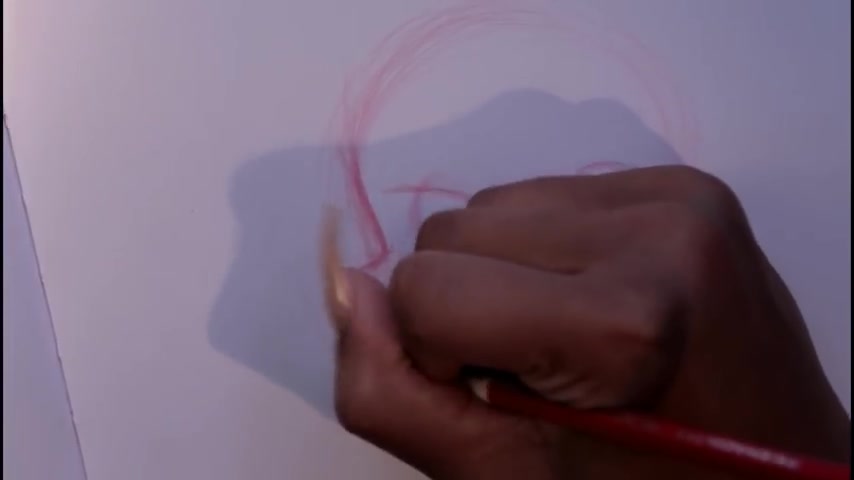
And then the next thing we wanna do is we're going to place in her um place in like the nose area and the jaw area and everything .
So now that we have the circle , go ahead and make a line that goes out kind of like this just to kind of give you just a guide to show you .
This is the um end of the face right here .
I don't usually do that , but I don't know .
I'm just trying to figure out a way that it'll make it easier for , for you guys .
And then next , what I do is for um the nose , the nose will come out from like here and then the mouth area would be here and then the chin and everything would be around here .
So go ahead and just make like a shape like this .
You know , the beauty about this pencil is you can fix everything afterwards , everything that you don't like afterwards , you know , so like with this , you can , you know , um this part you can figure out like how far out you want to extend the nose or whatever , whatever is your , um , up to your preference .
And then usually where this part , um ends right here is where the ear would be .
So the air would be about right here .
OK ?
OK .
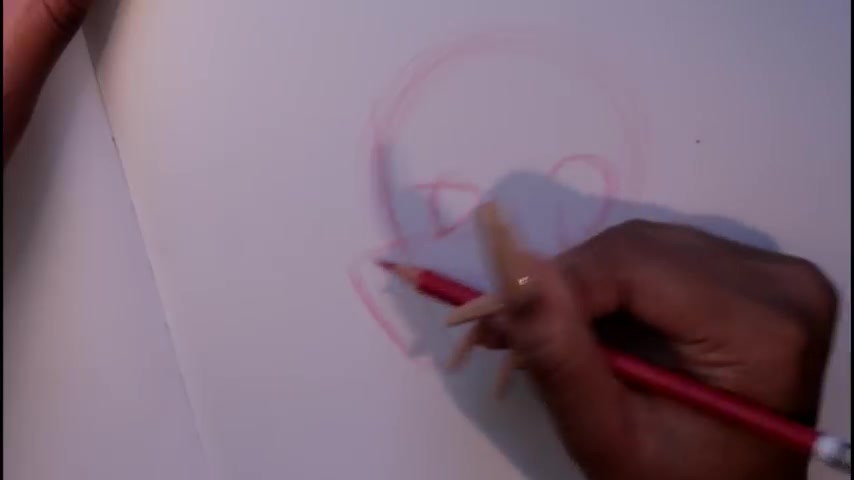
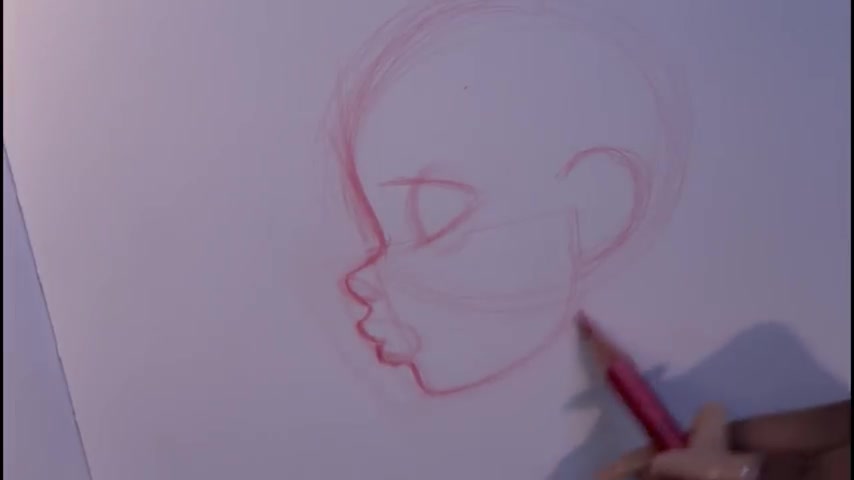
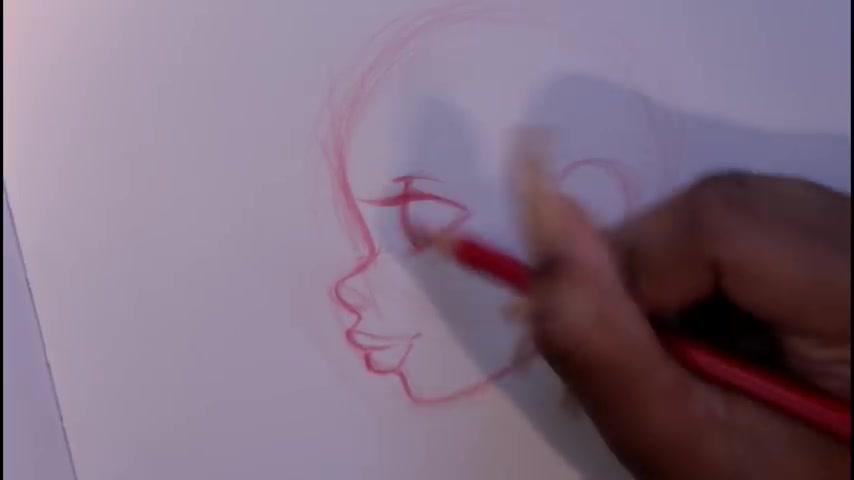
So now that we have the base down for this , what we wanna do now is figure out where the eyes would be .
So the eye would be at least , um , I would say at least a quarter inch or more away from the front part of the face here .
So go ahead and draw yourself out a nice little circle right here just so we know not really a circle but like more of an oval since it's from the side .
And what I like to do for the eye is that , um , for the bottom lid , I'll start it coming out from right here and then it'll be going to the top , the top lid from right here .
Ok .
And , you know , you can always fix , fix whatever you're not liking whatever proportions or whatever you don't like .
But this is just to give you a basic guideline because I already , right now , I don't really like this jaw part here and I'm gonna make the nose part a little bit smaller .
And I'm also going to bring this part in right here and then we're going to go ahead and draw the nose out .
Now , I didn't , I'm not going to make it this big .
So I said I'm going to do that over and then we're going to pull that down like that .
So I like this better .
OK .
So , um I decided to change the length of or , you know how far the nose extends out .
So I don't know , it's kind of a , this is a little bit harder explanation for the profile type way or whatever , but basically , it's just trial and error , you know .

So just now that you have this base of like , you know , it , it starts out like this , you know , with your circle and then you have this kind of shape , you feel me now that you have this , you can kind of just work with it .
Now you can , you know , um go ahead and , you know , figure out the proportions and what you don't like if you want the nose to come out this far , if you want the jaw to come out , come down this far or how you want it to , you know , you know , be as far as , you know , proportionate proportions and stuff .
So as for this , you know , you wanna make sure when you know , for the forehead , you wanna make sure that comes out a little bit so naturally that'll come out a little bit .
And then , um , of course , you know , you're not gonna keep this part like this , it's just the , the , um , guideline for it .
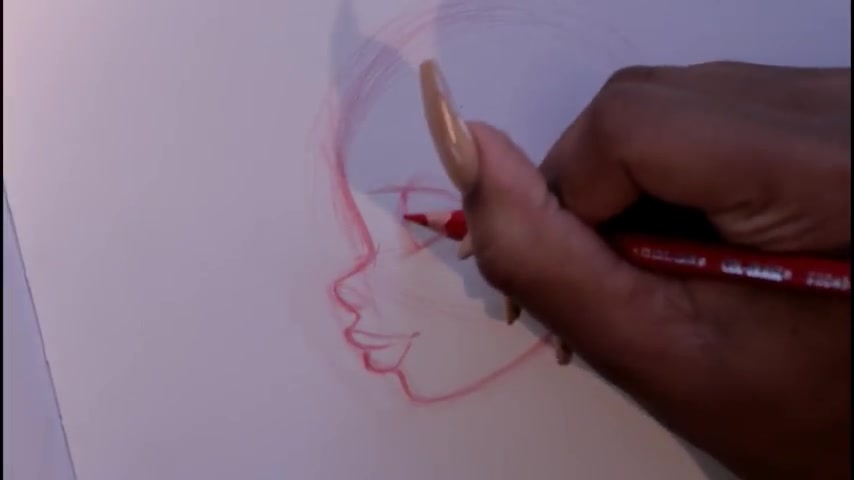
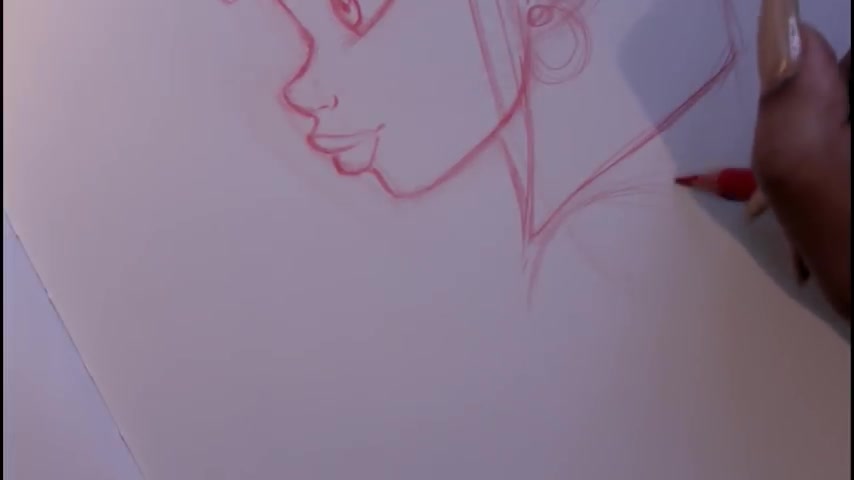
So I'm gonna go ahead and start carving out that nose .
So , um , an easy way to do this is go ahead and draw , draw a circle like a oval , not a , not a circle , an oval for the nose right here where that point is .
So you have guideline for that and then you'll go ahead and bring that in and then , ok , so now that we have the nose shape , um , and then we made that oval right here , ok ?
We wanna start bringing up that Cupid's bow .
So that'll be the start of the upper lip and then I'll go ahead and bring that part in .
Now , this part is up to you how big or small you want the lips to be and you can just draw a guideline for that here .
I'm making like a circle , another oval , oval shape right there and then go ahead and bring that top lip down and then go ahead and bring the bottom lip , that bottom lip down .
You know what I'm saying .
So then you can go ahead and erase those guidelines there .
So that won't confuse you anymore .
And um of course , I'm gonna change her nose a little bit going for my , then you see the beauty of it is you can just always change whatever you don't like .
And of course , you know , I gotta have some juicy lips because I like my juicy lips .
OK ?
So once we come to the bottom lip , we're gonna bring that um inward and down for the chin .
So the chain is gonna be of course , a little bit inward y'all .
I mean , let me tell you , it took me a while to figure out or , you know , get down profile views , you know , it is a challenge but go ahead and study those life references , you know what I'm saying , study them and just observe , you know , observe how it works the , the , the side of it .
OK ?
So let's go back to the eye .
No , not , let's not go back to the eye yet .
Let's go ahead and I'm gonna show you guys the , the rest that I do for the lips right here .
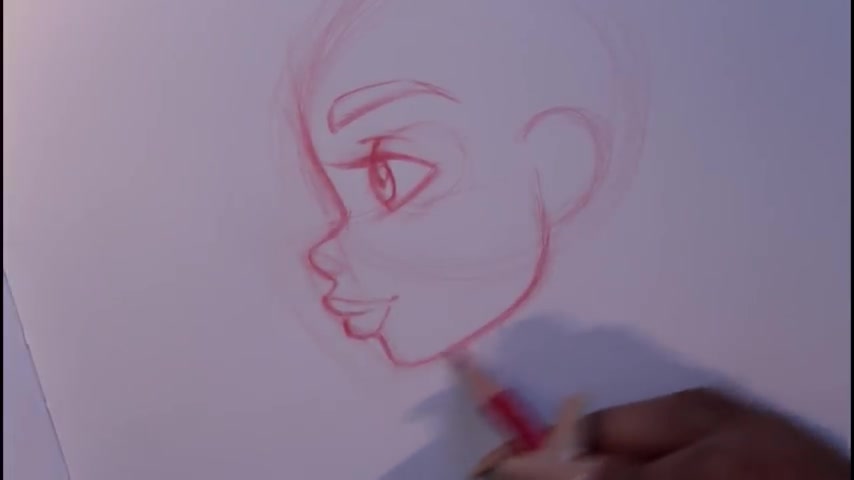
So now we've got her juicy lips in , I just go ahead and for her , you know , she's gonna be smiling because she's happy .
It's a happy day and then the top lip and yeah , I like that and then boom , there you go .
We got lips , boom , there we go .
So now that we have that , I'm gonna go on um back to the eyes now and for the eyes , the eye is not going to be a straight line like this , it's going to be protruding out a bit because it is an eyeball .
You know , you guys know when you go to the um the eye doctor and you see that like replica of it and it's , you know , it protrudes out a little bit , you know what I'm saying ?
And you know , this is all preference though .
If you want to make , you know , a different kind of eye or stylized eye or whatever , go ahead .
But um that's all preference .
And then , so I'm just gonna go ahead and just , you know , this is see , this part is just the , the part where it's up to you like whatever kind of eye that you want .
But this is just how I do the , you know , the base for my eye .
I'm gonna go ahead and , you know , draw them lashes in and stuff , but really , I don't have to do this , don't draw the lashes in yet .
You can wait and do that with the graphite pencil .
Ok ?
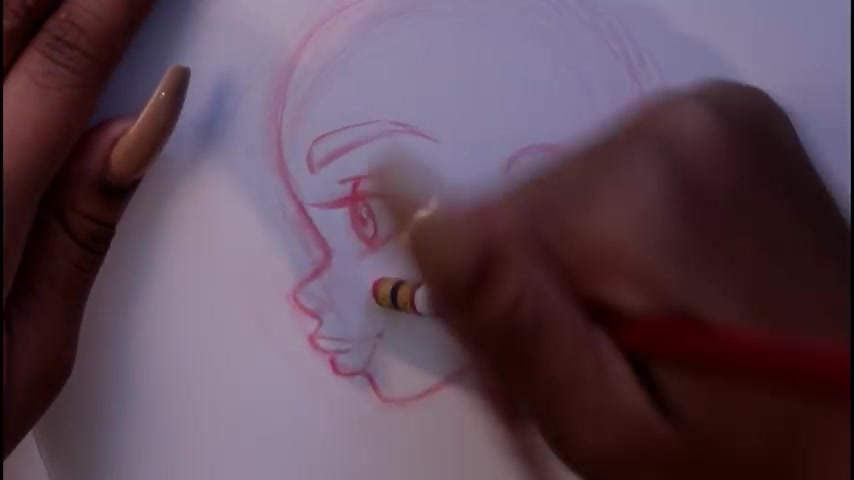
So now I'm gonna do that little um the eyelid fold or whatever kind of just makes it all like a little bit more realistic looking kind of , you know , pulls in that more realistic look when we add that lid .
So , you know , of course , you , you imagine that the eyeball is under here .
So of course , it's going to be a long that um I I um eyeball under the skin right there if that makes sense .
So , yeah .
Ok .
So you got your basic eye and then um as for the pupil part , you gonna wanna make sure that's like this .
Ok , something like that .
I just towards the side and then I'll go ahead and , but we don't have to worry about those details towards later anyways .
But , well , since I did that , you can go ahead and do that and then of course , you know , we can't forget the eyebrows or anything which are going to be around here and boom , better , boom .
We got some eyebrows .
All right .
All right .
So now that we have that , I'm gonna just go ahead and continue to draw the rest of the head .
OK .
So remember this part is gonna protrude out a little bit up here so you can go ahead and just lightly draw up the rest of the skull skull because you're gonna be , you know , drawing hair anyways .
You know what I'm saying ?
So um oh for this nose part , I'm gonna go ahead and erase that little oval part right there and then , and draw on the rest of her nose like that .
OK ?
You see it , boom .
OK .
So you wanna go ahead and start raising some of your guidelines and then I'm going to go on and draw some hair and I'm gonna just , you know , give her , give her some , you know , cute bangs or something .
Give her some like , you know , cute little bangs .
I'm a little rusty today , but it's OK .
I just wanted to show you guys the basics of it anyways and then go ahead and I'm gonna just finish drawing her here .
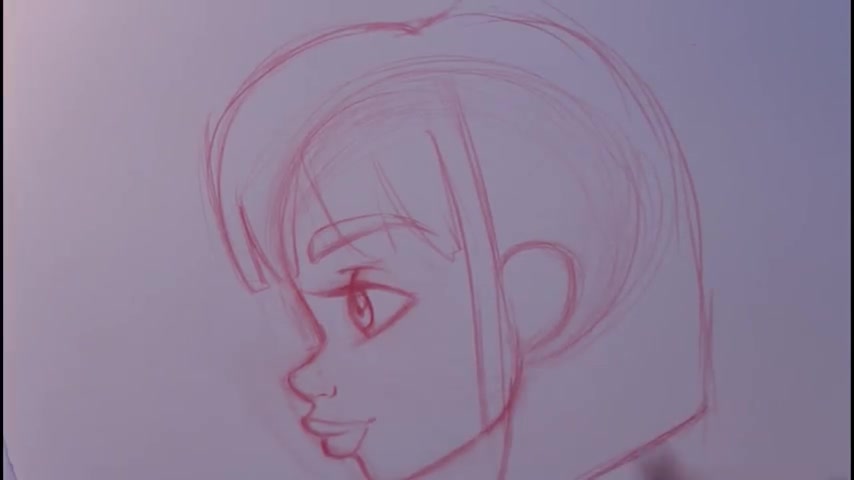
Kind of like this .
We're gonna give her , you know , we're gonna give her a cute little short hair style today .
So we have the side profile .
You guys that was um pretty , pretty um quick , little quick little technique .
I don't remember where I learned it from or if I came up with it , I don't , I don't think I came up with it , but um it , it took me some time to learn that technique because you guys profiles are like really hard for me and I just took my time and I studied it until I got it , you know , you know , give her , give her a cute little earring or something .
I'm gonna go ahead and show y'all how I do the , the shoulders .
So I , I put her little neck under her hair like this and OK , so if we have my side profile view , I hope that this was able to help you guys .
Um You know , after all this , of course , when you're done with your um sketch , you go in , if you haven't , if you've been using a pencil , that's fine .
Um OK , I'm actually gonna go in with a ballpoint pen instead of a pencil and I'm gonna go ahead and just line everything out for you guys and you know , put in all the details basically and I'm gonna go ahead and put this in time lapse , ok ?
So , yeah , here we go .
Alright , you guys .
So that was the video .
Thank you guys so much for watching .
I really hope that this was able to help you all and that you learned something from it .
And if you did go ahead and tag me at raw sushi if you did this tutorial and everything and I really hope that you all enjoyed this video and I can't wait to see you on my next one .
So peace love and God bless you guys , see you guys next time .
Are you looking for a way to reach a wider audience and get more views on your videos?
Our innovative video to text transcribing service can help you do just that.
We provide accurate transcriptions of your videos along with visual content that will help you attract new viewers and keep them engaged. Plus, our data analytics and ad campaign tools can help you monetize your content and maximize your revenue.
Let's partner up and take your video content to the next level!
Contact us today to learn more.