https://www.youtube.com/watch?v=GbFpJ6Jl-AE
HOT AIR BALLOON DIAPER CAKE _ Baby Shower Celebration _ Centerpiece _Tutorial
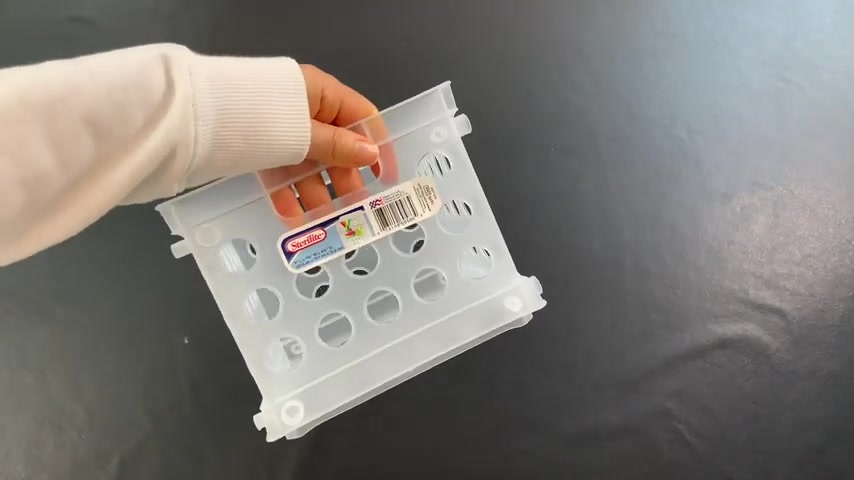
For this project .
We're going to need a clear container and I got it at a dollar store .
This one and the size is nine inches in length , 73 quarters in width and 6 1/8 in height .
A paper lantern , 24 inches in diameter .
I chose a white one 40 diapers .
Number 24 balloon sticks , 13 quarter yards of tool in baby pink , two dial bands .
The color of your choice , 12 pieces of jut , all of them up 32 inches in length , four paper milkshake straws , fabric ribbon , assorted ribbons , 20 to 30 hairbands and a stuff animal of your preference to work with the materials .
All you're going to need is a blue gun and a pair of scissors .
So let's start the project .
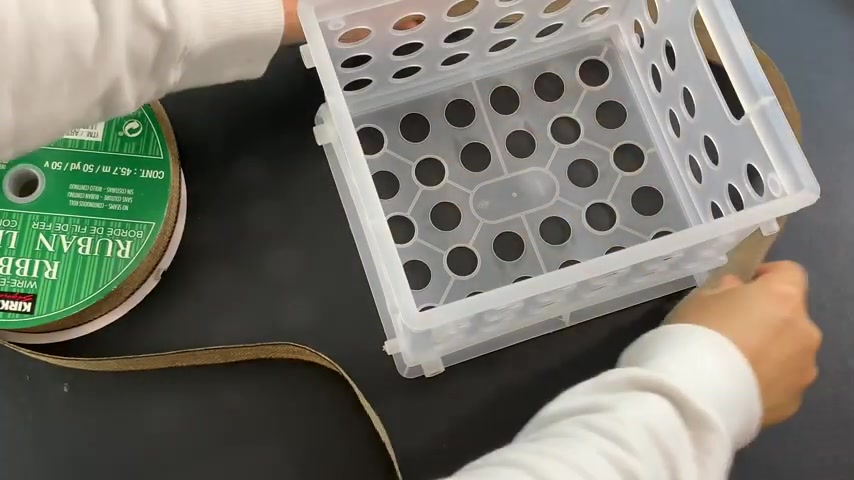
The first thing we're going to do is to cut a piece of this ribbon to cover the bottom of this plastic container .
So it should be something like this and then I am going to cut and that will be good as you see .
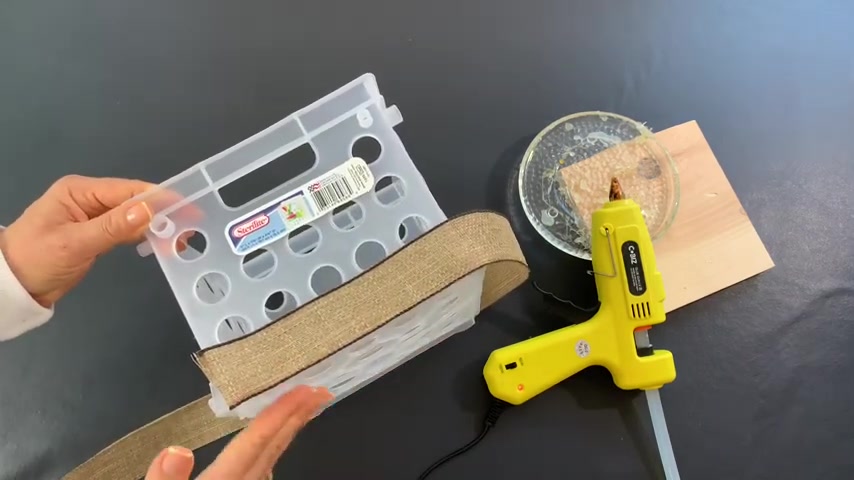
I am placing the ribbon exactly at the edge of the plastic container and we're gonna continue glowing and this is the end of it .
I just wanna make sure that I place the glue in the last piece of ribbon and , and just pressure .
So they glue together for the next step .
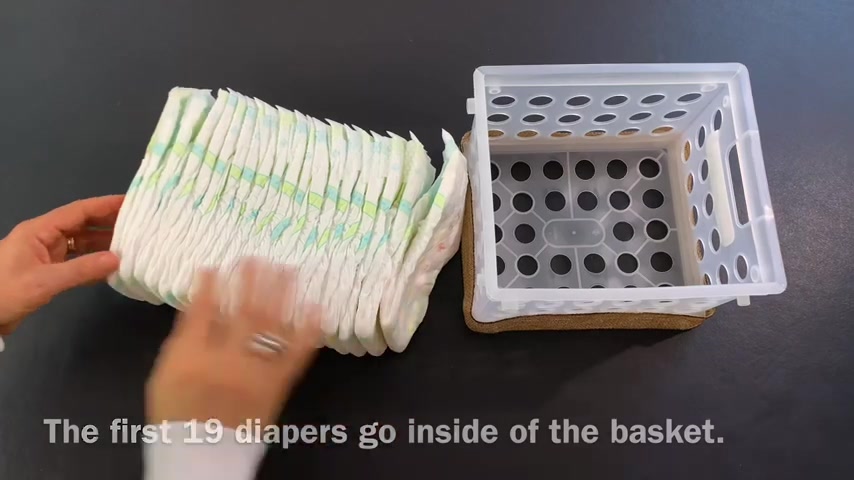
We're gonna fill up the basket with diapers and I'm gonna put 12 on one side like this and the rest in the other side like this .
In total .
I added 19 diapers to the inside of the basket .
We're gonna pull them this way tight .
See , and then we're gonna use one of these hair ties and hold the diaper with it and that's it .
We're gonna do it with all of the diapers .
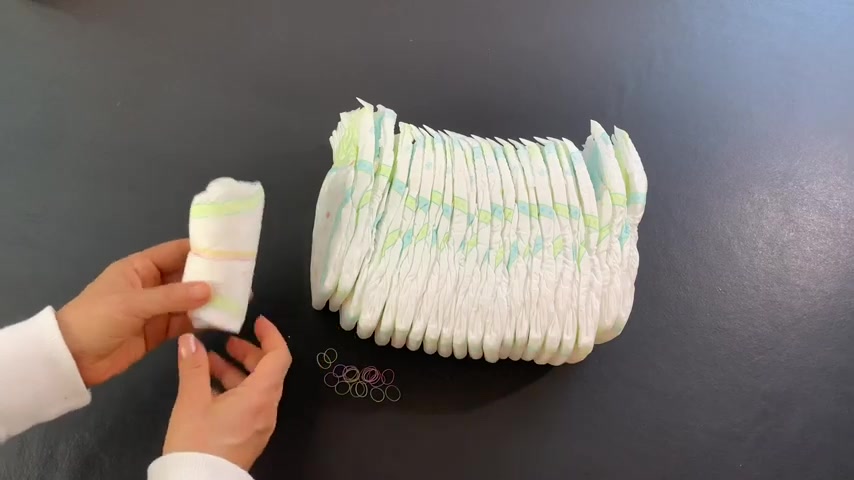
There are 21 diapers here , the diapers are all set .
Now I am going to bring back the plastic container and also the two file bands or two huge rubber bands .
It doesn't matter really the color that you choose for your rubber bands .
So what I'm gonna do is place the rubber bands around the container just like this .
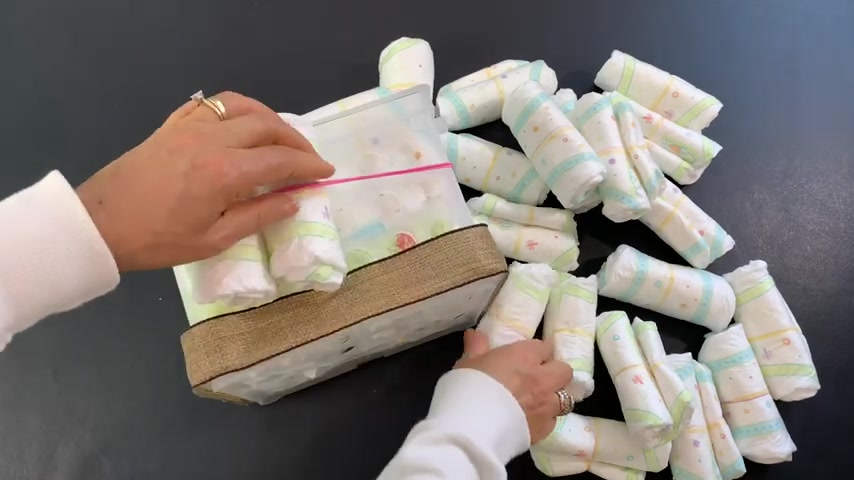
Perfect .
And now we're going to place the diapers inside of the rubber band all around .
I just wanna make sure that the diapers are covering a bit the top of the container .
This is what we have and that's how you're gonna see it from the top .
And now we need to put diapers in this corner so we can cover them .
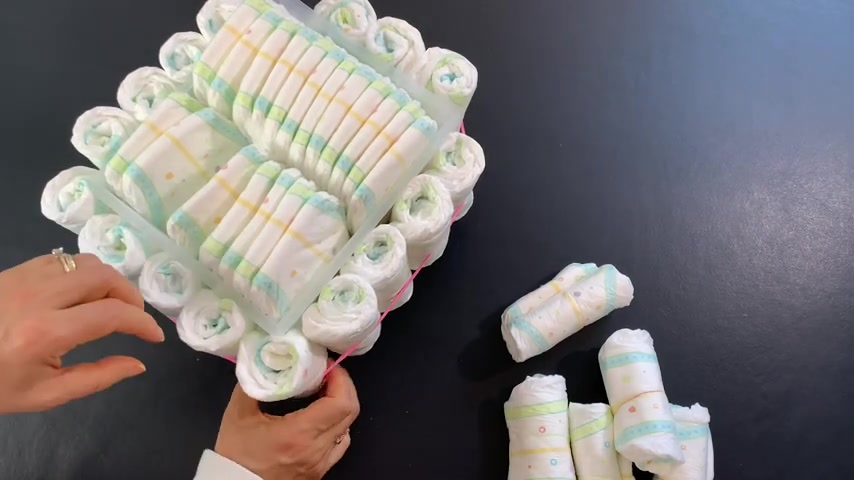
Try that when you are placing the diaper inside , it doesn't get the other ones all myself .
You may have to adjust like I am doing now , but that's OK and I'm gonna add another one here because I can see there's a little bit loose and that's fine .
That's why you have the extra diapers .
They're not extra really .
But you know what I'm saying ?
So you can use them to adjust and make sure that all your diapers are tight .
So they don't come out .
I just wanna give you a view from the side .
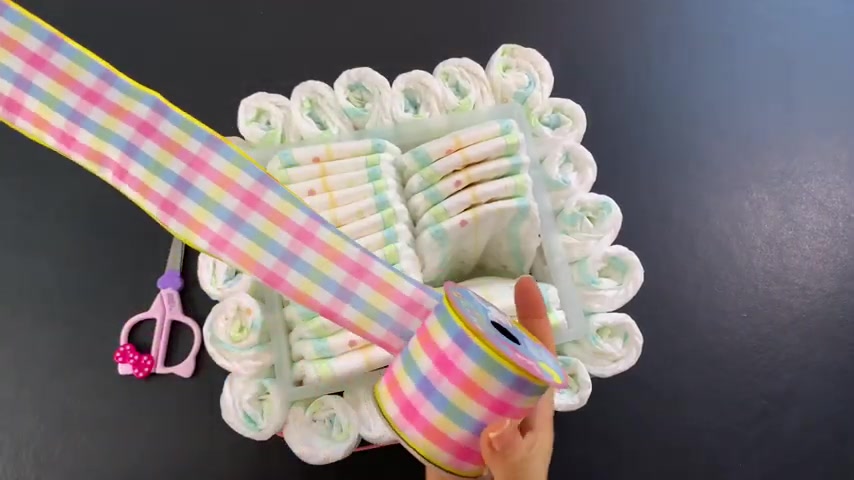
That's how it's gonna look .
OK ?
No , I'm gonna use this ribbon to go around the diapers in this way , just measuring and then I'm gonna cut right here .
And this is the time when I choose my front and my back , I chosen this part to be the front and this part to be the back .
And what I'm gonna do is that I'm gonna put the back here so I can work on it and it will be like this .
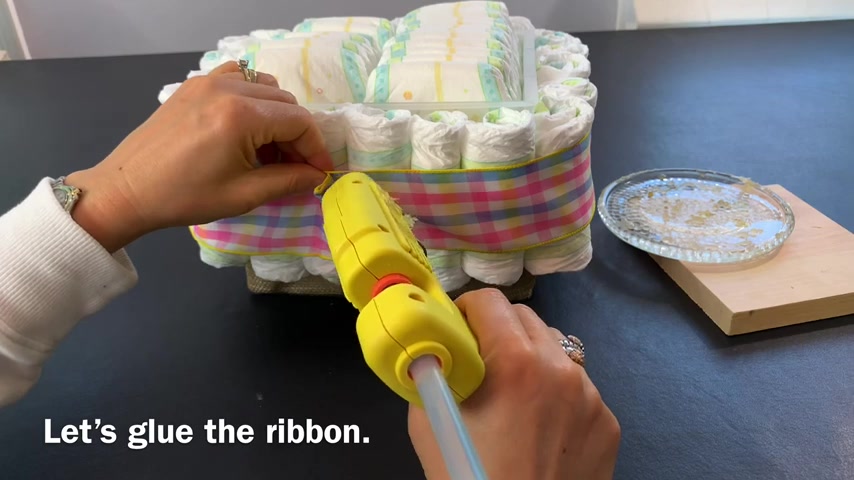
I am going to do that with the hot glue and I'll do it little by little .
Oh I need to get one of those things that you put in your finger so you don't get third because I'm always burning myself with this glue .
That's where I need to put it .
And I have to make sure that it's going in the right place and hold it for a little bit .
So it has time to glue .
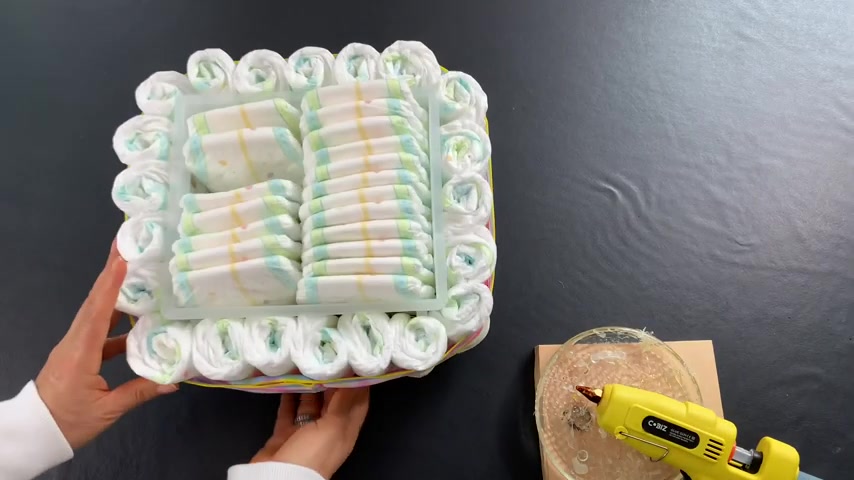
I mean to dry .
This is all set and now we are gonna go with these four sticks , we are gonna place them each one in a corner like this .
But before that , we are going to mark two inches in each of the sticks just like this .
And this part is what it is gonna go inside like this up to here .
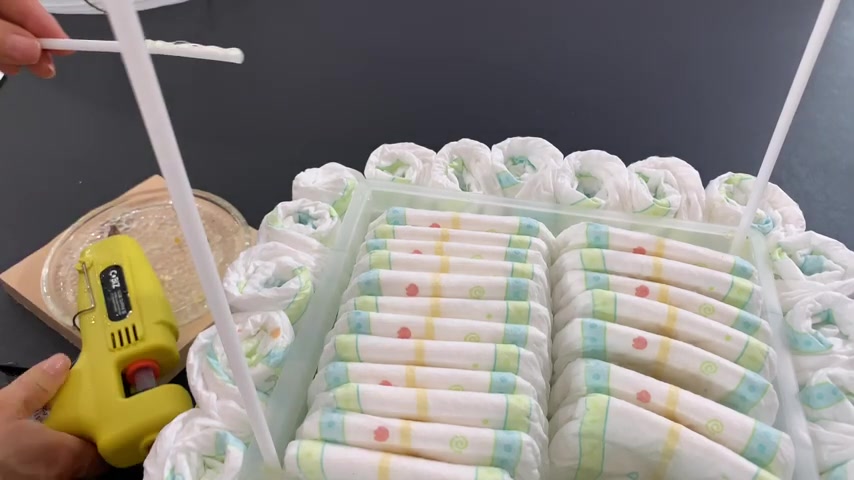
You could also glue the four plastic sticks at the beginning when there are no diapers inside of the box will slide a paper milkshake straw into each one of the sticks .
Now , I'm going to put this on the side and we're going to work with the paper lantern .
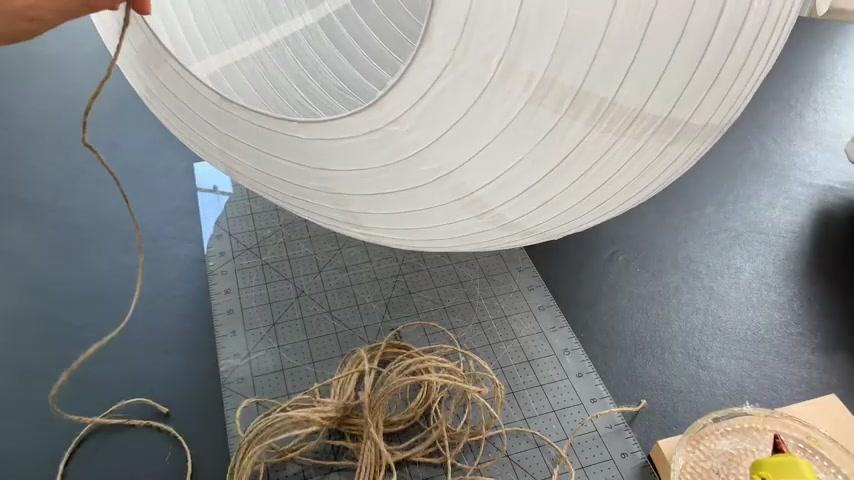
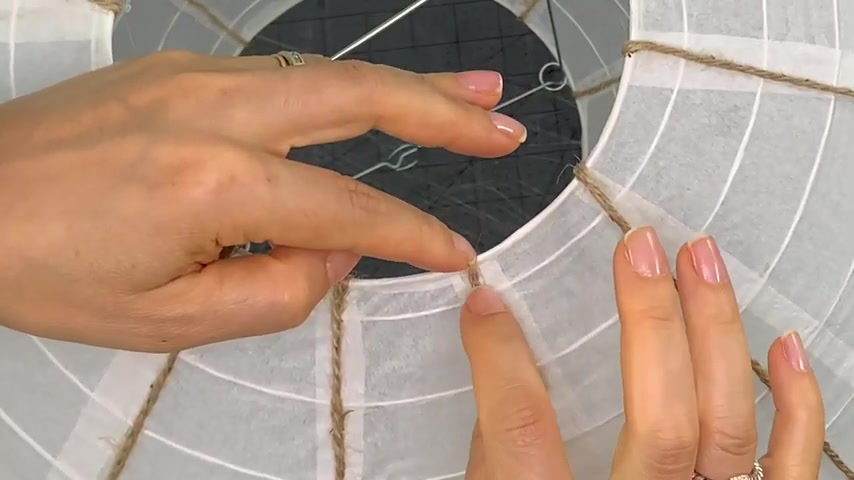
These 12 pieces of Juke wine that we previously cut , we are gonna glue them to the paper lantern .
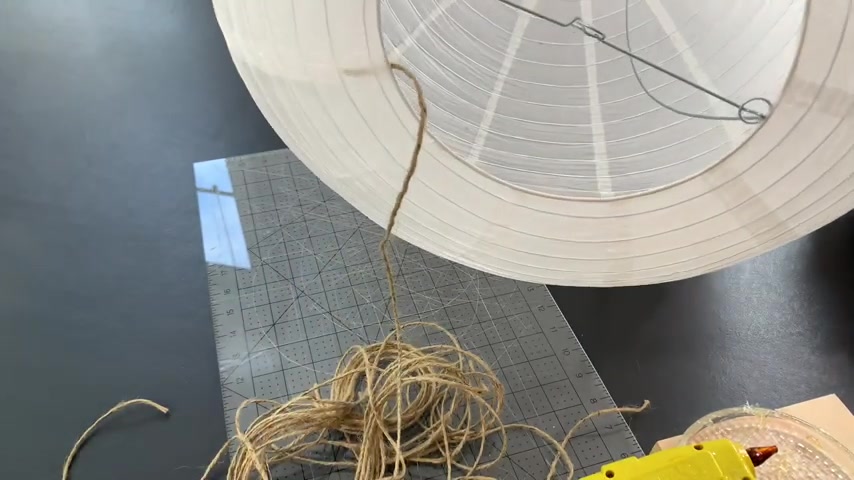
653.9 --> 732.669
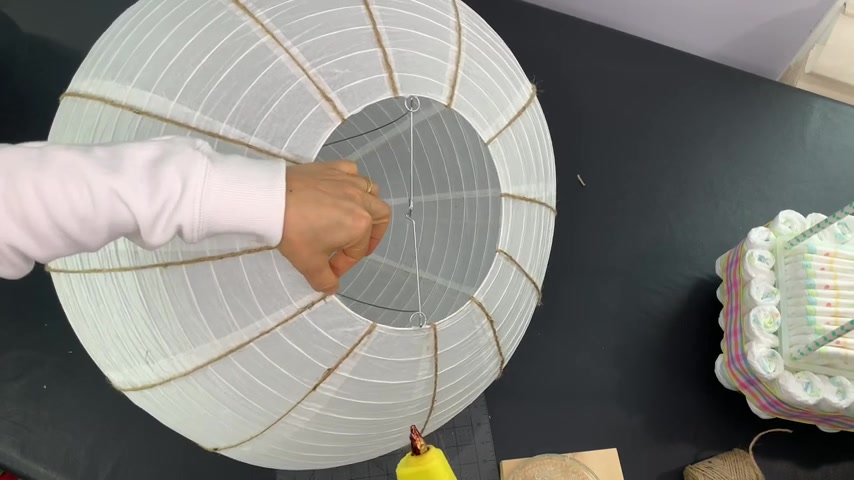
It'll give it more stability and will hopefully make it stay in its place .
Um The bottom is where we are working now and you see that the bottom has the opening figure and once we finish with the bottom , we're gonna move to the top and do the same .
Yeah .
Yeah .
So far this is what we have now , it gets even more fun .
We're gonna place the paper lantern on top and we're gonna make sure that the four plastic sticks go inside of the bigger hole of the paper lantern just like this .
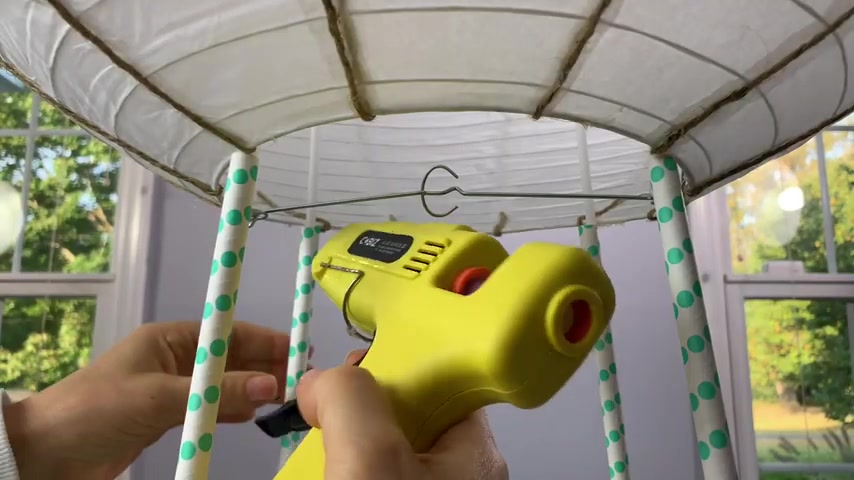
It came out perfect with a little bit of hot glue .
We are going to secure the paper lantern to the paper milkshake straws .
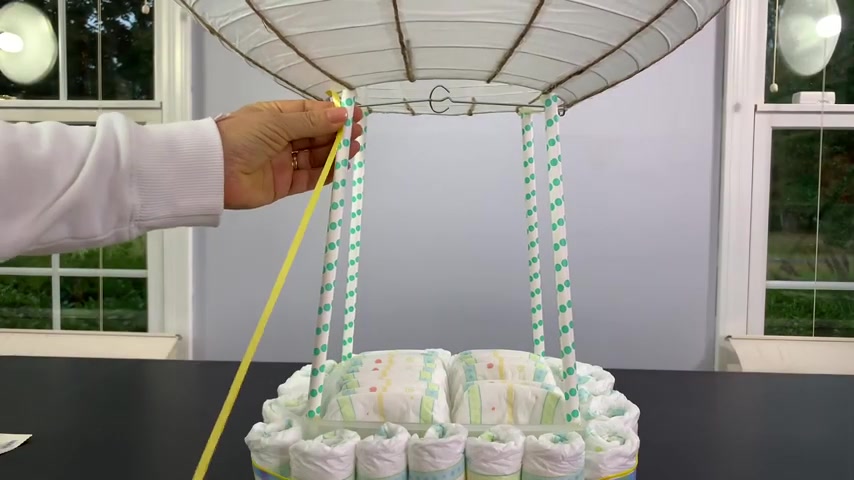
I am going to use these four colors of ribbon to decorate the hot air balloon use double sided tape for the ribbon because it will stick to the milkshake um straw , but it will also the ribbon will stick to it from the outside .
Now , let's measure the diameter of the top circle in the paper lantern .
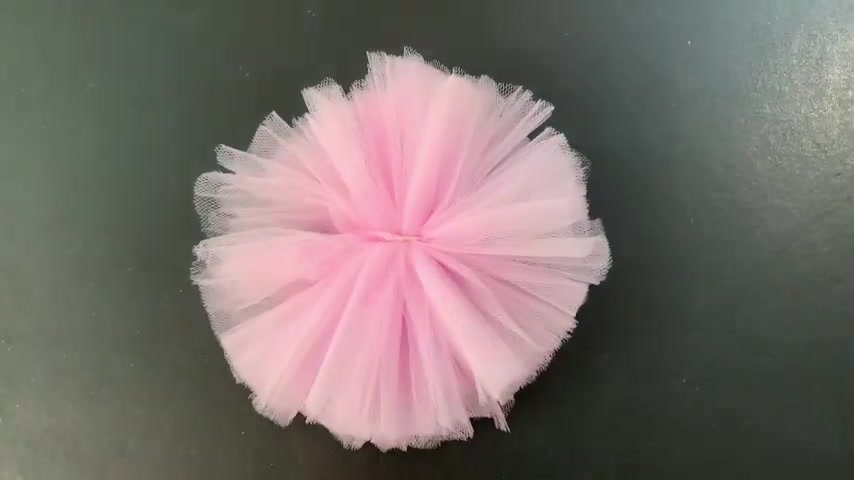
The reason is because we are gonna use that measurement to create something like this for the top of the hot air balloon since I already made this one , which is the one that we're gonna be using for the hot air balloon that we are building .
Now , I'm gonna make another one in white for this other hot air balloon that I made and that way I can show you how to make this piece .
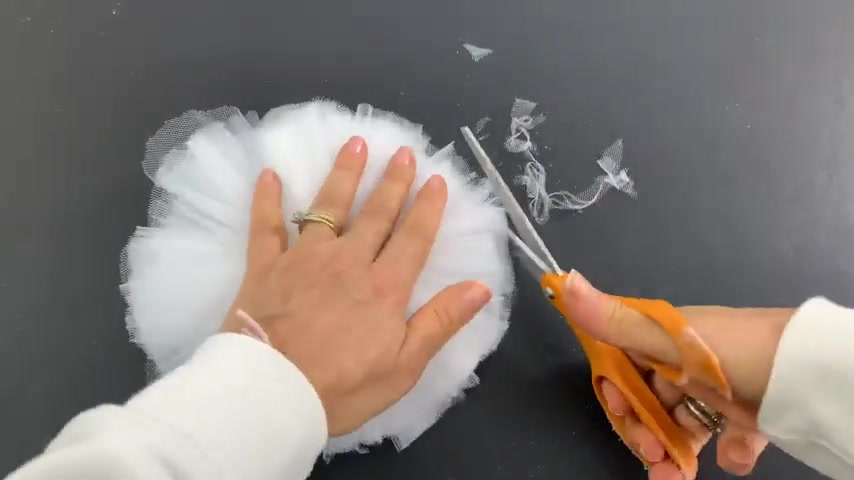
Ok .
Yeah .
For the next step , I had to bring down the hot air balloon into the floor because I couldn't reach the top .
And what I'm doing is putting some double sided tape in like a cross shape .
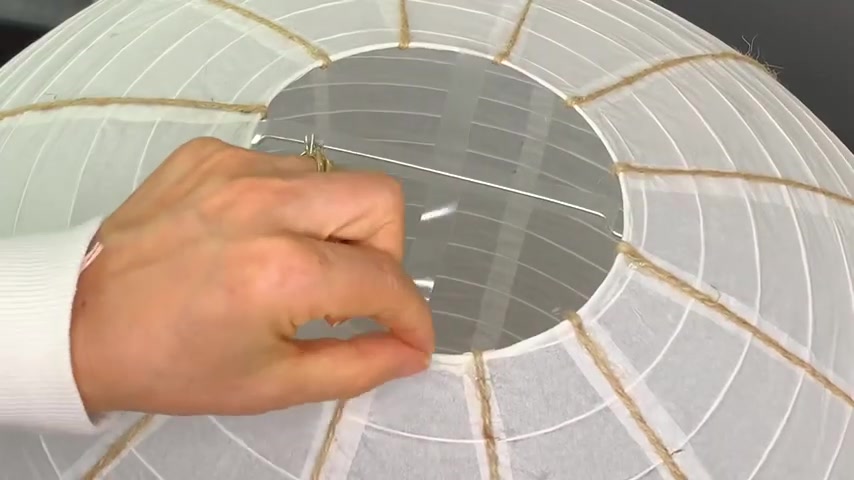
After that , I am gonna be placing on top of that our tool that we created like the little shape that we created right on top of it just like that .
And that's it .
Are you looking for a way to reach a wider audience and get more views on your videos?
Our innovative video to text transcribing service can help you do just that.
We provide accurate transcriptions of your videos along with visual content that will help you attract new viewers and keep them engaged. Plus, our data analytics and ad campaign tools can help you monetize your content and maximize your revenue.
Let's partner up and take your video content to the next level!
Contact us today to learn more.