https://www.youtube.com/watch?v=xIrYDuwhqbY
How to make EASY no-nonsense RYE BREAD _ Detailed Recipe
Hey , everyone .
Welcome back today .
I'll show you how to make European style rye bread .
This bread is super easy to make because you just mix the ingredients and we there is no gluten to develop all you need is time because we will be using something called pre ferment .
A pre ferment is a portion of your dough that's been fermented ahead of time , either a few hours or up to a whole day .
What it does is break down the starch and the flour and makes it easier to digest and it parts massive flavor .
Also , we'll make our pre ferment 12 hours ahead of time .
What you'll need is some rye flour , some water at 20 degrees Celsius and a little bit of yeast .
Now , if your kitchen's cold , raise your water temperature about one degree and if it's warm , lower it by one degree .
I always like to disperse the yeast in the water to rehydrate it and only then have my flour .
Always make sure your fermentation vessel .
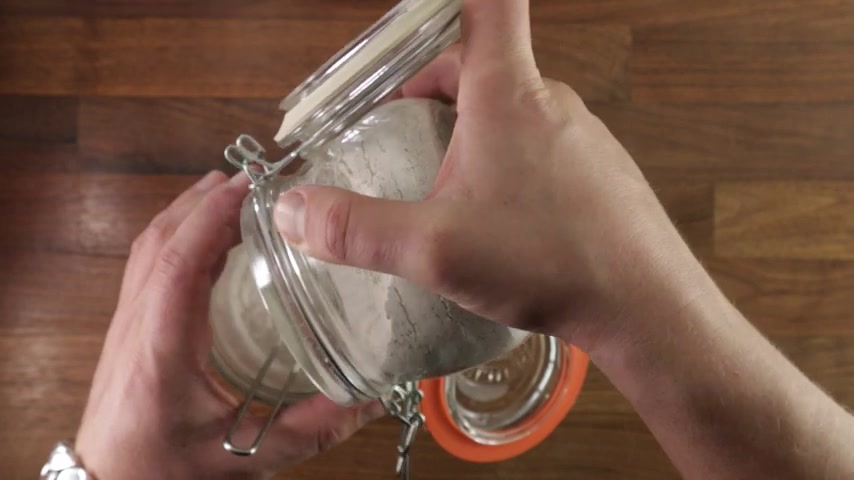
In this case , this Kilner jar is big enough because as you will see , I'll be having a little struggle here .
So now add your flour to your water and yeast mixture and mix until it's completely absorbed .
All of the liquid rye flour is quite sticky .
So just give it a good mix and you'll be good to go once it's all mixed nicely , we'll cover it and let it sit overnight on our kitchen counter .
If you look at it , now , you can see that it's a solid mass of flour and water .
It's like a paste , but the following day will be full of bubbles really airy .
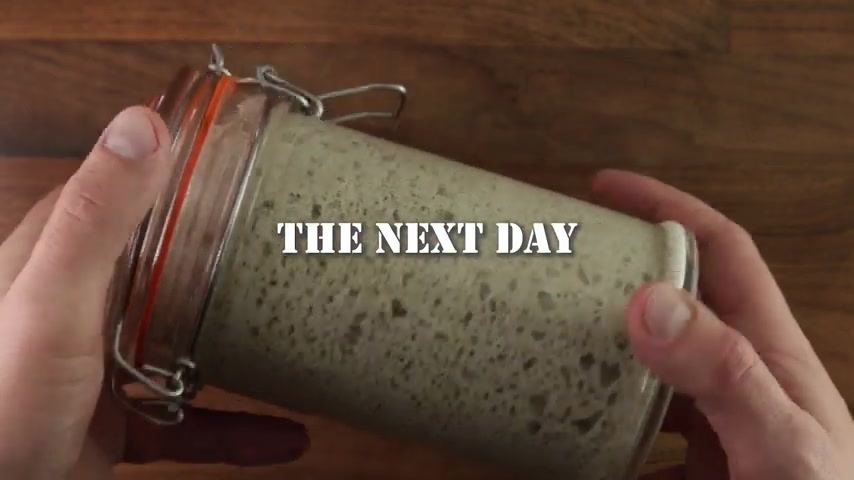
And that is what we want to see because that means a has done his job and now we are ready to make our dough .
So let's start with the ingredients you'll need when making rye bread , we want our water to be a little bit warmer .
So this time we'll use water .
That's about 27 degrees Celsius .
You'll also need salt , yeast and more rye flour , toasted seeds , add great flavor and great texture .
But they're optional .
Black Tria will give our bread the sweetness and also the state of dark color .
And of course , we'll need our pref to proof our bread in .
We'll use a , also known as a bread basket .
If you don't have one , don't worry , just use a cake tin lined with a KC and dusted with flour .
Make sure you give it the generous coat of flour .
Otherwise , the bread might stick and you don't want that for baking our bread .
We'll use a cast iron pot with a lid .

Ideally , this will trap steam inside and make it rise a little bit better .
But again , it's not completely necessary .
You can use a thick bottom tray or Pyrex dish or just a frying pan .
Now , let's start get your bowl , add your tempered water and disperse the yeast in it .
When it comes to the black Treacle , we're not specific here .
Just add a large tablespoon and that will do make sure you stir it around a little bit to melt because this stuff is seriously sticky .
And this is kind of the theme of the bread , super sticky , super messy .
But the results are amazing and well worth the effort .
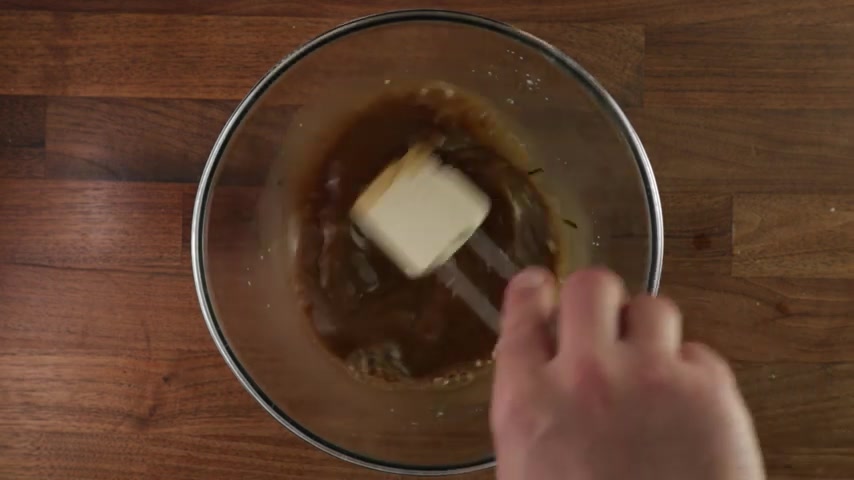
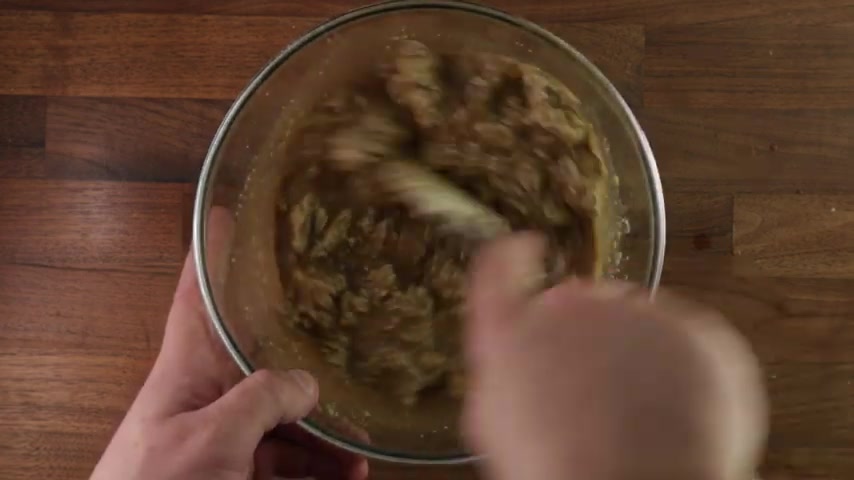
Once you've mixed the trickle around for a while and it's all dissolved , you can start adding your salt and once again stir to dissolve because it will be a lot easier to do it .
Now than later when you're happy with that , we can start adding our pre ferment , get it all in there and then start stirring it around .
You want to break up any large chunks and mix it into your liquid as well as possible .
And as you've noticed , there's a specific order that we're doing this in .
First , we start with the water , which is the wet ingredient and then we start adding the less and less wet ingredient .
This is the easiest and most efficient way of working because if you add the water to the flour straight away , then try and add your yeast or your salt or your starter .
You'll just end up with a big mess .
Now we can add our seats , incorporate them nicely into your mixture and then we'll be ready to add our flour .
The last ingredient and now comes the fun part and by fun , I mean , super sticky , messy and horrible , but it will all be well worth it at the end .
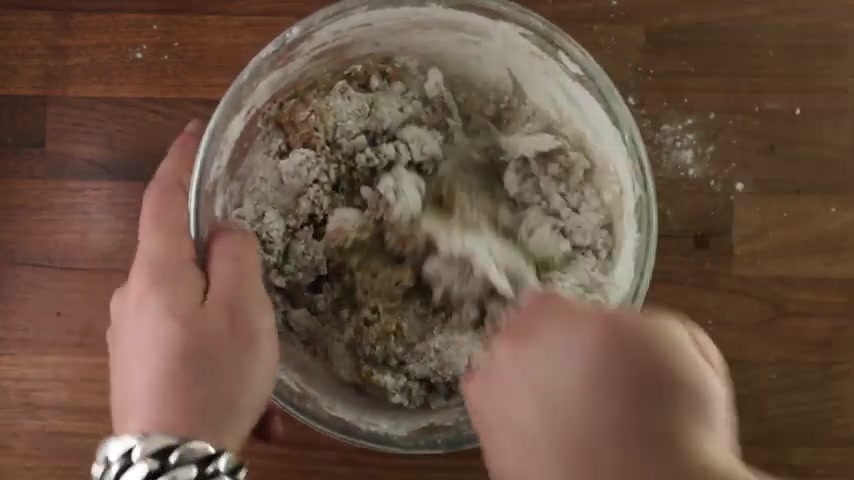
So dump all your flour into your bowl and keep stirring until you don't see any more dry bits .
This might take a minute or two , but you'd really want to mix as well because if you don't , you'll end up with raw lumps of flour in your final dough and you don't want that .
No one wants that .
That's horrible .
Just keep at it and you'll be fine .
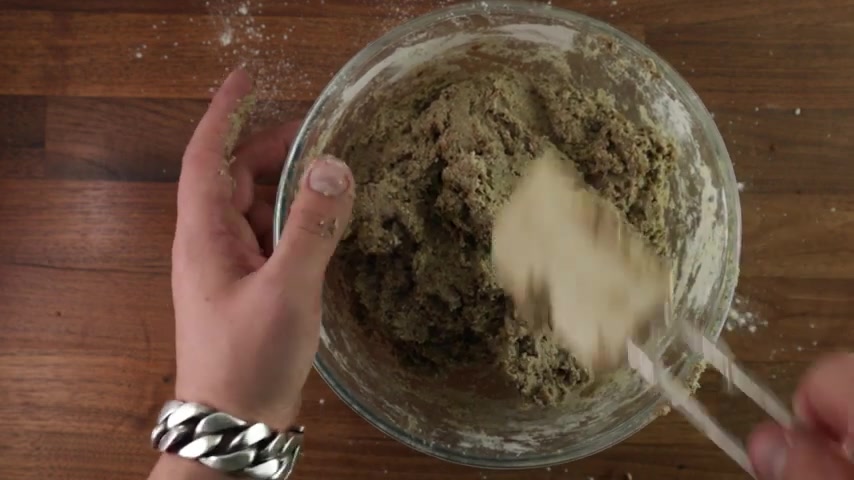
So once you feel like you're at that stage where everything is homogeneous and there's no more dry bits and everything is mixed properly , you can clean down your spatula glow , the flour and Sprinkle it on your work surface because now we are ready to shape the dough .
And what distinguishes rye bread from other breads is that there's no needing involved because there's not much gluten .
There's no pre shaping involved .
There's no folding involved .
You just shape the dough , put it in your proofing vessel and that's it .
You wait , be quite generous when dusting your surface with flour , you don't want anything to stick .
You can also dust your bowl with flour .
So it will be easier to take the dough out .
So using a spatula , scrape down the sides , collect the dough into more or less one piece and plop it out on your table .
Make sure your bread basket is well floured or your cake tin .
If you're using that , and when you're ready shape the dough into kind of a loaf shape , there's no specific technique here .
Roll the dough around in the flour , pick it up , mold it into a little loaf and place it in your basket or in your cake pan .
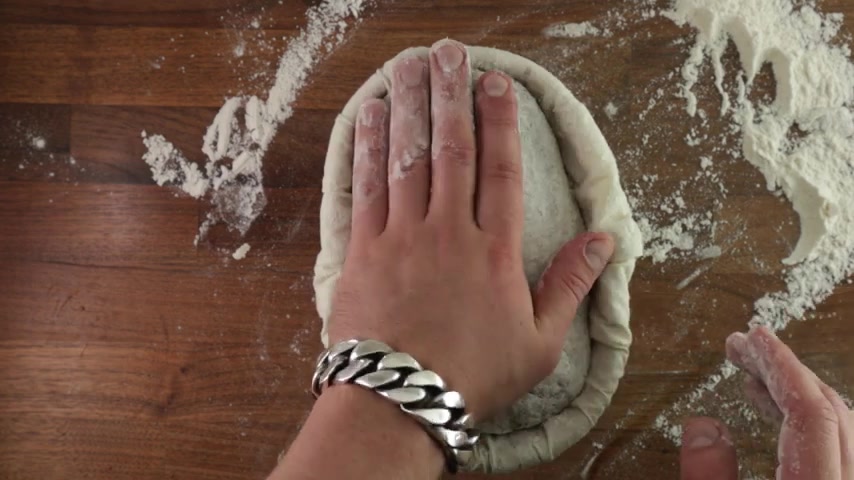
So that is it our first and final shape .
And now we can leave the bread to proof and we'll be ready to bake .
It should take around two hours to be fully proofed .
Around one hour before baking .
You wanna preheat your oven to 200 C , no fan or 1 80 with fan and obviously make sure you preheat your cast iron pot or tray or whatever you are using as a baking mussel .
So now we are ready to bake , get something that will prevent you from burning your table , get your trusty razor blade or a sharp serrated knife .
If you don't have a razor , wait , it's kind of dark in here .
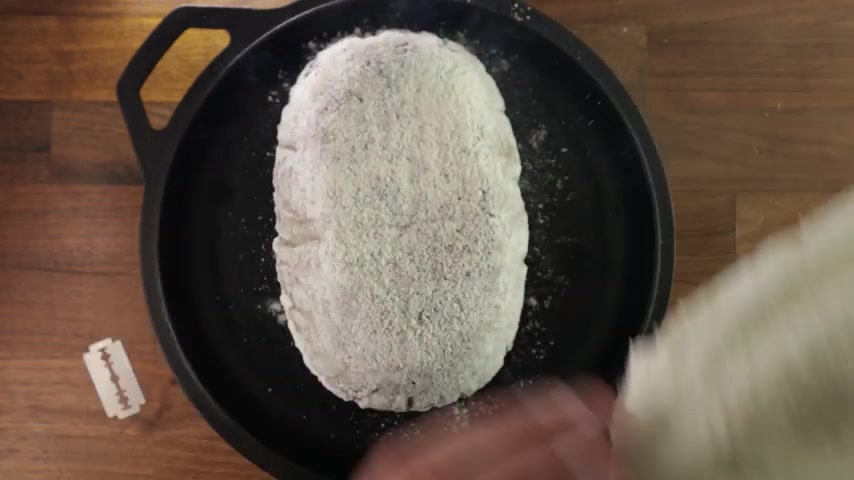
So get your pan out of the oven , get your little loaf in there and score it .
You can choose whatever design you like .
What scoring does is basically tell the bread where to open up as it bakes , it rises , puffs up .
It increases in volume .
And if you don't cut it , it will explode in its weakest point , which is normally the bottom .
And that might result in a not very good looking loaf .
So cover your bread and bake it for 30 minutes .
As the bread bakes , it releases steam which gets trapped inside the pan and it helps the bread not dry out and it helps it rise more .
If you don't have a lid , it's fine .
It will still work .
It will just not rise as much .
So after 30 minutes , we can take our lid off and finish baking .
You can see those puffed up nicely and it will take no more than 30 more minutes to finish .
And that's the end result .
And now we'll just let it cool down on a wire rack .
We use a wire rack because if we don't want the bread to sweat on the bottom , no one likes a soggy bottom .
If you have any will power let this cool down for a good few hours overnight .
I don't .
So I'll just dig in after an hour or so .
I just can't wait when it comes to bread .
Bread .
Like this can be kept for quite a while .
It kind of matures over time .
It gets even better .
So you could eat this like a week from baking .
It will still be nice .
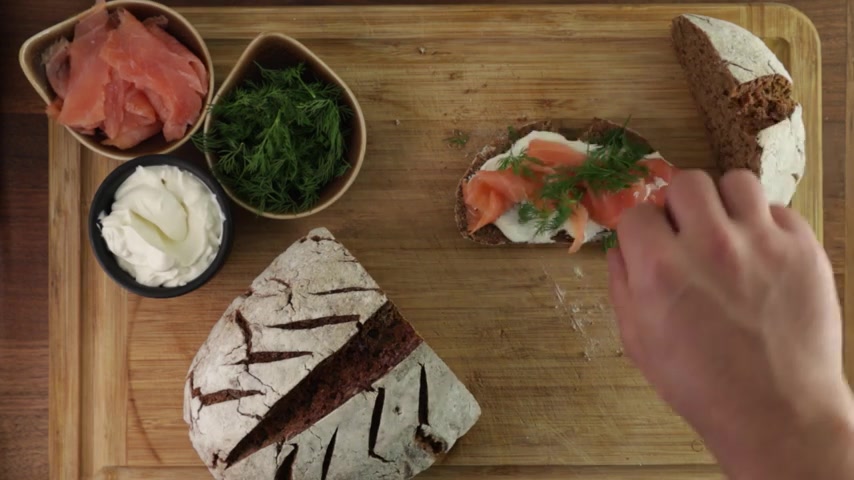
Violated , fresh , a little bit of cream cheese a little bit of smoked salmon dill .
Some cracked black pepper .
Beautiful .
So if you have any questions , write them down in the comments , I'll make sure to answer every one of them .

And if you want to learn more about baking and different breads , subscribe because I'll be posting videos every Wednesday .
So thanks for watching , Happy Baking and I'll see you in the next one .
Are you looking for a way to reach a wider audience and get more views on your videos?
Our innovative video to text transcribing service can help you do just that.
We provide accurate transcriptions of your videos along with visual content that will help you attract new viewers and keep them engaged. Plus, our data analytics and ad campaign tools can help you monetize your content and maximize your revenue.
Let's partner up and take your video content to the next level!
Contact us today to learn more.