https://www.youtube.com/watch?v=1ZPd0yiUSZs
How to Cover a Round Cake with Fondant _ Wilton
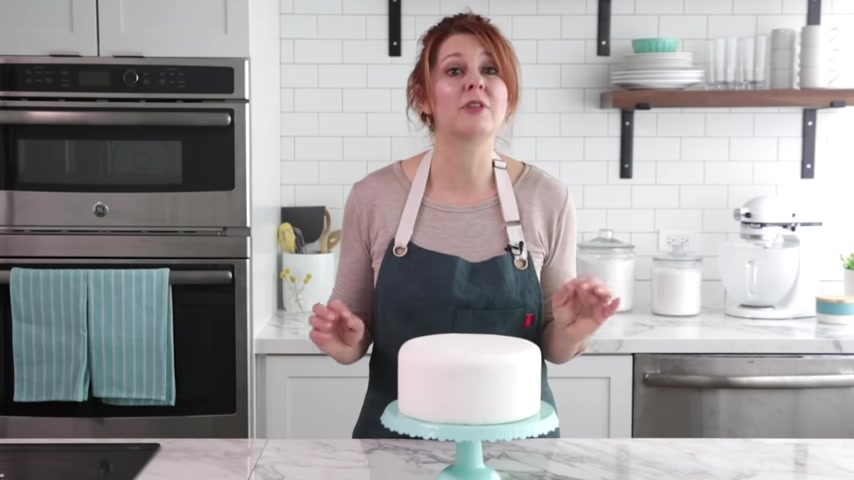
Hey guys , it's Tracy from the decorating studio here at Wilton .
Have you ever wondered how to give your cake that elegant wedding ?
Look for any occasion .
It may seem advanced or intimidating , but it's actually a lot easier than you think today .
I'm going to show you the ins and outs of how to cover a round cake and find it to give it that crisp clean look , which I personally love for starters .
Make sure your cake is leveled and filled evenly .
If you have any questions on how to do that .
Check out our Wilton youtube videos , how to level and to a cake and how to assemble and fill a cake and be sure to subscribe to the channel for more tutorials like these , the type of cake you cover with fondant will be important .
Light texture cakes such as angel food will have a bit of a problem holding up to the weight of fondant .
Now , you don't necessarily need a pound cake but any typical box cake mix and most of our cake recipes on Wilton dot com will work in whichever cake you choose .
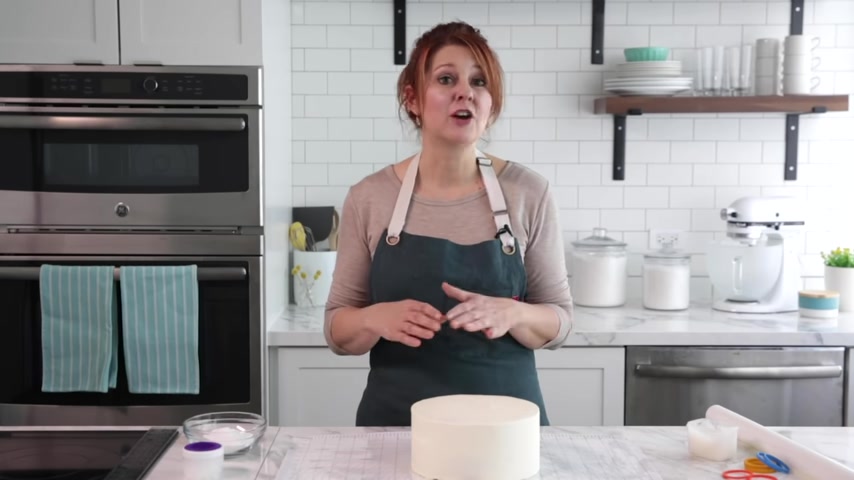
You should assemble it on the cake board .
That's the same size as your cake .
First , I'm going to lightly ice the cake with butter cream only lightly because I don't want the icing to ooze out , make sure it's smooth and even because any excessive spatula marks will show through the fondant .
Today .
I'm using Wilton ready to use Fondant .
We do have a recipe on Wilton dot com to make a homemade marshmallow fondant .
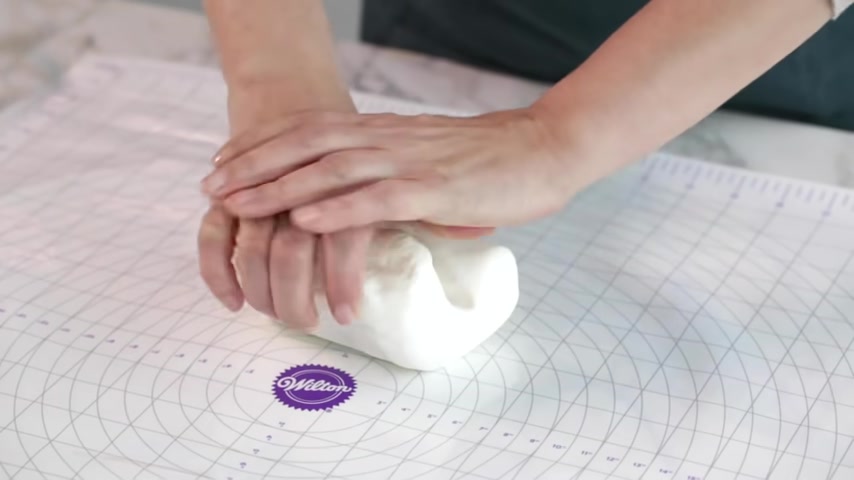
If you prefer , you'll want to need the fondant until it's pliable , use a little vegetable shortening .
If the fondant is sticking to your hands , if you're coloring your fondant now is the best time to add color .
Be sure to use fresh fondant .
If the fondant is old , it will affect the texture .
If it's slightly dry , then it can crack .
Some decorators will refer to that as elephant skin which can be fixed by rubbing shortening along the dry area .
So how do we know how big of an area to roll out the fund for the cake ?
We'll have to do some measuring the formula for the area of the fondant is the diameter of the cake , which is eight inches plus the height of the cake on both sides , which is four inches plus four inches for a total of 16 inches .
Check out the chart on Wilton dot com for the amount of fondant needed for this eight by four cake .
I'm using 24 ounces to prevent sticking when rolling the fondant dust , the surface with corn starch or powdered sugar .
Corn , starch works best in high humidity , climates and powdered sugar works best in drier climates .
If the fondant is having a hard time rolling as a thin coat of shortening to the surface .
Now , it's really important to make sure your surface is flat and clean because fondant can pick up surface texture as well as lint and dirt .
And this is not the time to wear your angora sweaters or any shirts with textured fibers that could interfere with the fondant rolling to an thickness is the key to a great looking cake .
I'm starting with the rounded shape to make it easier to stay in a circle .
If you're covering a square cake , I would start with the fondant in more of a square shape and keep it that shape as you roll .
I'm using the 16 inch diameter guide on the Wilton measuring mat .
This mat is a great surface for rolling Fondant because of its handy measurements guide and non stick surface .
If you don't have a mat , use a ruler or cut a ribbon to length , I'm rolling to about an eighth of an inch thickness .
You can use guide rings if you're a beginner .
But our chart will give you the right thickness if using the correct amount of fondant roll from the center outwards , never fully over the edge .
Doing that would make the edges thinner than the middle .
I'm rolling in every direction to keep that circle you should pick up the fondant from time to time and move it .
This helps the fondant from sticking notice .
I keep using my hands to feel if there are any uneven spots that will need extra rolling while always keeping the shape of my cake .
If at any time it gets misshapen , try to run the edges back to the circle .
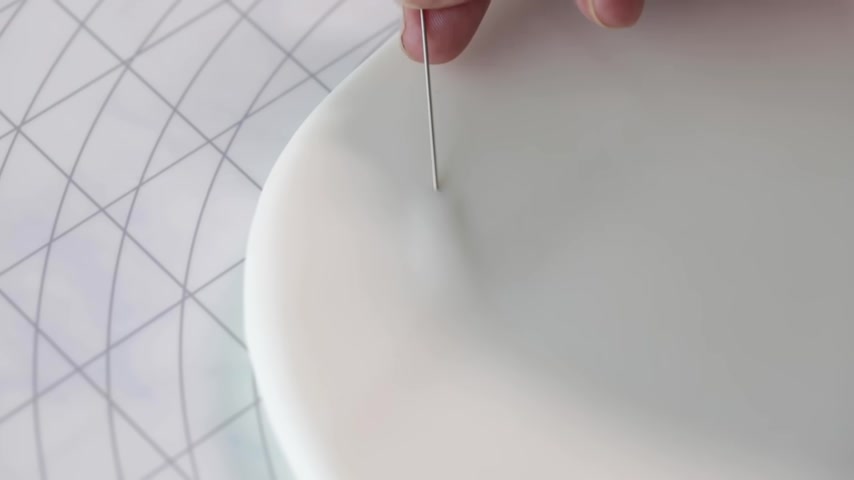
If you get any air bubbles , pop them with a pin from the side rather than from on the top and then smooth with your finger .
It's better to address air bubbles now , rather than when the cake is already covered .
Even though you only need a 16 inch , you might be tempted to roll the fon into 18 inches to ensure you have enough fond to cover your cake .
But I definitely wouldn't do that because your font will stretch as you drape it and the excess amount will add weight and might cause your fond to tear .
You'll need to place the fondant over the cake immediately while it's still fresh and pliable .
Once fondant starts to dry out , it will be harder to smooth check on your cake before applying the fondant .
If your cake's icing is dry from sitting out lightly , miss the cake with water .
You'll need a tacky surface for the fondant to stick , place the roller in the middle of the circle , fold one side of the fondant over and pick it up from both ends .
Make sure to have the cake close to you and ready to go .
I like to start away from me .
The bottom edge of the fondant to the cake , touch the edge of the cake board and make sure you have it centered gently .
Roll the fondant roller out to guide the fondant as it drapes over the rest of the cake .
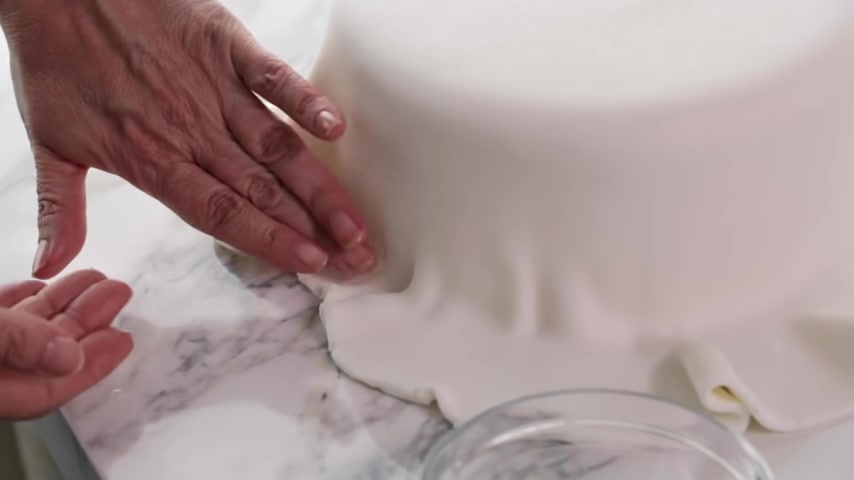
You might find that the fondant is not fully covering the bottom edges of the cake but don't panic as you smooth , the font will stretch out a bit and cover the edges fully .
If you realized it's not centered before you would hear the fond that you should be able to gently remove it and re center .
If you're not able to safely remove it without damage to the cake , just re ice the cake and refrigerate until it's firm .
If you have excess butter cream on your fondant , don't worry , you can need the butter cream into the fondant and re roll it to smooth the fondant .
You'll use a combination of your hands and the fondant smoother .
First , you'll use the fondant smoother on top of the cake to adhere the fondant , then go over the sides with your hands .
Pull and very gently stretch the fondant away from the cake while using the edge of your hand to get rid of any creases .
If you find the sides of your fondant are not sticking to the cake , dip your fingers in a small amount of water .
And as you lift the fondant sides , rub your fingers over the inside of the fondant and gently press the cake with a dry hand .
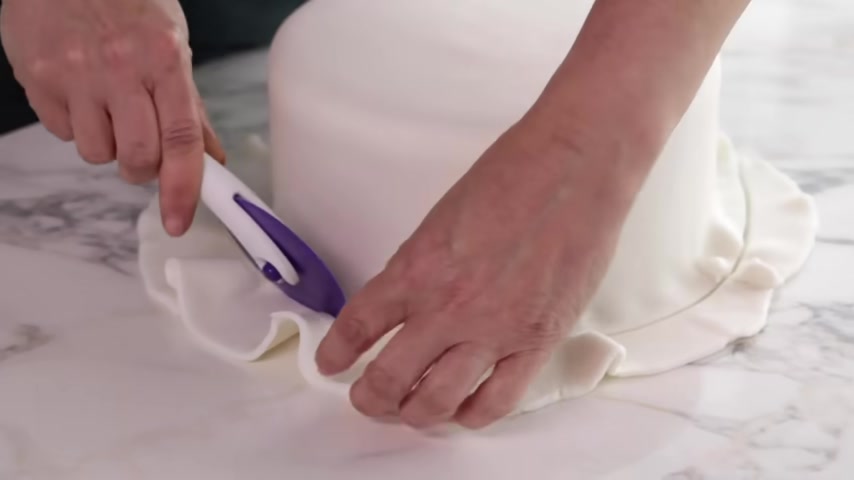
Once you get to the last section loosen on either side , pull a bit more and push the draping onto the bottom .
You want to move the to the lower edges of the cake .
I like to cut off the excess as I work , use the smoother on the top and the sides once more , making sure the font is sticking to the cake .
Then I press the font towards the cake board to give me a perfect edge .
Once you've covered your cake in fondant , you can then place the cake on a smaller cake pan so that the cake is elevated , that will make it easier to cut off the excess fondant off the bottom edges .
Use a fondant trimmer or a pizza cutter .
You can even use a sharp perry knife .
Here are some tips for you .
If you need to hide a seam where two pieces of fond were attached together , gently press and rub the two areas to seal cracks and tears , you can always try fondant speckle , create a thin pip paste by adding water to fondant place in a cut disposable bag and fill in the crack .
Take a spatula and lightly smooth , the shine will disappear when the water evaporates .
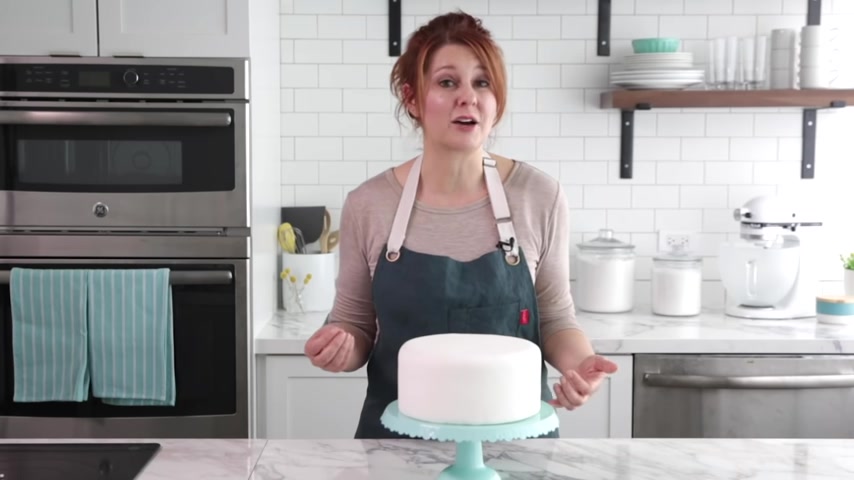
One of the common questions on our youtube channel is what's the proper temperature to keep your cake after it's covered in fondant .
You can leave it in a room temperature for at least two , maybe three days before the event .
I prefer to refrigerate my cakes once I've got the fondant on just so the butter cream underneath stays firm or in case you've got a filling that should be kept cold .
Now , fondant can sweat depending on humidity and temperature .
My experience with the sweating fonda cake is don't touch it .
The condensation will absorb back into the fondant once it's been at room temperature for a while and it will be fine .
I hope this video inspires you to cover your next cake with fondant .
There's no reason to be intimidated .
The more you do it , the easier it becomes .
Now that you have all my tips and tricks you can make an elegant f covered cake like this one .
If you enjoyed watching this video , please subscribe to our channel for more tutorials like this .
If you have more questions about covering a cake with fondant , I'll do my best to answer them in the comments .
And finally , if you do cover a cake with Fondant , we would love to see it .
Be sure to use the Hashtag Wilton cakes when posting your images online .
I'm Tracy from the Wilton Decorating Studio .
Thanks for watching .
Are you looking for a way to reach a wider audience and get more views on your videos?
Our innovative video to text transcribing service can help you do just that.
We provide accurate transcriptions of your videos along with visual content that will help you attract new viewers and keep them engaged. Plus, our data analytics and ad campaign tools can help you monetize your content and maximize your revenue.
Let's partner up and take your video content to the next level!
Contact us today to learn more.