https://www.youtube.com/watch?v=Ehy0UO7AwCo
How to Make A Free Website on Google Sites (in just 5 steps)
Hi guys , today , we are going to see how you can make a website using Google sites .
So after watching this video , you'll be able to create your own website like this using Google sites where you can add your pages .
And are you content like this ?
And we will also see how you can design your site in any style you want .
Now , the best part of using Google sites is you can use Google apps to add more features to your site .
For example , if you want to add a contact form , you can use the Google Forms app .
Now , finally , we will also see how you can change your default Google site domain to any domain you want like your side dot com .
So this is going to be a very easy process .
Now , before we create our site first , let's see the difference between using Google sites and using wordpress , which is another popular tool for building websites .
If you're looking for features like having the ability to sell products on your site , write blog posts or have lots of design options .
Wordpress is the way to go .
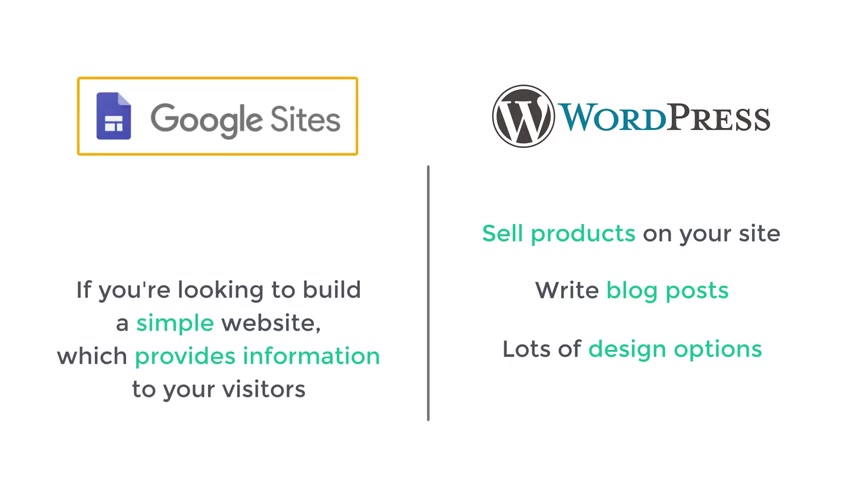
But on the other hand , if you're looking to build a simple website which provides information to your visitors .
Then Google site is a great option which is free and lets you build the site you want .
So if you're looking for these advanced features , you can watch this video which shows you how you can build a website using wordpress .
But if you're ready to use Google sites , let's get started .
I'm brand for website learners and let's start creating a site using Google sites .
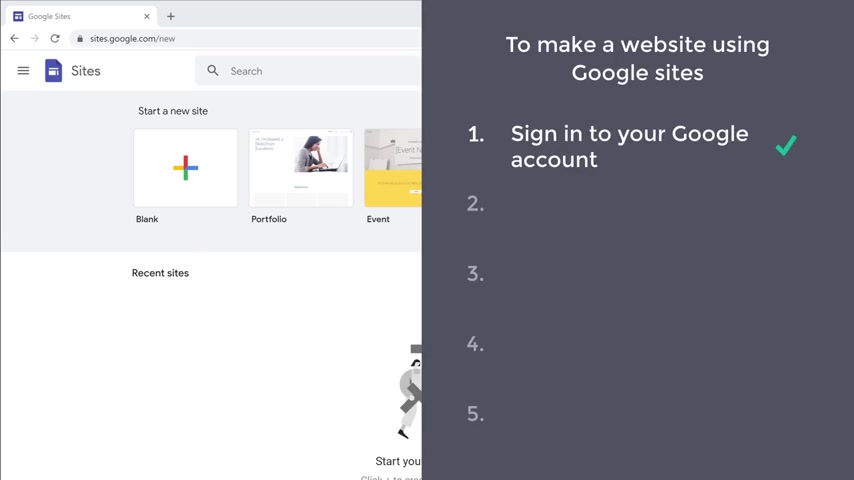
So to make our website using Google sites , we are going to do five steps .
The first step is to sign into your Google account .
So to sign into your account , go to sites dot google dot com .
Now , here you need to enter your email address or phone number to sign into your account .
So I'm going to enter my email address and click next , then enter your password , click next and it will take you to this site .
Now , this is the site which is going to help us create our website .
Ok .
So now we have signed into a Google account .
Once you have signed into your account , we can go to step two , which is to choose the type of your site .
But here you can choose the type of site you want to create .
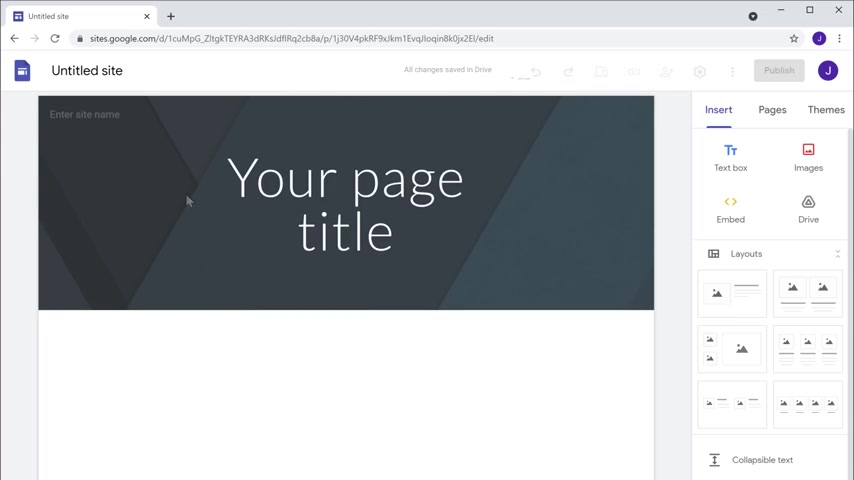
I'm going to choose a blank side .
So let's click on it and it will take you to this page .
This is the place where you can create a website from scratch .
Ok ?
Once you have chosen the type of your website , we can go to step three , which is to change the theme of your site here .
As you can see , we have a default theme for our side .
Now to make it look attractive , we are going to change the theme of our site .
So to change the team , just go to teams and you will get different themes which you can add to your site .
So just select any team you like .
Now , let's say you like this team , just click on it and the team will be changed here .
Once you have changed the team , we can now go to step four , which is to add content to your website .
Now , let's say you want to change this text .
So to change the text , all you have to do is just select the text and then enter your own text .
As you can see the text has been changed .
Now , if you want to increase the size of this text , you can just drag the sides like this and the size will be increased .
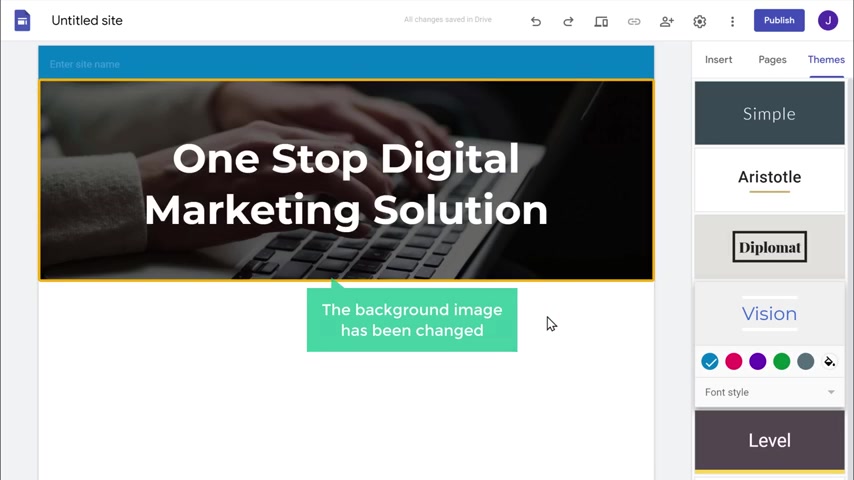
Now , if you want to change this background , just click , change image and then click upload .
Now select the image you want and click open as you can see the background image has been changed .
OK ?
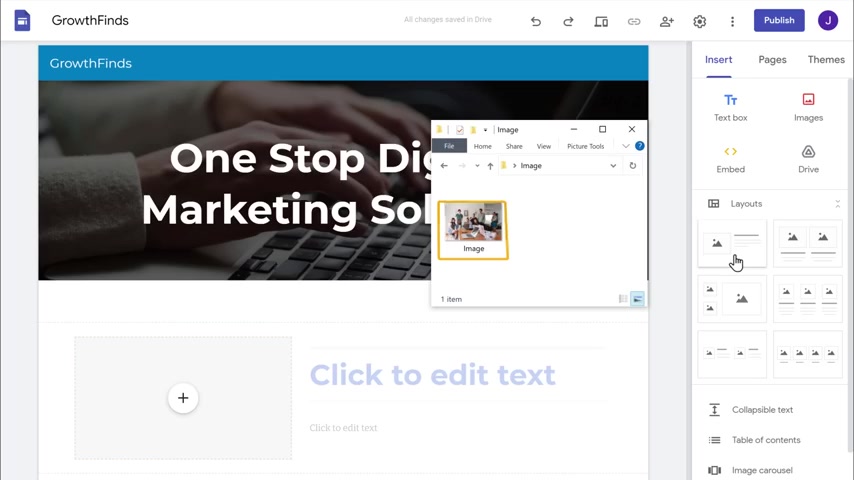
So here you can add a name for your site .
So to do that , just go here and then enter the name you want .
I'm going to enter growth finds .
As you can see , the name has been added to our site .
Now , if you want to add a logo here , you can just click here and add your logo .
Ok ?
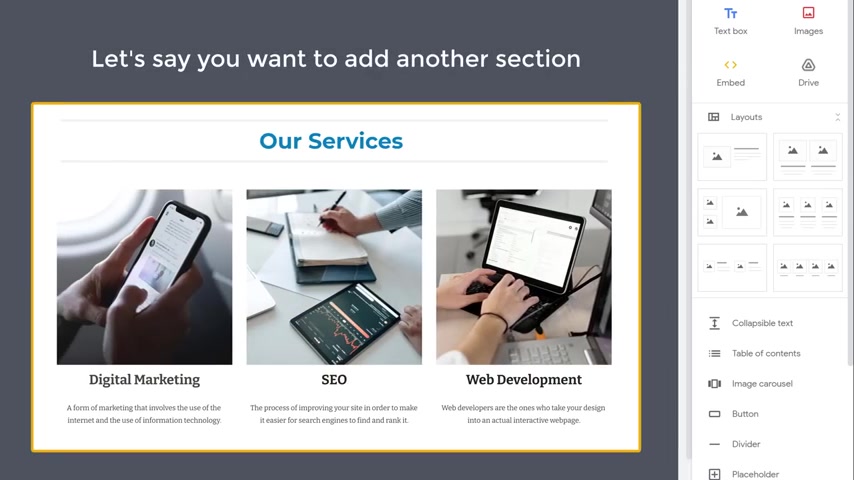
Now , let's say you want to add a new section to your site like this .
How will you do that ?
So to add a section , just click insert and you can see that we have different layouts which we can add to our website .
So if you want to have a section like this , you can choose this layout or if you want to have a section like this , you can choose this one .
So I'm going to select this one .
As you can see the section has been added .
OK ?
Now let's say you want to add an image here , just drag the image from the computer and drop it here .
As you can see the image has been added .
Now , if you want to change the size of the image , just drag the image like this and the maid size will be changed .
Now , in the same way , you cannot contain to this area .
First , let's add a title to add the title .
Just click here and then enter the title you want .
I'm going to enter about us next , let's add a text here .
So now we have successfully added a new section on our site .
So let's say you want to add another section like this .
So to do that first , let's add a title here to add the title .
Just click on this text box as you can see a text field has been added .
Now here , enter the title you want .
I'm going to enter our services now to make this text as a title , just click here and select title .
As you can see , the text has been changed to title now to move this text to the center .
Click here and select this .
Now you can see that it has been moved to the center .
OK ?
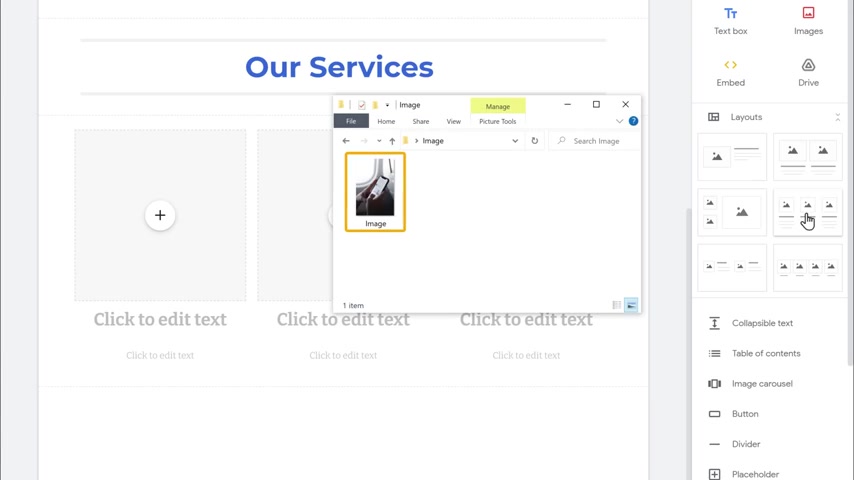
Once you've added the title , next , select any layout from here , this time , we will select this one as you can see the section has been added .
Now let's add the content to this section .
So first let's add an image to this first column to add an image like we did before just drag the image from your computer and drop it here as you can see the image has been added .
Now let's add a heading and then add text here .
OK ?
So now we have added the content to the first column .
Now , in the same way you can add content to these columns .
OK ?
Once you're done next , let's see how you can add a photo like this to your site to add a footer .
Just go here and click , add photo and you will get this section here .
You can enter any information you want like copyright text or your contact information .
I'm going to enter a copyright text So let's enter that now , like we did before , you can change the alignment by clicking here .
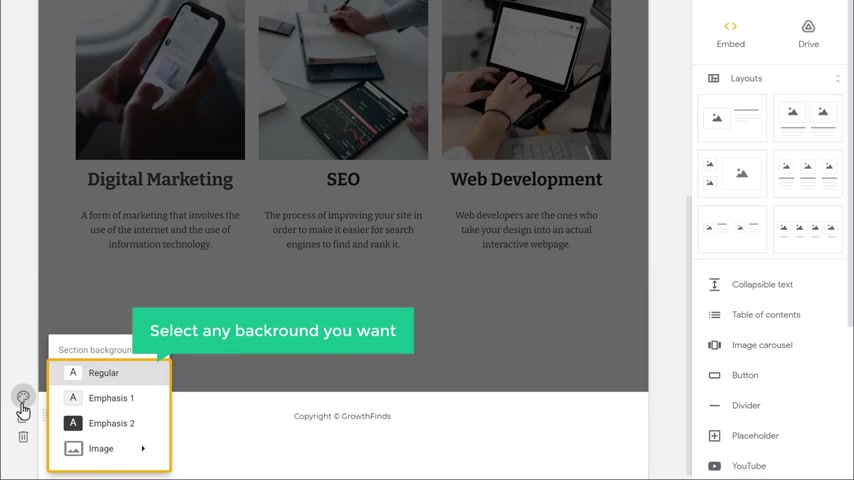
Now , if you want to add a bath on to this footer , just click here .
Now select any background you want .
If you want to add an image as a background , click here and add the image or if you want to add a background color , you can select from these .
I'm going to select this as you can see .
The background color has been added to our footer .
OK ?
So now we have successfully added the content to our website .
Next , let's go to the final step , which is to publish your site on the internet .
So to publish the site , just click publish .
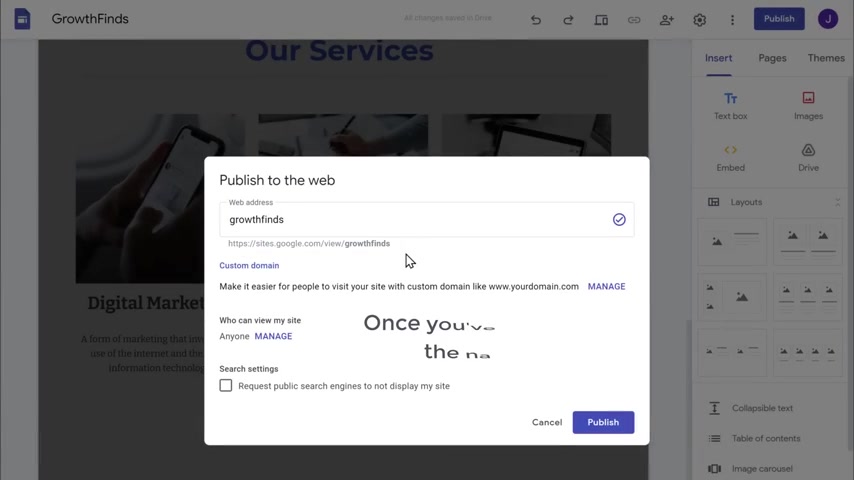
And here you can enter a name which you want as your website's address .
I'm going to enter growth finds .
As you can see , this will be your website's address .
This is the address which people will visit to reach your site .
Once you have entered the name , click publish and your site will be published on the internet .
So to check that let's click view , you can see that we have a new website and also you can see the content which we added .
Now anyone can view your site by going to this address .
OK .
Now you know how to create a site and publish it on the internet .
But what if you want to add a new page to your site ?
So next , let's see how you can add a new page to your website .
So to add a new page , let's go back to the tab , click pages .
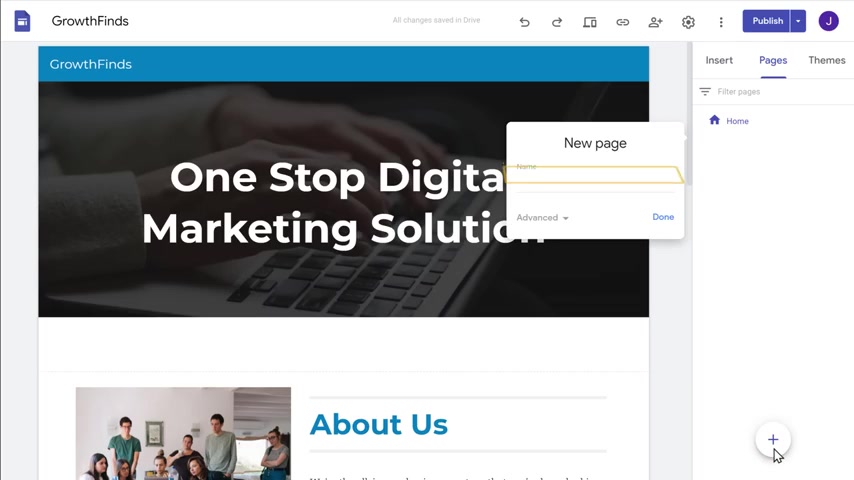
Now go here and click new page here .
Enter the name of your page .
I'm going to create a contact page , so I'm going to name it as contact us and click done .
As you can see , the new page has been added .
OK ?
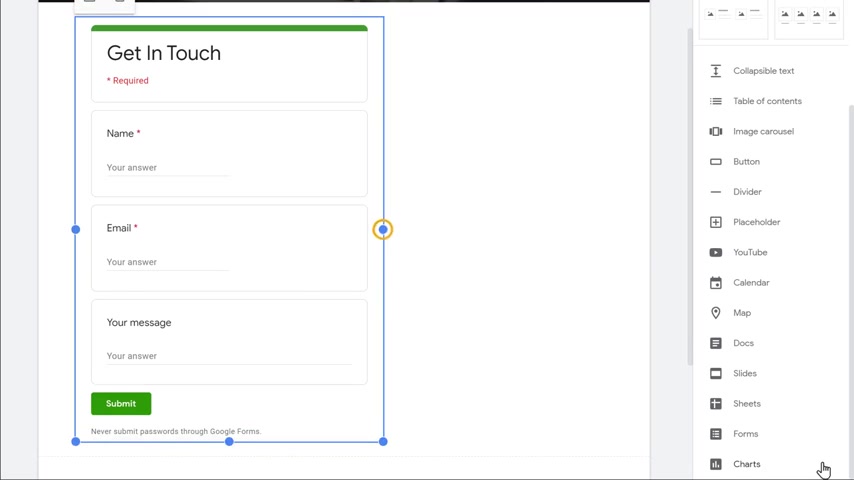
Now , to add content to this page , click insert .
Now if you scroll down , you can see that we have got different elements which you can add to your page .
Now , let's say you want to add a contact form .
So to add a form here , first , you need to create a contact form using Google forms and insert it here .
So to create the contact form , let's open a new tab type Google forms and press enter .
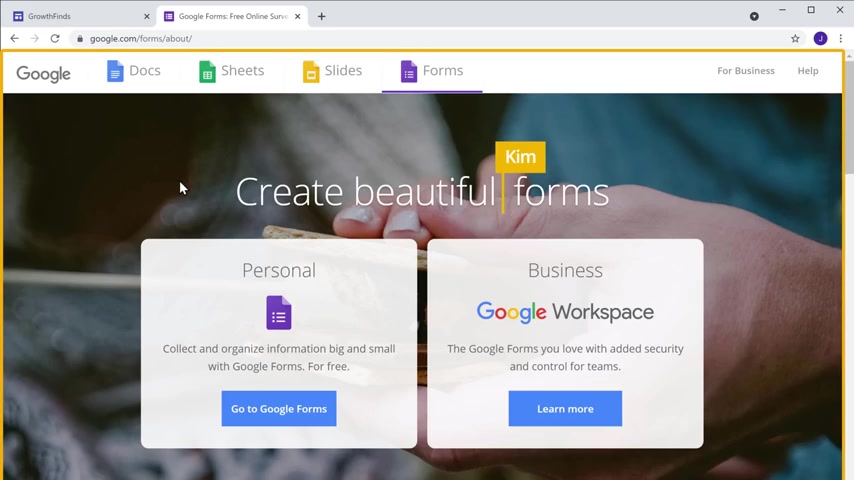
Now click the first link and it will take you to the site .
This is the site where we can create a contact form .
So to create the contact form , just click , go to Google forms .
And here you can see the sample forms which you can add to your site as we want to add a contact form to our site .
Just click contact information .
You can see that we have got a contact form .
Now you can edit this form based on your need .
So let's say you want to change this text .
All you have to do is just select the text and enter your own text .
So I'm going to enter , get in touch .
Now , if you want to delete any field , just click on the field , then click here and it will be deleted .
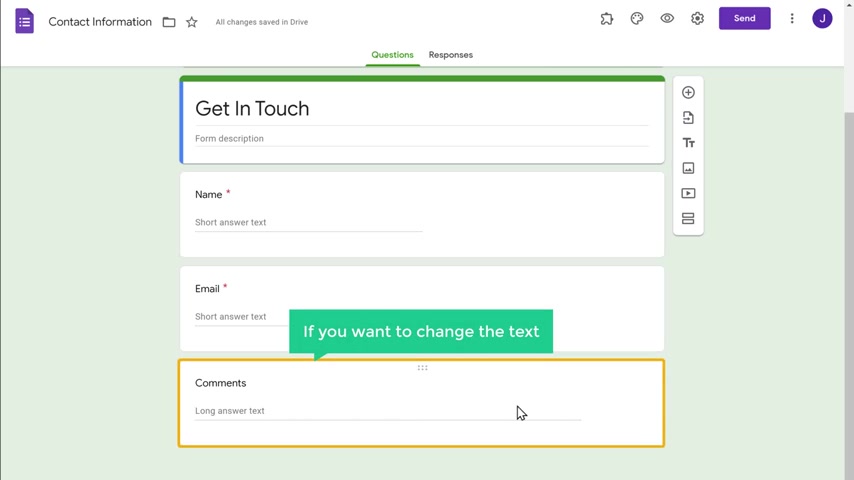
Now , if you want to change the text on this field like we did before just select the text and enter your own text .
So I'm going to enter your message .
OK .
So now we have successfully created the contact form using Google forms .
Once we have created the form .
Next , let's see how you can add this contact form to your website .
So to add the contact form , let's go to our site .
Now , scroll down here .
You can see that we have all the Google apps options here .
Now to add the Google form , click forms here , you can see the contact form which we just created .
Now click on this form and click insert .
As you can see the form has been added to your contact page .
Now , if you want to increase the size of this form , just drag the form like this and the size will be increased .
OK ?
So now we have added a contact form to our page .
Now , to update the changes , let's click publish and a contact form will be added to our site .
So if we click view , you can see that the contact page has been added and also you can see the form which we just created .
OK ?
Now let's see how the form works .
So let's say if we still fills up these details and click submit , you can see that the form has been submitted .
Once your visa has submitted the form , how can you see their details ?
Next , let's see how you can get the details submitted by your visitors .

So to get it , let's go back to our Google forms and click responses .
Now , here you can see all the details from your visitors .
Ok ?
So now you know how to see the visor's details from Google forms .
So every time when your visor submits the form , you need to go to Google forms and check their details .
Instead of checking the details from Google forms .
What if you want to get an email notification for a new form submission ?
So next , let's see how you can get an email notification for a new form submission .
So to get the email notifications , let's click here and click add ons not here .
Search for email notifications and you will get this add on .
Now , this is the add on which will help us get the notifications when someone submits the form .
So to get the notifications , we need to install this add on .
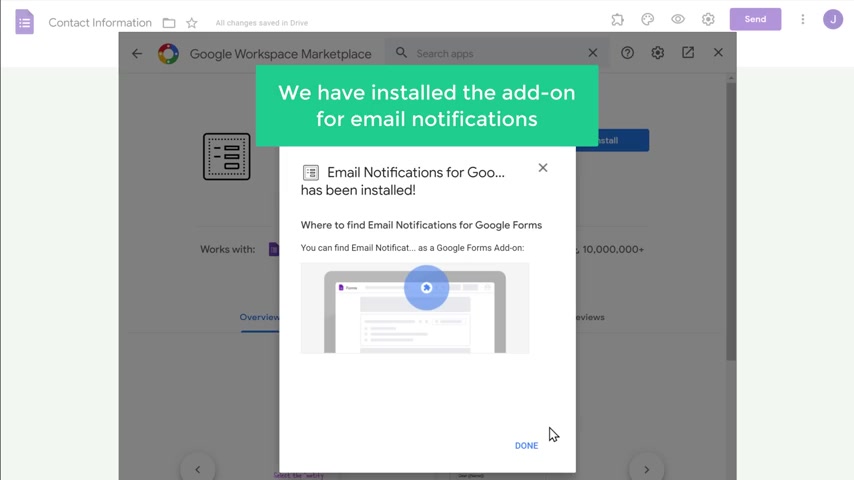
So let's click here , then click , install and click continue .
Now choose your Google account , scroll down and click allow .
Now we have installed the add-on for email notifications .
So let's click done and then close this .
Now here you can see that we have got a new icon .
So to get the email notifications , just click here and click email notifications , then click , create email notification and you will get a box like this not to get the notifications here , you need to create a rule .
So to create it first , let's enter the name for the rule .
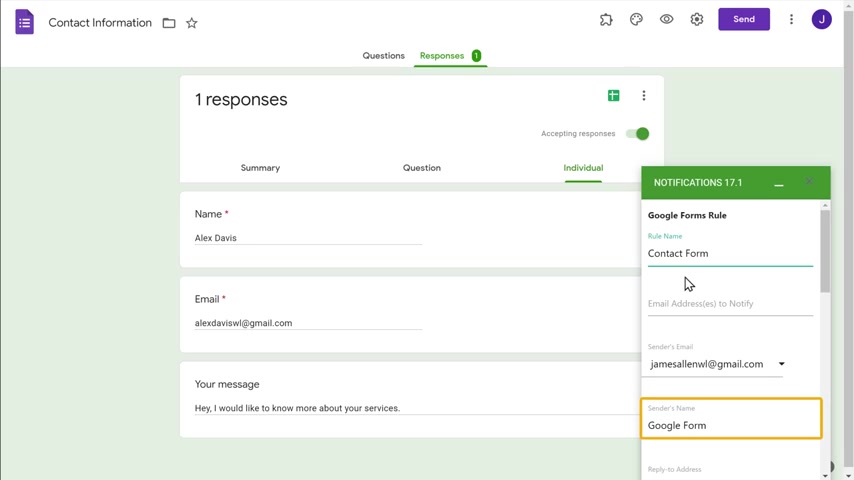
So I'm going to enter contact form and then enter any name here .
Once you get the email notifications from your visitors , if you want to reply to your visitors , just scroll down and enable this option , then click here and select email .
So now you can reply to your visitors .
Once you have created the rule , just click save rule , ok ?
And now you will be able to get email notification for every new form submission .
So to check how it works , let's go to our side .
So let's say if Mr wants to contact you and fills up this form , then click submit .
You can see that the form has been submitted .

Now , if we go to iron works , you can see that we have got an email .
Now , if you open it , you can see the details of the visitors which they have filled in the form .
So this is how you can get the email notification for every new form submission .
Ok ?
Now if you want to reply to this email , all you have to do is just click reply .
Then here , enter the message you want and click send .
So this message will be sent to that booster's email address .
Now , if you go to our vistas in works , you can see that your vista has got an email .
Now , if you open it , you can see the message which we have sent in the email .
So this is how you can reply to your vista .
Ok .
Now let's go to our site .
If you see here , we have a default domain name which Google sites has given us .
And this domain name does not look professional instead of this domain name .
What if you want to have a dot com domain name on your site like this ?
So next , let's go to part two of this tutorial where we see how you can get a dot com domain in for your website .
So to get the domain name , just click the link below this video and it will take you to this page .
This is the place where we are going to get our domain name .
Not here .
Enter the name for your website .
I'm going to enter grow at finds dot com and then click search .
So you can see that this name is available .
So to get this domain name , let's click add to cart and then click continue here .
It will ask you to choose a hosting plan as we are going to get only the domain name .
Let's click skip , not get a domain name .
Let's fill up these details .
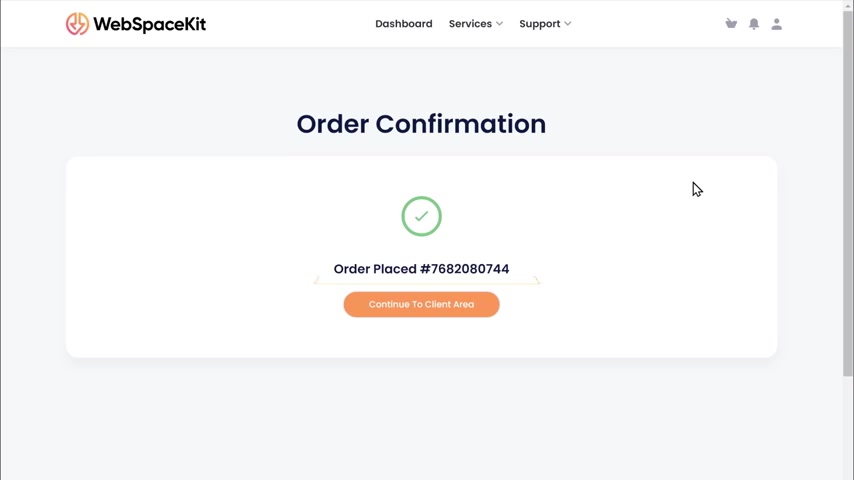
Now choose the payment method you want here enter your card details and click on a now .
And as you can see , we have successfully placed your order .
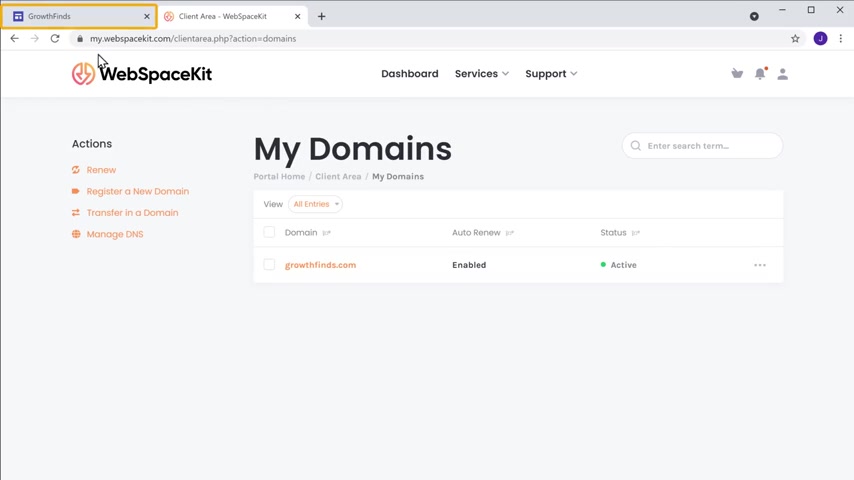
Now , if we click queue up , you can see that we have successfully got our domain .
Now , if we click on the domain , you can see the domain repurchased .
OK .
Once you have got your dot com domain name , next , let's see how you can connect this domain name with your site .
So to connect the domain name , let's go to our site , click settings , then go to custom domains and click start set up .
Now , click the first option and click next .
Now to connect the domain name here , you need to enter the domain name which you have purchased .
So I'm going to enter my domain name and you can see that it says domain is not verified .
Now , in order to kind this domain with your website , you need to verify your domain .
So to verify it , just click here and it will take you to this page .
Now here we need to select our domain provider .
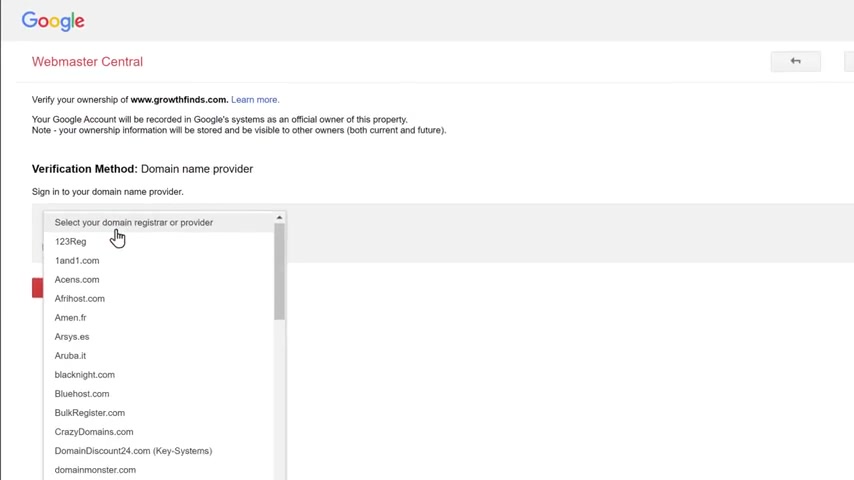
So just click here and select other and you will get this record .
So regard this domain name with our side .
You need to add this record to your domain since I have purchased my domain in Webspace , Kate .
I'm going to add the TXT record there .
So let's go to Webspace kit , click manage DNS , then click here and here you will find the DNS records of your domain now to add the TXD record , just click add record and you will get this box now type add in this field , then click here and select TXT and here we need to add the TXT record which we have got from Google .
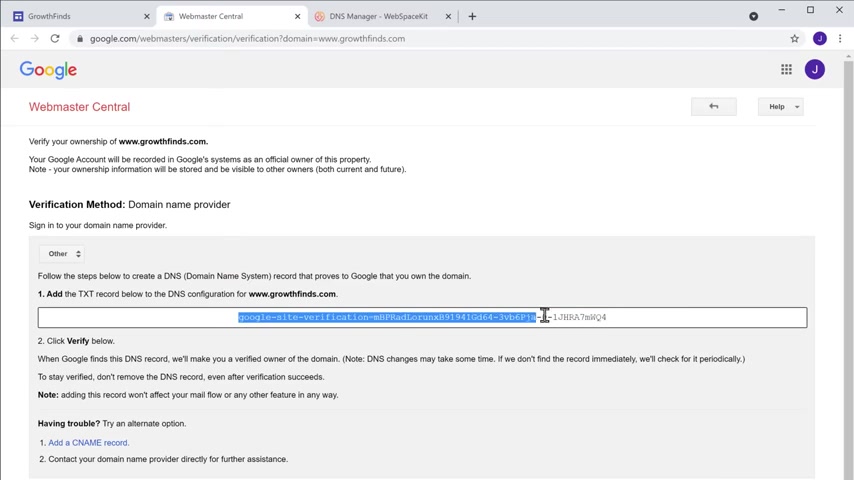
So let's go to this tab , no copy this record .
Then come back to web spaces , it paste the record here and click add record .
As you can see the record has been added .
Once you've added the record , let's go back to this tab and click verify .
As you can see the TXT record has been verified .
So to complete connecting the domain with our site , let's go to our site .
Enter the domain name here , then click next and it will ask you to add another record to your domain .
So to add the record , just go to Web Space , Kate .

Now , here you need to delete the CNA record which has www in the name field .
So to delete it , just click here , then click confirm and it will be deleted now to add the record , click add record .
And here we need to enter the name of that record .
So to get the name , just go back to the tab copy this , then paste it here .
No good you and select C name .
And then here we need to enter the CNA record .
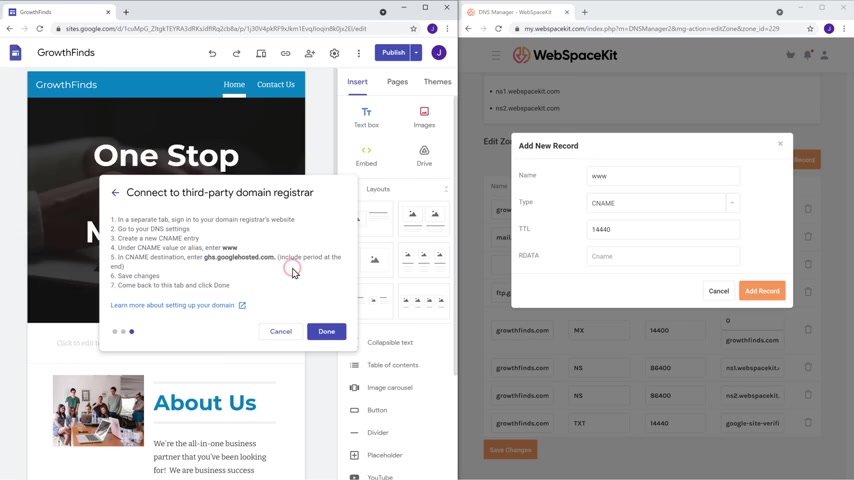
So let's copy this record and then paste it here .
Once you're done , click our record and it will be added .
Now , if you go back to our site and click done , you can see that our domain name has been connected with our website .
So to check that , let's open a new tab and enter our website's address .
Now , if you press enter , you can see that it takes us to the website which we created .
So now we have successfully created the domain name with our site .
Now , if you see here , our visitors need to type this full website address to visit our site .
Now , instead of this , what if you want to just enter growth finds dot com to visit your site ?
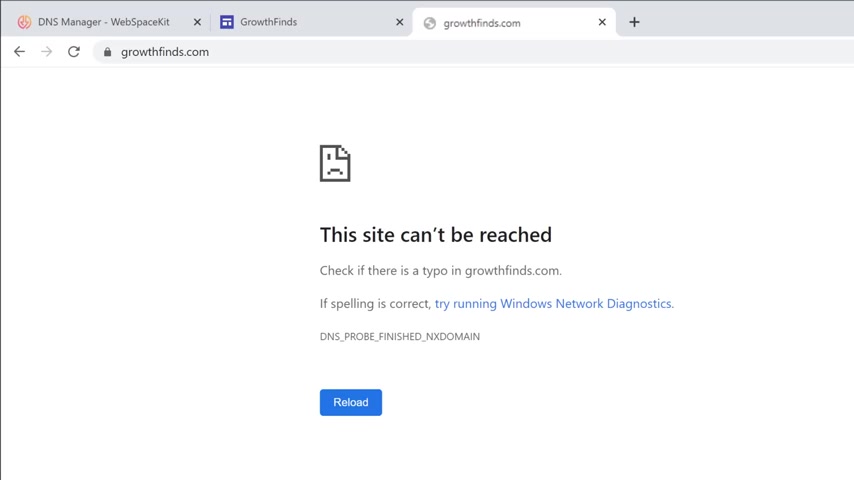
Now , if you open a new tab and type growth finds dot com and press enter , you can see that our website is not available .
Next , let's see how you can make your website visible here .
Not to show your website when you wish to enters this address , you need to follow the URL from his address to your website's address .
So once you follow the URL , when the vista types growth finds dot com , they will be able to view your website .
Ok ?
Not to follow the URL , we are going to do four steps .
The first step is to create an account on cloud flab .
So to create an account , let's open a new tab and type cloud fly dot com and it will take you to the site .

Now click sign up , then enter your email address and password and click create account .
So now we have successfully created an account on cloud fare .
Once you've created your account , we can now go to step two , which is to add your site to cloud flap .
So to add your site , just click add site and you will get this page .
Now here , enter the new site name which you want to forward .
I'm going to enter my site team and click add site .
Now it will ask you to select a plan here .
You can select any plan based on your need .
Since cloud flat provides a free plan , I'm going to select that and click , continue .
Now , scroll down and again , click , continue .
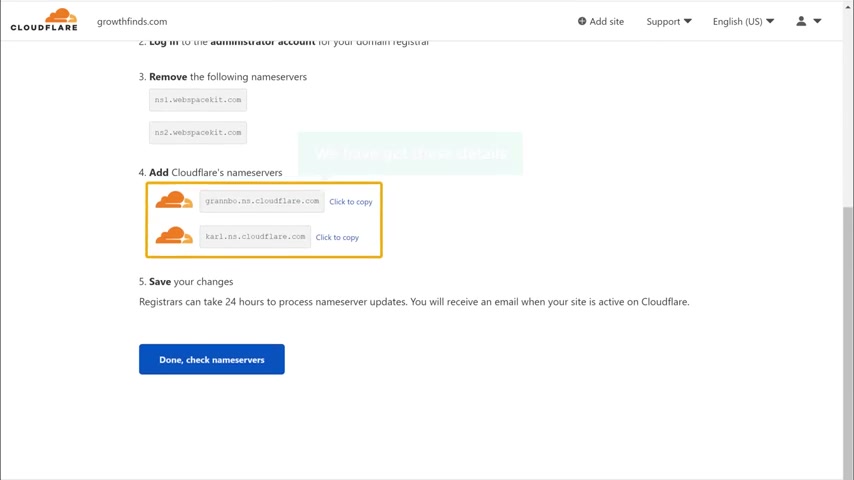
Now if you scroll down , you can see that we have got these details .
Once you have got these details , we can now go to step three , which is to add these name servers to your DNS page .
So to add that , let's go to webspace kit and click on domains , no cure and click manage name servers and then you will get this page .
Now you need to copy these details and paste them on your DNS page .
So first let's remove these old name servers and then add these details one by one .
So let's copy this one and past it here .
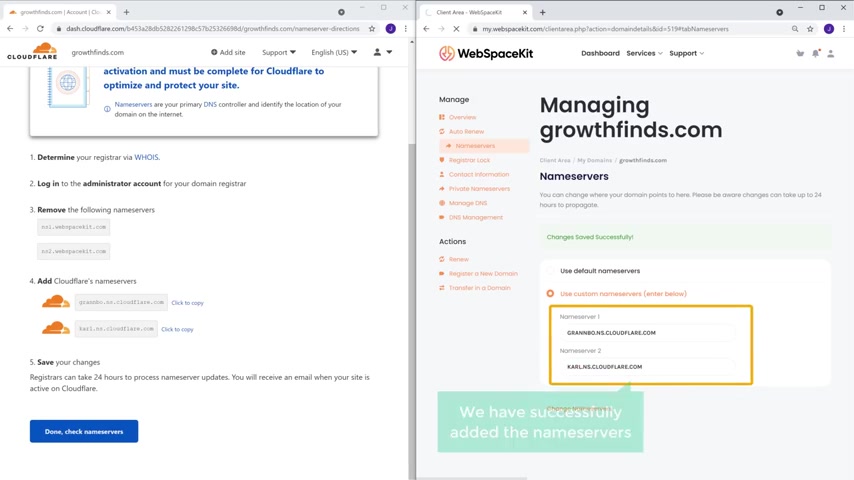
Next , let's copy this one and base it here .
Now click change name servers .
As you can see , we have successfully added the name servers .
Once you have added them , click done and you will get this page not to allow cloud flat , to improve security and protect your site .
You need to change these settings , so change it .
Let's click , get started and click save .
Now here enable the http S option .
This will help you increase the security of your site .
Now click here , then click save and again , click save and then click finish .
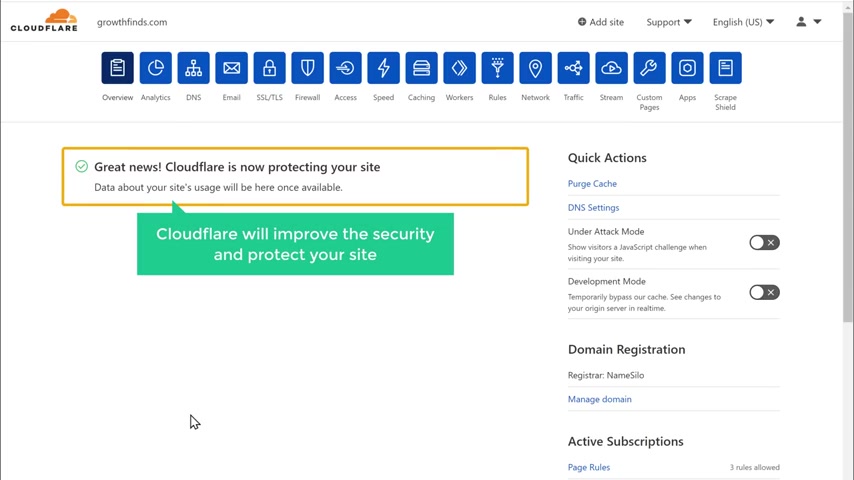
So now cloud flare will improve the security and protect your site .
OK ?
Once it's done , we can now go to the final step which is to create a URL forward .
So to create the URL forward , let's click rules , then click , create page rule and you will get this page .
Now here , enter the domain name of your website which you want to forward , then click here and select forwarding URL .
No , click here and select this option and then here you need to enter your website's URL .
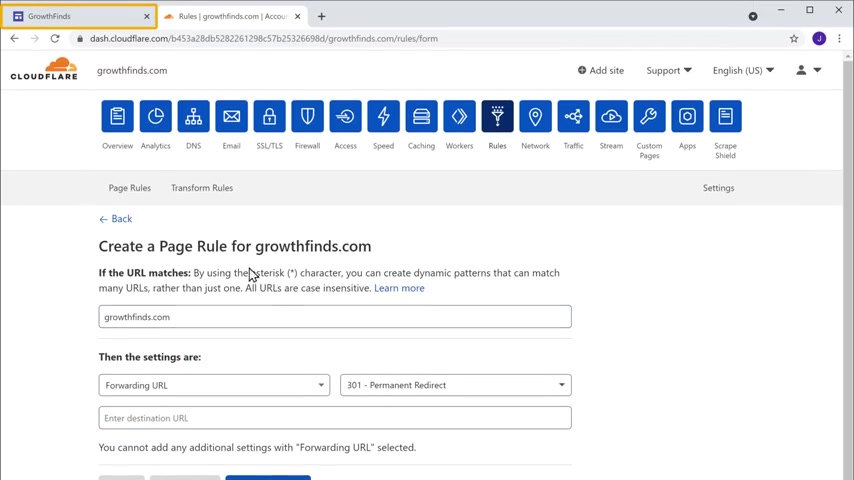
So to get that , let's go to our site , copy this , you add it and was it here then click save and deploy .
So now we have successfully created the URL forward .
Now , when you enter your domain name , it will be forwarded to your website .
So to check that , let's open a new tab and type growth finds dot com and press enter , you can see that it takes us to the website which we created .
Now , anyone can visit this site just by going to this address .
OK .
So that's it guys .
Now , you know how you can create a website using Google sites .
As we saw earlier , you can use Google search for creating simple static websites which provide information and do not need features like e commerce blogs and member login area .
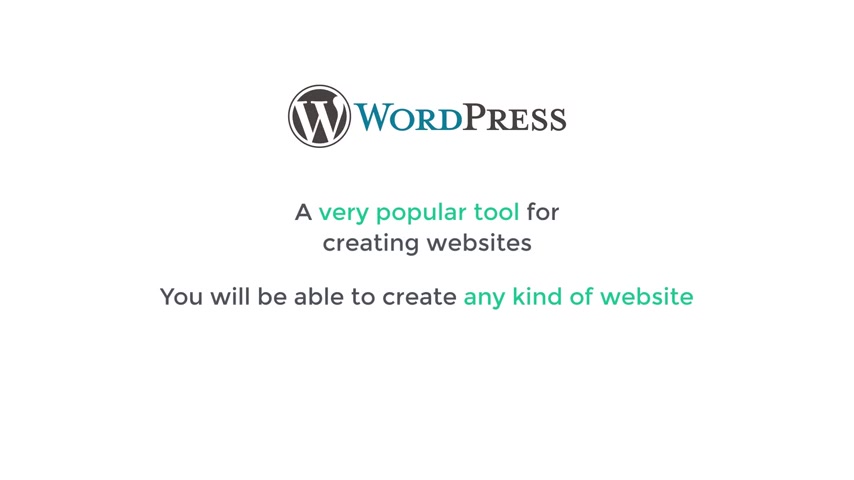
But if you're looking for these advanced features and also professionally designed website templates , you can build your site with wordpress .
VPA is a very popular tool for creating websites and you will be able to create any kind of website just by using drag and drop customization is also much easier .
In wordpress , you can pick from a list of thousands of themes and also add any additional features you want by installing plugins which are freely available for wordpress .
So if you want to learn how to make a website with wordpress , just watch this video and also check out a complete course on Wordpress by clicking here .
Make sure you click the subscribe button to see more videos from us .
So thanks for watching .
I'll see you in the next video .
Take care .
Bye bye .
Are you looking for a way to reach a wider audience and get more views on your videos?
Our innovative video to text transcribing service can help you do just that.
We provide accurate transcriptions of your videos along with visual content that will help you attract new viewers and keep them engaged. Plus, our data analytics and ad campaign tools can help you monetize your content and maximize your revenue.
Let's partner up and take your video content to the next level!
Contact us today to learn more.