https://www.youtube.com/watch?v=gWWqBMRHEjM
How to Prepare & Cover a Cake with Icing _ Fondant
Hi , guys .
And welcome back to my kitchen .
Now , this is the last video of 2017 and I really wanted to share with you how I cover my cakes .
So whether you call it icing fondant or sugar paste , I'm gonna show you how to get those smooth sides and that sharp edge .
OK , let's get started .
Ok , so the first thing that I'm gonna do before I actually cover the cakes in icing is prepare the cakes .
So I've got 26 inch vanilla cakes here , and I'm just gonna level these off .
So I've got my serrated knife and just cut the top and then do the exact same to the other one .
OK , so there I have my two halves .
Now , I'm actually gonna cut these into two more slices so that we have four different layers .
OK , so the equipment I've got to actually cover my cake .
I've got a non slip mat here and I've just placed my turntable on top of that .
I've then got a drum board here just to prepare the cake .
I've then got some offset spatulas and this scraping tool for just working on the side and I've also got a piece of parchment paper and a really small spirit lip .
And lastly , I've made a batch of white chocolate ganache .
Now you can feel uncover your cake with gnash or you can fill it with butter cream .
It's exactly the same method .
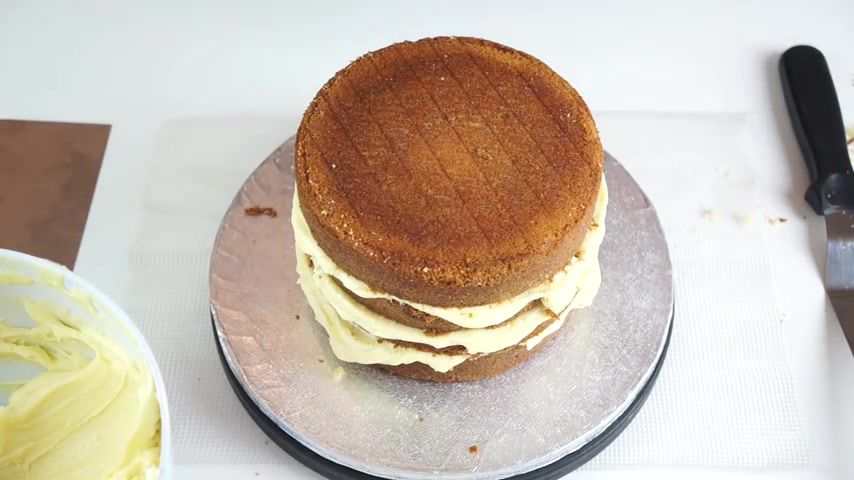
So first of all , I'm just gonna bring in one of my cakes and just take that second layer off and then just gonna fill the inside with a thin layer of the white chocolate ganache , Then place that second layer on top and they're gonna fill it with some more ash .
Now , if you were working with butter cream , you may want to create a dam around the edge of the cake so that none of the butter cream spills out because I'm using a Nash and it will set a little bit harder .
Then it's absolutely fine .
So I'm just gonna play top of the cake on on there , and this is the point that I wanna check that the cake is level .
Now , this is really important if you're gonna be stuck in your cakes .
So I'm just gonna take the piece of parchment paper and place that on the top and then take my small spirit level and just place that on at different angles , just pushing down the cake so it's completely level off .
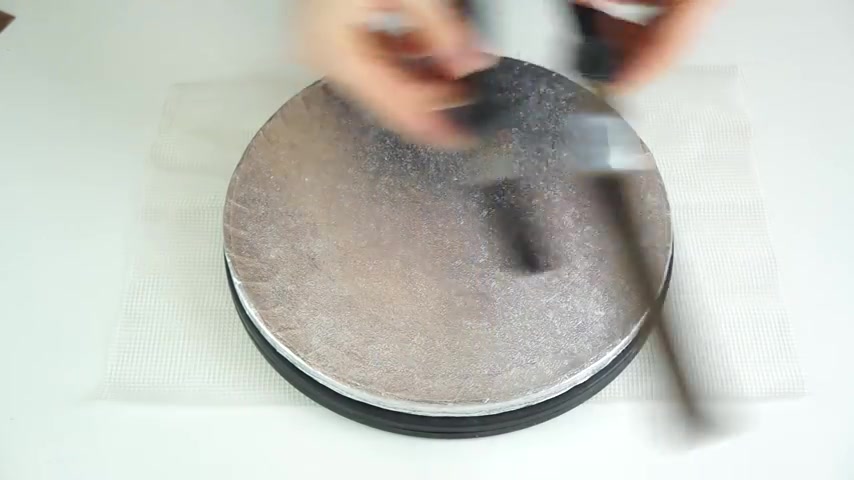
So now I'm gonna add a chrome coat to the cake .
So I'm just gonna work my way around just flattening out that chocolate garmash that is already on there and add in some more .
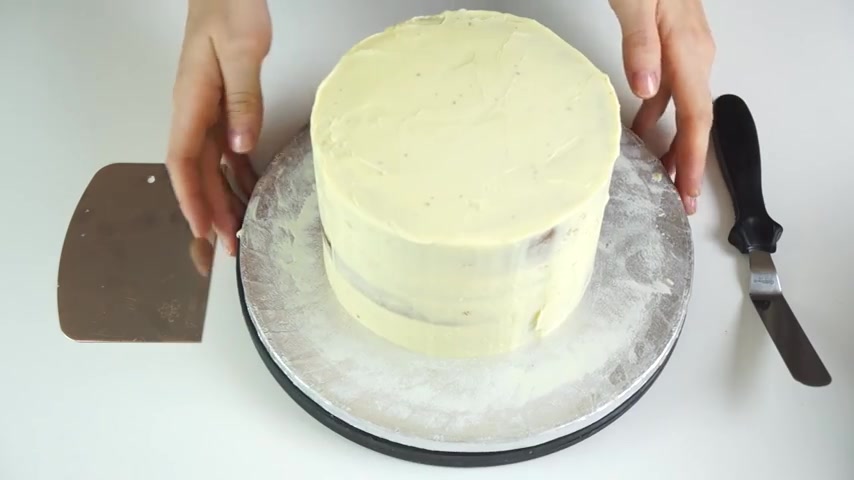
Now I'm gonna use my metal scraper to scrape the gnash around the side of the cake .
Now , what you wanna do is using the bottom edge of the scraper is just put that against the drum board that we're using and this is gonna create a 90 degree angle to the cake , which is gonna give you those straight sides .
So I'm just gonna work that gnash around the entire edge of the cakes .
OK , so now I've got the con coat in on the outside .
I'm just gonna work on the top .
So any excess the ash that is just tipping over , I'm just gonna pull in with my spatula .
So all your crumb coat is is just a first layer , which is just gonna lock in any loose crumbs that are present on the cake .
So now I've got that first crumb coat In added , I'm gonna pop this in the fridge just to set slightly before we add our second layer .
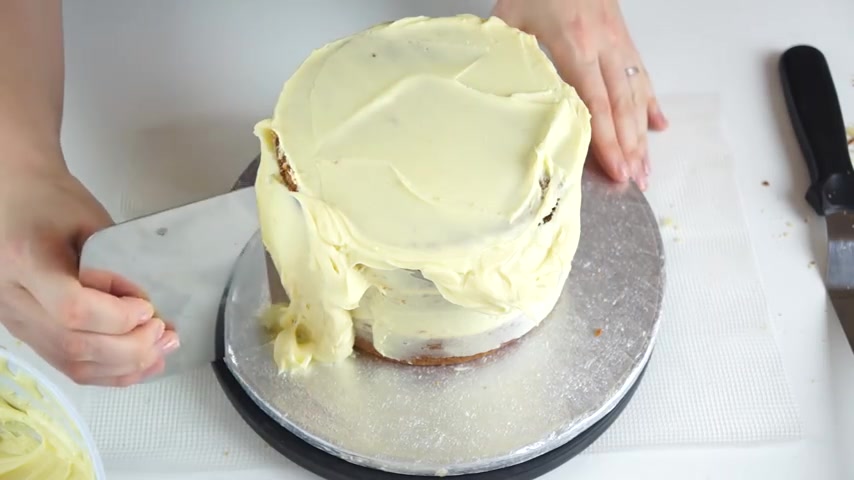
OK , so the cake has been in the fridge for around 10 minutes , and the gnash has gone quite solid , So we're gonna put the second layer of gnash around the cake so this layer is really important .
And this is the layer that your ice in or fondant is gonna sit on .
So we wanna make this as smooth as possible so that we've got a good base .
So I'm just gonna work this gnash around the cake , making sure that I keep the scraper on the board to create those right angles against the cake .
OK , so when working around the side of the cake , if you do have any areas that haven't got any gnash in there , you just wanna make sure that it's completely smooth and you're not missing any areas so very much the same as before .

We just want to create those really sharp edges .
So I'm gonna put some more gnash over there , and we're gonna level this off now .
Different people use different methods .
This is just the method that I use and always have used .
So I'm just to add in some more of the gnash onto that And it doesn't matter if it slightly spills over the edge from whatever .
I'll scrape it all around and just pick up any excess Now , just like when we first stack this cake , we want the top as level as possible .
So I'm gonna take my piece of parchment paper again and just lay that on the top of the cake .
I'm then gonna use my small spirit level and just check where we've been put in the gnash .
It's completely level all the way round .
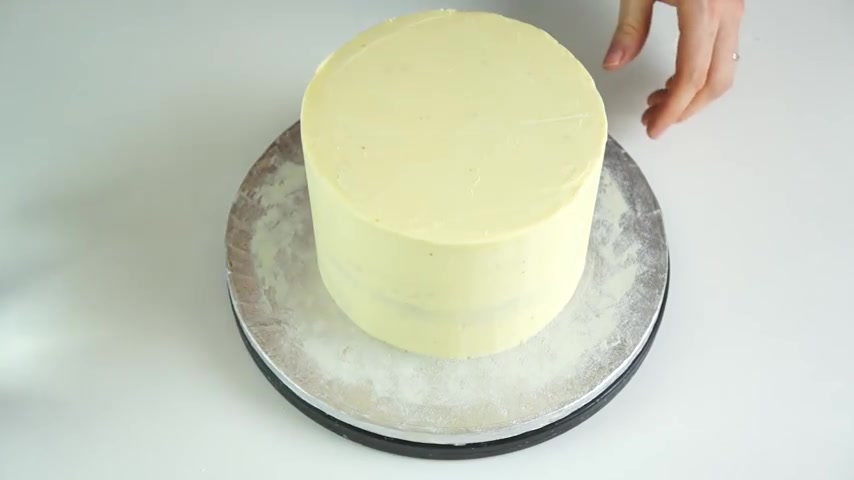
OK , so once you've covered your cake completely in your or your butter cream and you're completely happy with how smooth and how level it is , I'm just gonna pop that back in the fridge for 10 more minutes just before we cover it in the icing .
OK , so now that our cake has been covered in the gnash , we are now ready to cover the cake in icing .
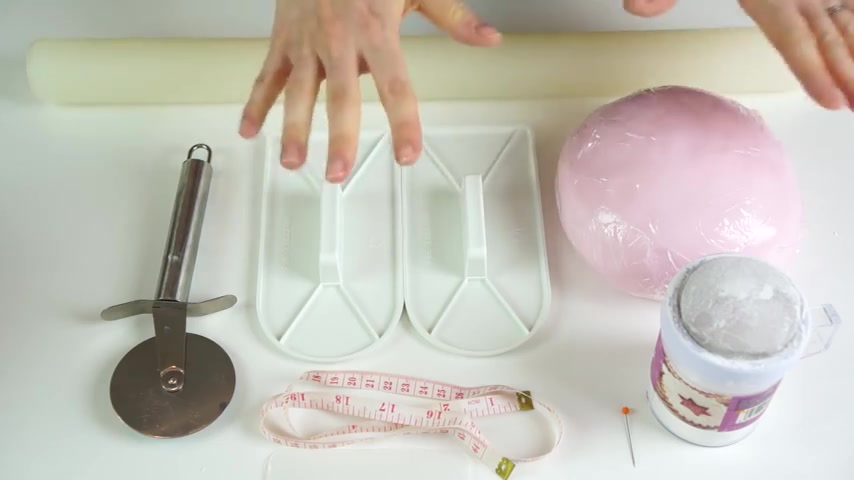
So what I have here is just 1 kg of icing , which I've just coloured in a really light Wilton pink .
I've then got some corn flour for dusting my long rolling pin .
A pizza cutter just to trim off the excess .
My two plastic paddle .
Smoother .
A small tape measure .
You may need a tiny pin and I've also got my two flexy smoother .
Now , you could just cut two rectangles out of aceta .
But these are the Squire's kitchen .
Bolio flexi smoother in size medium .
OK , so I also have my cake , which I have taken out of the fridge , and the has gone quite solid .
So all I'm gonna do is just to make it tacky for the icing to stick to is I've just got some boiling water here which I have put my spatula in , and I'm gonna shake off any excess water because we don't want to add any water to the cake .
But I'm just gonna run my hot spatula over the top of the gnash , and this is just gonna heat it up slightly and make it a tiny bit tacky .
So I'm also gonna make sure I go around the side and very importantly , this edge .
OK , so the first thing that I'm gonna do is actually take my small tape measure .
Now what I want to do with this is just work out how big I need my icing to be .
So this cake is around four inches in height , six inches across and then four inches down that side .
So I know that I need to roll the icing out about 14 inches in a circle so that it will completely go down each of the edges .
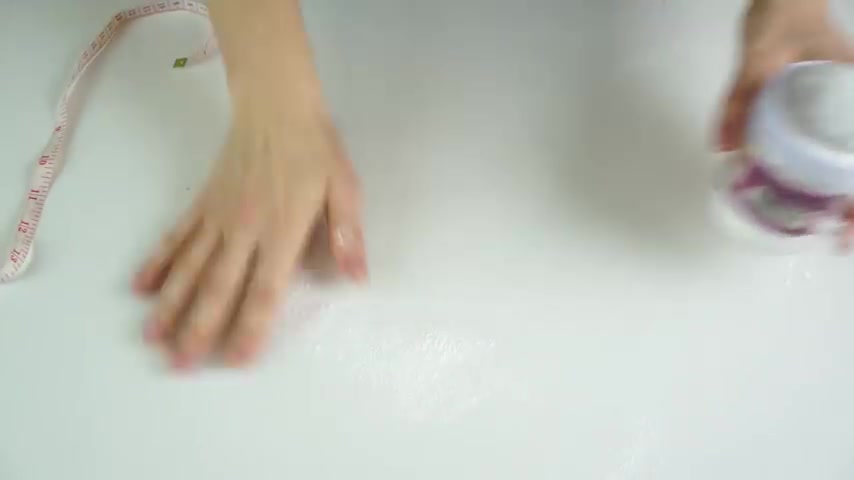
So I'm gonna dust my side just with some corn flour to stop that icing sticking .
Now you wanna make sure that your icing has been thoroughly needed so that it's very pliable .
OK , so now I've rolled out my icing and just checked that it's over 14 centimetres in diameter , so we know that it's gonna fit over the cake .
I then want to take one of my plastic paddles and just work that over the icing just to get out .
Any marks that have been created with the rolling pin gonna take my rolling pin and just fold that over and just pop that out of the way while I bring my cake back in .
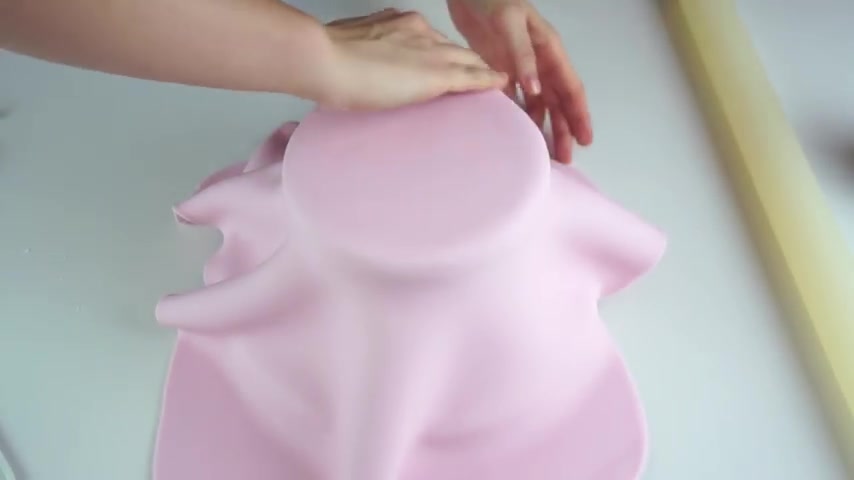
But all I'm gonna do is just drape that ice in over the top of the cake and make sure that the first thing that I do is just push on the top and push it around that top edge so that the weight of the icing doesn't pour the icing down and make it rip .
Now , the next thing I wanna do is make the icing stick to the side of the cake .
So I'm just gonna pour the icing away from the cake and with an upward motion just push that ice in onto the cake .
Now I'm gonna work my way all the way around .
Now , the reason that I'm using kind of an upward stroke in motion rather than just putting down on the icing is you don't want to put any more pressure on this top rib because that's where we want to use this icing to bring it together to create a really sharp edge at the top .
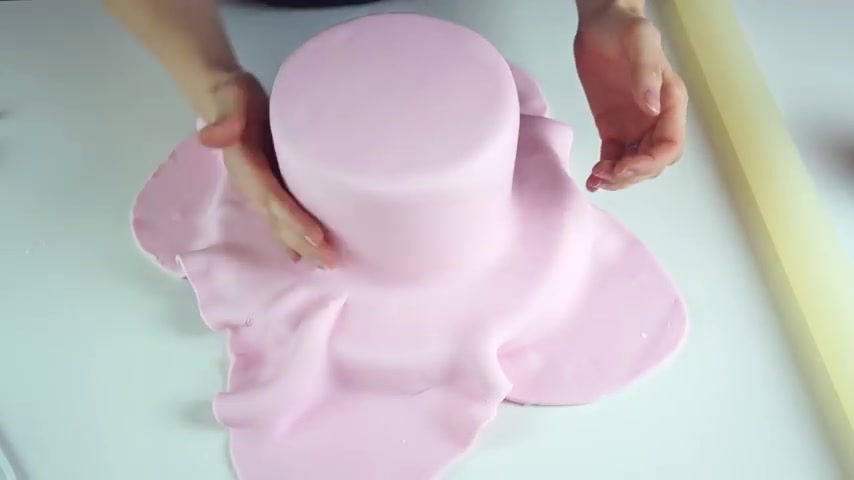
So the more icing that you pull down away from that edge , the more touch you've got of it ripping .
And once we've gone around the whole of the cake , we just wanna make sure that that bottom is smoothed right against the board .
And then what I'm gonna do is just take my pizza cutter and just run this around the bottom edge of the cake and then with the excess I'm just gonna take that away , OK ?
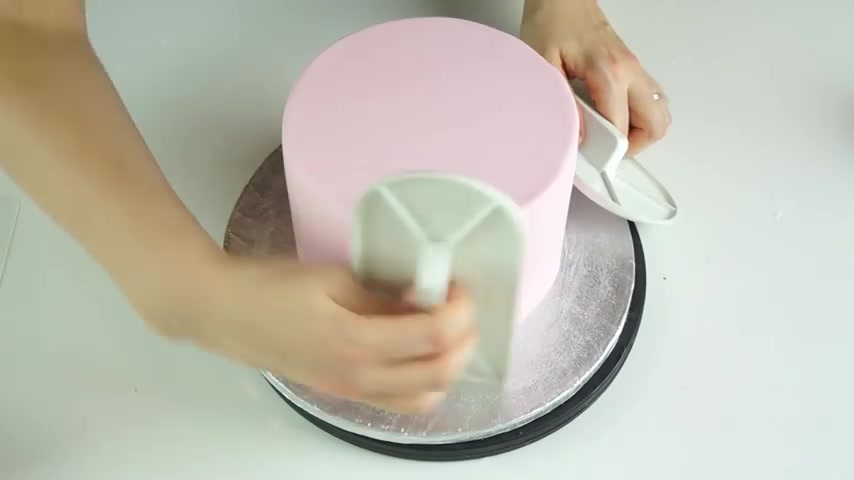
So we can now start to smooth this cake .
So the first thing that I'm gonna do is take my two plastic smoother and starting on one of the edges I'm just gonna work my way around the cake just going up , up and down .
Now all this up and down motion is doing is you're just smoothing the icing out and just pull it down .
So it goes all the way to the bottom of the cake and just bringing it up so that we've got enough to create a nice , smooth point with .
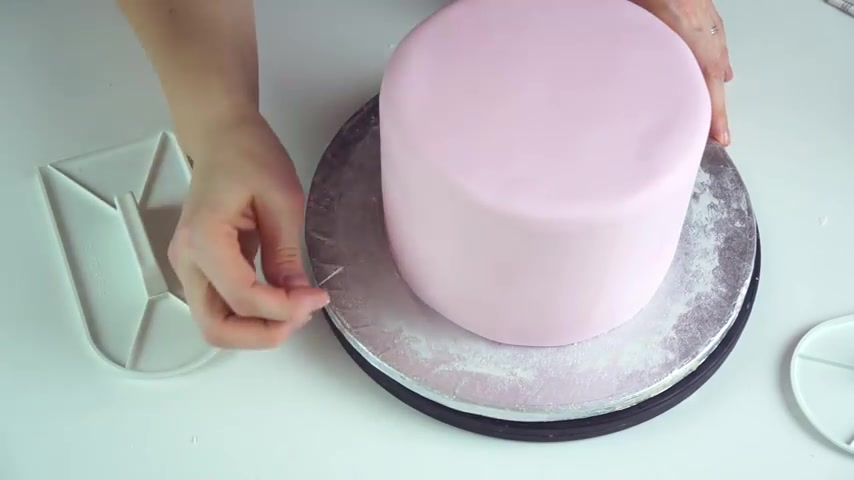
And once you've gone all the way around the cake and they're gonna start just smoothing the sides and while smoothing your cake if you come across any air bubbles in the cake , all you wanna do is just take your pin and just lightly pierce those and then smooth that over with your paddle smoother .
So once we've done the side , I'm now just gonna work on the top .
So I'm gonna place the smoother in the centre of the cake and just work my way out .
And all this is doing is just pushing some of the ice in to that edge so that we've got enough Crete .
That sharp edge .
OK , so I'm gonna use the smoother together now .
So I'm gonna put one up against the side of the cake and where I've got the straight side .
I'm just gonna put that up against that one and then just gonna work my way around the cake , just doing a very small piece at a time .
OK , so I've worked the two peddle smoother around the side of the cake , and I am almost happy with how that is looking .
So I'm gonna put these to one side and bring in the flexible , Smoother .
Now , the reason that I like to use the hard , smoother first and not go straight in with the Flex one is that the hard ones allow you to keep that right angle , whereas the flexible ones allow you to kind of push into the cake more .
So now I'm gonna go in with the flexible ones to really go in and create that sharp edge .
So I'm gonna use the rectangle one just on the side and the one that has the curved edge on the top and then just applying a small amount of pressure just really push into that corner .
OK , so once you finish with those flexy smoother , I'm just gonna go around once more with the paddle smoother , just to make sure that there's no kind of finger dents that have been created .
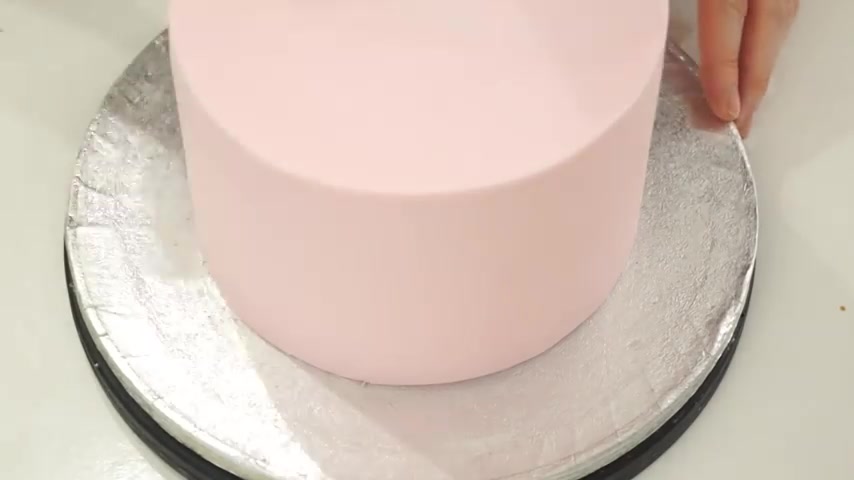
And there we have that really neat edge .
You can now transfer your cake onto the board that you're gonna decorate or onto your cake stand .
So there we have the final covered cake , which is ready to be decorated .
I really hope you enjoyed this video tutorial , and we'll find it for uncovering your own cakes .
If you have , then don't forget to give this video a like .
And if you'd like to see more videos like this , then please click Subscribe .
Also next to the subscribe button , you've got the notification button , so if you click this , you'll be notified every time a new video goes up .
Also , I just want to thank everybody who has watched my videos and subscribed to my channel this year , and I can't wait to share more videos with you in 2018 Bye
Are you looking for a way to reach a wider audience and get more views on your videos?
Our innovative video to text transcribing service can help you do just that.
We provide accurate transcriptions of your videos along with visual content that will help you attract new viewers and keep them engaged. Plus, our data analytics and ad campaign tools can help you monetize your content and maximize your revenue.
Let's partner up and take your video content to the next level!
Contact us today to learn more.