https://www.youtube.com/watch?v=YcWVI-q2Umg
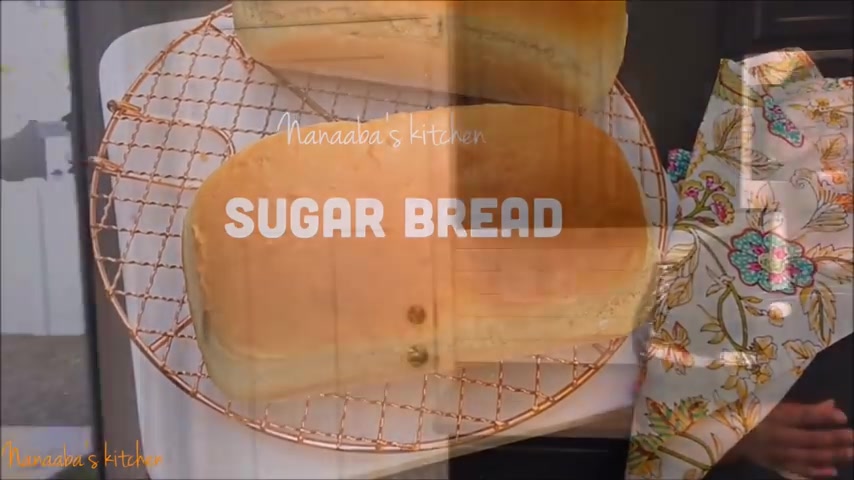
How to make the best Ghanaian SUGAR BREAD✔
Hello , friends and family .
Welcome to the kitchen .
And if you're visiting for the first time , the warmest welcome to you on the menu .
Today is one of my mom's recipes , Ghana , sugar bread made easy , made simple and yet very delicious .
We're gonna walk you through , step by step on how to replicate this beautiful recipe .
Let's get started .
Yes , my friends .
This is truly exciting .
Sugar bread is very popular in Ghana and it is enjoyed during tea time with breakfast , beverages even throughout the day .
And the best recipe yields a soft chewy sweet sugar bread .
And to achieve that outcome , you want to sift your flour before you even measure it .
Now , we need four cups of all purpose flour or plain flour for this recipe .
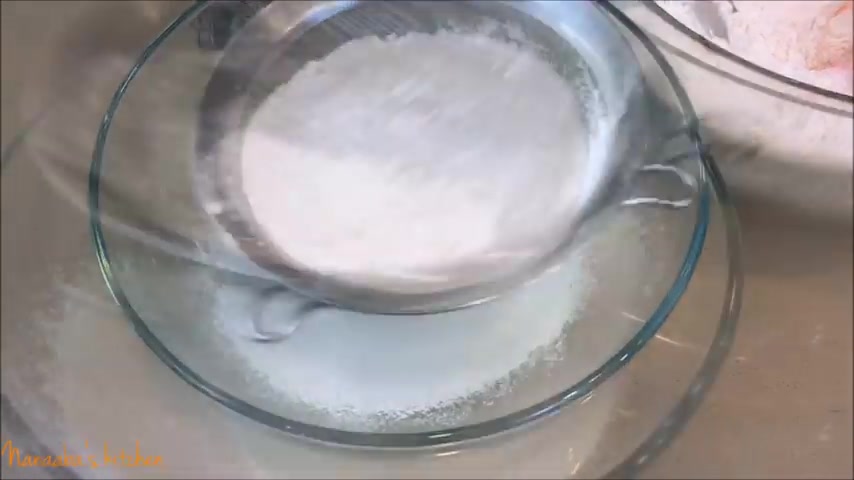
And because we are baking , we need to be accurate with the measuring of all of our ingredients .
And to do that , you need a table knife and you're going to use the flat side of the table knife to level your flour .
Once you get in into your measuring cup , as you see me doing here and you're going to sift it a second time to get that chewy soft sweet sugar bread .
Now , we need a teaspoon of salt , a quarter teaspoon of nutmeg whisk your dry ingredients together and set it aside .
Next to ensure that our yeast is good and alive .
We're gonna need one cup of warm water , a tablespoon of our dry active yeast and have measured half a cup of granulated sugar for the entire recipe .
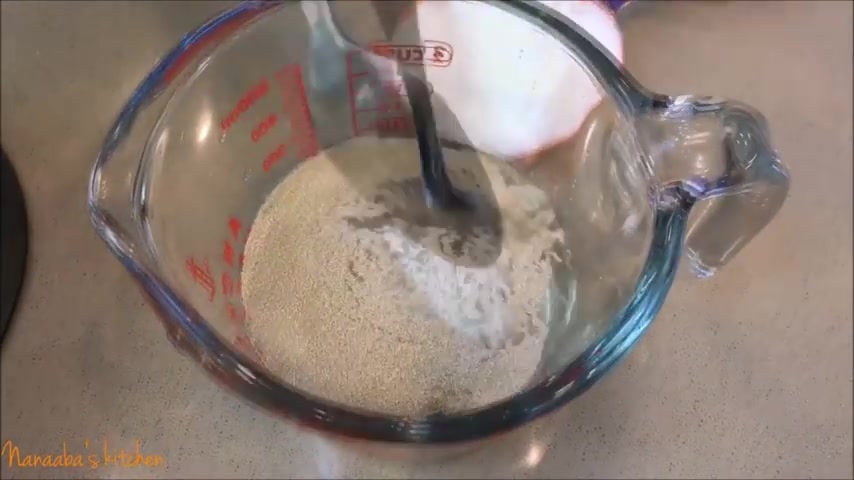
And out of that , I'm going to take a teaspoon of the sugar and add it to my yeast mixture and combine it well , cover it and let it sit aside and in 10 minutes it should be frothy .
And for me on the top indicating our yeast is good and alive .
Now , combine your sugar and your sifted mixture of flour , salt and nutmeg in the mixing bowl and add half a cup of warm milk , one egg at room temperature , a quarter teaspoon of vanilla extract and your yeast mixture .
And now we're going to also add a tablespoon of melted butter and you can mix your ingredients together in a mixing bowl using your mixture or you can use your hand or a wooden ladle .
So you're gonna mix it for , for a good five minutes until the mixture becomes um really soft , very sticky and stretchy .
As you can see here .
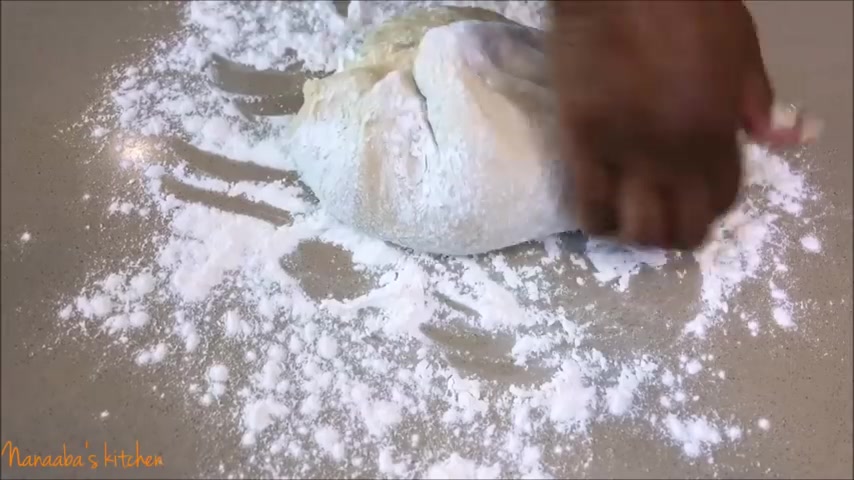
Next on your clean dry working surface , you're going to Sprinkle some flour onto it and pour your dough onto the floured surface and begin needing .
Now , friends needing the dough is a very important step .
This is how you're going to develop and activate the gluten in your dough and it is the well developed gluten that will ensure that we attain that chewy soft bread in the end .
So you're going to pull stretch , you're gonna keep kneading for a good 10 minutes and you're going to place the dough in your mixing pan .
Now , this mixing pan has been smeared with some oil .
So the dough wants to proves for 60 minutes does not stick to the bottom .
So you cover it with your clean film and your kitchen towel and let it prove in a warm place for 60 minutes or an hour .
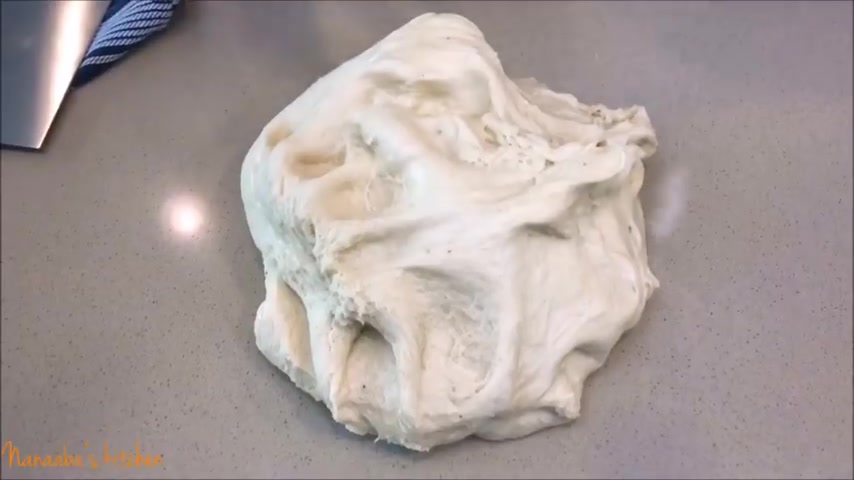
And here is what you'll end up with .
Tripled .
The size you go back in and deflate the dough , remove it onto your working surface and begin knitting , kneading again .
Now you can flour your surface because as you can see , it started kind of sticking to my surface , but I didn't wanna use the flour because my dough is soft enough per my preference .
And I didn't want to harden it by adding any more flour to it .
Now , as you need continuously trying to get rid off the air pockets , you notice it , stop sticking to the surface .
So the next thing you wanna do is cut your dough and form your loafs .
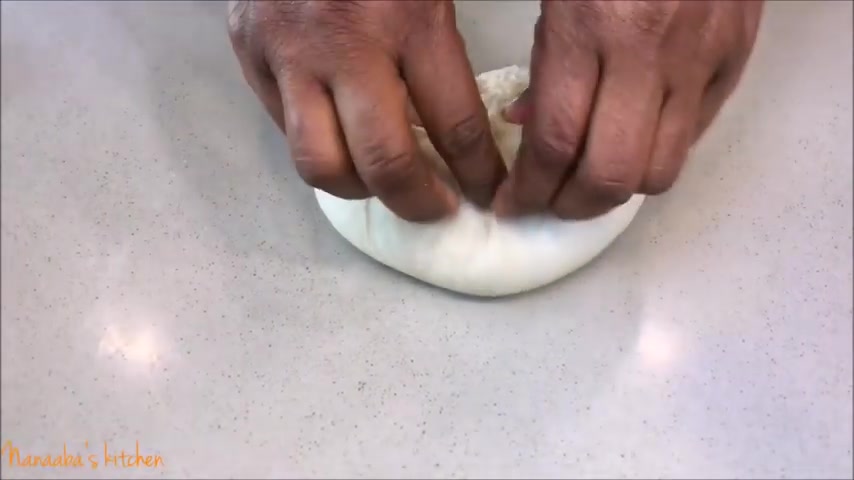
And to do that , you're going to flatten your dough on your working surface , collect all the sides into the midsection of the dough , use your thumb on your one hand to push into the middle , then use the heel of your other pump to press down forming a seam and then roll the dough to gain a length about the same as your baking pan and lay it seam side down and it's ready to proof a second time .
Repeat the same process for your second dough and to proof it , you're going to cover it again with that cling film that we use in the beginning and your kitchen towel .
And this time round we're going to let it crew for 45 minutes in a warm place and it'll be ready to bake .
Now let's preheat our oven .
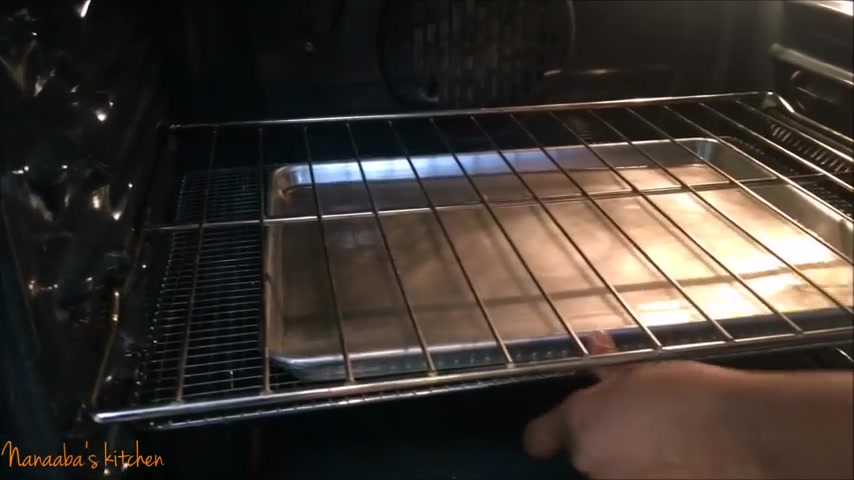
We need a pan with water in it to help our bread to stay moist once it's done baking .
And 45 minutes later , we are ready to bake these beauties .
Now , our oven has been preheated at 350 F .
It's very important that you preheat your oven before you place your loafs and you wanna put it on the middle rack .
Ok .
And bake it for 35 minutes and voila perfect and it smells like my mother's bakery up in here .
It's just beautiful .
Now you can brush the melted butter onto the surface of your loaves just to make it look nicer .
Not that it doesn't look nice already .
Alright , we are ready .
Let it rest a little bit before you take it out and it should come off fairly easily as you can see here .
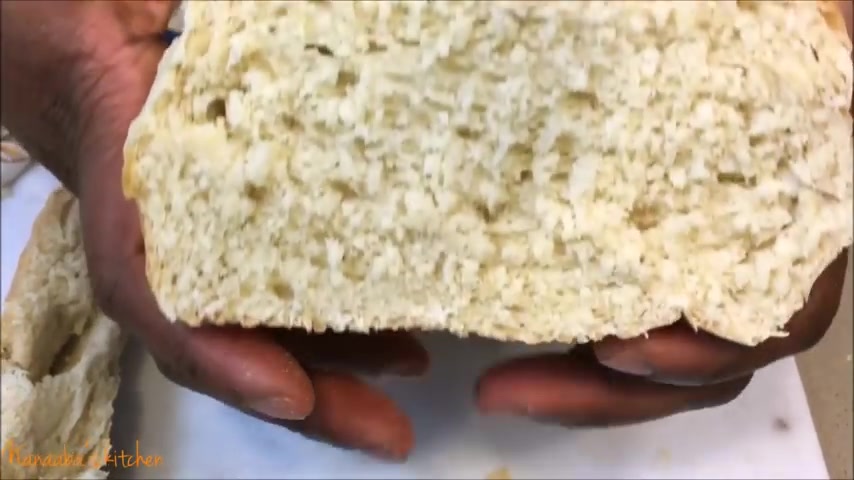
It is perfect .
Look at that .
Oh , my goodness gracious .
And let it rest for about six hours before you cut into it .
Or you can enjoy it while it's hot .
Six hours later .
Look at how soft and chewy it still is .
And it was the same the next day .
Just perfect .
Put some butter smear some butter in there and just enjoy it .
Look at how soft it still is .
Oh , yes .
Beautiful .
Try this recipe .
You're gonna love it .
I thank you for watching and as always make it a great day and have fun .
Especially in that kitchen .
Are you looking for a way to reach a wider audience and get more views on your videos?
Our innovative video to text transcribing service can help you do just that.
We provide accurate transcriptions of your videos along with visual content that will help you attract new viewers and keep them engaged. Plus, our data analytics and ad campaign tools can help you monetize your content and maximize your revenue.
Let's partner up and take your video content to the next level!
Contact us today to learn more.