https://www.youtube.com/watch?v=I3NBfVN0Qp0
How to get a PERFECT SKETCH every time - 3 Easy Ways
today , I'm going to show you how to get a perfect sketch every single time .
It's easier than you might think .
So grab your pencils and let's go .
Hey , people , it tell me if you're new here and this is definitely one of my most requested videos .
How do you get your proportions together ?
So I'm gonna show you how to do all of that .
The three levels of this are easy , medium and difficult , and you can decide which one you want to attempt , dependent on your skill level and throughout .
I'll give you some tips and tricks to help you , so make sure you watch to the end to grab those gems .
The references I'll be using today can be found in my Pinterest board .
Feel free to over there .
If you want to grab them , I'll link them down below for the easy level .
It's all about tracing .
I'm not gonna lie to you .
I'm not opposed to tracing .
I know people have their opinions about it , but I think it's a great method to speed up the sketching process .
Even professionals use this , and in my opinion , it's not cheating .
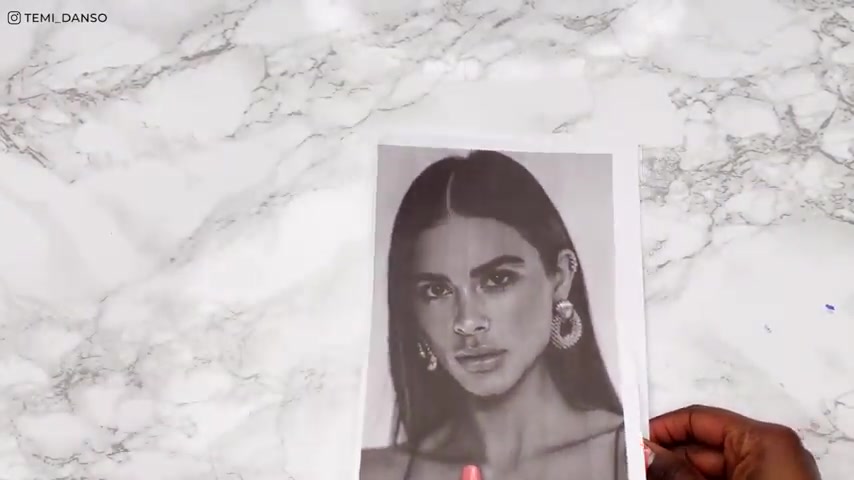
So for this I've printed out the reference picture and also a blank sheet of paper that I'll be drawn on if you're familiar with my channel .
You know that I love to sketch on a separate bit of paper anyway , and then I transfer it into my sketchbook .

When I'm happy with the sketch , I normally transfer it using a graphite transfer sheet , which is the exact same thing I'm using .
In this tracing set , I'll link the graphite transfer sheet down below so you can grab one if you want .
But alternatively , you could always shade the back with a pencil and then just draw over the lines like I am .
And this is a very easy technique .
No bells and whistles .
Just a quick way to get your sketch together and you can get on with the drawing .
You don't actually have to use a graphite transfer sheet .
Some people put it up against their windows so they can see the light through or use things like a light box .
So there are other alternatives I'm sure that you'll be able to find , but this is by far the quickest process , and it took me just over five minutes .
If you really want to get a perfect sketch .
You wanna focus on the other parts of completing the piece and getting the values right , getting the colours right then I'm not opposed to starting out with tracing .
It's obviously not going to help you to actually get your proportions right .
But that then moves on to level two , which is the grid method .
The grid method is when you draw grid lines on your reference and in your sketchbook and you just go line by line , square by square , try to copy what you can see in your reference and into your sketch .
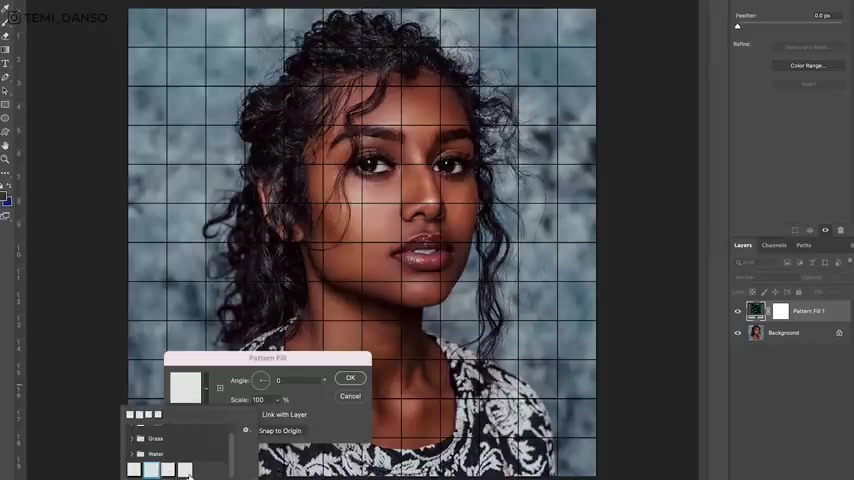
I like to add my grid lines digitally because I'm not gonna sleep here , but you can print the picture out and measure out the grid on paper if you choose to .
I also like to print another blank sheet with the grid lines on because once again I won't be sketching directly in my sketchbook .
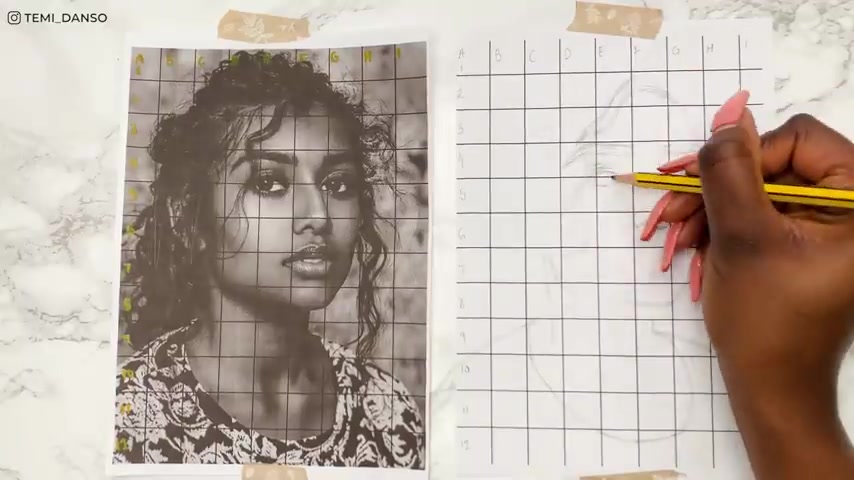
Anyway , the first thing you want to do is number the squares .
So I've put them in letter order at the top and numbers down the left .
The entire grid process is pretty simple .
You're just trying to gauge where things fall in each square and record it on your sketch .
I tend to start with the really large shapes , and I'm also looking at the intersections of some of the lines to help me guide where to go .
So I've started with the body and the overall shape of the head before .
I then find the features like the eyes and even looking at the eyebrows .
Right now they look massive , but when you draw everything else , then it kind of comes back into context .
I'm also not trying to put in too many details .
I'm just trying to get the basic outline because , as you know , the majority of the details will actually come from the next step , which , if there's a graphic drawing , it will be based off of the shading .
Or if you're doing a colouring pencil drawing , that's where all of the details will come in .
Also , I'm sure you regular subscribers know Anyway , I'm not chasing hyper realism .
I'm not trying to make sure everything is in its perfect position .
I'm just trying to depict what I can see in the best way I know how , and if you're following along with me , I'm sure for a while it will feel like it's not making sense .
It doesn't look like who you're meant to be drawing .
But the key here is really just trusting the process .
I'm adding some of the details in the hair , but I'm really just going for the overall shape , because if I go ahead to colour this in , I'm sure I will just shade all of the back with Pam pastors or markers anyway .
And that is the grid method done .
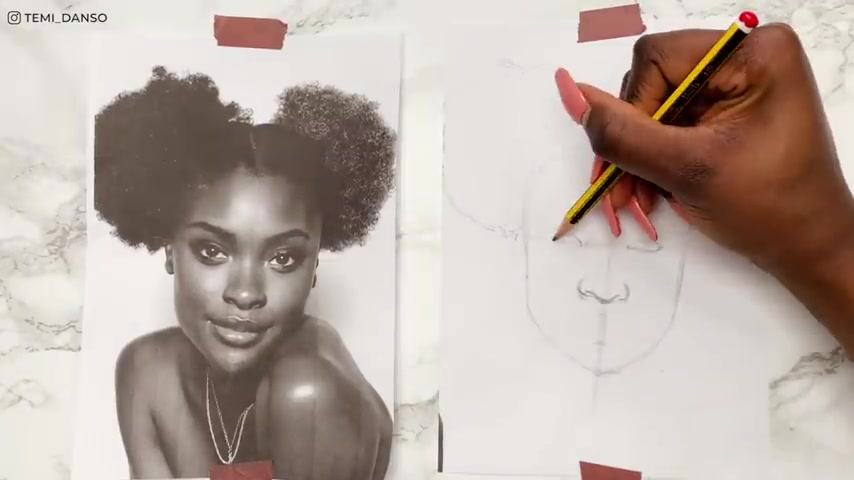
It took just over 45 minutes , and the final method is free hand .
So I'm gonna show you all the tips and tricks I use to create an accurate sketch with just a few guidelines .
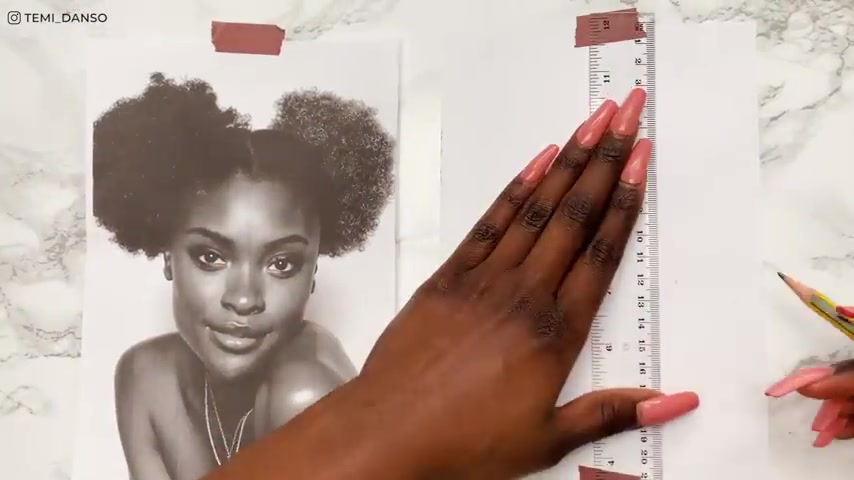
I start by mapping out key points in my reference .
So I'm using my ruler to measure where I can see things falling .
The key here is making sure your reference is the exact same size as your sketch .
First , I'm trying to get the head shape looking OK , so the first points I'm marking are the jaw , the chin , the top of the head and the hairline .
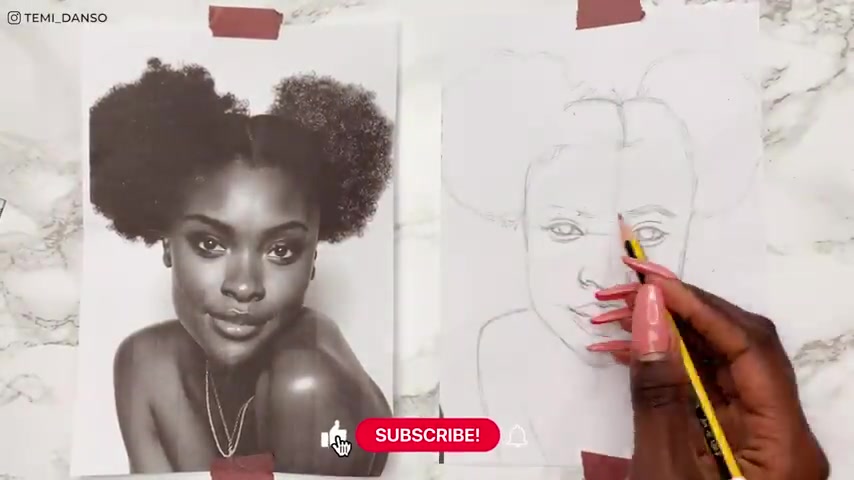
Then I'm marking the eye line and you can see that the eye is actually at an angle so I'm trying to represent that as well in my sketch and really it is just a matter of joining up the dots and trying to get the shapes together .
I'm really just trying to pay attention to what I can see in my reference , not trying to make anything up what I think should be there .
And I think if you're doing this method , especially if you're doing it for the first time , I think it's a great method to practise but do only as much as you can .
So if you feel like you need more lines , if you feel like you need more reference points , feel free to do that .
And some other people actually do a combination of the grid method and this method where they draw grid lines around the features .
So if that would help you with those placements , then definitely try to do that .
Now I've got the overall head and hair shape .
I can attempt to do the features and I'm kind of thinking about them relative to each other .
So I've already got the eye shape , so I'm using that to help me with the positioning of the nostrils and then I'm using the nose to help me with the positioning of the lips .
The biggest key point I can tell you is to trust the process .
Make sure you have patience and make sure you have an eraser handy , because if you find that something is off , don't feel any type of shame to erase it and try again .
Also , remember , the sketch is basically just the outline of everything .
So in that sense , it's gonna look a little bit odd compared to the reference picture .
And that's because all of the dimension is going to come when you add your shading when you add your colour .
So in this getting stage , try to think about the end point and the end vision and don't get discouraged on the journey , thinking it's just not looking good at the moment .
This is definitely the most difficult level .
Let me know down in the comments .
What level are you on with your sketching ?
Are you doing the quote unquote easy method of just tracing your reference ?
Or are you more at the intermediate level where you're using grid lines to help you ?
Or are you just busing it and just free handing the whole thing .
Maybe with reference points .
Maybe not .
Let me know what stage you are down in the comments and what stage you're trying to get to .
This freehand sketch took me around 40 minutes to do .
Now , you know everything there is to know about getting an accurate sketch .
I'm sure you enjoyed this video .
Next , where I show you how to make your sketches come alive with colour and pencils .
Are you looking for a way to reach a wider audience and get more views on your videos?
Our innovative video to text transcribing service can help you do just that.
We provide accurate transcriptions of your videos along with visual content that will help you attract new viewers and keep them engaged. Plus, our data analytics and ad campaign tools can help you monetize your content and maximize your revenue.
Let's partner up and take your video content to the next level!
Contact us today to learn more.