https://www.youtube.com/watch?v=Fs-Yv4WlMuA
Sourdough Sandwich Bread _ The Easiest Bread You'll Ever Make
Today , I am going to show you how to make my family's favorite sourdough sandwich bread , everyone .
And welcome back to my channel .
I share a bunch of sourdough recipes here on this channel .
Everything from an artisan loaf that requires stretching and folding and timing all the way to enriched breads like brioche .
And even recently on my blog and youtube channel , I shared a sourdough Hawaiian sweet roll recipe .
Sometimes when it comes to sourdough , it can be confusing .
And I know that whenever I first learned how to make sourdough bread , instead of doing a whole different style of bread baking with my artisan loaves , I actually just did the same kind of bread that I was so used to making in my kitchen with regular yeast , but then just swapped out the yeast for sourdough starter .
And although over the years I have found that I enjoy the process of artisan sourdough loaves , the stretching , the folding , the scoring , making these beautiful loaves on , on a regular basis .
My family craves just a simple loaf that you can put in the mixer allowed to rise .
Just a basic sandwich loaf is something that I like to have in my arsenal for certain occasions .
If you're going to be having a picnic or if there's someone in your family who isn't used to the texture and taste of a cast iron dutch oven baked loaf , they might be more receptive did to a simple sandwich loaf .
So let's dive in to the recipe and I can show you just how easy it is to whip this up every night before bed .
If that's something you want to have in your regular rotation , it doesn't take a whole lot of thought .
But this does yield a wonderful everyday bread .
Just like with any bread recipe that you are using wild yeast of sourdough .
Instead of using packet yeast , you want your starter to be active .
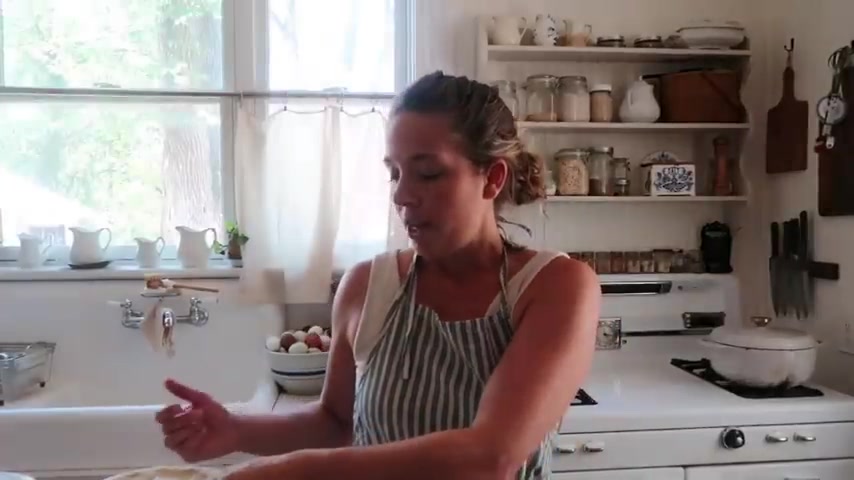
As you can see here , I have a lovely starter .
This one I fed about four or five hours ago .
I usually set my starter in this middle section here of my stove because there's pilot light .
So it's a nice warm spot .
If it's wintertime , you can set it several feet away .
Just make sure it's not too hot from a wood stove or just anywhere .
You can find a work location .
If you can't , you can , of course , just wait a little bit longer .
But what you're looking for is lots of bubbles .
That's how you know that the yeast is active and ready to give some lit to your bread .
Now , I'm just gonna use my kitchen aid mixer with any recipe you can need by hand .
I definitely prefer the dough hook because whenever I'm doing a more hydrated dough , if I'm not doing stretching and folding , it takes a while for it to come together .
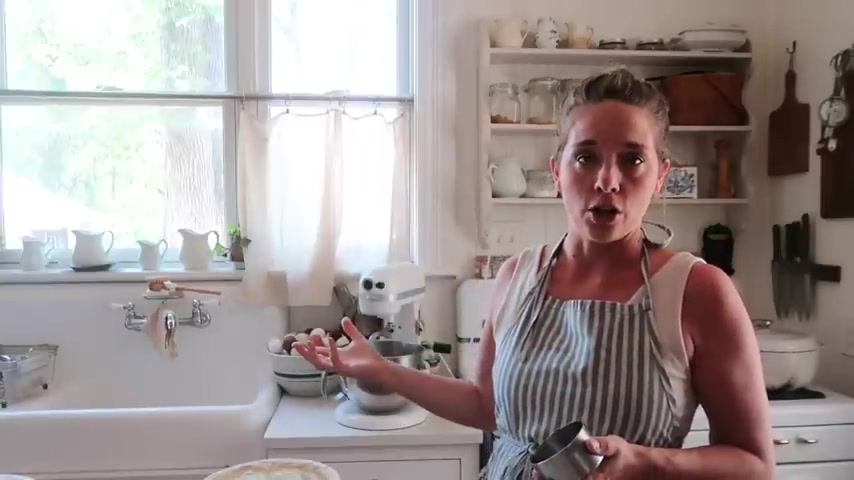
So if something seems like like a brioche or any of the wetter doughs that it's not coming together and it looks really sloppy , the longer I do find that eventually it comes together .
And that is the case with this particular recipe .
Ok .
I'm starting with a cup of bubbly active starter .
I need to get a new cup measure that has a handle .
It fell off a while ago and I just haven't replaced it .
What a mess .
Next , I'm gonna add two tablespoons of honey .
You can also use sugar if you don't have honey with these sandwich loaves , adding sweetener like this makes them a little bit softer .
Next , I'm gonna add a tablespoon of salt .
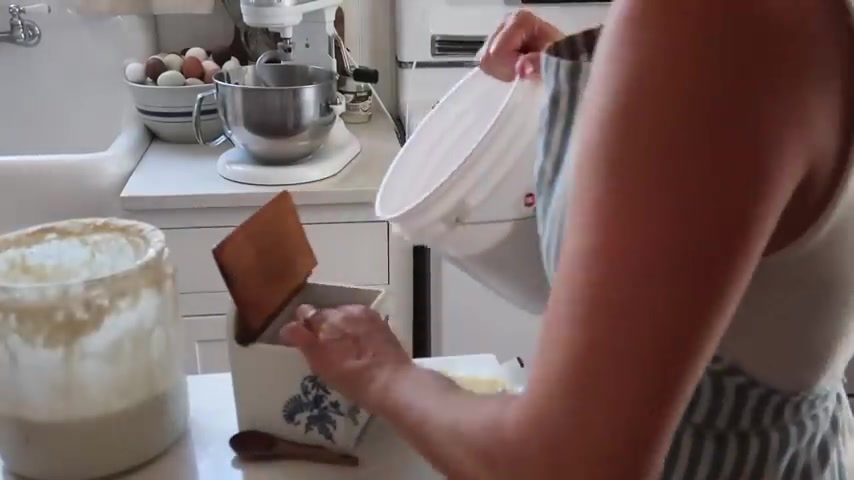
Oh , if I need to refill my salt and 2.5 cups of water , don't use water .
That's too hot .
It can kill the yeast that are active in your starter .
Also , ideally , you're using filtered water or if you have good well , water that doesn't have , you know , made fluorine that's good too .
And then a half a cup of butter or coconut oil that's been softened .
I went in my fridge and realized I didn't have a whole lot of butter .
I don't have time to make any right now .
So I'm gonna do almost a half a cup that's butter and then the rest of it is going to be coconut oil .
You can just throw it in like this or you can cut it and pop a little bit like I'm doing here .
This will just help them to incorporate a little bit better .
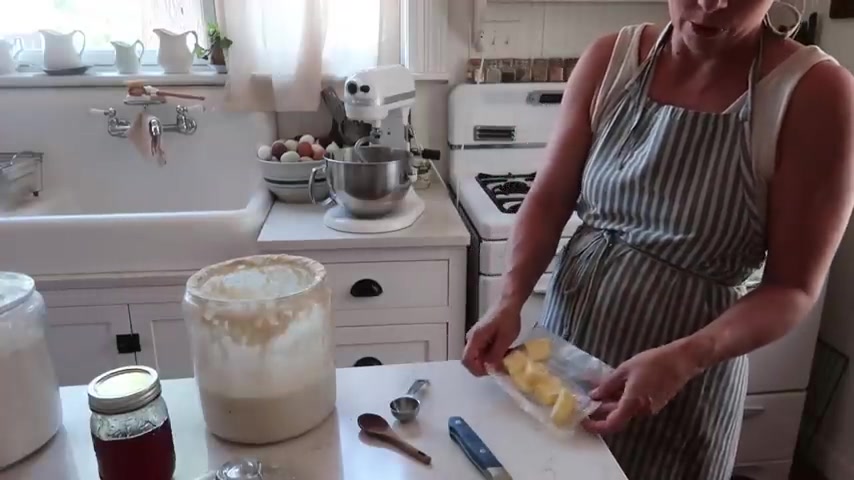
You got about six tablespoons of price on about two tablespoons of oil .
I want to take a quick break from this video to tell you about today's video sponsor .
Thrive Market .
Thrive Market is an online grocery store with natural and organic options .
I love using thrive market for a lot of different things .
Mostly things that I either can't find locally or I can't find them for a good price .
Examples would include my acorn , flour .
I can't find that at all locally , acorn pasta , spices , condiments like organic ketchup .
They have fire roasted tomatoes , organic pumpkin , some of those things I can get , but I can get them for a better price on thrive market .
I especially enjoy the thrive market brand .
It's like their grocery store label and so it's less expensive but still really high quality .
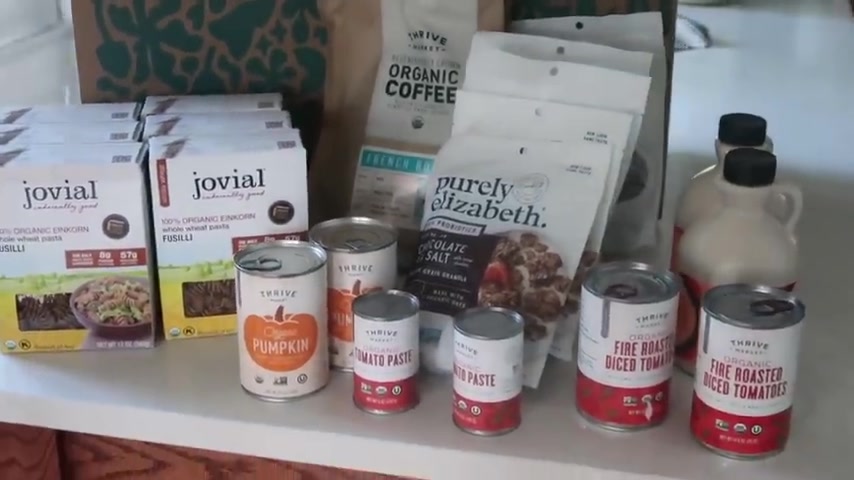
I get oils like avocado oil , coconut oil , olive oil .
Thrive market is a subscription model .
So you can they pay by the year or pay monthly if you want to check it out and see what you can find what might be a better deal for you from thrive market than your local grocery store , test it out .
You do see a little bit , if you pay upfront for the year , you get it for a cheaper monthly price .
I love that .
On the Thrive market website , you can sort by your dietary preference .
If you are gluten free dairy free paleo , you can actually select by that so that you only see the things that you want to see .
I've been shopping at thrive market so long that I have the same things that I get all the time from there .
And so it's a really straightforward shopping experience for me .
I just get on there .
Look at my recent or whatever is suggested to me , add most of that to my cart and pretty quickly , we have all of our favorite staples in our kitchen .
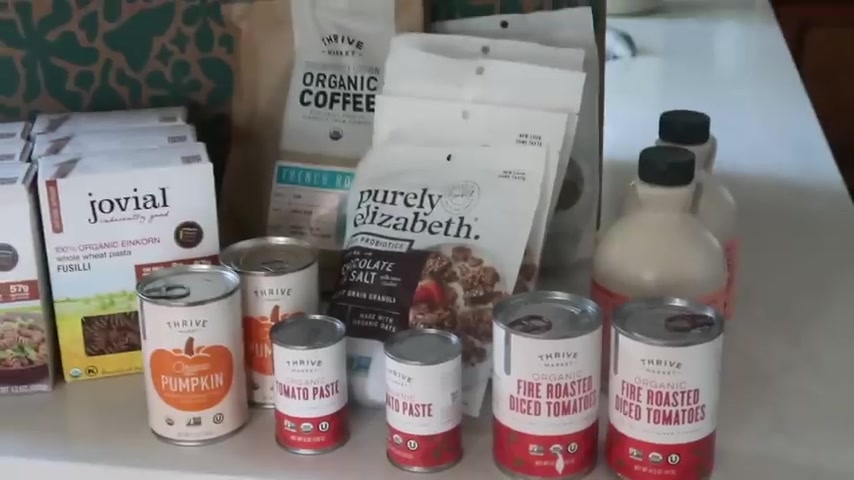
Yet again , shipped by Thrive market for free thrive market is offering my viewers 30% off your first order plus a free gift worth up to $50 .
So a very good time to check out thrive market .
See if they have some of your staples that you either can't find locally or you can get them for a better price on thrive market by going to thrive market dot com forward slash farmhouse on boon again , thrive market dot com forward slash farmhouse on boon .
It'll also be linked in the description box below .
Although all you really need for bread is yeast , some kind of yeast , whether it's starter or packet yeast , flour and water and salt .
That's really all you need .
It's nice to add things like oil and butter because again , it makes it sock .
So this will have that texture that you're used to getting in sandwich bread .
All right .
Next , I'm gonna add my flour .
I just have an unbleached all purpose here .
If you're interested in make whole wheat , I have that here on my youtube channel .
I will link it down below as with anything whole wheat .
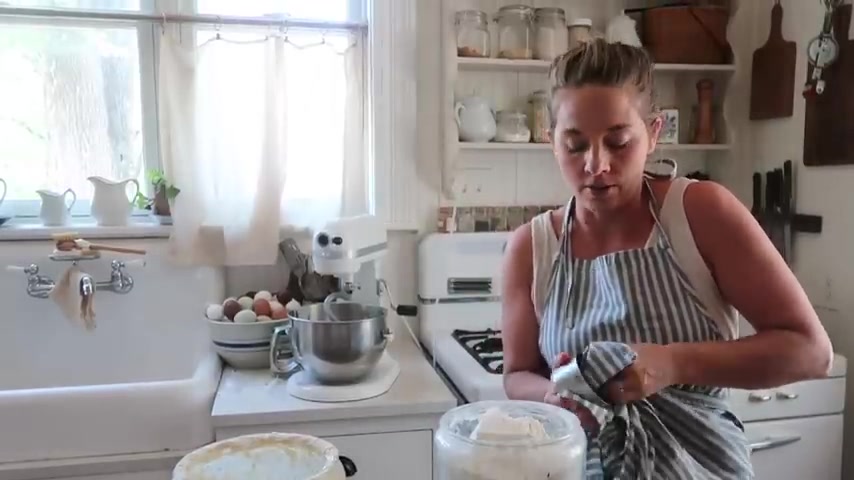
It won't be as soft and fluffy .
I should have mentioned up front .
This recipe holds two loaves of bread .
I'd like to at least make two at a time , especially when you're not using your Dutch oven .
You can fit them in your oven and get it out of the way for a couple of days .
I'm going to do about eight cups of flour .
Now , I like to add about six or seven first , see how it all comes together .
And if your starter is super hydrated , you might need a little bit more flour .
But if it's not , you might need a little bit less .
I am a huge fan of simplifying sourdough for some of you that drives you crazy .
You want scales and measures and you don't like whatever .
I dip my cup measuring like this and just level off of my hand .
But I am telling you if sourdough intimidates you , I might be just the person for you to follow because it always turns out great .
It might not turn out like the absolute best prize winning bread , but it's perfect , delicious sustenance .
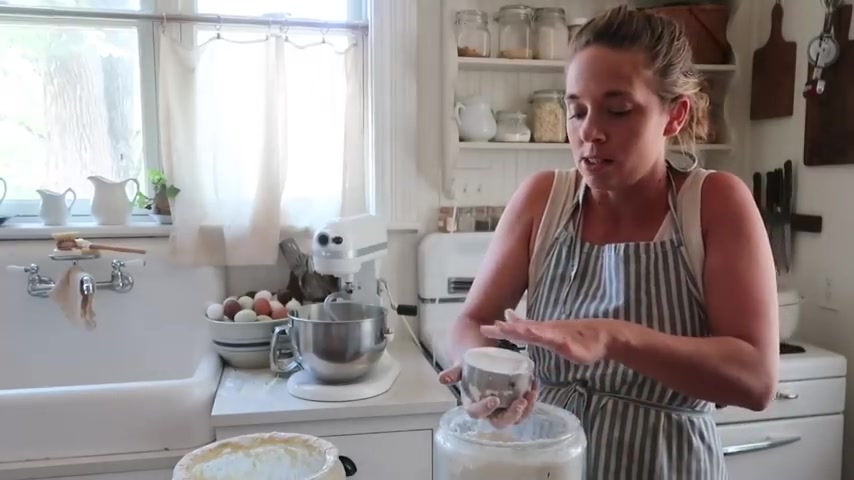
And that's my goal because I want to simplify it so that you actually do this .
Hope I haven't lost count .
I think I've done four .
Right .
And I got five in there .
I'm just gonna let it start eating while I add in the rest .
All right , I'm definitely gonna go for that eighth cup .
Now , I do think that this would eventually come together , but I'm not looking to make something that's this hydrated .
I wanna keep it simple and easy to work with .
So I'm gonna add that eighth cup of flour , which almost is always the case , right ?
This has been eating for about 10 minutes and it still just doesn't have the developed feel that I like it's getting there .
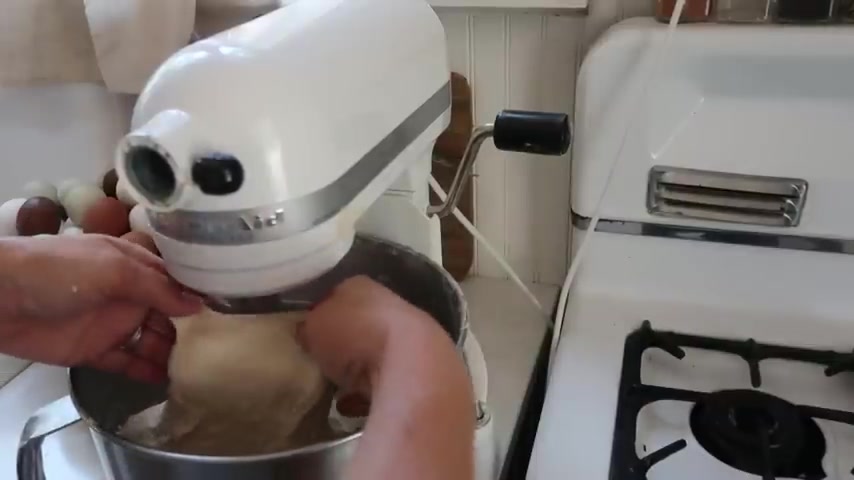
But if I stretch the dough , you can see here that it doesn't really stretch , it stretches , but it starts to break apart .
That's not what you want .
And so I'm just gonna keep needing it until it gets there and let it go a little longer .
And here is where we are .
So see how it , it stretches more , but it's still not as smooth as I want it to be .
It's still very shaggy , which means it would still work .
Yeah .
Delicious .
Couple loaves of bread , but just from experience of baking bread , I know that this is not quite the smooth and elastic dough I'm looking for .
So I'm gonna keep going .
All right .
This looks like it's coming together better .
I'm liking it stretch .
It's almost there on the window pain test .
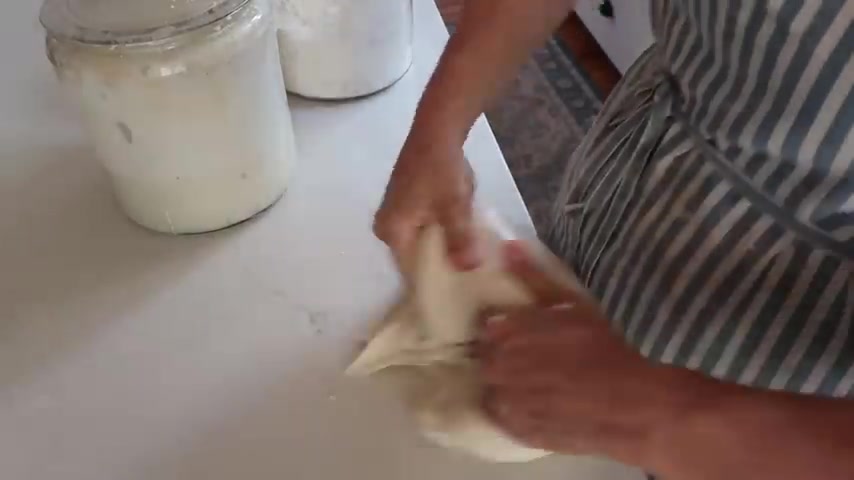
A lot of times when I'm baking bread , I like to get my hands wet and just manipulate the dough a bit just to make sure that it has this smooth stretchy feeling to it .
It's not 100% necessary .
But my goal in telling you all of this is to help you get the feel for what a good elastic dough feels like .
I missed this for so long in my bread baking journey .
And in the beginning , I definitely didn't need enough .
I read online that you can over eat dough and I'm sure that you can .
But I found through my years of experience that it's actually quite difficult and some doughs do a lot better when they're needed more .
So , for example , my brioche I was telling you about earlier in my Hawaiian sweet rolls when I finally figured out the feel of the dough that I was going for .
This glossy smooth feeling .
I started needing those particular recipes for like 30 minutes .
I would just put my mixer on set it back and go watch a TV show or hang out with my kids or whatever .
So my encouragement to you is just keep baking more loaves and eventually you'll get the feel for it .
OK ?
All right .
I'm just gonna get this dough into a greased bowl .
I like to grease my bowls just so that the dough doesn't stick to it .
And I am going to set this out of the way and forget about it for about 10 to 12 .
Actually .
What time is it right now ?
It's three o'clock in the afternoon .
So it's going to really be more than that .
It's gonna be more like 16 , 18 hours .
Make it more fermented .
If you're trying to get your family used to the taste of sour dough , you might want to do less time because it will be more sour .
I'm gonna get in here .
I'm gonna cover it with some foil .
So that way it's airtight and I'm not gonna film on top .
You can also do a tea towel that's wet , but it'll dry out if you're doing a long fermentation time .
Like I am .
You could also do a bees wax wrap or plastic wrap works as well .
All right .
So I told you that I was going to let that permit for 24 hours .
Usually I make this before bed .
That's what I always do .
But I needed to make this video in the afternoon because I didn't want it to be dark on camera .
So I normally make this before bed .
Let it rise and in the morning , I do all the rest of the steps , but I let it ferment on top of my stove , which is way too warm for a 24 hour ferment .
And I ended up with over Fermin to dough .
That basically happens when you let dough f it too long .
It loses all of its structure .
It turns into a gloppy sloppy mess .
So I quickly turned that into fry bread .
So that way I wouldn't waste that dough and then proceed it on with this recipe .
So don't let it over ferment , learn from my mistakes .
All right , back to the rest of this recipe after I've done that first long fermentation , bulk rice , going to divide the dough into two , flatten it out and then roll it up to shape the dough , add it to prepared loaf pan .
So you can either just do some butter or coconut oil or you can win it with parchment as well and then allow it to rise and until double , this will vary by the temperature .
So if it's really warm , this could take an hour or two or it could take up to four or five .
After that second rise , you can optionally do an egg wash .
So for this , I like to do an egg yolk .
Mix a little bit of water , brush it on .
This just makes it golden and beautiful in color and then bake it at 375 degrees for about 45 minutes .
This bread is perfect .
If you're doing a picnic , it is very recognizable to someone who isn't used to your homemade creations .
It looks like store bought bread .
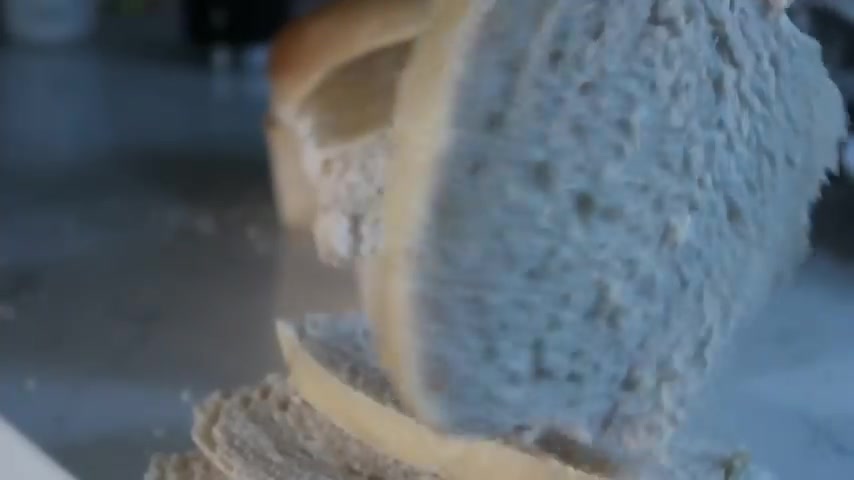
It feels like store bought bread .
Definitely a sour taste depending on how long you let from it .
But your family is going to look right .
Well , thank you so much for watching this video .
Make sure to check out all of my sourdough recipes .
I have everything from sourdough bagels to chocolate , sourdough bread , to buns and biscuits and rolls and everything in between .
If you're on this channel and on the farmhouse on Moon Block .
So if you're looking for printable versions of these recipes , you can go to farmhouse on moon dot com .
Scroll all the way to the bottom or click the jump to recipe button and then click print .
So for this sandwich bread , I have a printable version that you can just keep in your kitchen and reference until you have it memorized .
Thank you so much for stopping by our farmhouse .
Are you looking for a way to reach a wider audience and get more views on your videos?
Our innovative video to text transcribing service can help you do just that.
We provide accurate transcriptions of your videos along with visual content that will help you attract new viewers and keep them engaged. Plus, our data analytics and ad campaign tools can help you monetize your content and maximize your revenue.
Let's partner up and take your video content to the next level!
Contact us today to learn more.