https://www.youtube.com/watch?v=At4GymbpiSU
RED VELVET CAKE RECIPE with Cream Cheese Frosting
This is the most requested cake on our channel and I'm gonna teach you how to make it .
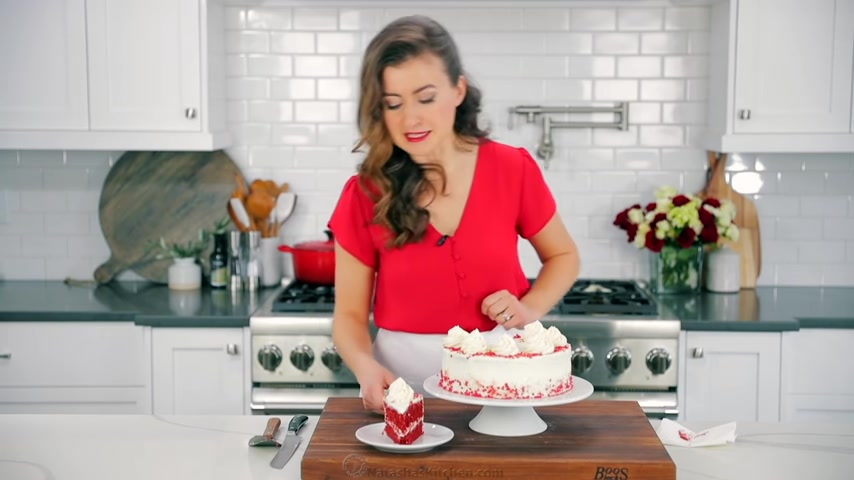
Hey , everybody .
It's Natasha Natasha's kitchen dot com .
And today I'm gonna show you how to make red velvet cake .
This is moist and you're gonna love how we make the ultimate cream cheese frosting .
And I'm craving cake .
So let's get started .
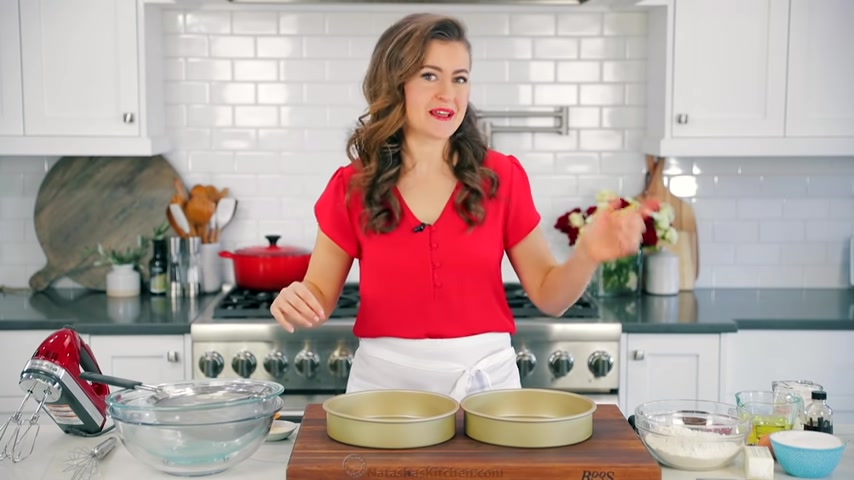
You'll need to preheat your oven to 350 F .
Then grease 29 inch cake pans with butter .
Also to keep the cakes from sticking to the pans .
I also like to dust with a little bit of flour and make sure to tap out the excess .
Once you have your cake pans , buttered and floured , set those aside until you're ready to use them .
This quick prep will ensure that the cakes release easily .
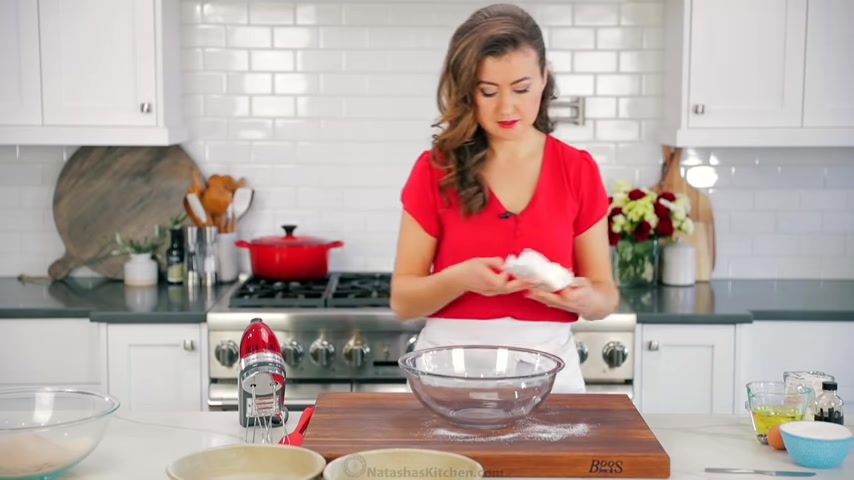
Now , we'll make the cake batter combine 2.5 cups of all purpose flour , two tablespoons of unsweetened cocoa , a teaspoon of baking soda and half a teaspoon of salt quickly whisk those together just until they're combined .
Now we're gonna sift the dry ingredients to make sure everything is really well blended , sifting .
Also ensures that your cake crumb is soft and fluffy and I will link to this sifter in the notes , set aside the dry ingredients .
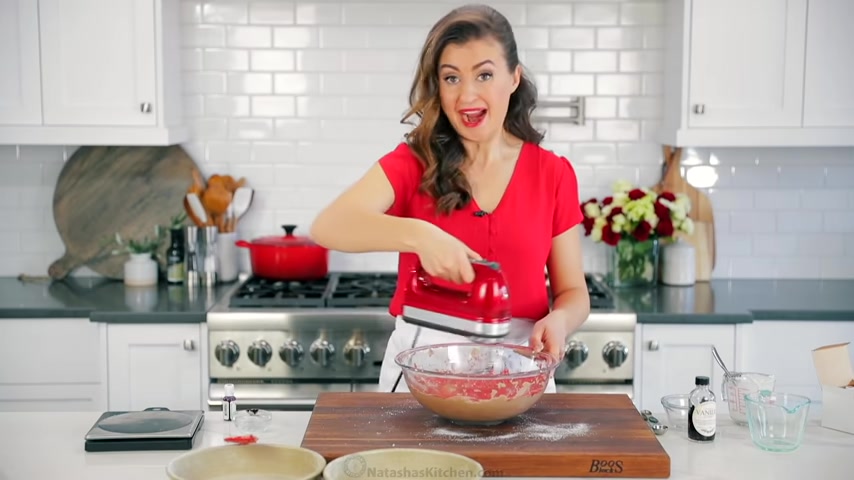
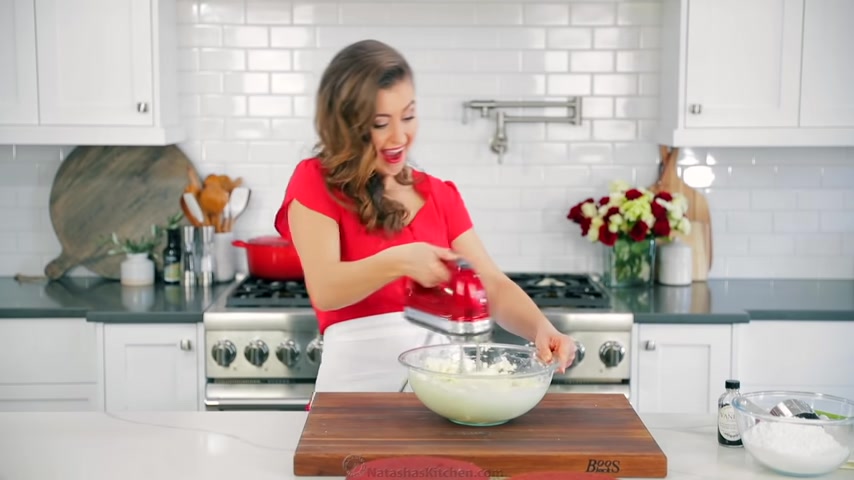
Now , in a large mixing bowl , combine one half cup or one stick of softened unsalted butter and 1.5 cups of sugar cream .
Those together with an electric mixer .
It takes a minute or two for the butter and sugar to come together and you just want to keep mixing until the sugar is moistened with butter and it has a powdery snowy consistency .
You'll need two room temperature eggs , add those one at a time beating .

Well , with each addition , once the eggs are well incorporated , add two teaspoons of vanilla extract and we're using our homemade extract .
I will leave a link to the two ingredient recipe in the notes .
Quickly blend in that vanilla .
Now with the mixer on add 3/4 cup of vegetable oil or you can use a light olive oil .
I have one cup of a room temperature low fat buttermilk and into that , I'm gonna stir in one teaspoon of white vinegar .
The buttermilk and vinegar mixture adds great moisture to the cake and activates the baking soda .
So you end up with a very fluffy cake , add the buttermilk mixture and blend until smooth and well incorporated .
Now add your dry ingredients all at once and with the mixer on low speed stir until well blended , stop mixing once it's evenly moist and you no longer see any dry streaks of flour .
Also make sure to scrape down the bowl while you're mixing to catch any pockets of flour .
Now , last but not least we're gonna turn this into a red velvet cake batter to make it that classic red color .
I highly recommend using a gel food coloring .
This is the one that I'm using and I will link to this in the recipe notes .
All you need is half a teaspoon and a little bit goes a long way .
You could even use less food coloring if you wanted to just add it to your preference .
Using the mixer on low speed mix until the color is well incorporated into the batter , scraping down the bowl as needed .
Once the batter is uniform in color , you're gonna transfer it and divide it evenly between your prepared cake pans .
My best tip for getting even cake layers is to use a digital kitchen scale .
Zero out your cake pan .
Then you can see exactly how much batter you've poured into each cake pan and make sure to get every last drop of that yummy red velvet cake batter .
Now use your spatula to spread the batter evenly into the pans and we're going to transfer that and bake in a preheated oven at 350 F for about 30 minutes .
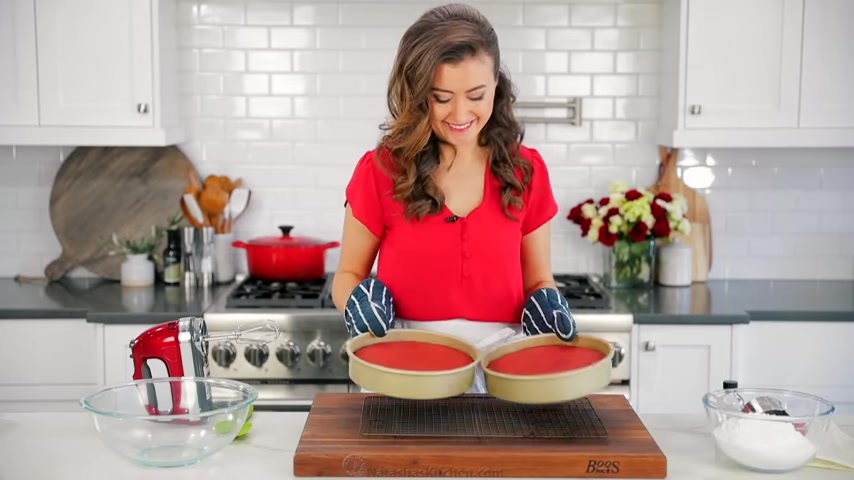
What I love about this recipe is the cake layers rise evenly and have a level top .
So there's no need to trim to test for doneness , insert a toothpick into the center of the cake and it should come out clean .
Once the layers are out of the oven , let them rest in their pans for about 20 minutes , run a thin spatula or knife around the edges of the cake to loosen them from the pans .
Now carefully invert the cake onto a wire rack .

Sometimes you need to give the pan a little tap for it to slide out , but normally they slide out easily .
Once your layers are on your rack , you want to set those aside and let them cool completely to room temperature .
Before adding the frosting and assembling your cake to make our favorite cream cheese frosting .
You'll need 1.5 cups or 3/4 pound of unsalted softened butter , make sure you do not over soften your ingredients .
This has been at room temperature for about an hour and a half and you can see that you can indent it slightly with your finger , but it should still be a little bit cool to the touch that butter in pieces to a large mixing bowl and use an electric mixer to beat that on high speed for about a minute or until it's smooth and lightened in color .
And it's important to scrape down the bowl periodically to make sure you don't have any chunks of butter that aren't blended .
Now , add your softened cream cheese and again , you wanna use a block style cream cheese and make sure it's not overly softened .
The key to having a thick and spread cream cheese frosting is to make sure that your ingredients are at the right temperature .
Now beat those together on medium high speed until the cream cheese and butter are well incorporated , scraping down the bowl as needed .
Now add one tablespoon of vanilla extract and an eighth of a teaspoon or a generous pinch of salt beat those in until well combined .
I like to add four cups or a total of £1 of powdered sugar because I think it has the best balance of sweetness .
We're gonna add the powdered sugar one cup at a time and mix on low speed until it's incorporated .

Once all of the powdered sugar is in kick the mixer up to high speed and continue beating for another 2 to 3 minutes or until the frosting is whipped thick and spread .
All right , our frosting is ready and our cake is now at room temperature .
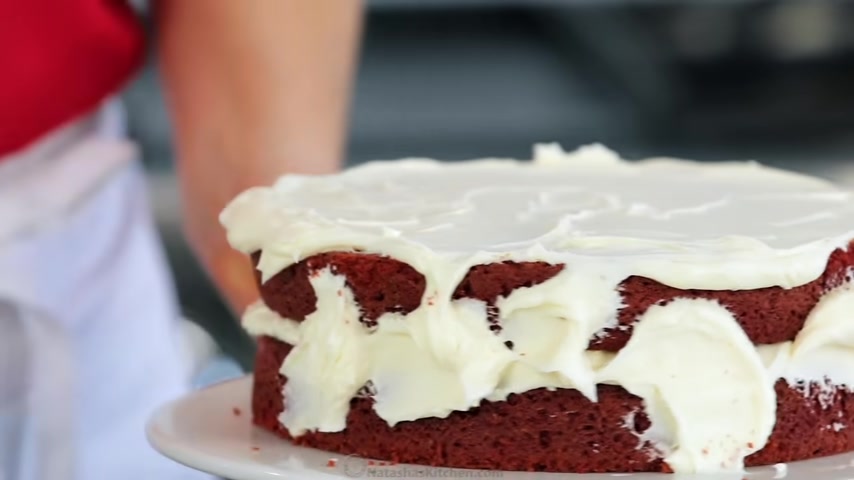
So it's time to assemble , place that first cake layer onto a serving platter and we're gonna add a generous amount of frosting over the top .
I love a thick layer of frosting between my cake layers .
So I'm using about a third of the frosting spread that evenly to the edges of the cake .
Now top that with your second cake layer and I like to place it upside down so that you have the smoothest most even surface for the top .
Now we're gonna crumb coat the cake , which means that you're gonna apply a thin layer of frosting all the way around the cake crumb coating , glues the crumbs down and seals in the moisture of the cake .
Once you've finished with an even crumb coat , add a little bit more frosting to the top and sides until it's evenly coated .
I love using my offset spatula for this .
It makes frosting your cake so much easier and I will link to this tool in all of our favorite tools in the notes .
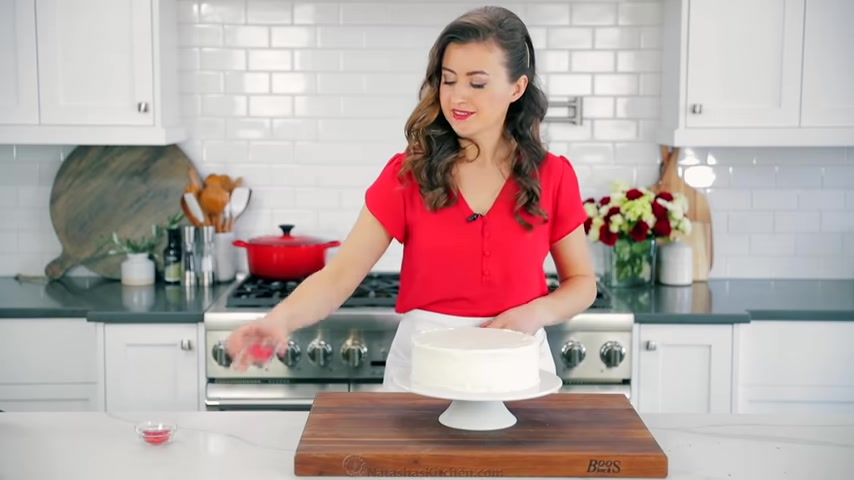
Once you're satisfied with your frosted cake , wipe the base of the cake platter with a paper towel .
Now transfer the remaining frosting into a piping bag fitted with a large open star tip .
We're gonna use the rest of this cream cheese frosting to pipe puffs over the top of the cake and because the frosting has been out for a little bit and I'd like it to firm up .
I'm gonna pop this into the refrigerator while we add sprinkles to the cake .
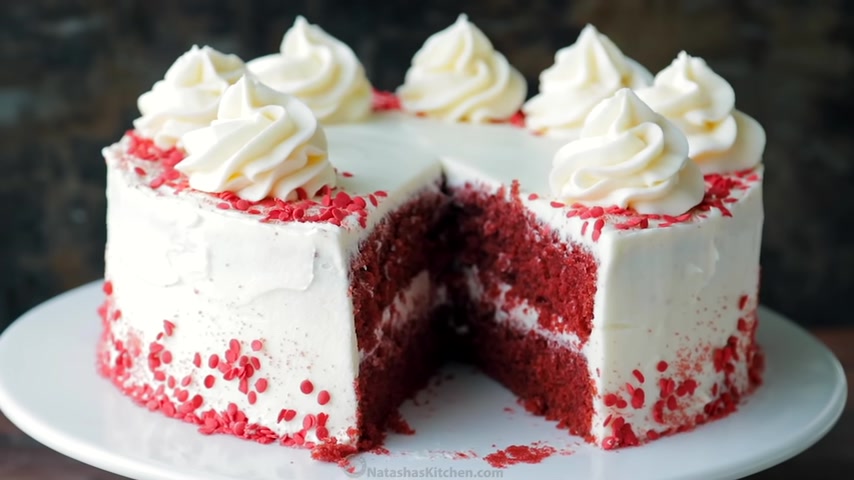
This is how I like to decorate my red velvet cake .
I'm using two different kinds of red sprinkles start by adding the larger sprinkles around the top border of the cake .
Also apply some sprinkles to the bottom edge of the cake and I'm just gently tossing the sprinkles onto the side .
I don't have any secret tricks for this and because I have the base of my cake platter , clean .
I'm able to reuse some of the sprinkles that fall off the edge .
I'm also using some red sanding sugar and following the same pattern and the sanding sugar just fills in the sprinkles this way of decorating makes it look really pretty for a birthday or Valentine's Day or even Christmas .
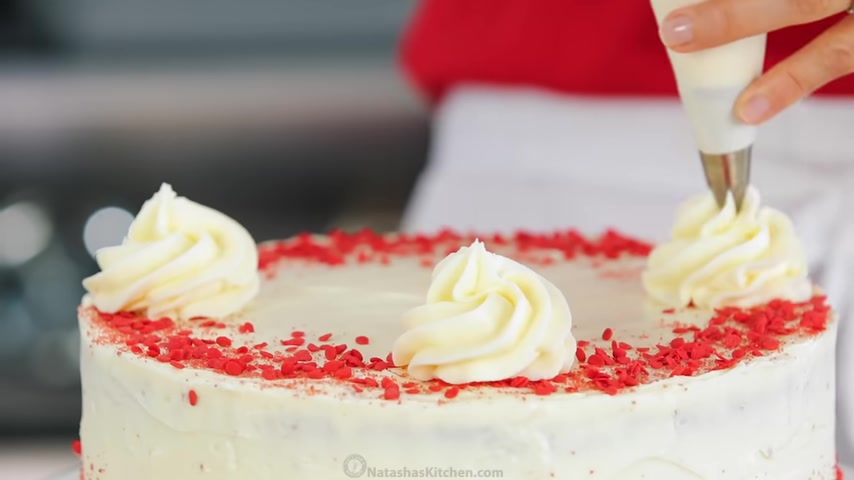
Once you've cleaned off your extra sprinkles from your cake platter , we're gonna pipe that chilled frosting over the top , add little rosettes or puffs over the edges of the cake before cutting into this .
I like to refrigerate it for about an hour .
This will firm up the frosting slightly and just make it much easier to slice .
Yeah , I was excited I am because I get to have some cake and it's just firm enough now where I can slice it easily .
That's the only reason to refrigerate just to make it easier to serve the cake layers .
Stay together a little bit better .
So that's what we're gonna do .
We're gonna do the taste test because I want some cake .
All right , here we go .
And I do like to wipe the knife in between slices .
So that way you'll get a really clean cut just like we do with cheesecake .
OK .
Here we go .
Oh my goodness .
Look at that .
Oh OK .
Yum .
Yum Yum .
Yum .
OK .
And we're just gonna go for it because I want my cake .
Well , I have my cake .
I'm gonna eat it too .
Ok , here we go .
Uh And it is so soft .
The cream and the cake super moist .
Just the perfect crumb .
Mhm .
And yeah .
Mm .
That is exquisite .
We're bringing out the big words .
Seriously .
It tastes like a bakery quality cake .
Like a fancy bakery .
It is moist and you can taste that little bit of cocoa in the cake .
The cake itself has so much rich flavor .
It's just so decadent and delicious .
Seriously .
It's like I , I can't stop it .
Just one bite because it's really good .
It's like melt in your mouth .
Delicious .
Hm .
Yeah .
Mm .
Mhm .
I also love that .
It's not overly sweet .
Both the cake and the frosting .
It is just right and maybe that's why I can always eat a really big piece .
You can freeze the cake and you can freeze the frosting , which is awesome because I love make a head desserts perfect for parties .
Make sure to check out more desserts at Natasha's kitchen dot com .
And if you're building a Valentine's Day menu or a menu for any special occasion , really check out some of our best recipes right over there and right down there and we'll see you in our next video .
Are you looking for a way to reach a wider audience and get more views on your videos?
Our innovative video to text transcribing service can help you do just that.
We provide accurate transcriptions of your videos along with visual content that will help you attract new viewers and keep them engaged. Plus, our data analytics and ad campaign tools can help you monetize your content and maximize your revenue.
Let's partner up and take your video content to the next level!
Contact us today to learn more.