https://www.youtube.com/watch?v=_1pAhgquFKY
Tutorial - Tips for Drawing A Manga Face
Hi guys .
So I'm starting a new tutorial series where it's gonna be casual and more of a follow along type of thing where I allow you guys to learn through observing rather than me telling you exact steps that you need , you know , to follow .
So as I go through this , you can alter the steps to how you want them .
Um If you personally don't like how , you know , I do the drawing the methods , whatever , then feel free to change it as you would like .
So let's get started .
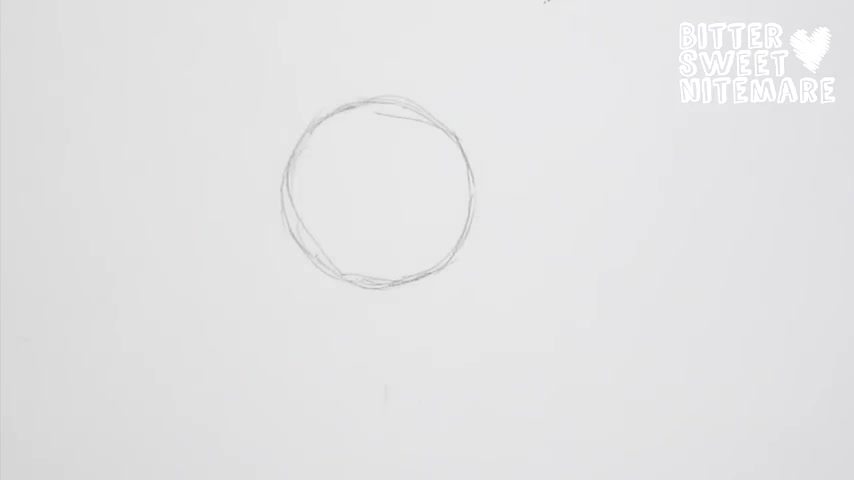
So here , I'm just sketching in a circle as you can see , it doesn't have to be perfect just like a general circle and we're gonna be drawing the phase from there .
So I normally don't really draw guidelines at all .
However , it does help me to draw certain one .
So I'll show you what I do .
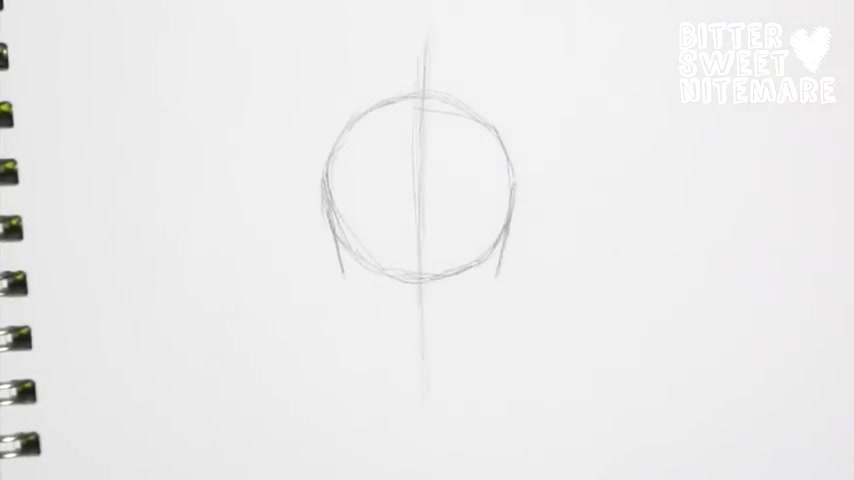
So for this , you guys have probably guessed we're gonna go and make a line right down the middle and from here , we're just gonna kind of gauge where we want everything else to be .
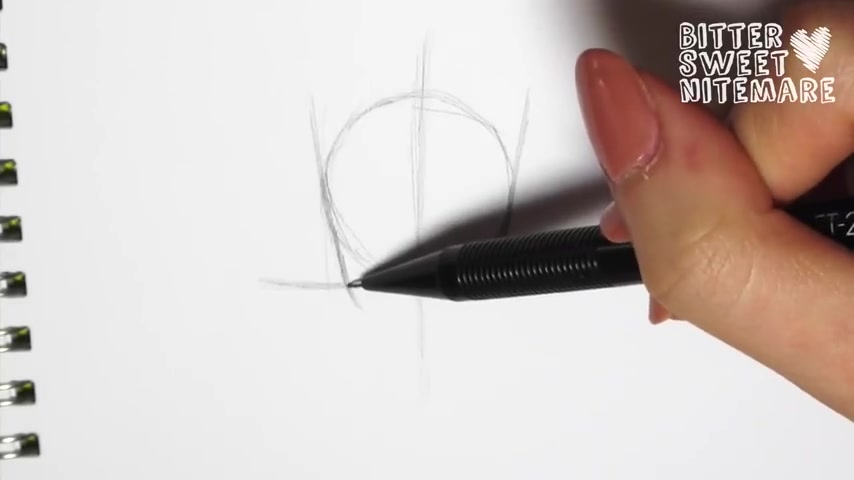
So the sides of the circle as you may have guessed , um we're gonna start drawing the side of the face .
So I like to do it slightly tangent or actually it is tangent to the circle .
Um And tangent meaning , you know , the line just kind of touches a single spot in the circle , but it doesn't really matter .
Um Just have it kind of slanted inwards .
So the more narrow and long the face you want to be , you're gonna make the line more inward or more diagonal .
While if you want the face to be chunkier , you will make it more like a straight line .
So for example , I will just quickly see if you were to make both lines like this , then it's gonna turn out chunky .
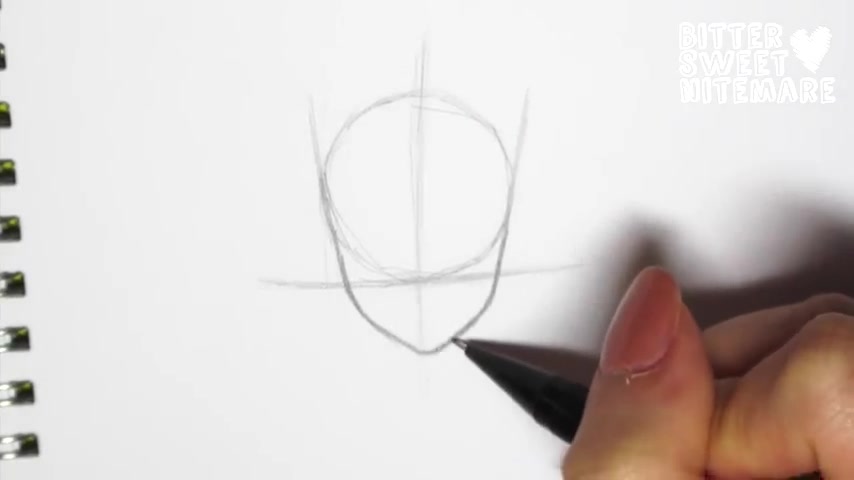
So now as I do that , now I'm gonna go and make a quick , slightly curved line .
Um these lines probably shouldn't be straight anyway , um make them curved only slightly , not too much , very gentle curved .
Um I'll do that right at the bottom and how I kind of gauge my faces .
If I'm doing a little kid , then I'll have the cheeks be curving closer to this line .
If I want it to be an adult or a teen , I will have the curve kind of start a little bit below that line .
So you see this here , this is the cheek curve and I have it starting a little bit below that line and then I just go inward and I'll do this to the other side too .
Um You might notice that .
It looks very asymmetrical and it's fine .
You can always just change it as you go .
And by the way , I live in a college dorm so you will be hearing some noise in the background here and there , please excuse that .
But anyway , you will see that it might be a little bit um uneven , but that's fine .
You can always go back and change your lines .
So don't ever feel pressured that .
Oh You know , everything has to be perfect like right at the start like no , you can change it .
I do that all the time .
If I don't like something , I erase it and I change it .
So here we are .
And for males , you are going to make this round part a little bit wider .
So I'll just demonstrate that with something below here .
So you're gonna have something that looks a little bit more like this at the bottom of their face .
Um You don't want it to be too pointy or you're gonna have a Dorito Chin , which you're not gonna want .
So then now that we have that we have the basic head shape and sometimes the head might be a little bit long .
So what I'll do again , I fix it , I just make the circle a little bit shorter like that and it all works out y'all .
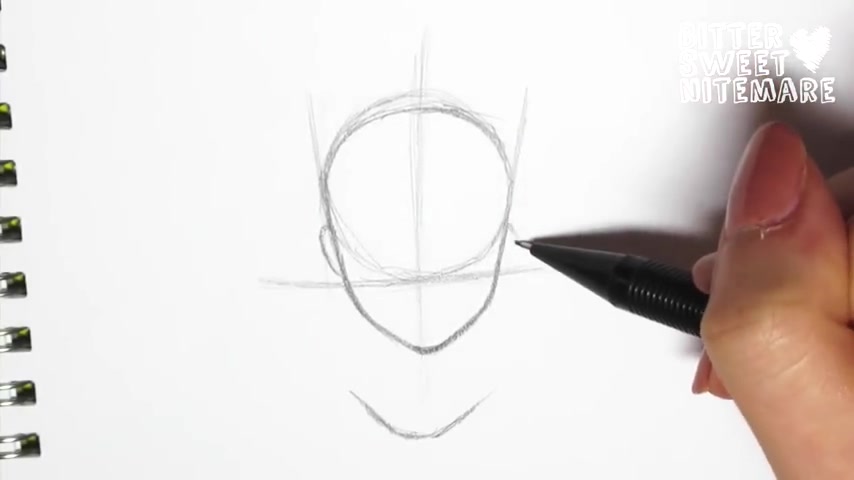
So now something that really does help me is to actually draw in the ears first and I usually do this at the lower third I would say of the head and I just do some quick little things like that .
It doesn't have to be the exact shape or whatever , but it does really help .
So then from there , I like to do a small line right on top like that .
So I'd say maybe like 123456789 , 10 11 .
I don't know , like you can make the line um anywhere in the circle .
So if you want the face to be more realistic , then you're gonna have the line go further up .
So you'd make the line like here if you want the face to have larger eyes and you'd keep it here or make it a little bit lower .
But I'd say here is like perfect for all types .
What really matters is the top line .
So the top line , if you want the eyes to be big , then you're gonna make it like up here .
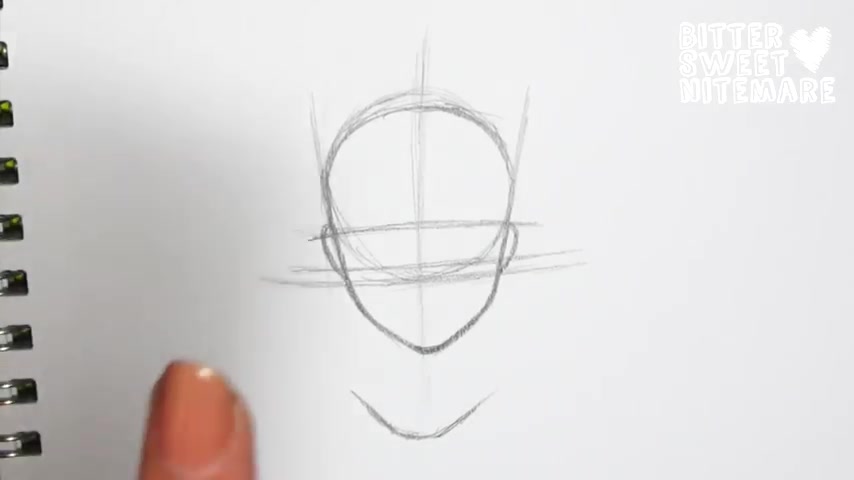
I want it to be pretty moderate .
So I will maybe do a little bit below that .
So the taller or the higher up this line that you make , the bigger the eyes are gonna be .
So there you go .
And now we're gonna get into the eye .
So before I actually apply that to this drawing , I'm gonna show you what I use to kind of help me draw even looking eyes , which is the reason why I'm making this tutorial to begin with .
Um you know , when you're in class or something , I don't recommend that you doodle and not pay attention .
But if you want to , I would highly recommend just practicing your eyes .
So usually the space in between , if you guys have heard the whole , like I think it's five or I think five like five eyes width of the face .
Um Anime is a little bit more unrealistic .
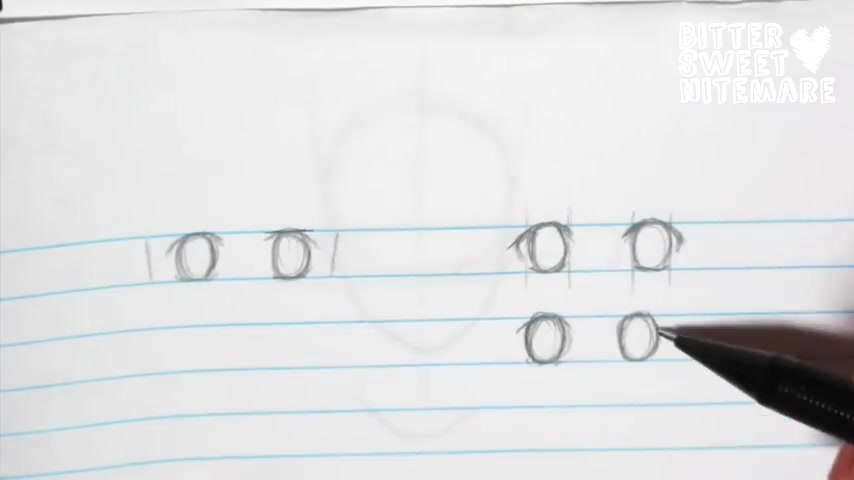
So you don't have to follow that rule to A T so the space in the middle of both eyes should be about the size of 1.5 of the eye .
So let's say this is one , I , this is the space in the middle is gonna be maybe one or 1.5 depending on what you want .
And then from there , you can just practice this .
And if you want to practice with because this will only help with the length of the eyes .
You can draw lines like this to help you fit it in .
And I would draw the pupils first just to make it easier and then you can put the um the eyelashes or the lash line in after .
So let's apply that to this .
So here I just draw one and if I don't like the placement of it , then I'll just move it .
So I make sure that there is a decent amount of space maybe like half a pupil um kind of in between the area of the rest of the face and the pupil .
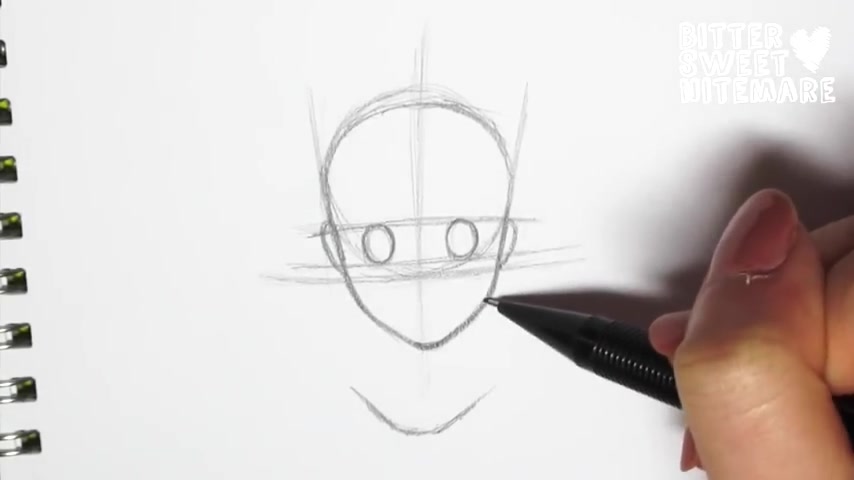
And then here , as you can see , there's this line here , this would be half a circle .
So the other half would be over there .
So I'll stick that here .
It doesn't have to be exact as you can see .
This might , this is more of a pupil and a half I'm doing here .
So just go with the flow and see how it goes and I'll see that .
Oh , over here there's more space that's fine too .
Um I can just either add some more lines and fill that in or I can just leave it as it is because it doesn't have to be perfect .
So then from there , I'm just gonna quickly do some quick eyes .
Um You , you don't have to follow how I'm doing the eyes , just use whatever style you want .
So yeah , that's how I do my eyes .
And then from there I do , I add like a little line up here for the eyelid crease and then for the nose , I usually put it a little bit below or at where this line is .
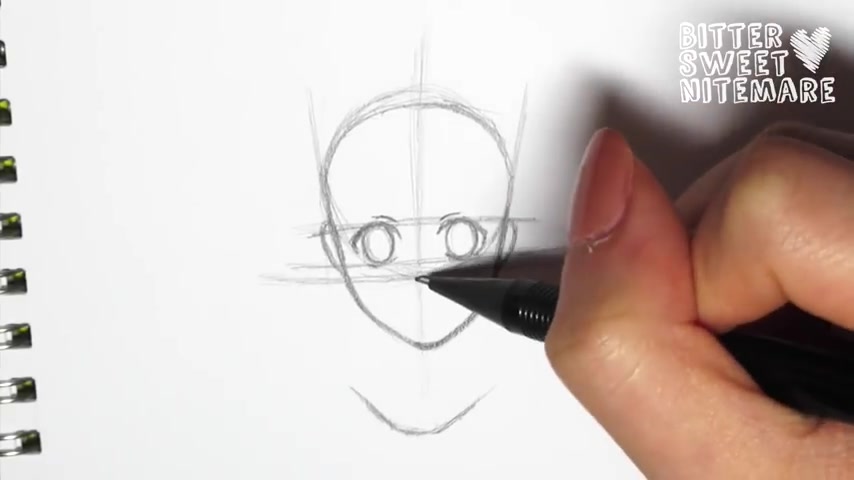
The line that's right at the bottom of the circle that we drew .
I'll just do a little indication there kind of like that and I'll move it either up and down depending on what I want .
If you want a more cutesy generic , um more familiar anime look , then I would make the nose further up near the eyes .
If you want it to be more realistic and have a longer nose bridge , then you're gonna have the nose below .
So as for the mouth , I prefer to do the mouth right where the curve really starts for the cheeks .
So for this , the curve kind of really shows up around this area .
So I'm just gonna draw in the mouth there .
So , um I kind of tried to make this character more androgynous .
So this could be a girly looking guy or it could be a girl or whatever you want to make it .
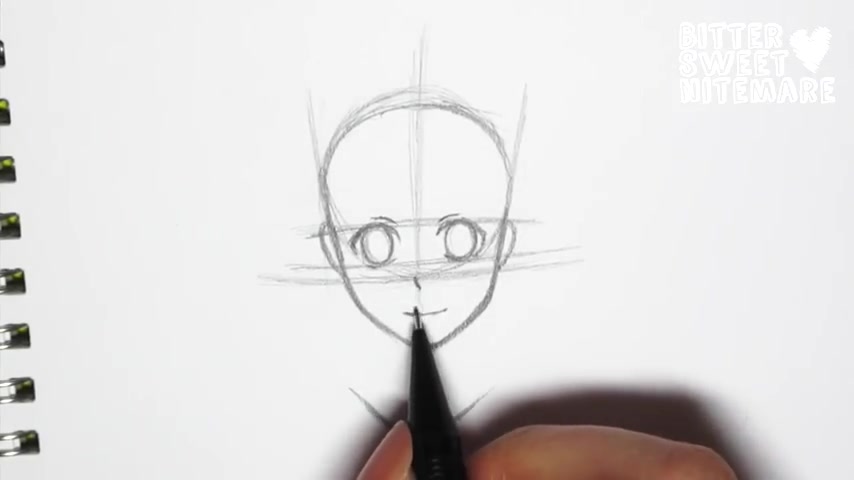
So you'll see here that if you move the mouth up more , then you'll have a different look and if you move it down more , you'll have also a different look .
So it just depends on your preference .
Um Anime is very flexible .
So do what you would like .
And yeah , that's pretty much it .
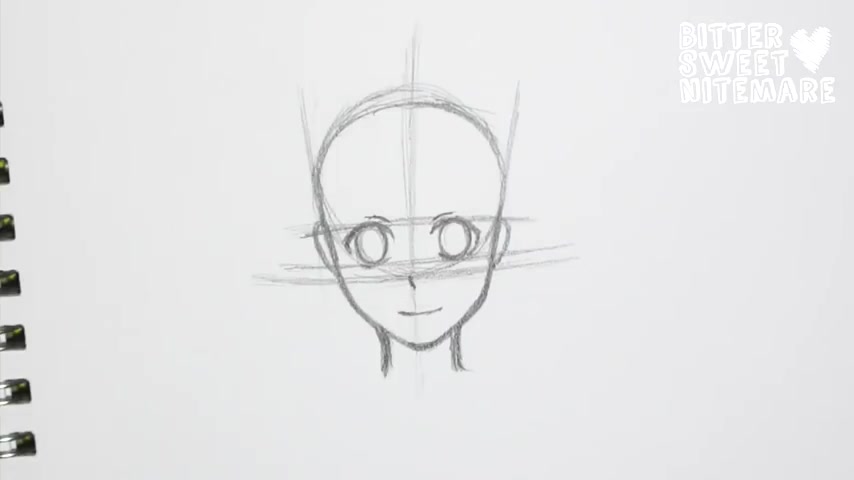
That's how I do a straight on face and that's how I make sure to keep everything pretty symmetrical and I'll just quickly do some um of the neck lines .
So I usually like to keep it about half of the whole head shape and I'll just send that in the middle .
So as you can see here , you don't want it to be too thin , you don't want it to be too thick .
So for guys , you'd make the neck more thicker , but for girls , you're gonna want it to be pretty , more narrow .
So this is kind of in the middle and yeah , so I hope that helps somewhat and I'll see you guys in the next video .
Feel free to put down some suggestions .
I can't guarantee that I'll do them .
But if it's a majority request , then I'll definitely look into it .
So thanks again for watching and I hope this helped and remember if you don't like a certain way that I do something um feel free to change it to your liking .
So , yeah .
Bye .
Are you looking for a way to reach a wider audience and get more views on your videos?
Our innovative video to text transcribing service can help you do just that.
We provide accurate transcriptions of your videos along with visual content that will help you attract new viewers and keep them engaged. Plus, our data analytics and ad campaign tools can help you monetize your content and maximize your revenue.
Let's partner up and take your video content to the next level!
Contact us today to learn more.