https://www.youtube.com/watch?v=drL-2EUUTvE
How to Create a Website, QUICK & EASY in India - 7 min Guide
Hi guys , this is from in this video .
I'm going to show you how you can create a website in just five simple steps .
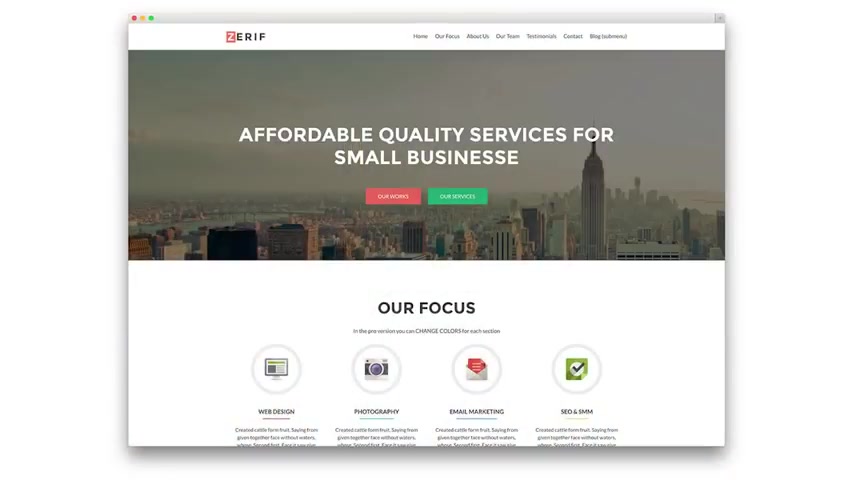
After watching this video , you'll be able to create sites like this .
Ok ?
So before we begin , if you're watching this video on youtube , please click the link in the description .
Ok ?
So the first step is to choose a name for your website , check the availability of the name you want using this box .
Once you've got the name , you can move on to the next step , which is just your domain to get a domain name registered .
Click this button , this will take you to go daddy dot com where you can get a domain for just ₹99 .
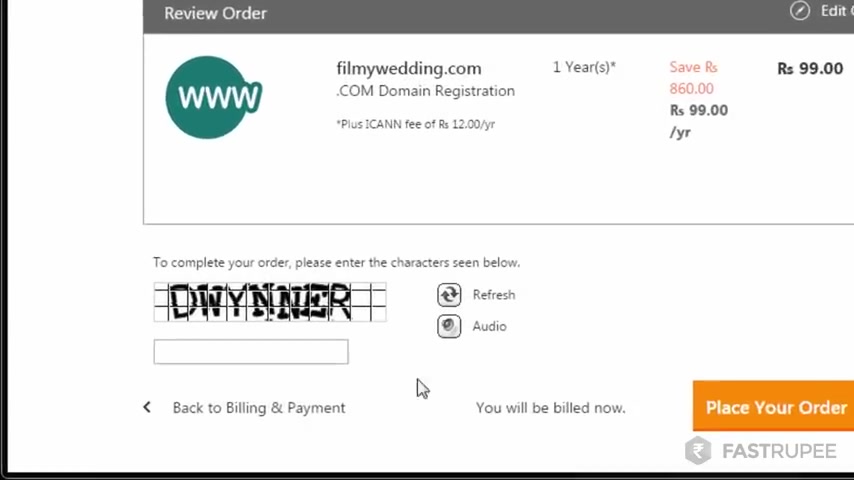
Now enter the name which you have already selected and click search , then click , continue to cut , select the term as one year and click , proceed to checkout .
Continue as a new user , fill up your details .
Choose any four digit number as your pin , then choose your payment method .
Click continue , enter the code , click agree and place your order , complete the payment process .
That's it .
You have registered your domain .
Now you can go to step three , get hosting for your website hosting .
Puts aside on the internet to get hosting .
Click this button , I'm going to buy hosting from host data because I always use them for my sites .
OK ?
To begin , click , get started .
Now , then choose a plan .
You can choose either a hatchling plan or a baby plan .
The main difference is the baby plan will let you host multiple websites .
Whereas with the hash link plan , you can host only one site .
I'm going to choose the hatchling plan when this box appears .
Click , yes .
Make sure you uncheck the code guard , enter the domain which you have registered and then click continue .
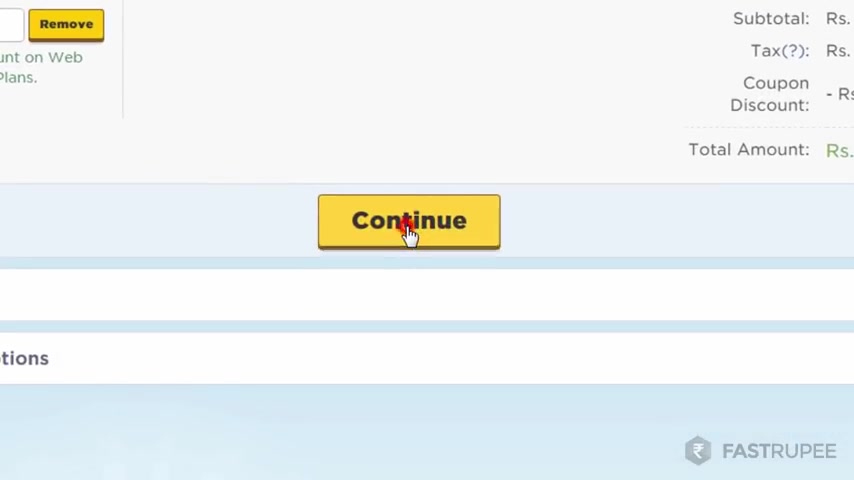
Once you get to this page , make sure you enter this coupon code to get a 30% discount .
Also , I recommend getting hosting for at least one year because you can get this offer only on your first purchase .
Click continue and create an account , fill in your details , then click create account , choose your payment option , click agree and make the payment after the payment is done .
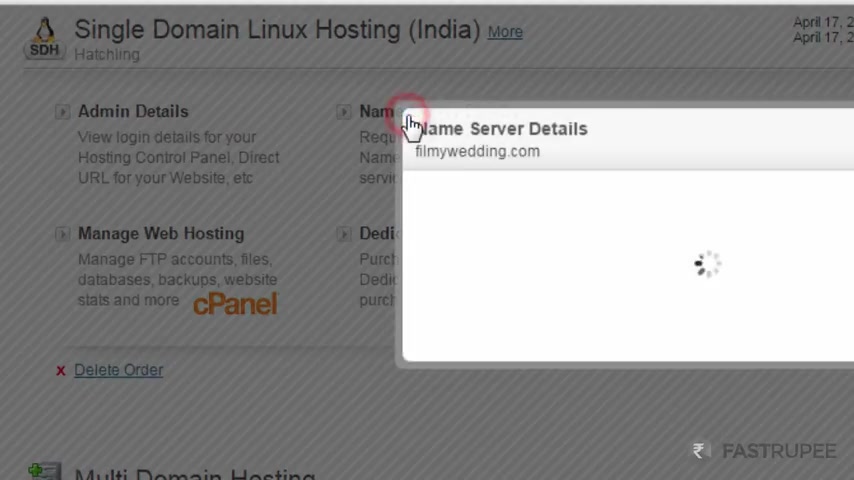
Go to the control panel now click on name server details , then open a new tab and go to godaddy dot com .
Click my account and go to manage my domains , click this icon and then domain details , click manage under name servers , click custom , then click enter custom name servers .
Now go to the previous tab and copy the first name server and paste it in this box , do the same for the second line .
Also click , add name , server and click , OK , click save .
The fourth step is to install wordpress .
Now , wordpress makes it very easy to create a website without doing any programming or coding to install wordpress .
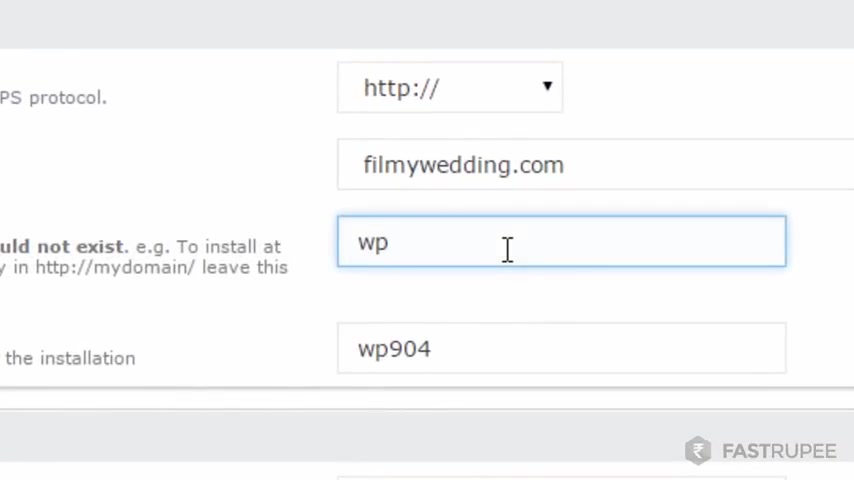
First , go to host guitar and then click manage web hosting , scroll down the page and click wordpress under scripts , then click install , make sure you delete WP from this field .
It should be empty .
Now , enter your site's name and a description and then enter a password for wordpress .
You'll need this to log into wordpress and control your site .
Enter your email here and here , then click install .
OK ?
Wordpress is now installed on the server .
But before you start using wordpress , you need to wait for 10 to 15 minutes to let the changes take place .
OK ?
Click on this link to access the control panel of a website .
Enter admin as your user name and the password you choose then log in .
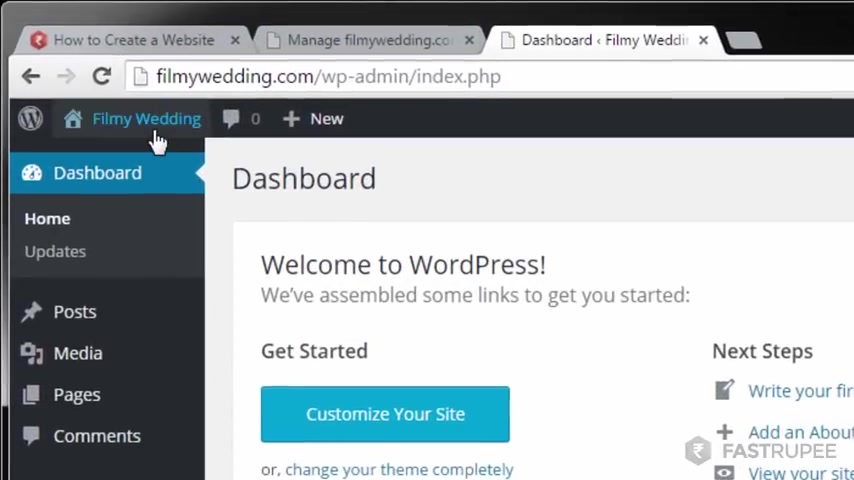
This is the wordpress control panel from here .
You can control your site .
Now , let's just see how the website looks .
This is the default wordpress theme .
Now , you can start adding content to the site by clicking new and post .
I'm just going to add a sample post for my site .
Also add an image , then hit , publish and let's just see how it looks .
So here is the post we just added .
Now , you know how to add content to your site .
So let's move on to the last step , which is customizing your site .
You can change the look of your website using wordpress themes .
Now , Wordpress has thousands of themes available for free .
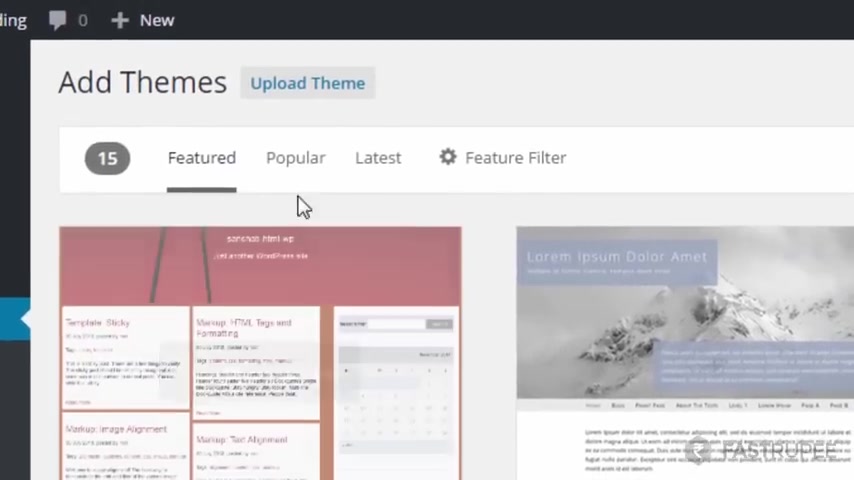
So to install a theme , go to the dashboard and under appearance , click themes , choose anything you like , you'll see a preview of the theme here .
If you like it , click install and click activate .
Let's see how it looks .
Now .
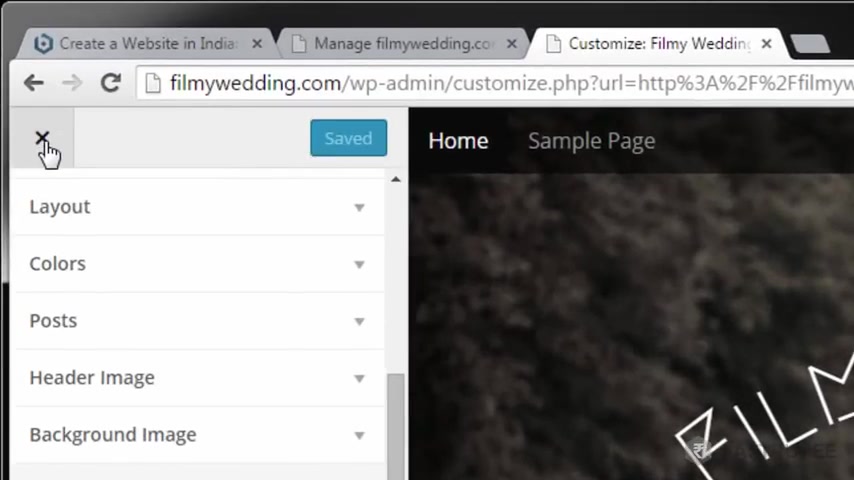
You can customize the current theme by clicking , customize under this menu , make the changes we want on the left .
I'm going to change the background image to make it look more beautiful when you're done .
Just click save and publish .
Now , let's have a look .
Ok .
So here we are done .
I hope that this video helps you create your own website .
Let me know your experience in doing this and also post your doubts and queries in the comment section below .
Thanks for watching this video .
Bye-bye .
Are you looking for a way to reach a wider audience and get more views on your videos?
Our innovative video to text transcribing service can help you do just that.
We provide accurate transcriptions of your videos along with visual content that will help you attract new viewers and keep them engaged. Plus, our data analytics and ad campaign tools can help you monetize your content and maximize your revenue.
Let's partner up and take your video content to the next level!
Contact us today to learn more.