https://www.youtube.com/watch?v=jfl8N5pPAVU
how to draw faces, eyes, nose, mouth _ tutorial
Hi , everyone .
Welcome to my tutorial on how I draw faces .
And in this video , I have broken it down into sections which you can see on the screen so you can skip to whichever part you wanna watch .
But before we get started , I do wanna say that this video is sponsored by Skillshare and I wanna thank them for sponsoring another one of my videos .
If you guys haven't watched the previous ones that I've done with them , they will be in the cards section .
But basically Skillshare is an online learning community for creators taught by fellow creators .
And they've got a range of classes from design classes and business classes and so much more .
And you can actually get unlimited access to all of these with a premium membership , which is an annual subscription and you pay less than $10 a month .
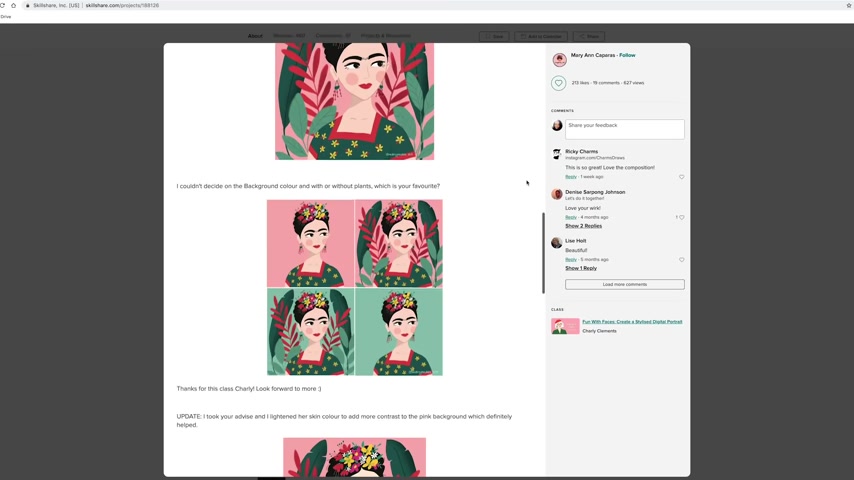
Uh What I actually love about this platform is that some of the teachers can provide a worksheet or a project or an assignment for you to do and you can post it back on the platform and get feedback from the teacher as well as from people who are also watching the class .
So I do think it's really good value for money and it's a really great resource that I highly recommend .
And because this is sponsored by skillshare , you guys can actually sign , sign up using the link in the description box to get your two month free trial of their premium membership .
I will also list down in the description box , some skillshare classes that I found helpful that you can hopefully watch along with my very own tutorial because I do recommend learning from as many resources as possible and skillshare is definitely one of them .
And once again , they are all in the description box .
So please check them out .
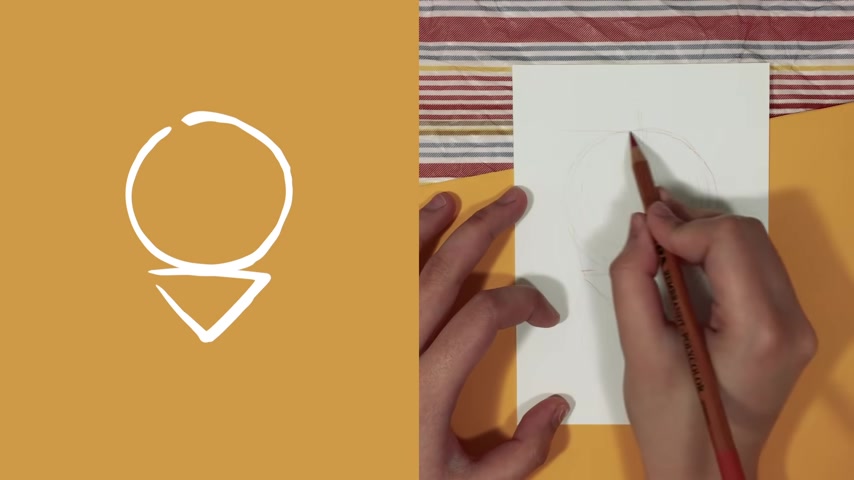
Now , moving on to the tutorial , let's start with drawing the head and I like to use two main shapes .

The first one being the circle and the size of the circle that we're going to draw pretty much defines the size of the head .
So the smaller the circle , the smaller the head and the bigger the circle , the bigger the head .
And the next shape is the inverted triangle .
And the height of this triangle actually defines the shape of the jaw that we want to draw .
So for example , for a pointy jaw , we'll have to draw a tall triangle .
However , a square draw um is a short triangle .
And the next thing I like to take note of is the distance between the circle and the inverted triangle because changing this distance can help us create a range of face shapes such as an oval face shape , a square face shape , and a triangle face shape .
And there are actually three main combinations that I like to use which you can see on the screen .
But for the demonstration , I will be using the first combination and the most common one .
Now that we have the basic head shape .
Let's add in the guidelines for the facial proportions , which is the ratio that I like to use .
So let's start by dividing the head into two vertical sections and six horizontal sections so that we end up with a total of seven horizontal lines .
And I've named each line as line 123 and so on .
So that it's easier to explain .
But basically line one is for the top of the head line two is for the hairline line three is for the eyebrows , line four , which is the halfway point of the head is for the eyes .
Line five is for the nose line six is for the mouth and lastly line seven is for the chin .

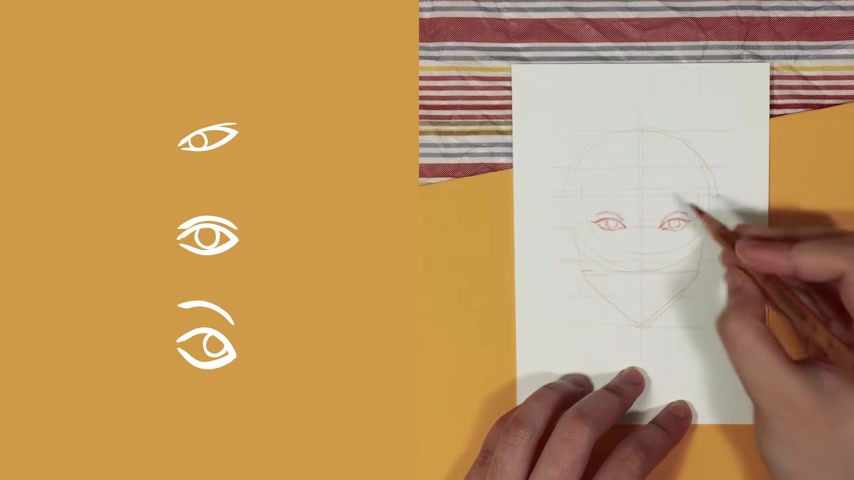
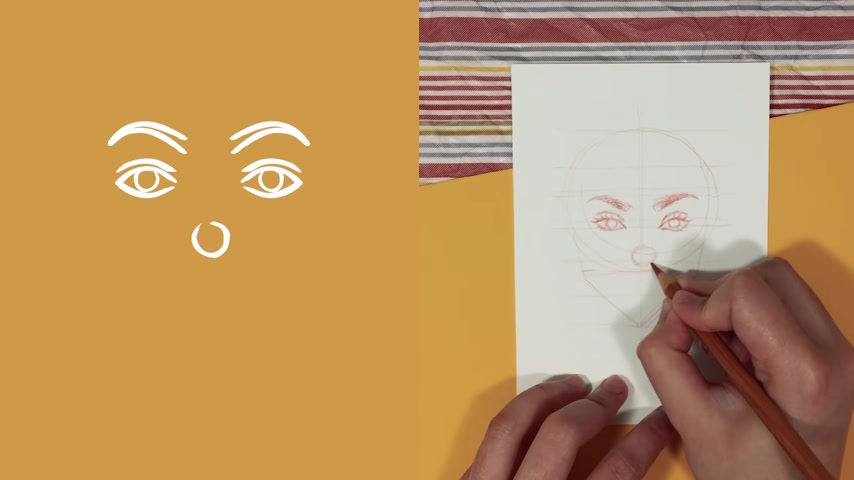
Now that we have the guidelines , we can start adding in the facial features , starting with the eyes when drawing the eyes , I like to start with a basic leaf shape on line four and the height of this shape um can determine how big or how small the eyes we want to draw .
I also like to take note of the outer point because changing the placement of this , whether it's a little bit higher up or a little bit lower , it can give us a range of eye shapes such as an almond eye shape or a downturned eye shape .
And the next shape that we draw is the circle in the middle , which is the iris .
And of course , when you move this to the left or to the right , it indicates the direction of the person's gaze .
And then we also have an arch above the eye to indicate the eyelid or the crease of the eye .
Now , the distance of this to the eye gives us a range of eye shapes once again .
So for example , a monolith or deep set eyes and also changing the angle of this can give us either upturned eyes or downturned eyes .
And the last thing I like to take note of is the distance of the left eye to the right eye .
Normally , this distance is another eye .
However , you can draw the eyes closer together for close set eyes or further apart for wide set eyes .
When drawing the eyebrows , I always draw it below line three .
And I start with a simple arch , then I make one side thicker than the other .
That's basically it .
However , changing the height of this arch can either give us a nicely arched brow or a straight brow .
When drawing the nose , I like to start with a circle just above line five and the size of the circle can give us a range of nose shapes .
So for example , the smaller the circle , the pointier and narrow the nose usually is , whereas a bigger circle creates a wider and rounder nose .
I then draw two arches for the nostrils .
And the height and angle of this arch can also be changed for a bit of diversity .
I also like to draw two more lines that look like the letter C to complete the nose .
And the final touch are two lines for the bridge of the nose .
So it connects down from the eyebrows to the circle that will be drew for the nose .
And you can draw this as light or as heavy as you want .
Depending if you want this to be way more pronounced .
When drawing the mouth , I start with a basic leaf shape with a V cut out on top and a line in between .
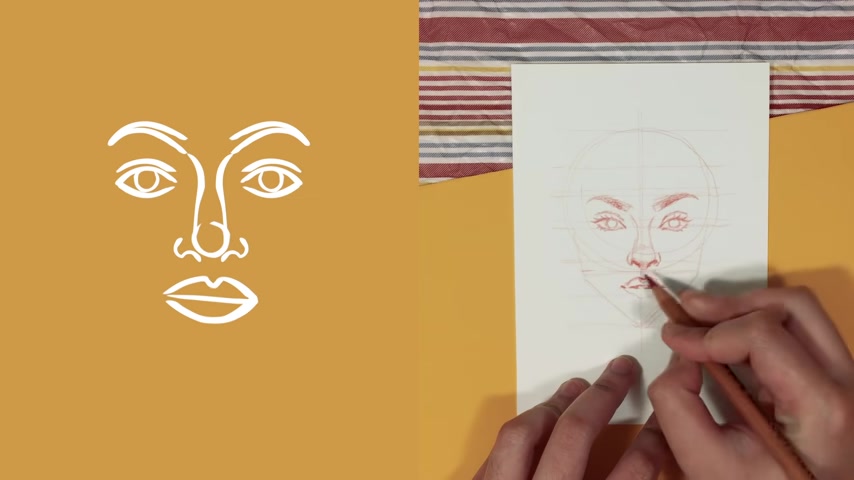
And I draw this on top of line six and the width of this is normally wider than the width of an eye .
But changing this width basically gives you either small lips or wide lips .
And then changing the height of the shape can actually also determine how large and plump you want the lips to be or how thin the lips are .
And then of course , you can alter the shape to create a more realistic look of the lips .
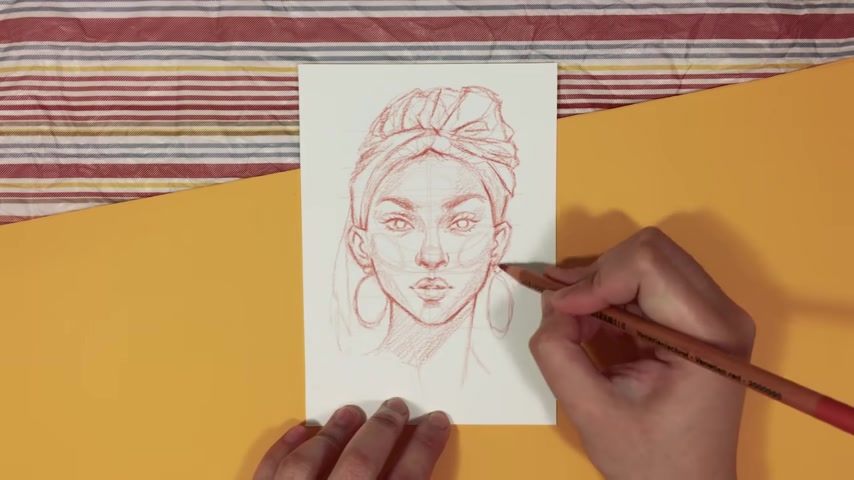
When drawing the ears .
I like to start with a line that looks like the letter C and the degree of this line's curve pretty much determines the size of the ear from the front view .
So some people do have ears that stick out .
So that will be a very curved C that we draw .
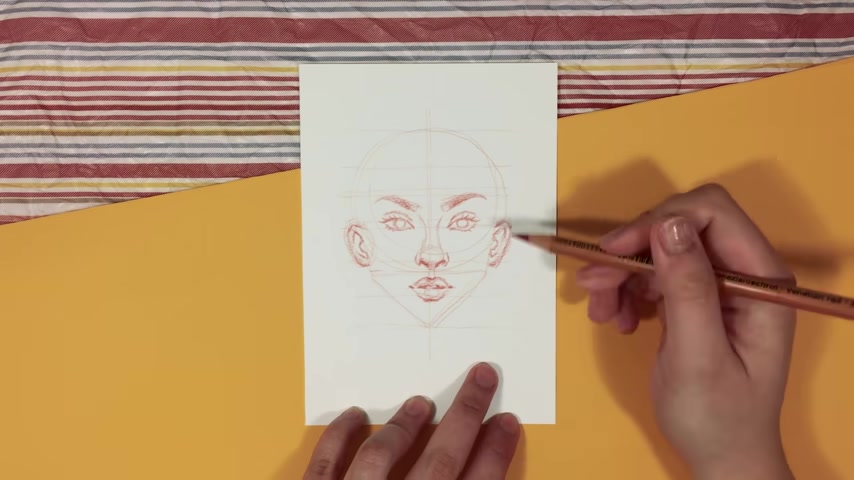
Whereas some people's ears don't really stick out as much .
So the curve of the letter C that we draw isn't as pronounced .
I also draw like this random looking line for a very simplified look of the ear .
When it comes to drawing the hairline , I have four options that I use to create the different face shapes .
So for example , we have an arch which can create an oval face shape .
This is very common .
We have a pointed arch which can create a diamond face shape .
A straight line can create a square face shape .
And lastly a letter M can create a heart face shape .
However , sometimes this won't even come in handy since hairlines are normally hidden due to different hairstyles .
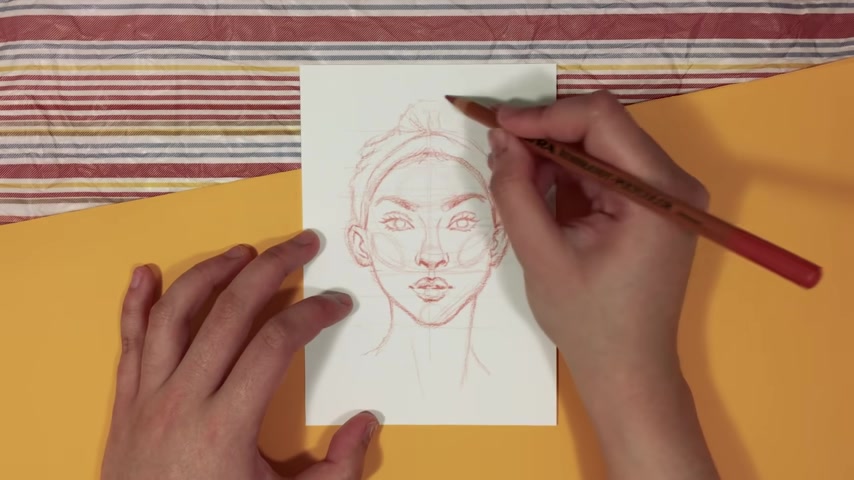
For example , when you draw someone with bangs , the last thing I like to add to my portraits are circles or ovals .
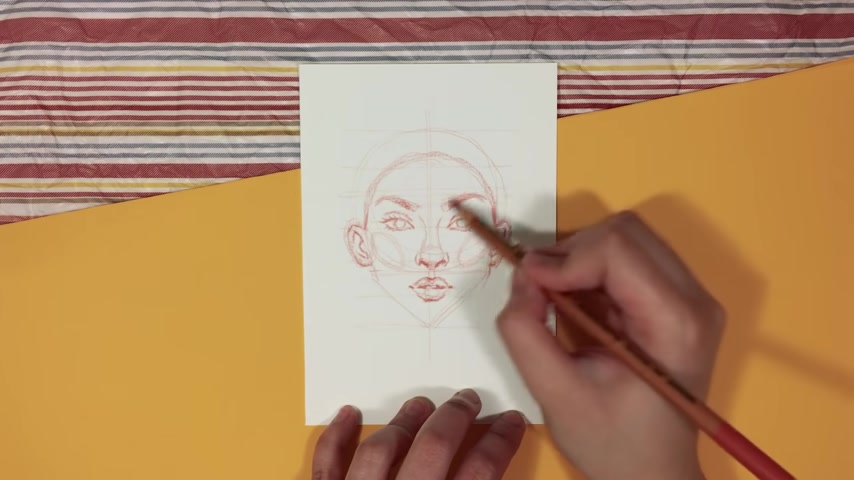
And I actually use the circle that we initially drew for the head as a guide .
When placing the ovals for the cheeks .
I do like to add these , but for you , it's optional .
However , if you've been following my style and my art , you would know that I like to add these for my portraits I also like to draw an oval on the forehead just between the eyebrows as this will help me when I color the face in later .
And then lastly , I like to add a circle on the chin just underneath the mouth as this one helps me shape the jaw .
And as a bonus , feel free to draw the neck for a more realistic look and something that I personally like , I draw it almost as wide as the jaw .
However , you can change the width to make it nice and slender .
And once you've added in all of the facial features and the hair as well , which will hopefully be in another video , you finally have drawn a face .
So when it comes to drawing faces and pretty much anything I highly recommend using references because reference images are very helpful when you're just starting out to draw .
And it also gives you an idea of the diversity in faces , face shapes and facial proportions .
So I do hope that you've got an idea of what the basics are and how you can change that up through this video .
I also highly recommend practicing regularly to try out other combinations and pretty much to experiment with the guidelines that I've shown you in this video .
There are honestly no rules .
Anything that I've showed you in this video only serves as a guide .
So technically , it is up to you whether or not you want to follow them .
But I do hope that you have found this helpful in the description box are some links to resources and an exercise sheet that I've also included .
And lastly , of course , I hope that your main takeaway from this is to have fun because that's the most important part of drawing , have fun and enjoy the process .
So if you like this video and I hope that you did if you found this helpful and I also hope that you did please give this video a thumbs up , leave a comment in the comment section down below of anything you'd like to see from me in the future because I would like to bring this channel back to life .
Um Subscribe if you haven't already for more content from me , um feel free to share this video as well .
And thank you so much for watching and I will see you in my next one .
Are you looking for a way to reach a wider audience and get more views on your videos?
Our innovative video to text transcribing service can help you do just that.
We provide accurate transcriptions of your videos along with visual content that will help you attract new viewers and keep them engaged. Plus, our data analytics and ad campaign tools can help you monetize your content and maximize your revenue.
Let's partner up and take your video content to the next level!
Contact us today to learn more.