https://www.youtube.com/watch?v=R5TbmEGJKzA
Beginners - How to draw a tiger
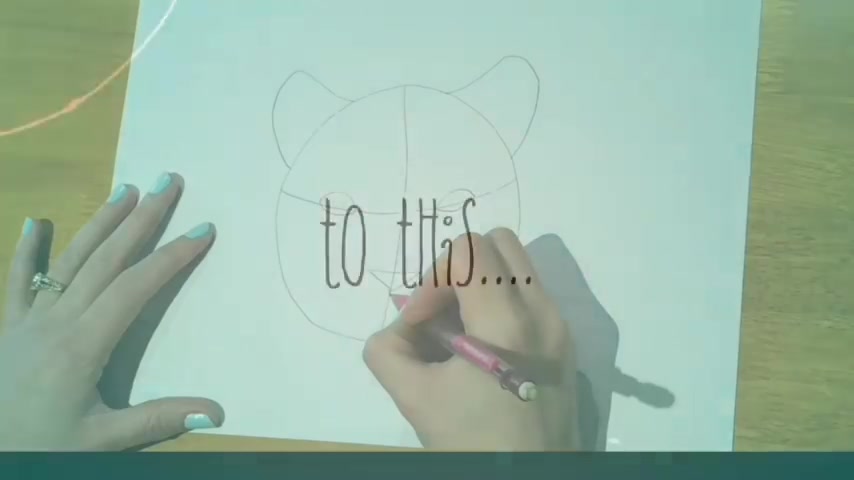
Hello and welcome to Cap and Dish Studio .
My name's Harriet Miller and today I'm going to be teaching you how to draw a tiger's head .
What you're going to need is a piece of paper , a pencil , a rubber and a black pen .
Let's get started .
So first of all , we're going to start off with a big circle .
It doesn't have to be perfect .
This is all going to be rubbed out at the end .
So just do a big circle like so mine's a bit lopsided .
It doesn't matter at all .
And we're going to cut that circle in half just above midway .
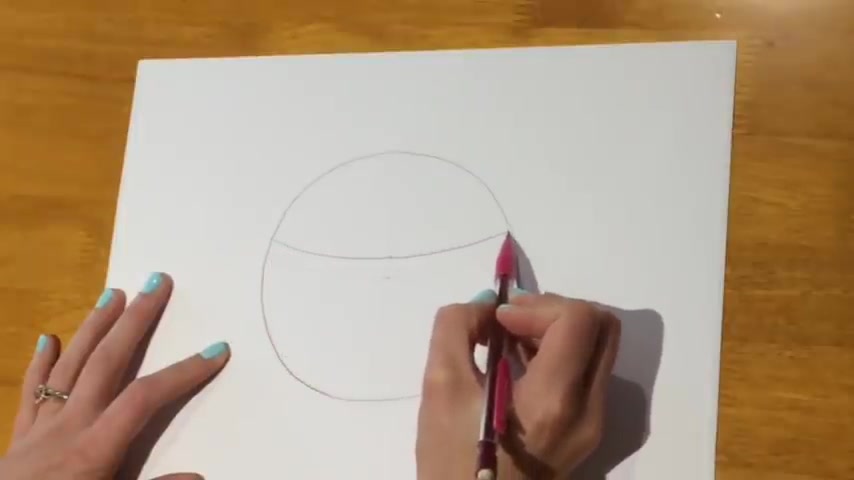
So not there just a little bit higher by a shallow curve .
This is gonna tell us where to put the eyes .
We're going to cut that line in half from the top .
Next , we're going to do the eyes .
They're going to be the shape of rugby balls .
So if we put one in here just on the line and another one here on the line , don't worry about these lines , we're gonna rub them out next , we're gonna do the ears .
Now , this type is gonna have them slightly folded back .
A little bit .
So just do one line going up and a curved line coming around .
I think so .
And the same on the other side , one line going up and it comes round now for the nose , we're going to do a triangle which is upside down .
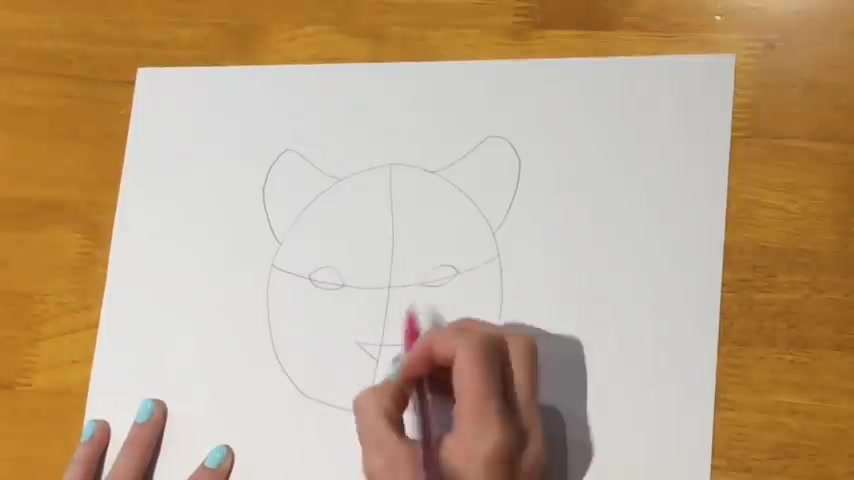
So just do a normal triangle , make sure that it's on this vertical line here and it's upside down to do the mouth .
We're going to follow this vertical line down from the nose just a little way and then we're gonna go round in a curve to the side like that and we're gonna do the same on the other side .
So it's like ac shape that going on like that looks a bit like a happy tiger now and we're gonna follow that just do a little line across and black it in and then the chin is going to be another c shape exactly the same shape as the others coming down and round like .
So now I'm going to start drawing in pen um because we're gonna start doing the details afterwards .
I'm gonna rub out all the preparatory lines that we've done .
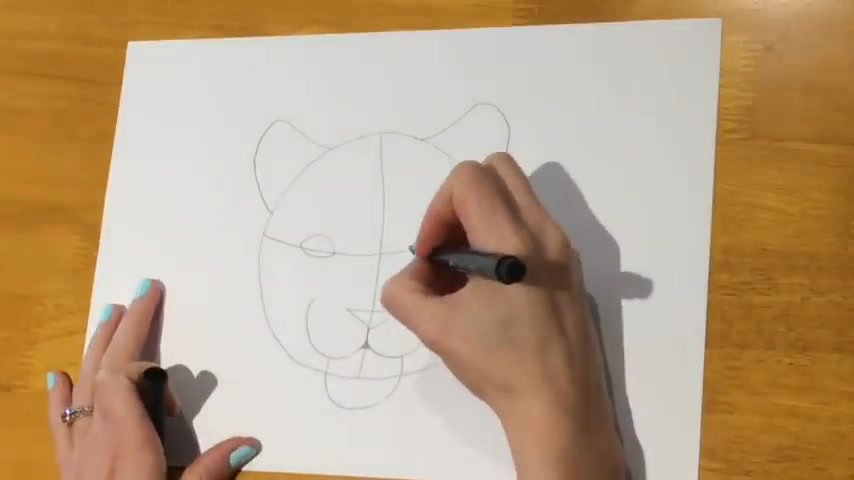
So I'm gonna go back to the eyes and we're going to carry this line on a little bit lower than it was before .
And we're going to follow up , go over the line that we did before and again there and the same on the other side go a little bit lower , go round like So and in the middle , we're going to make a circle .
So just curve the lines in a little bit more .
So it's more , it's more of an shape really .
And then the same on the other side , like so and we can color in this space black like that and don't forget to add the pupil .
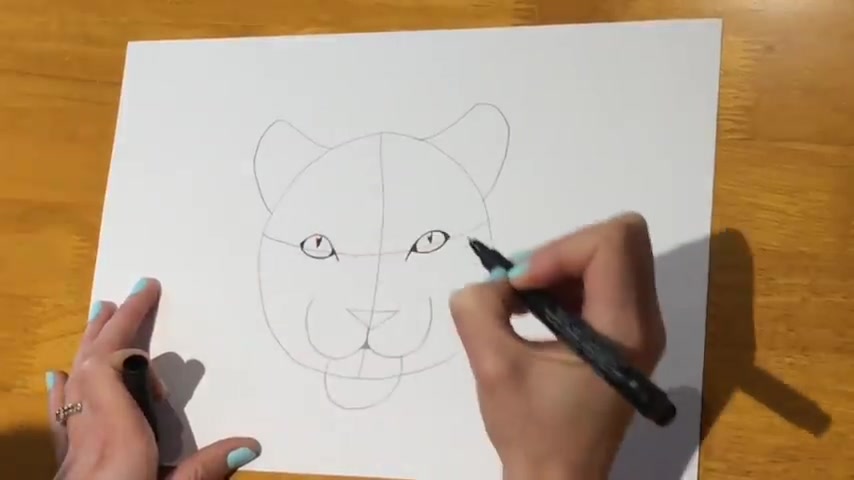
So like that kind of like a V shape with a little circle taken out the top to show that there's some light there and the same on the other side , a V shaped like that .
We're going to do the same for the nose , make it look a little bit more realistic .
So we're gonna add some nostrils , nostril in on this side and a nostril on this side and then we'll do the bottom of the nose like that and the top of the nose like that .
Now we're gonna go over this line that we did before for the mouth and the same on the other side .
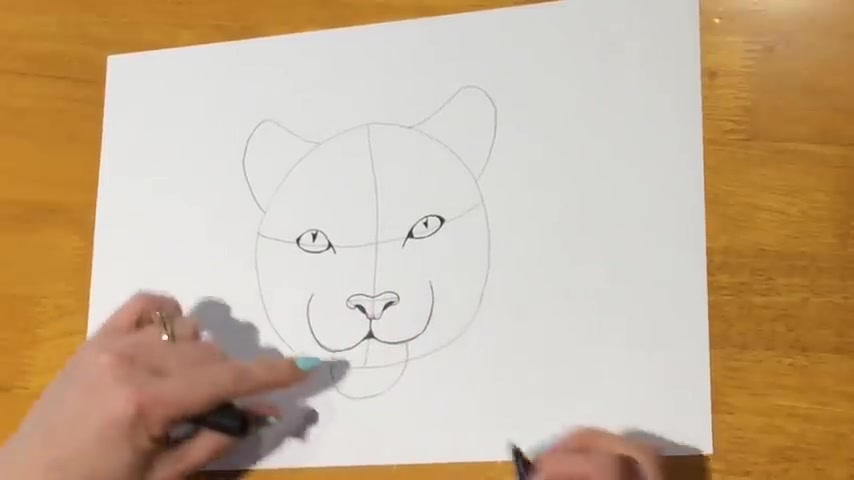
And I'm gonna color this in a little bit more in black .
Now , with the bottom part , we're not just gonna follow the line , we're gonna do some furry lines .
So just lots of straight lines going down like that , lots of straight lines going down .
They've all got to go the same way , just lots of feathery little lines to show that they're some fur and we're gonna do lots of dots here .
This is for the whiskers and then we're gonna do lots of long lines for the whiskers starting to take shape .
Now , now we're going to carry on these furry lines when we do the ears .
So let's do some furry lines going up like that and some soft brush strokes there and then the same on the other side , you can follow this line around , but here we're gonna need to have some furry lines .
There we go .
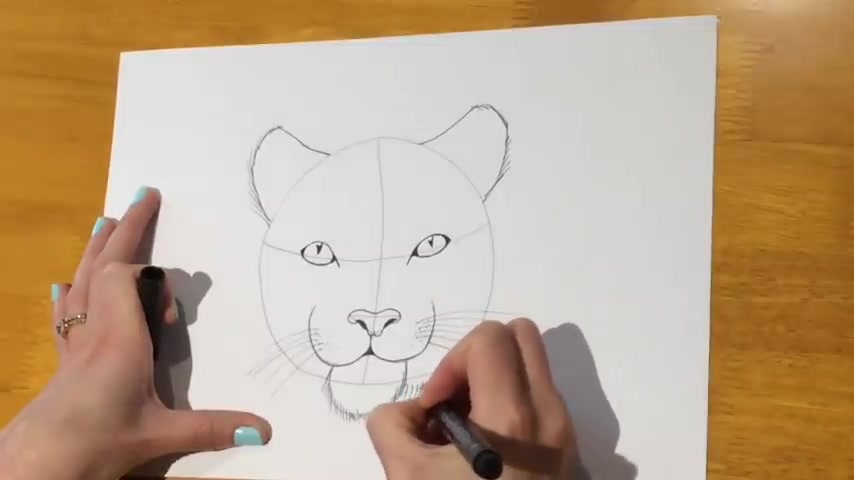
Now , we're going to carry on with these furry lines .
We're not going to carry on with the circle .
We're going to bring it a little bit lower .
So I'm bringing the face out a little bit more , a little bit longer this way and coming up to the top and we're gonna do exactly the same on the other side .
And then we're going to carry on the head , going up to the top and drowned and now it's time for you to rub out all the preparatory lines .
So get your rubber and we're gonna rub it all out .
Now , we're going to add the tiger stripes .
So I've got a slightly thicker pen .
Now I'm just gonna go round the eyes a little bit more like this , make them look a bit blacker .
I like .
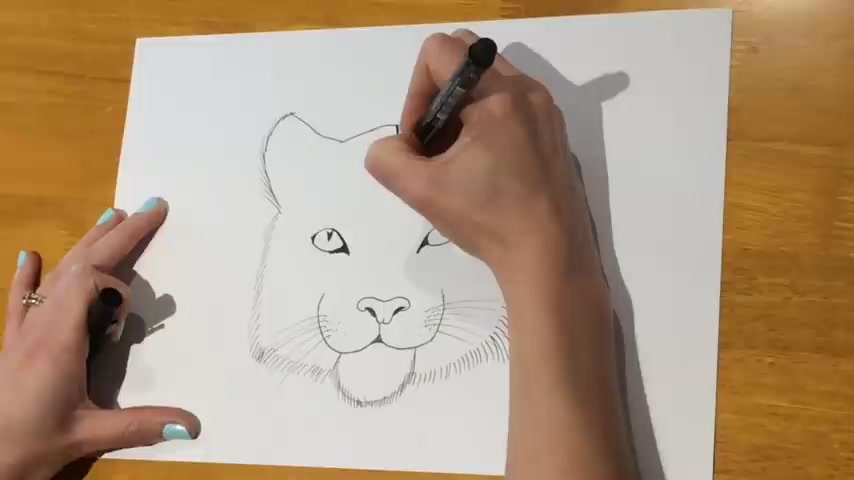
So and I suggest starting at the top , drawing a line down halfway there and then make sure that everything that you do on one side with the stripes you do on the other side so that it's perfectly symmetrical .
So I'm gonna start some stripes there .
I'm gonna do exactly the same on this side .
I'm gonna do like a diamond shape in the middle and from there , I'll do another stripe coming out .
It might be helpful to actually look for a picture of a tiger so that you can copy the stripes .
But generally you just add a few stripes like this .
Ok .
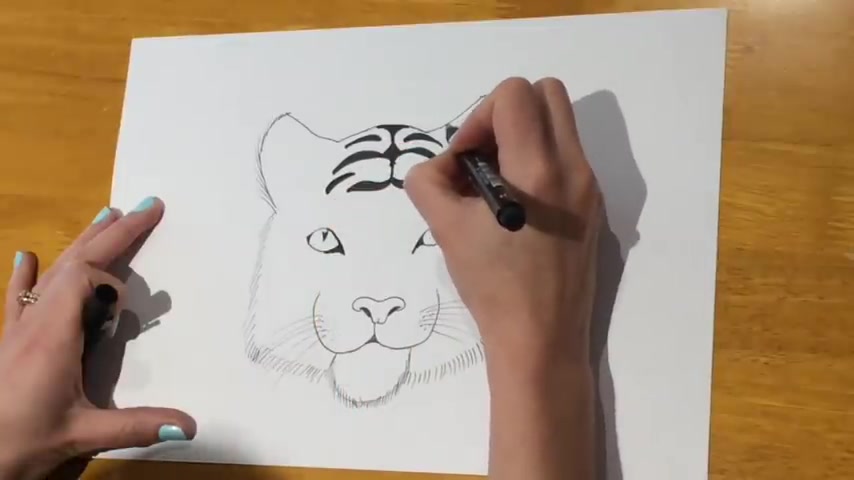
Don't forget to add the strips to the ears as well .
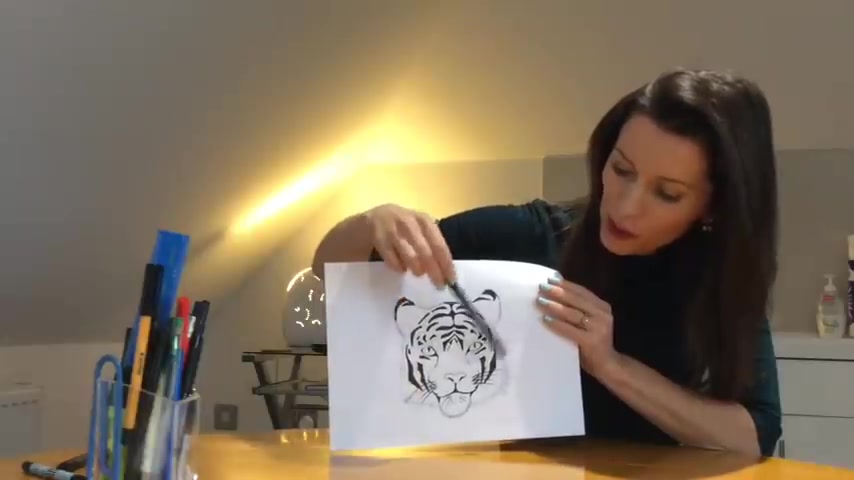
So now we've finished the tiger's head .
I've used the thick black pen to draw on some more whiskers .
If you want , you can color it in using some orange um , velte pens or paints or coloring pencils .
Just remember to leave the part above the eyes white and also leave the chin area white as well and a little pink nose .
If you've enjoyed this , please do join me on the next one and check out my artwork on Harriet Muller dot com .
Hope to see you soon .
Bye bye .
Are you looking for a way to reach a wider audience and get more views on your videos?
Our innovative video to text transcribing service can help you do just that.
We provide accurate transcriptions of your videos along with visual content that will help you attract new viewers and keep them engaged. Plus, our data analytics and ad campaign tools can help you monetize your content and maximize your revenue.
Let's partner up and take your video content to the next level!
Contact us today to learn more.