https://www.youtube.com/watch?v=5FR__Gt0CSo
The Easiest Actually Good Baguette You Can Make at Home
Hey , what's up today ?
I'm gonna show you a really simple process for making a baguette at home that literally anyone can make .
It comes together in about three hours and does not require any special baking equipment .
Oh , and stick around at the end because I'll show you my favorite way to eat a baguette to get started .
I'm gonna grab a medium bowl and into that , I'll measure 200 or 25 g of warm water .
Shoot for slightly less warm than bathwater .
I'd say 90 F or 32 C .
Then I'll add in 350 g of bread flour .
Next , I'll grab a sty spoon and jump into the bowl and stir everything up to combine .
You might notice that there's no yeast or salt in this bowl when you combine just flour and water without those other two and let it hydrate .
It's called auto leaves and it makes the dough a lot easier to stretch later on .
This really comes in handy , especially when you're trying to make long skinny pieces of bread like baguettes .
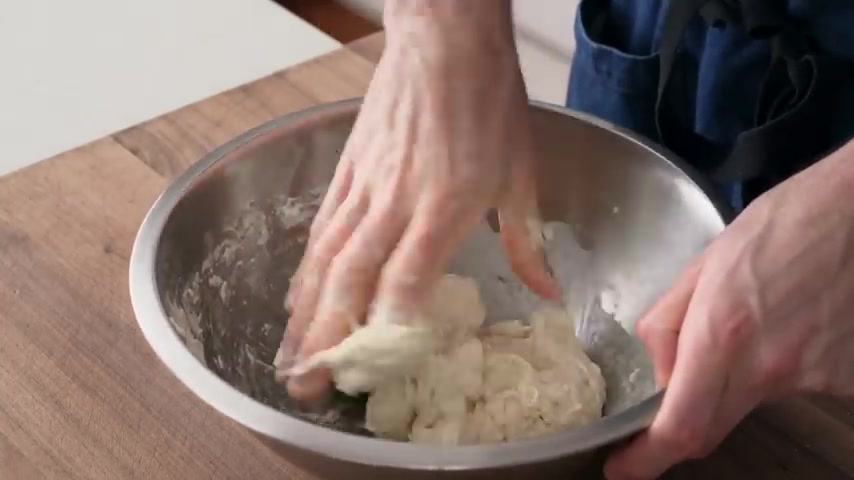
When the dough's all watered up into a shaggy mess like this .
I'll stop with the stirring and switch over to the most powerful tool in the home baker's arsenal , the soaking wet hand and the bowl it goes and now I'll squeeze and pinch and turn the dough until it's fully combined and there's no more dry spots .
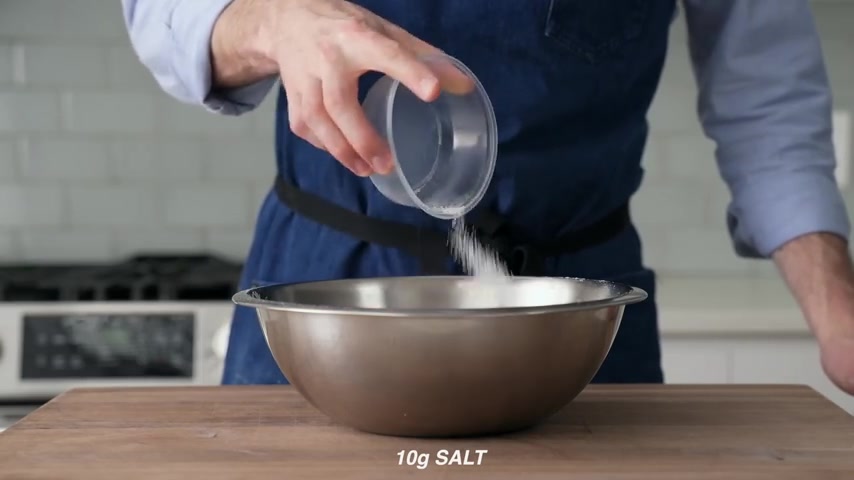
Once the dough's been massaged into a cohesive mess like this , I'll grab 10 g of salt and then lay it down on top .
Putting salt on top of the dough helps kind of dissolve it so that it can be more easily mixed into the fully hydrated dough later on .
But it doesn't stop the dough from doing its auto leasing thing in the process .
Now , I'll cover the dough with a lid and then grab a small container and into that measure 8 g of instant yeast and 30 g of warm water .
I'll stir those two to combine and just like for the salt , yeast is really hard to dissolve into a dough that's already been hydrated .
So this extra bit of water will help activate the yeast and hydrate it so that it can be properly incorporated into the dough .
I'll let all this sit for 15 to 20 minutes .
20 minutes later , the dough is fully hydrated .
The salt is starting to dissolve .
And so now I'm gonna finish mixing by pouring in my yeasty milkshake , get it all in there now and then I'll come back with a soaking wet hand one more time to get all of that combined .
Adding wet stuff to flour that's already been combined with water , takes a little bit of extra effort , whether you're using a mixer or doing it by hand .
So this last step is probably gonna take about 3 to 4 minutes of straight elbow grease in to get everything nice and homogeneous .
And there we go , finished baguette dough .
By the way , if you want to use a stand mixer instead of your hands to make this dough , you certainly could .
I'll leave full instructions for that down below in the description , but I would recommend mixing it to the exact same point as the hand mixed dough .
So the process in this video is still relevant .
Here's the hand mixed dough for reference .
Both of these are a total shaggy mess but not for long for now , I'm gonna let this hand mixed dough rise here on the counter for 2.5 hours total .
But I'll check back in 30 30 minutes later .
I need to get the gluten in this dough more developed or stronger .
As I like to say for that , I'll do a strength building fold for that .
I'll pull out a grip of the dough stretching it as far as it will let me go and then I'll fold it back over repeat that 4 to 5 times stretching and layering the dough like this lets us replace the mechanical force of a mixer .
It also develops the gluten more gently and as a result .
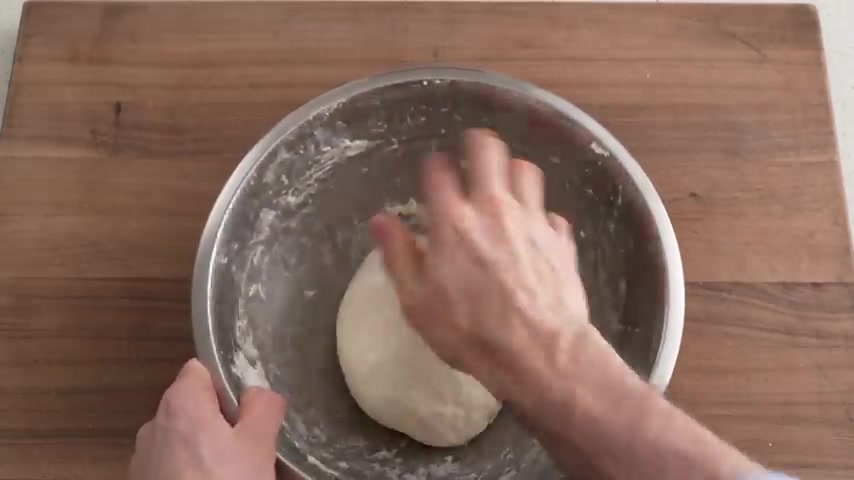
It gives us a final product that's much easier to shape and has a more open crumb .
I'll finish the folding here by rounding the dough into a nice tat little b now the lid goes on and I'll check back in 30 more minutes to fold this one more time .
30 minutes later again , I'll pull it out , fold it back over 4 to 5 times and then round it into a nice tat little ball just like before the lid goes on .
And now I'll let this ferment here on the counter for 90 more minutes .
30 minutes later .
When I come back , you can see my dough has just about doubled in size and it's gas up pretty significantly .
There's definitely some unwanted big bubbles in here though .
So I'll pop those .
I'll pop them , give those a pop next , I'll grab a half sheet tray and lay it down on my counter upside down and then top it with a piece of parchment from there .
I'll spray that parchment liberally with pan spray or olive oil .
And the reason I'm using this sheet tray upside down will become clear in just a second .
Stick with me .
Next , I'll lightly flour my board , then my dough and then I'll flip out my dough .
This blob is roughly 600 g .
So I'll cut it in half or into two equal size 300 g size pieces .
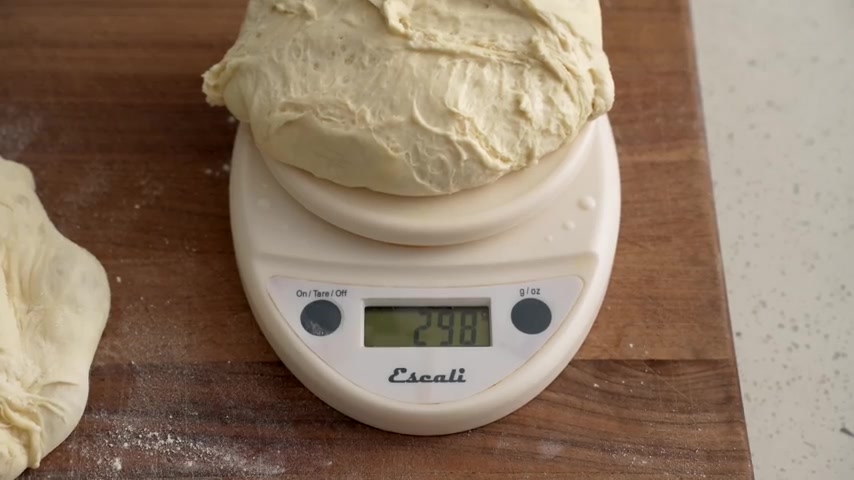
I usually like to throw it on the scale because , you know , symmetry feels good , but feel free to just eyeball it .
Now to get these into uniform tube shaped baguettes , we need to pres shape them for that .
I'll grab a chunk of dough , making sure the cut side is facing up and then I'll degas it from there .
I'll grab the sides , pull them both out , fold them over each other and then roll this from top to bottom .
So the folded seam is underneath from there .
I'll use both hands to roll this blob into a nice tight round ball .
This pre shaped step gives us both more strength in the final dough and a uniform starting point for the final shape without it making baguettes is very difficult .
Once I've got two pre shaped balls , I'll line them up next to each other and then cover with my dough ball so that they can relax for 15 to 20 minutes .
15 minutes later , it's time to roll these out for that .
I'll scoot one of the dough balls aside , grab the other one flower , my board very lightly .
Too much will hurt , not help .
And then I'll drop the dough ball down seam side up .
Now I'll degas this one more time with my fingertips to remove any excessive bubbles .
Then I'll grab both sides and pull this out to stretch it into more of a rectangular shape .
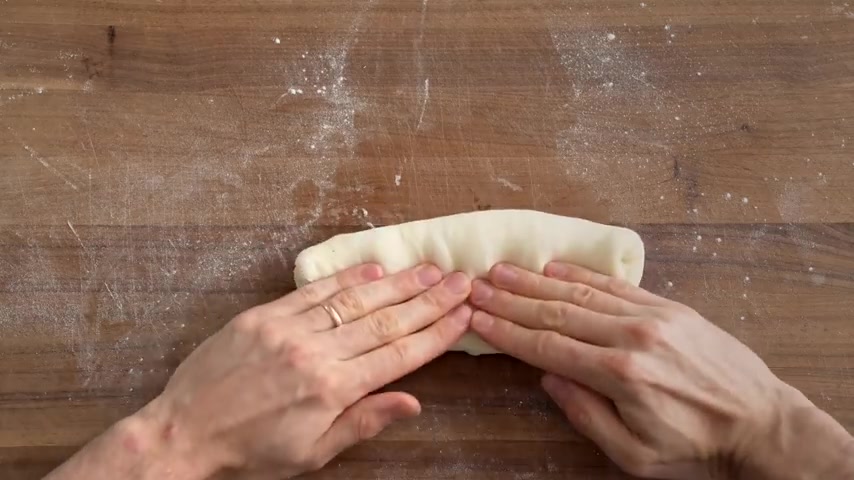
Once we're there , I'll start shaping by grabbing the top 20% this dough and folding it over like this .
Then using my fingertips , I'm gonna gently roll this tightly by pulling the dough towards me and pressing it back down to seal in the tension .
Each time I roll it closer to me by about one inch .
If you see any large air bubbles in there , definitely pop those , those are going to get in the way of structural integrity .
Keep on rolling and popping as you go .
And once we get to the bottom , we should have a nice taught tube with a uniform seam underneath like this .
Now , to get this stretched out even more , I'm gonna use my fingertips and thumbs in a triangle pattern to apply downward pressure while also keeping the seam that we just made underneath this the whole time .
Each time I roll , I apply just a little bit more pressure to get the dough moved outwards as I get closer to the ends .
I apply even more pressure .
And that gives me a nice taper .
If we did our job right , we should have a 10 to 12 inch baguette shape with a straight seam running underneath like this .
Now I'll move these shaped baguettes over to my sprayed parchment paper on the back of the sheet tray and then I'll grab something to cover them with .
So they don't dry out while they proof for that .
Using this nifty foil pan that I got at the grocery store , it fits perfectly over a sheet tray that's been turned upside down and it's gonna serve double duty when I use it as a lid to trap steam while these baguettes are baking .
If you wanted to skip this covering step , I would say just use a sheet tray , not upside down and then cover the bread with another sheet tray as a lid .
And when you go to bake , just don't use a cover for now , I'll drop this very conveniently sized foil pan over my baggies and let them proof for 60 to 90 minutes .
While I think the sponsor of this video , Clima Clima is an app that offsets your carbon footprint .
It uses your monthly subscription to actively fund science based climate projects throughout the world that directly offset your own emissions specifically .
That means funding tree planting projects , kick starting solar power and providing clean burning cook stoves for people around the globe using the app .
You can also learn other ways that are simple and actionable to change your carbon footprint .
For example , you can take less short haul flights or use public transportation more often or eat less beef if you want to eat less beef .

I personally calculated my carbon footprint in about three minutes by entering some simple information about my lifestyle and habit .
A few minutes later , I could see my carbon footprint and the actual projects that my subscription is going to be funding to offset it .
That's pretty cool .
Oh , and there's this tree tracker that shows how many trees have been planted in my name so far ?
It's only one but uh I'm working on it .
So to go carbon neutral with Clemo .
Use the link in my description , use code Brian L 10 at checkout to get 10 extra trees planted in your name .
Again , the link is in my description .
The code is Brian L 10 .
You'll get 10 extra cheese planted in your name , the earth .
And I thank you for your support .
Thank you Klima for sponsoring this video .
60 minutes later when I check back on these baguettes , they've risen by about 50 to 60% .
I know they're ready for the oven when I give them a poke and they bounce back ever so slowly like this .
I would err on the side of slightly less proof here .
Overproof baguettes are flabby dense and the crust is overly chewy now to get these ready for the oven .
I'm gonna use some water for that .
I've got a standard issue Home Depot spray bottle here , but you could just use a brush in some water .
If you didn't have one of these , the moisture on the outside is going to delay crust formation and create a shiny crackly thin crust that's super satisfying to eat .
Next .
Using a serrated knife , I'm gonna these baguettes by making a shallow slice every inch and a half or so .
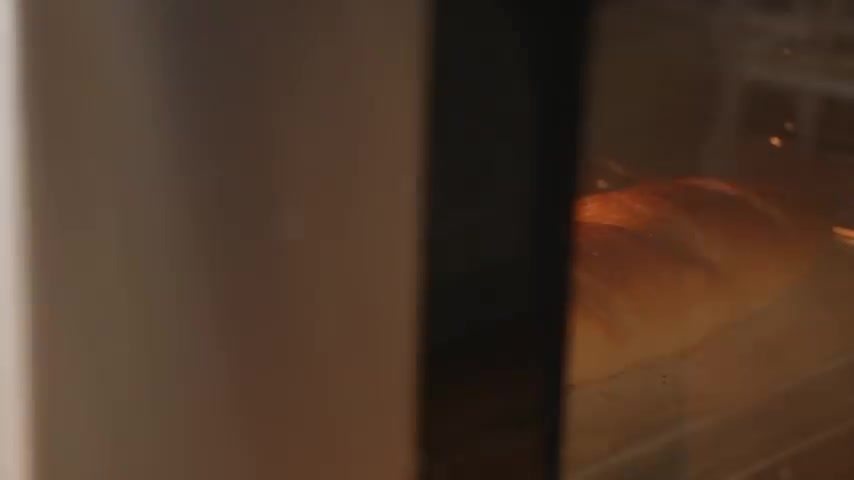
Then I'll cover these baggies with the foil pan that I use to proof them and then load the whole thing into a 4 50 F 2 30 C oven to bake for 15 minutes .
Again , if you don't have a foil pan , just skip it and spray on a little bit more water .
15 minutes later , I'll come back and carefully remove the foiled dome .
There's a bunch of steam under there though .
So keep your hands at a distance until that's well released .
These baguettes look great though .
That extra steam really helped you latinize the crust .
And as you can see , we got some really good rise or oven spring from here .
I'm gonna bake these for another 15 to 18 minutes after 10 or so of those minutes , I'm gonna come back and carefully rotate the baguette so that the sides that are on the inside are now on the outside .
That way that blond interior can get exposed to some higher heat and take on some good color .
You get a much more even crust this way , but be careful .
It's super hot in there .
Clearly , after 30 to 35 minutes of baking , it's time to pull out these baguettes .
As you can see , these are well risen , super uniform and the crust is really well baked and perfectly reddish , golden brown .
I always love that .
This crust , in my opinion , is just spot on for what a baguette should have .
It's crispy , toasty and rustic , but thin and brittle as well .
It's not gonna tear up your mouth .
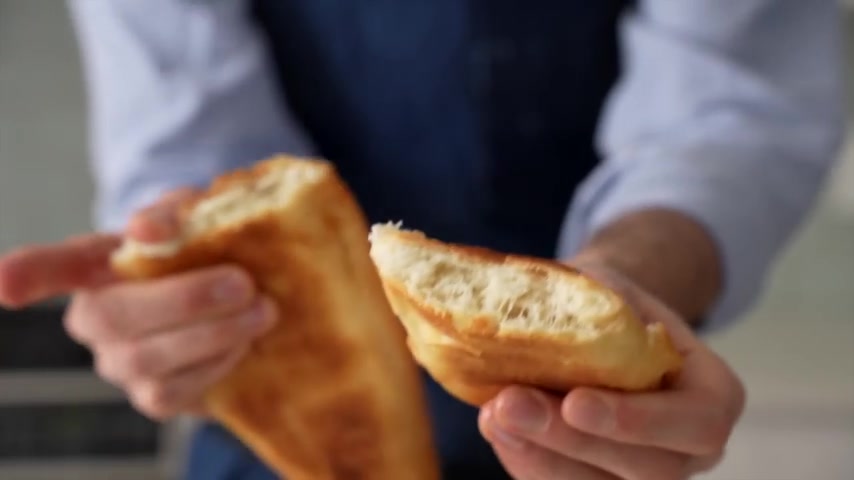
In the creamy , soft white interior gives way to a nutty crunchy crust .
There's about a 50 50 blend of crusted crumb , which is just perfect for a baguette .
Let me know in the comments , what your all time favorite baguette experience was ?
Or is this beginner baguette with some fresh ham on it and some butter smeared all over it for me was top two of all time and definitely beat out some baguettes that I had in Paris .
You guys , this recipe is super easy and anyone can make it .
So I really hope you try it soon .
Let's eat this thing .
Are you looking for a way to reach a wider audience and get more views on your videos?
Our innovative video to text transcribing service can help you do just that.
We provide accurate transcriptions of your videos along with visual content that will help you attract new viewers and keep them engaged. Plus, our data analytics and ad campaign tools can help you monetize your content and maximize your revenue.
Let's partner up and take your video content to the next level!
Contact us today to learn more.