https://www.youtube.com/watch?v=7HcD5yJyMR0
How to Make Perfect Cakesicles at Home
Hey guys , it's and welcome to cooking fantasies in today's video .
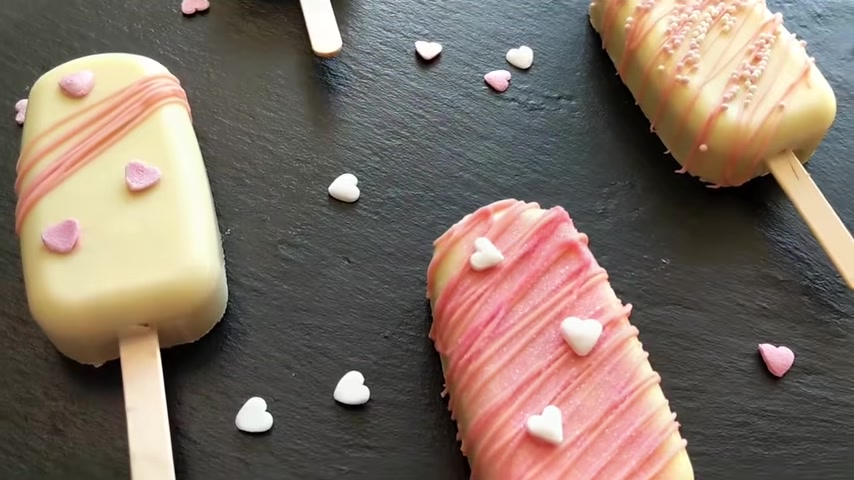
I want to share with you how I make these beautiful and delicious cake .
I made these few weeks back for my little girl's birthday and they turned out so delicious and so beautiful as they always do .
And in today's video , I'm gonna share with you all the tips and everything you need to know to make the perfect cales that everybody loves .
And as you see here , I decorated each little Texaco different , but they all fall into the same theme of pink and white and sweet little girl things .
So , but this is really optional and personal .
You can do whatever you want with the tex .
The main thing is how to get them to look so pretty and stable and not to have a thick layer of chocolate and have a delicious and moist cake inside .
And if you are new to the channel , we make a lot of delicious things here .
So make sure to hit the subscribe button , the little bell to get all the notifications and let's get started .
And of course , like always don't forget to check the description box for all the ingredients you're gonna need with all the measurements .
So let's get bacon .
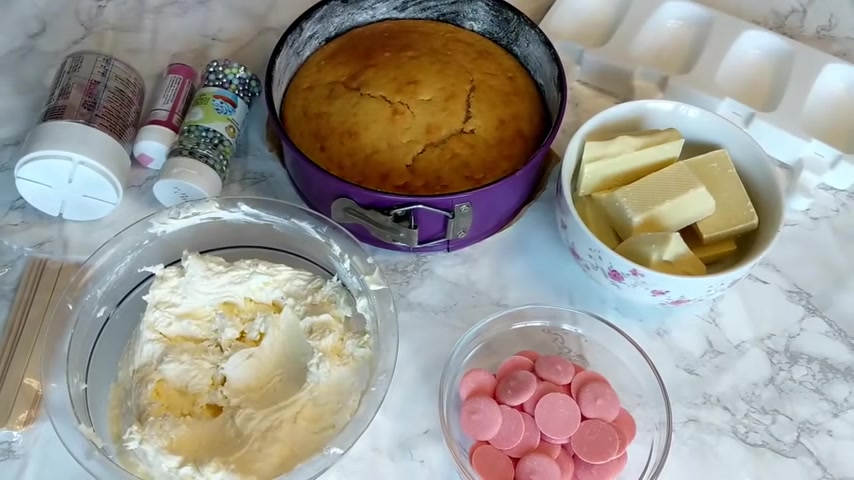
So let me walk you through everything you're gonna need .
So basically you're gonna need a cake .
Of course , use any cake that you prefer or you like .
I have your lemon cake , my favorite and I'm gonna be using this .
Just make sure that it's moist and delicious .
You're gonna need about two big tablespoons of American butter cream .
I have here basic butter cream with vanilla and of course , I'm gonna need some good bacon chocolate .
Here .
I have white chocolate and pink to decorate with .
I was going to make a pink one , but then I decided to go white and decorate it with pink .
It looks much better .
And of course , you can also use candy mels for that .
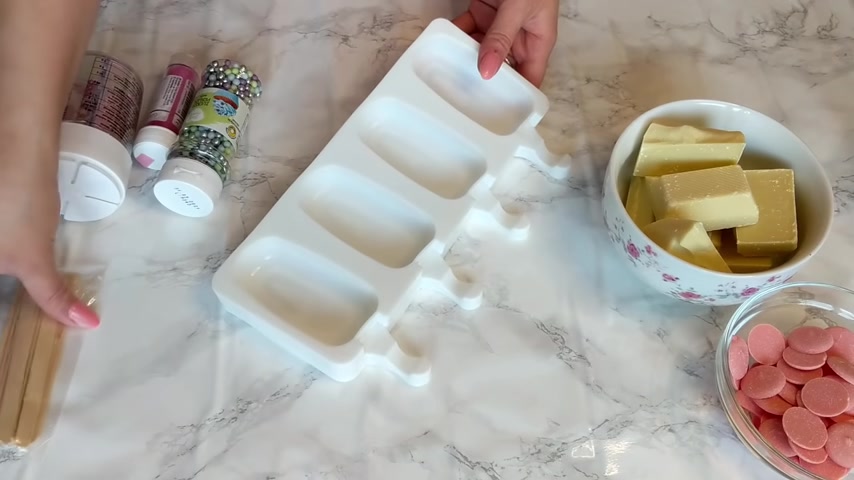
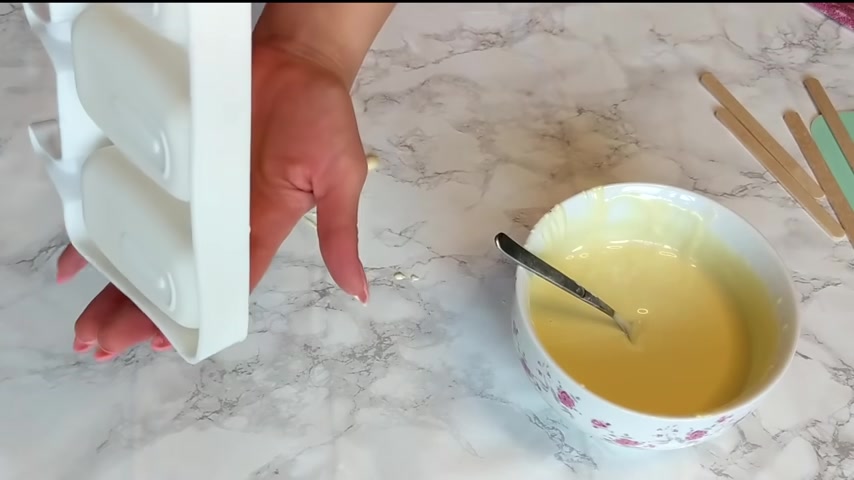
And of course , you're gonna need these silicon molds for your X and I think they are really easy to find online or in your shops and they are really worth it to have and you're gonna need these wooden sticks for your X and to decorate .
You're gonna need uh PS or whatever you would like to decorate your X with whatever it goes with the theme or whatever you want them to look like .
This is really optional and personal .
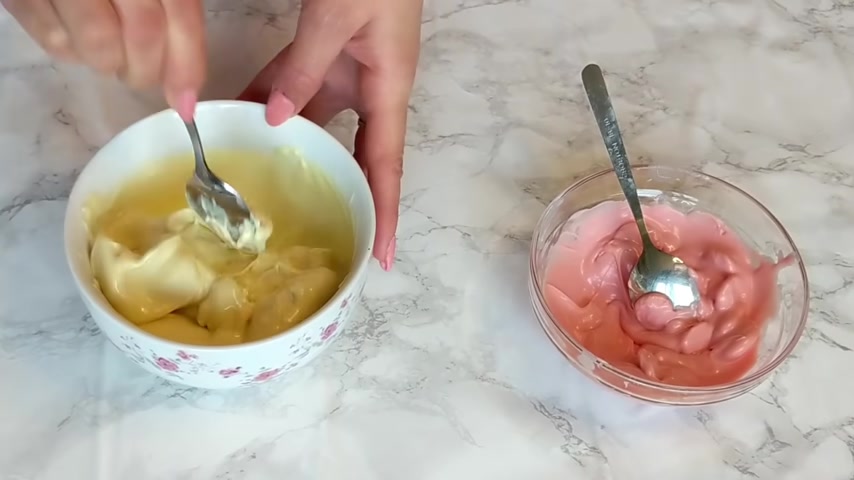
So first thing I'm gonna do is start melting my chocolate .
I'm gonna start with this because I want my chocolate to melt slowly , to be smooth , to have this nice tempered and nice shine to it .
Nice cracking and it's gonna be much easier to work with .
So , um , what I'm going to do is pop it in the microwave on 700 watts for about 30 seconds at the time .
Not more than 30 seconds , not more than 700 watts and gonna be stirring in between each 30 seconds .
I'm gonna be taking it out , stirring and putting it again for another 30 seconds till it's totally melts and this might take a little while .
So that's why I started doing this at the beginning .
And of course , if you're not using a microwave , you can melt the chocolate in a double boiler with some steaming water at the bottom .
Make sure the water is not touching the dish you are using to melt the chocolate and that the heat is not too high , just do it slowly .
And this is how you will get a nice tempered chocolate with a nice shine to it .
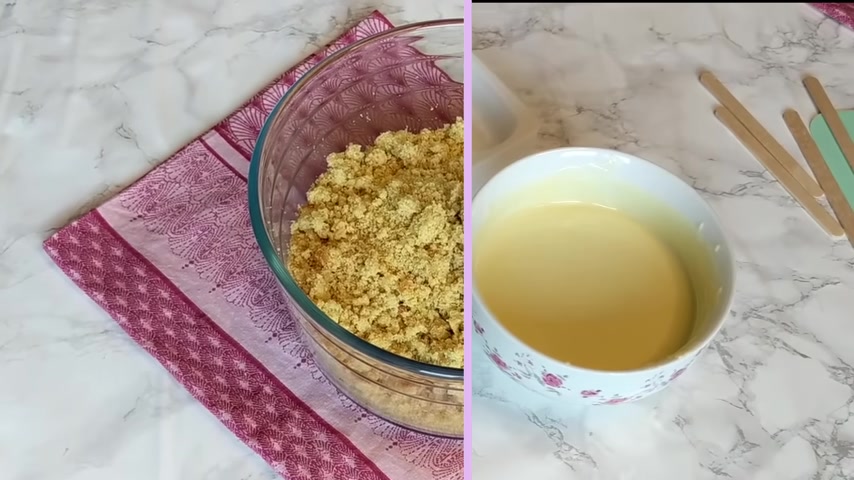
So now to the cake , how much cake you're gonna need depends of the consistency or the moist of the cake you're using whatever recipe you are using here .
I have a very moist lemon cake and it takes me about this small 20 centimeters uh bacon in small cake kind of you can somehow measure it easier when you crumble the cake using just your hands as you see in the video , I crumble it and they're gonna need a little bit more than a handful of crumbled cake for each cake .
So once I crumble all the cake , then it's easier for me to measure how much I really need .
And you're gonna need about one small cake .
You can also use a store bought cake back to the chocolate .
My chocolate is now ready .
It has had enough time to melt slowly and it has a nice texture , make sure that your silicon molds are nicely clean and wiped with some paper .
You don't want to have any traces of lint or dust or whatever in them .
And another tip I can give you is to wash them with hot water .
When they stay warm while you are pouring the chocolate , it helps the chocolate melt and spread better .
And this is how you will avoid having any cracks or missed spots .
Then go ahead and add about three teaspoons or four however much you need of chocolate to cover the whole surface , the sides and the bottom of your molds .
And as you see when I turn them around , it makes it nicer and easier to spread .
And this is where it helps if your silicon molds are warm .
So even though I see that the chocolate has nicely spread , I'm gonna keep turning it for another 30 seconds or so .
Just to make sure that not the whole chocolate sits to the bottom once I put it down .
So I just keep turning it around while the chocolate is setting and by the way , this scraper is a game changer .
So if you have it , go ahead and use it .
If you don't have it , try to get it , it's gonna make it much easier to work with the chocolate .
And now it's time to insert our wooden sticks .
And what I wanna do here while inserting the wooden stick is making sure that they have a little bit of chocolate in them .
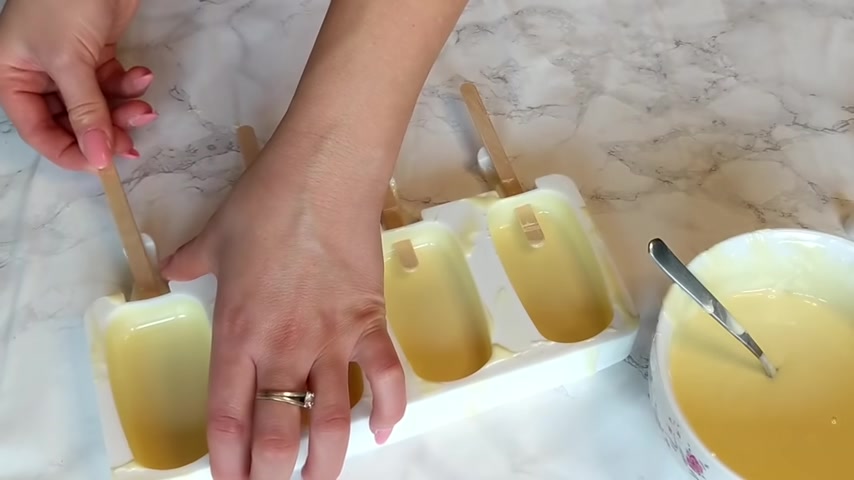
So you can either stick them and move them for a couple of times in and out just to make sure that they get enough chocolate to stick nicely to the chocolate shell you have made and you don't wanna stick them inside all the way to how you want to have them at the end because we're still gonna insert them a little bit more once we add the cake .
And as you see in the video , I only inserted them like quarter of the way through and this is very enough .
So I'm gonna place my silicon molds in the freezer for the chocolate to totally set and harden before we continue .
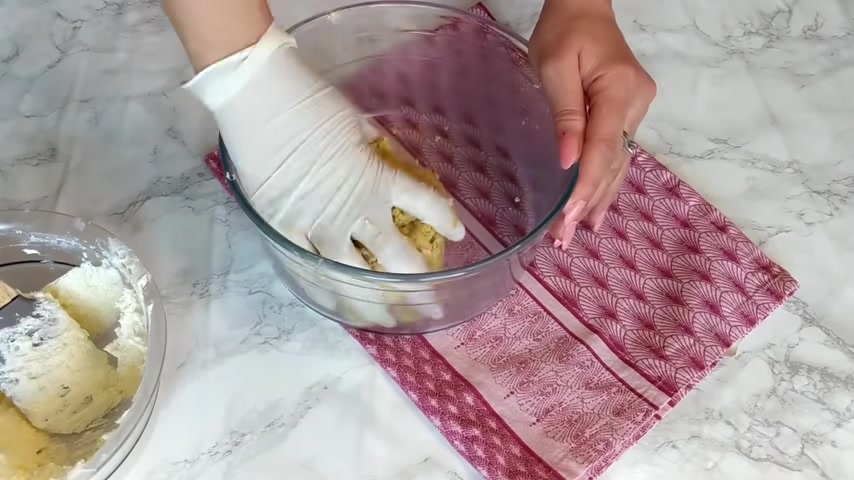
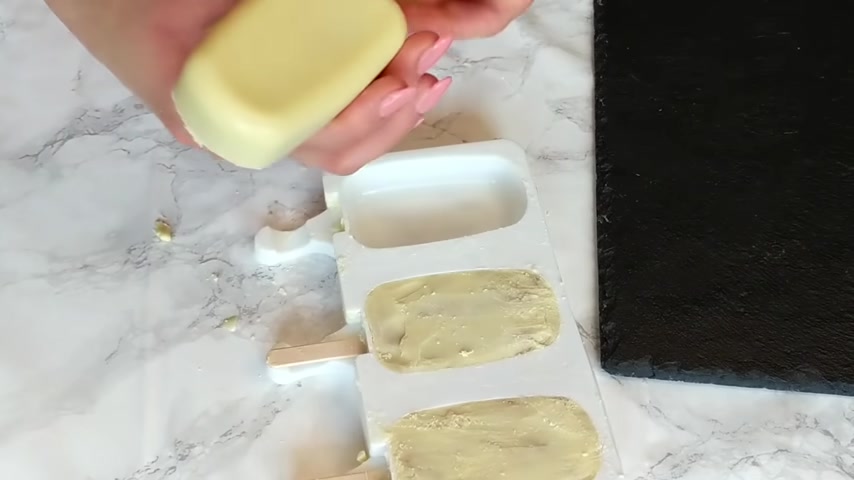
So my crumbled cake is ready .
Like I said , once you crumble it , you're gonna need about a little bit more than a handful , handful and a half for each cake c and then for the quantity I have , I'm gonna add about two tablespoons of American Butter cream , which is basically whipped butter with ice and sugar and a little bit of milk and vanilla and you can use any flavor .
You like try not to add too much cream at the beginning .
It's better to add more , but you cannot take it back .
So go ahead and add about one tablespoon at the time and how much butter cream you're gonna need .
This also depends on the consistency of the cake you used , how moist it is , what kind of cream you used .
But if you really wanna work it in like almost as if you are needing .
So you wanna work all the cream into the cake .
Don't worry if it's too crumbly , just add a little bit of butter cream at the time until you end up with a nice consistency .
How you know that you have the right consistency , you're gonna make a kind of a feast and if it stays stable , if it's not too crumbly , then it's ready .
Make sure not to add too much cream because then it's gonna be oily and it's gonna turn into a dough .
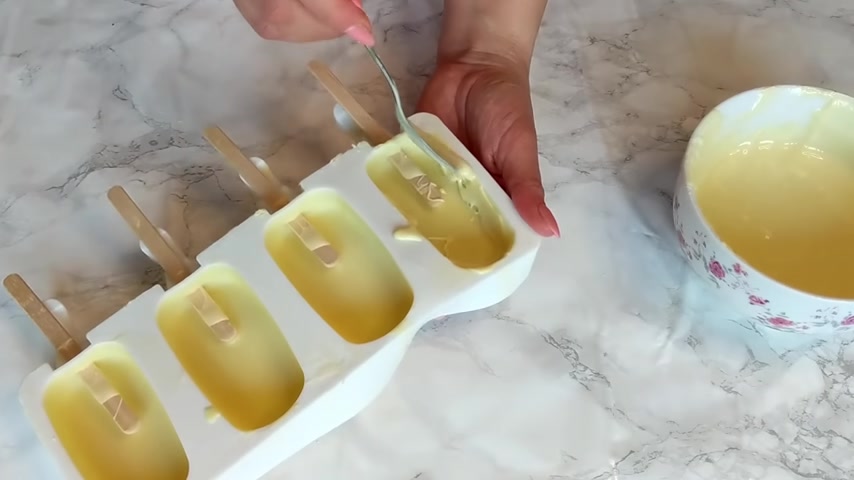
My chocolate in the silicon mols has been sitting in the freezer while I was preparing the cake .
So now it has nicely set .
What you wanna do here is go ahead and go around , make sure to cover if you see any spots that are not nicely covered , you wanna have it as smooth and even as possible , you don't want to add too much .
Otherwise you will end up with a very thick layer of chocolate and it's not so pleasant to bite into .
So you wanna have enough chocolate , of course , but not too much .
So just take your time , go around , cover whatever places you see that don't have enough chocolate , try to smooth it out , try to work it , especially around the stick and keep doing that until you are happy with it .
If you prefer to , you can use a small brush .
It might make the work easier for you .
But I think the back of the spoon works just as fine as it allows me also to smooth and kind of scrape the excess chocolate , but a brush works just as fine .
Find whatever is easier for you to work with and because the first layer of chocolate is already frozen , as soon as you add chocolate here , it's gonna start setting immediately and hardening .
So you don't wanna pour it and work it afterwards .
You're gonna be adding it and straightening it immediately with the back of a spoon , an olive brush by doing that , you're gonna avoid having places where there is a big lump of chocolate to bite into and it's not gonna be even and smooth .
So take your time , do this and make sure to get all the spots and patience .
The chocolate would normally set immediately because it's already frozen .
But you can place it in the freezer for a minute or two before we're gonna start feeling the cales .
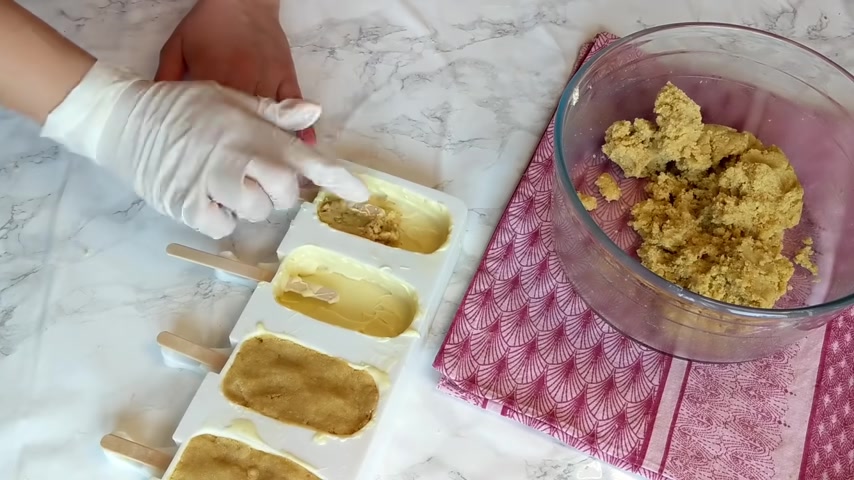
Since we already inserted the wooden sticks .
You're not just gonna simply add the filling on the bottom .
You wanna make sure to get the filling all around the wooden stick .
So take your time and add the filling around to the bottom kind of stuff it behind the wooden stick before you fill in the rest of the space .
So now that I'm sure there is enough filling around the whole wooden stick , there is enough cake .
There are no empty spaces .
I'm gonna go ahead and fill the rest of the cake .
You wanna make sure that there are no empty spaces .
Take your time to kind of press it and make sure that all the little corners are filled .
If not , once the Cales will go into room temperature and they're a little bit warm , they're gonna start sinking and losing the shape .
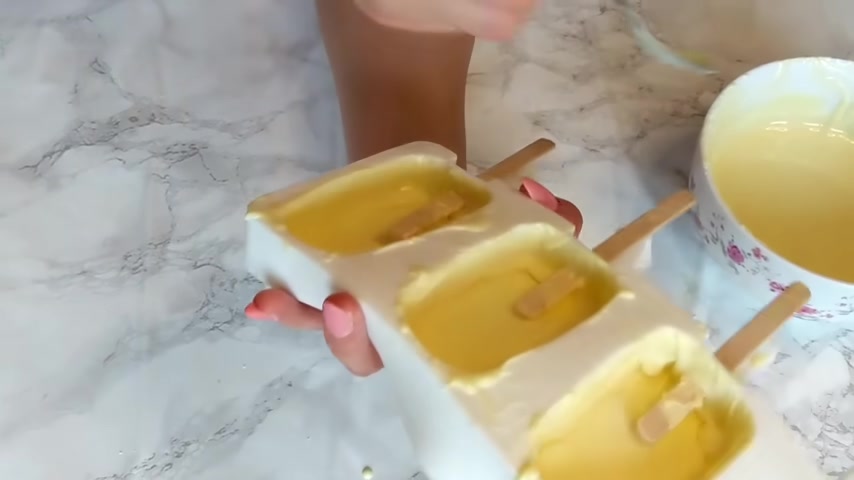
And now it's time to insert the wooden stick all the way to the middle until the mold stops .
And I'm gonna repeat for all the cales I have .
And finally , I'm going to cover them with the white chocolate .
And if the chocolate has hardened , you can microwave it for another 30 seconds or keep it on a hot water bath so that it starts melted and smooth .
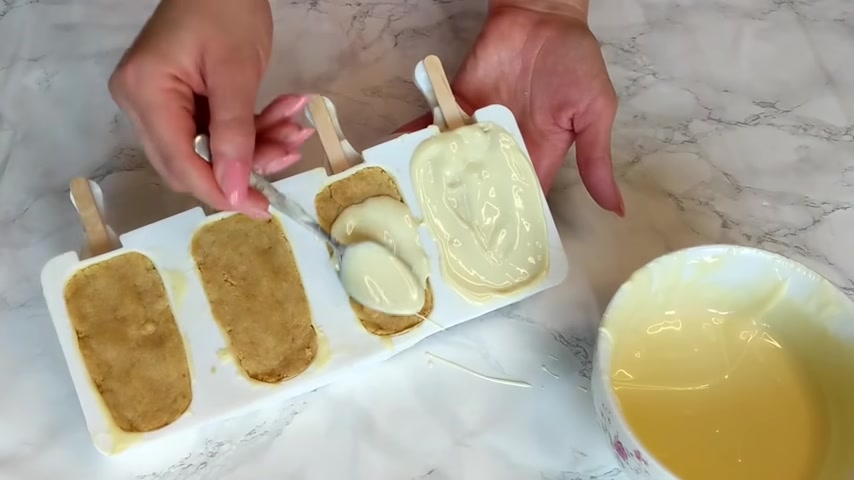
And then I'm gonna add a thin layer just enough to cover the whole bag and make sure to get the little corners in on the side of the cale and finally use a scraper or the back of a knife to get rid of all the excess chocolate .
At this point , the chocolate must be kind of a sticky or paste like texture because of the cold and frozen mold .
So take your time to do this .
As you see , the scraper makes the work easier and faster because you can at the same time smoothen the chocolate to have a smooth surface and get rid of the excess .
So take your time to do that and make sure all the corners are nice , sharp and smooth and then place it again in the freezer for at least 10 minutes to 15 minutes or even more till it's totally set .
And as soon as you take them out of the freezer , you're gonna have to unmold them right away , they should be still frozen to easily take them off .
So you normally just pop them out and gently pull out the wooden stick .
And as you see , they look perfect and they have a nice shiny kind of crush to them .
And it can be that sometimes around the wooden stick , you have little cracks and this is really easy .
You just gonna have some melted chocolate to cover them up .
And finally for the garnishing or the decorating part , this is totally personal and up to you , you can do whatever you want , any colors , you can use any garments .
You , you prefer , you can even use fondant .
Just go ahead and do this while they are still frozen so that they stick easier on the cake .
For me personally , I'm decorating with some uh pink melts .
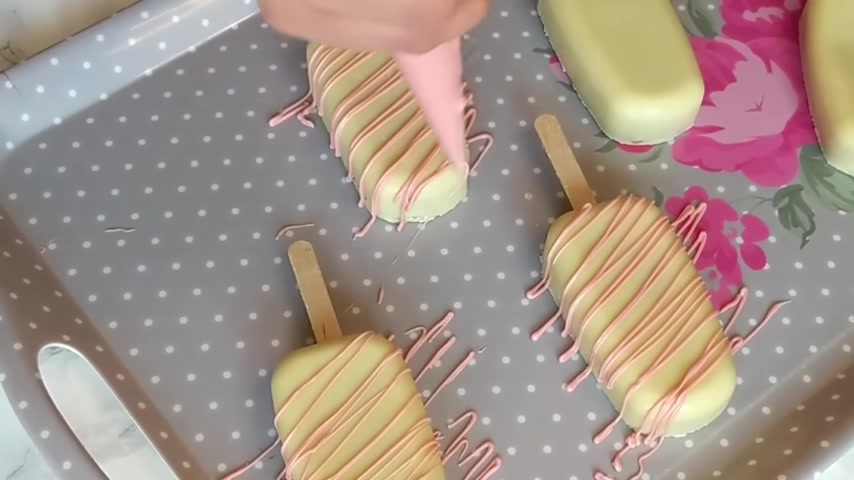
So I melted my chocolate also in the microwave and then I randomly just piped it over my X .
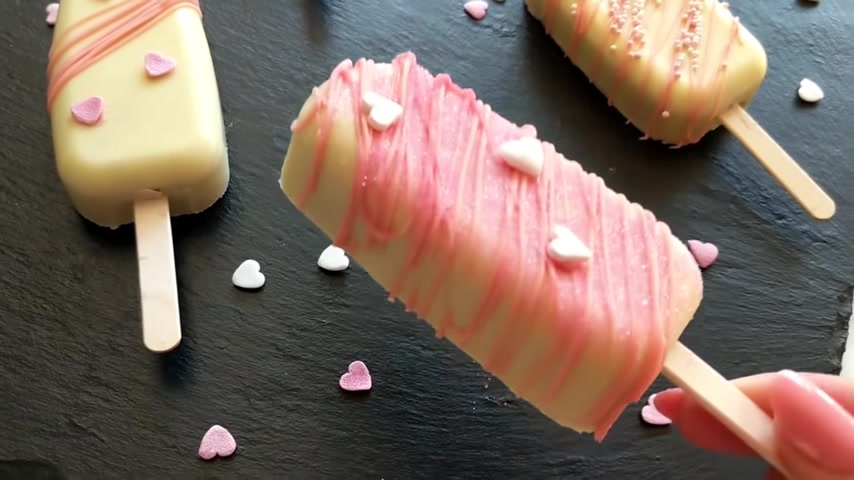
There are only two rules here .
You wanna add your garnish before the pipe chocolate sets and you wanna do this while it's still soft so that the garnish actually sticks to it .
If not , it's not gonna stick .
So you're gonna have to do this fast and one by one .
And for these little hard , I added a little bit of melted chocolate so that they easily stick .
And as I said , you can use anything you would like or you prefer , you can even use fondant .
I hope I managed to give you all the information , all the tips and everything you need to know to make the most beautiful and delicious cake .
I can guarantee you if you follow these tips , you're gonna have a very beautiful cales with a very nice shell and nice filling .
And as I said , the decoration is really up to you .
I hope you will be trying this recipe out soon .
If you do , please let me know how it turned out .
I thank you for watching and I hope you enjoyed the video .
If so , please give me a thumbs up .
Don't forget to subscribe to the channel .
Hit the little bell to get all the notifications and see you soon in a new video .
Happy Baking .
Are you looking for a way to reach a wider audience and get more views on your videos?
Our innovative video to text transcribing service can help you do just that.
We provide accurate transcriptions of your videos along with visual content that will help you attract new viewers and keep them engaged. Plus, our data analytics and ad campaign tools can help you monetize your content and maximize your revenue.
Let's partner up and take your video content to the next level!
Contact us today to learn more.