https://www.youtube.com/watch?v=tkSr4ZxnYOo
How to Make a Piñata Cake! _ Cupcake Jemma
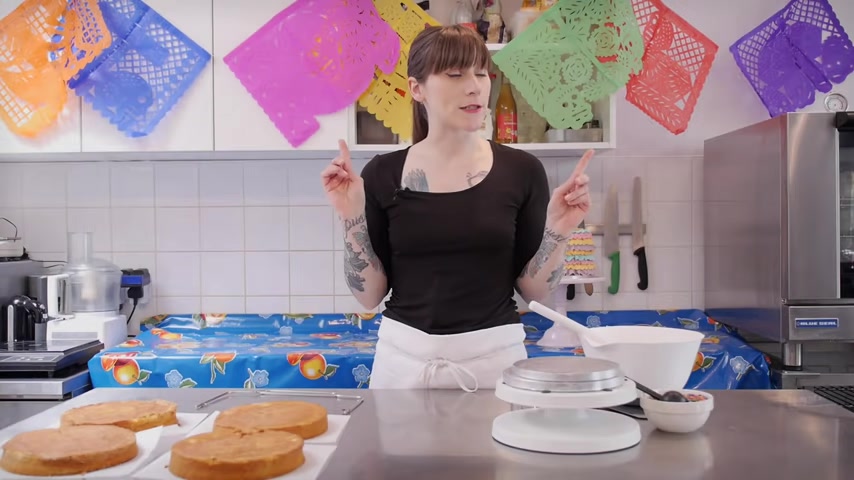
Hello .
I'm here at the Crum and Do Shop in Soho and here at Crumbs .
And do we get asked to make a lot of celebration cakes in all sorts of sizes , shapes and flavours .
And one of the most popular types of cakes we get asked for is the pinata cake .
Now , what you might not realise is that it is a piece of cake to make .
You just need a few hints and tips and I'm gonna share those with you right now .
Now , to get us in the mood , I've put a few bits and pieces of Mexican paraphernalia in the kitchen .
Jab it up a little bit .
It's not completely essential to this recipe , but I find that it helps .
Now you can use whatever cake that you want to start with .
I'm just gonna use vanilla cake .
I'm gonna be cutting holes right through the middle of some of these layers .
So it's important to choose a recipe which isn't full of lumps and chunks and bits of fruit and stuff like that just because it will make it quite difficult to do that neatly .
So I'm just gonna use vanilla sponge you can use whatever recipe you like .
There's a few on my , um , channel , which you might like , and I'll put links to those as well so you can check those out .
But for now , I'm gonna get them with levelling and trimming my cakes as usual to level my cakes .
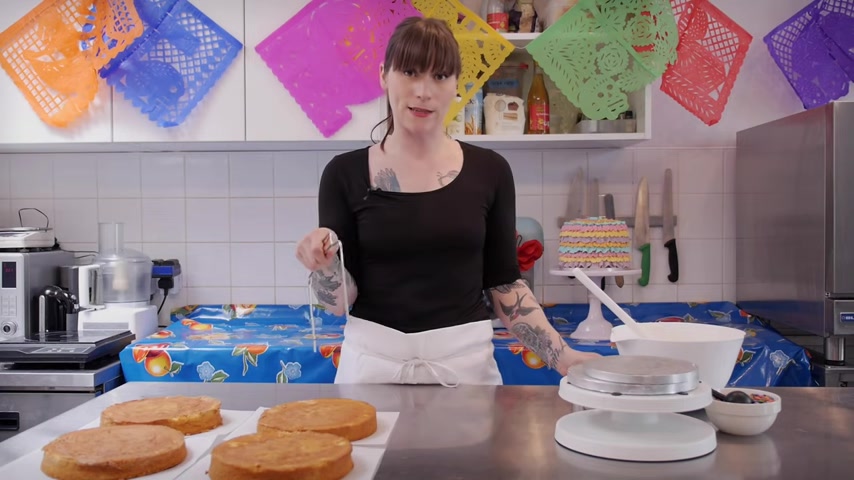
I'm gonna be using a cake leveller .
Now , having one of these in your kit is a bit of a no-brainer .
Really ?
You can do this with a serrated knife or just any knife , but lots of things can go wrong with that , including slicing your hand off .
Um , so I will always do that with one of these just because it makes sure all my layers are the same size .
So I'm gonna start by just taking off the top layer of this cake to neath up a little bit very gently .
Just draw your cake , leveller backwards and forwards like a kind of sore until he's gone all the way through .
Just get rid of that layer and I'm gonna continue to do that for all of the rest of my cakes .
Once you've levelled off all your cakes , it's then time to trim the edges .
And I always like to do this using a cake drum ?
Um , I've baked eight inch cakes and I'm using a seven inch drum just to lose that little bit of brown that goes around the edge .
So I'm just gonna pop this on the top and then with a sharp knife , keeping it vertical just cut all around the cake board .
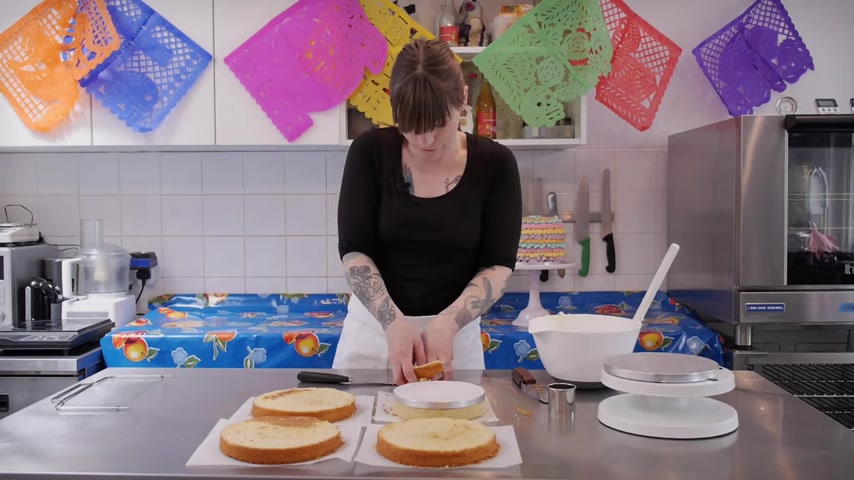
And if you wanna use your off cuts for anything like cake pops , you can just put them in a bag , pop them in the freezer , and they'll keep there for a month or so .
So just keep doing that until you've done all four layers .
Now it's time to make the holes for the sweets to go in , and you might be surprised to hear that you don't actually need a really , really big hole .
Uh , the bigger the hole is , the less structurally sound the cake will be .
So I'm gonna use a cookie cutter , which is about two inches wide up for my seven inch cake .
Obviously , if you're making a really , really big cake like a 10 inch or a 12 inch , maybe make your your hole bigger but not massive , because otherwise your cake's gonna fall in um so just using your cookie cutter for the first one .
I'm gonna do it by eye .
So try and line it up as best you can just by sight .
And when you're confident you've got it right in the middle .
Just chomp down and remove that middle piece .
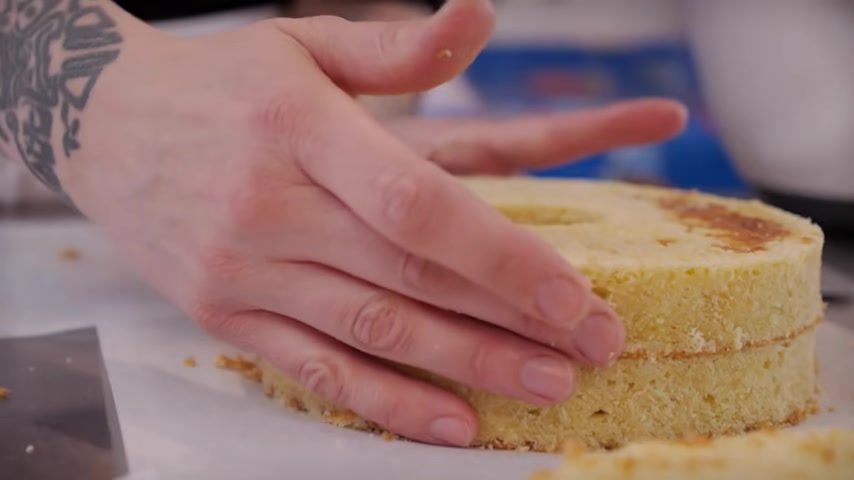
So for the next one , I'm going to gently pick up that O shaped cake and lay it over the top of the next layer .
And doing it like this will ensure that all the holes are in the same place .
I'm just gonna grab my cookie cutter again and push it down into the bottom layer .
And I'm gonna do the same thing for the third layer .
Just laying over 10 on top of that and jumping through .
Now , I'm not gonna do the fourth layer because that layer is going to be like the lid of my pinata cake .
So for now , I'm just gonna start assembling and I'm gonna be using a turntable to make my life a lot easier .
And I'm gonna assemble it all onto a cake drum , which is slightly bigger than the cake .
So this is an eight inch one , so to start with .
I'm just gonna use a bit of butter cream to help stick the cake down .
So the next thing I'm gonna do is grab one of my little os and gently layer as in the middle as possible on the board , and I'm going to apply a generous layer of butter cream onto that first rim .
I'm just gonna keep it simple and do vanilla butter cream , but you can have jam if you want , but just make sure you put your jam on top of the butter cream and not the other way round .
Once you have a nice , even layer of butter cream , grab the next layer and just very , very carefully line it up with the bottom one .
If you want to learn a bit more about splitting , filling and butter creaming a layer cake , then I have done a special video for that so you can go and check that out .
But for now , I'm gonna keep going , layering and filling my cake until I've hit the third layer .
As you're building it up , make sure that you coat the inside of the hole with the butter cream and that'll just lock the crumbs in but you don't wanna go too excessive on it .
Otherwise it's gonna be full of buttercream and not sweets .
Now , before we put the lid on , obviously we need to fill this guy with as many sweets as possible .
I'm gonna be using miniature Smarties , but of course , you can use whatever sweet you like .
I find that the ones with kind of a crispy sheller work the best because it tends to stop them from melting inside there .
So just using a scoop , gently scoop them in and just fill the hole until it's levelled with that layer so that you don't have a mound of sweets .
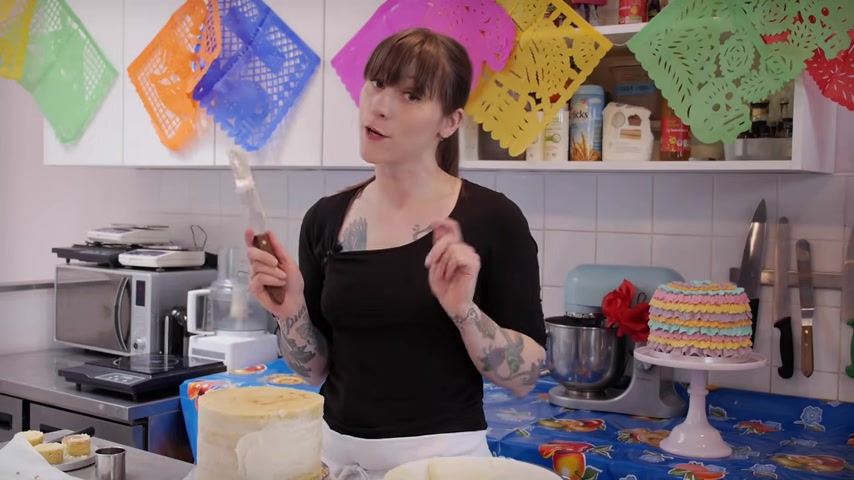
Now it's time to put the top layer on , so they just very carefully line that up with the rest of it .
So the next step is to give it a good crumb coat .
This is great because it locks in all the crumbs .
It gives us a really nice clean surface upon which to decorate the cake .
And if you do want to learn a bit more about decorating and butter creaming a layer cake , then I have actually done a masterclass video .
So I'll put a link to that in the description box below , and you can check that out .
And once that's done , it just needs to go into the fridge to set for about half an hour .
Now it is time for the exciting part , and I'm going to decorate this cake to kind of look like a pinata .
I definitely don't want anyone mistaking it for an actual one and whacking it with a stick , but I thought it would be good to show you how to do ruffles on a cake at the same time .
So to start with , I have five different colours , all loaded up in a pipe bag , and I'm just gonna show you the nozzle that I'm using .
It's called a petal nozzle , and it's really big , this one .
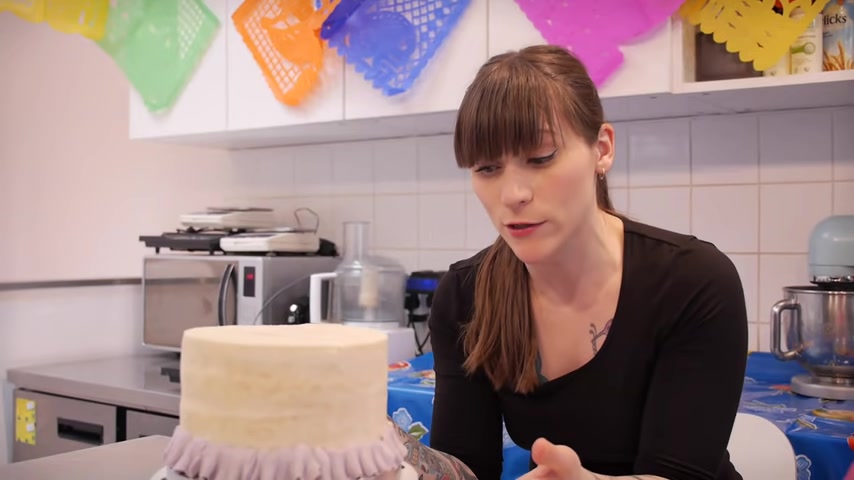
And basically it's kind of like a calligraphy pen , almost , but with a fat part at one end and a thin part at the bottom .
And the thin part is the bit which is gonna give your ruffles or your petals a nice frilly edge .
So I'm going to just start with purple .
I have my cake on a turntable and starting at the bottom with the fat part nearest the cake .
I'm gonna start doing little wiggles now .
Obviously having it on a turntable does make this a lot easier , because I can move it and squeeze my pipe and out at the same time .
But I'll never do any more than sort of two or three inches at a time just because there's still a danger of kind of stretching out and making a mess .
And once you've joined that up , it's time to move on to the next colour .
And I'm just going to layer over the top of that by about half a centimetre .
Now you don't need to be too uniform with this .
Don't make all your wiggles exactly the same size .
This is supposed to be roughly and kind of a little bit messy , like a real pinata .
So just keep going , alternating your colours until you reach the top .
Now you'll notice that I've done that last round of ruffles a little bit proud of the surface of the cake , and that way , when I'm D decorating the top , it can be nice and flat rather than dome shaped .
So just keep going with your ruffles and ever decreasing circles until you hit the middle and There is the finished pinata cake ready to be sliced open .
And for all those goodies to come spilling out , this really is a brilliant cake for a party to surprise all your guests with .
So let's have a look inside .
Look at that .
Really impressive and really , really fun .
Thanks so much for watching .
I hope you've enjoyed this video .
And if you have give it the thumbs up .
And if you haven't already subscribed to my channel , then you can do that at the end by clicking on the link .
And if you make this guy , then please tag me in your pictures using the hashtag cupcake .
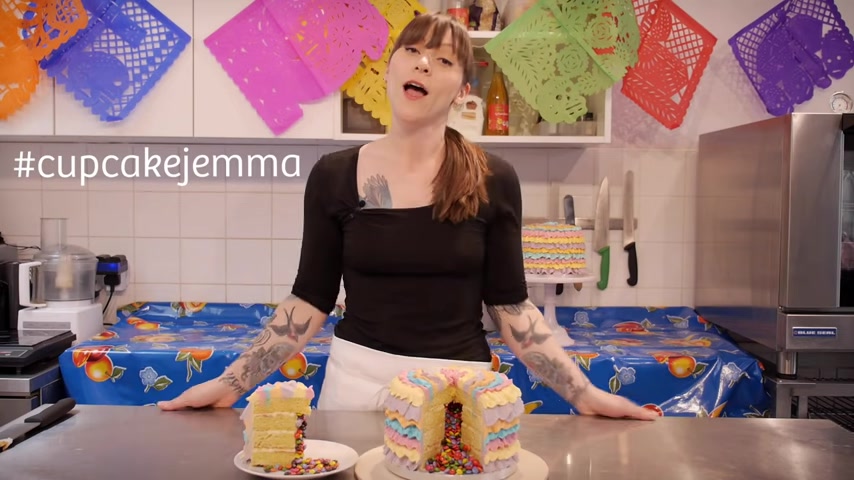
Gemma , I'll be back next week with another recipe .
And until then , I'm just gonna see how many Smarties I can get away with eating before anyone realises
Are you looking for a way to reach a wider audience and get more views on your videos?
Our innovative video to text transcribing service can help you do just that.
We provide accurate transcriptions of your videos along with visual content that will help you attract new viewers and keep them engaged. Plus, our data analytics and ad campaign tools can help you monetize your content and maximize your revenue.
Let's partner up and take your video content to the next level!
Contact us today to learn more.